


|
|
|
|
|
|
| stephane bouchard | profile | all galleries >> Tests >> Creation of Melting rocks picture >> Technical elements | tree view | thumbnails | slideshow |
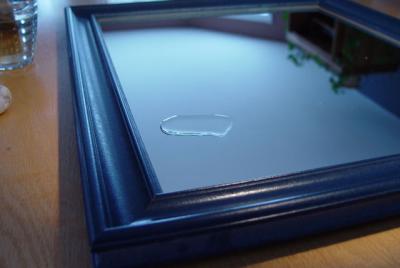 1- Water spot * |
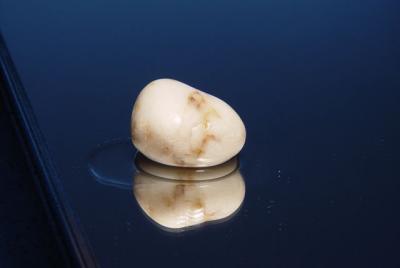
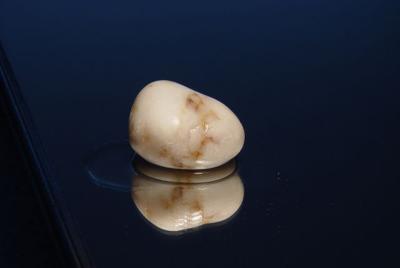
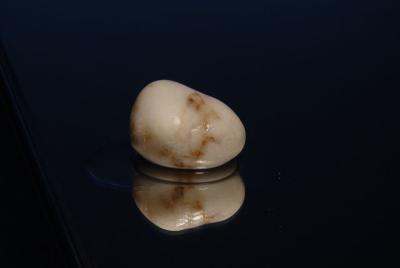
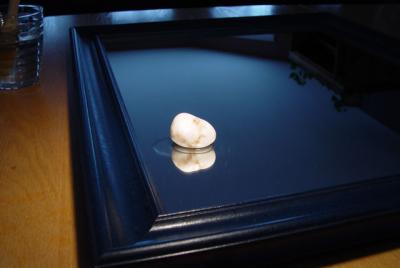 2- Place the wet rock on the water * |
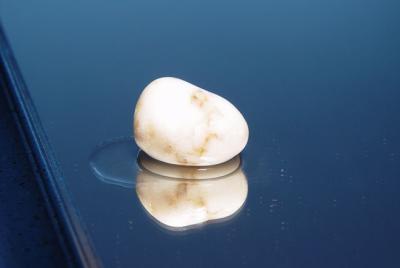 3- Overexposed Picture * |
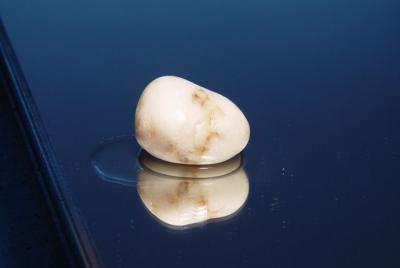 4- Decreased exposure * |
 5- Decreased exposure * |
 6- Underexposed picture * |
 7- Underexposed picture * |
| comment | share |