


|
|
|
|
|
|
| runningextra | profile | all galleries >> Galleries >> MKT Caboose #106 | tree view | thumbnails | slideshow |
| previous page | pages 1 2 3 4 5 6 7 8 ALL | next page |
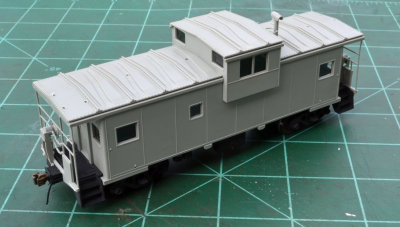
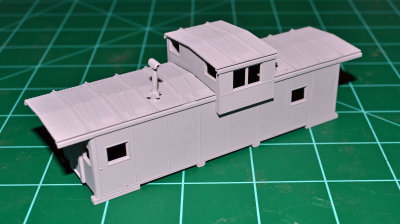
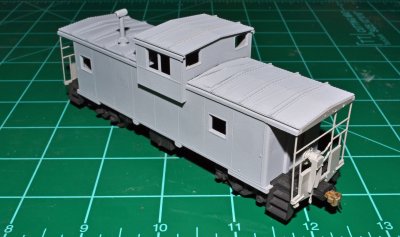
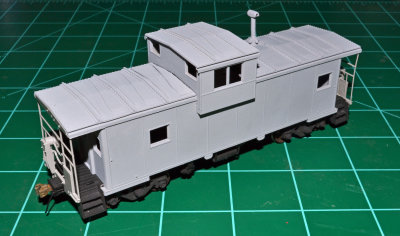
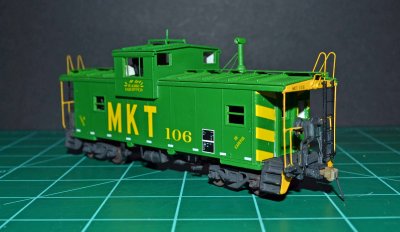
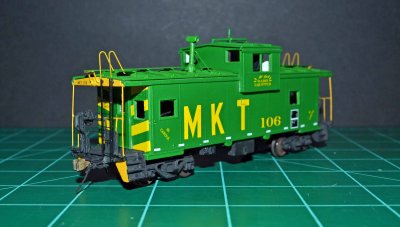
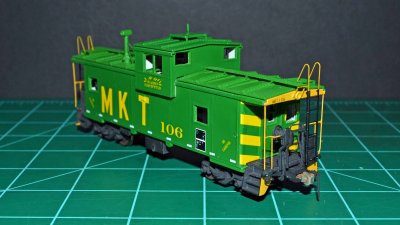
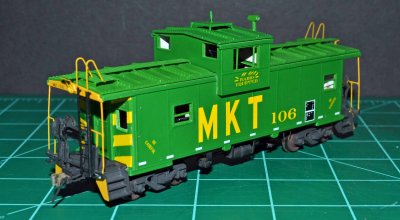
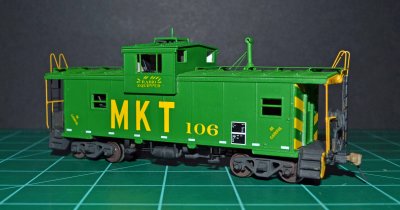
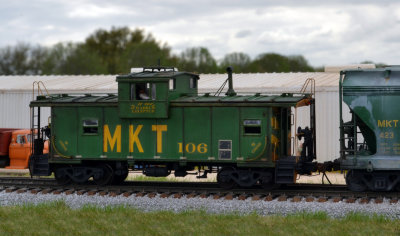 Completed Model |
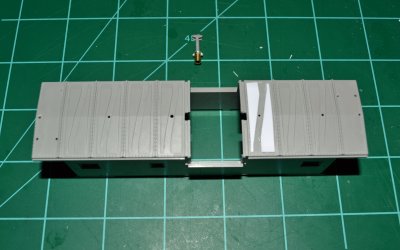
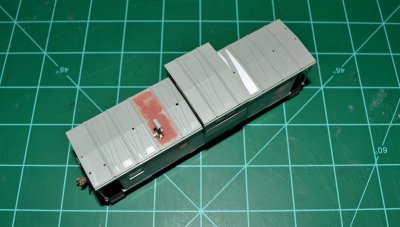
 Altas EV caboose straight out of the box, looks nothing like a MKT caboose....Not yet anyway! |
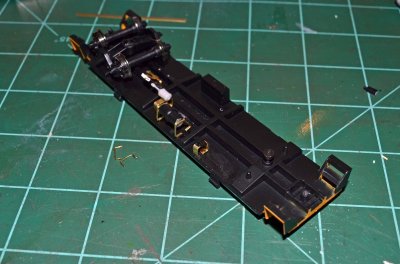
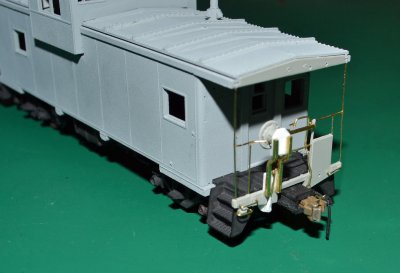
 Underframe details.....Pretty sparce |
 Started the underframe details, I should have replaced the steps and end platforms first but, you live and learn. |
 Plugging along on the underframe |
 Moving right along |
 All of the components are now in place |
 Another view |
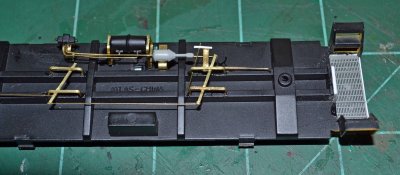
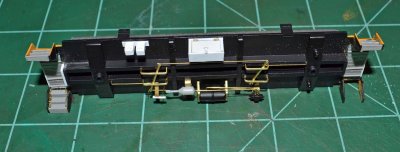
 Underframe details just about done |
 Another view of the underframe. |
 Just another view |
 View of the side with completed underframe details |
 Opposite side detail view |
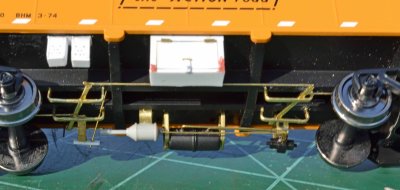
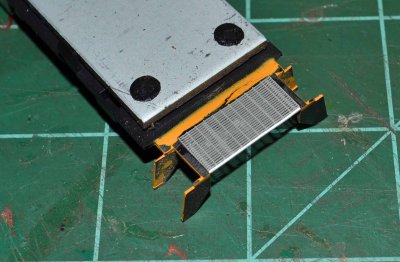
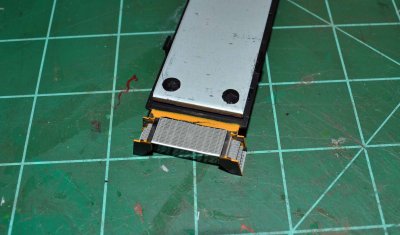
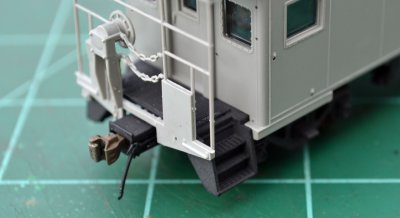
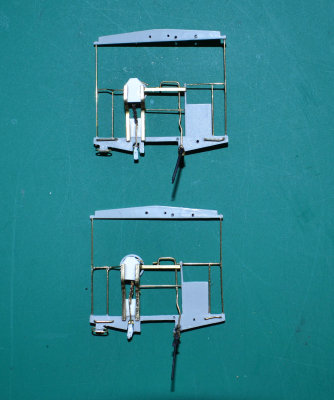
 Underside showing the Moloco end platform |
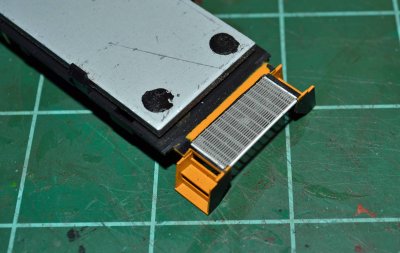 As I said earlier, I should have done this part first! I am using the Moloco kit for the end platform and steps. |
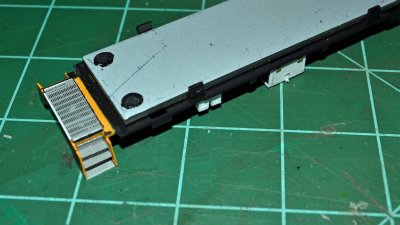
 Test fitting the shell back on after replacing the end platform |
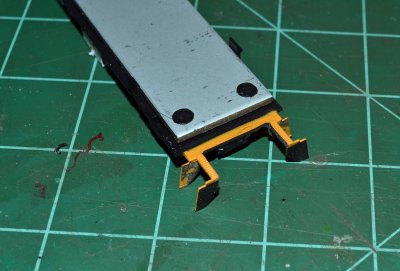
 I really should have cut the steps off first and then the end platform. |
 I learned from my mistake on the other end, cut the steps off first and then the end platform. |
 Got the Moloco end platform on and the strip styrene in place. |
 End plateform and steps on, once everything is in place and set it tightens everything up and gives it some strength |
 Only three more steps to go |
 Three steps up to the platform, just like a Katy caboose should have |
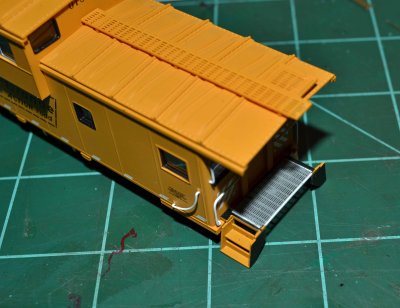
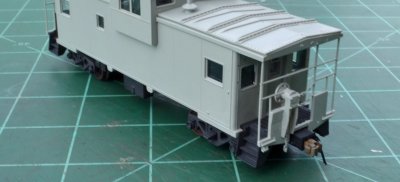
 Test fitting the shell to the completed underframe. |
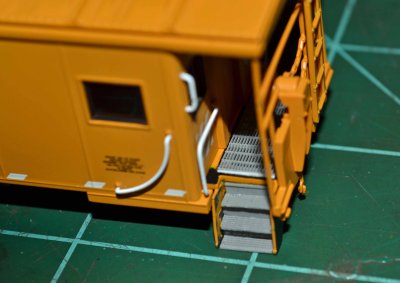
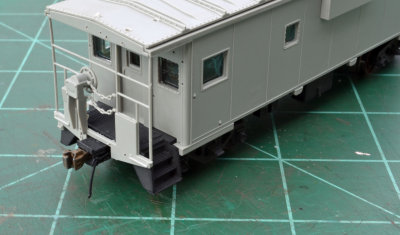 Closer view of the end platform and steps, painted black to match the Katy standard. |
 Another shot of the end platform and steps. |
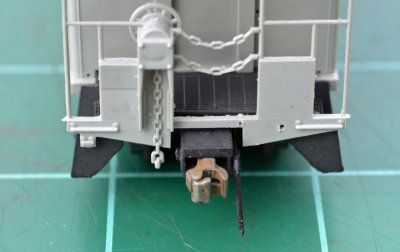 Closeup of the end, Sergent couplers and coupler box, dont worry though folks, the end cages will be rebuilt as well |
 Another view of the steps and end platform |
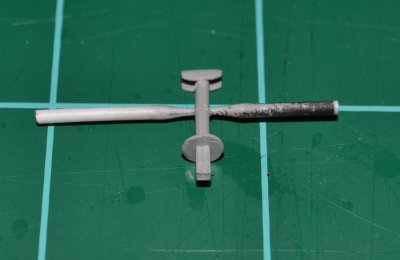 Much like the rest of the stock Atlas caboose, the smokejack is nothing like what is on a Katy caboose, plugging holes |
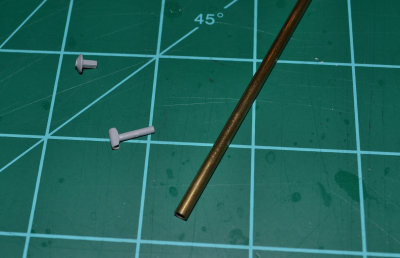 Next is to cut the bottom "bell" portion off and to introduce a little brass rod |
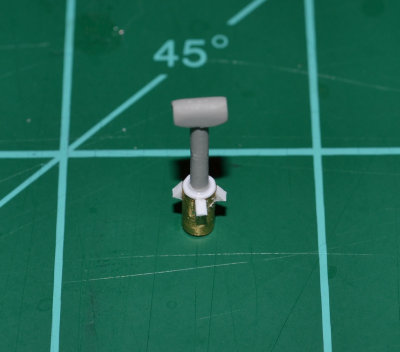 A few small pieces of styrene for the vents and we have a new smokejack to match the Katy variant. |
 Original smokejack location plugged, as expected the Katy's smokejacks were no where close to the location of the Atlas model. |
 In relocating the smokejack I had to make new roof ribs out of styrene |
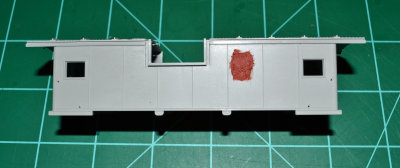 Plugging some unwanted windows |
 More plugging, exciting isnt it..... |
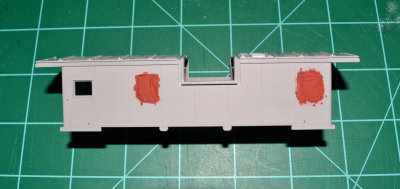
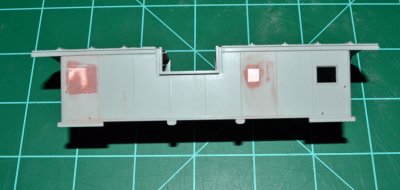 Sanding ..... |
 Had to plug one window on each end.... |
 I won't bore you with the cutting off of the roof ribs but here it is completed and sanded smooth, new smokejack in place |
 Test fitting shell, I seem to do this often everytime I complete a round of mods. |
 Another shot with the shell test fitted |
 Just another shot |
 Just another test fitting shot |
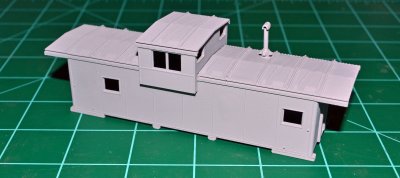
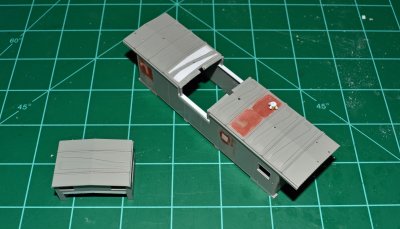 Raising the roof....Or the copula as it might be |
 Test fitting the raised copula, I have also cut in the new window's on each side. |
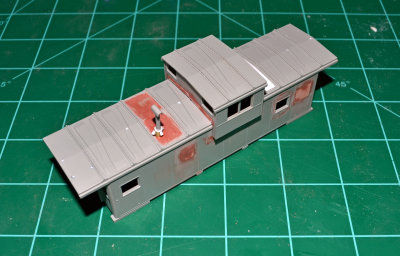 Another shot showing the raised copula and new side window |
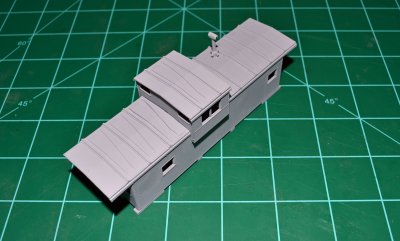
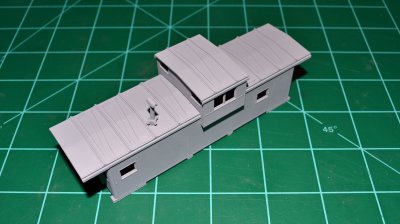
 New roof ribs, side window and raised copula, getting closer to looking like a Katy caboose every minute. |
 A little fresh primer grey |
 Fresh primer grey |
 Fresh primer grey...I think I have written that somewhere before |
 Ummmm guess what, yeppers....Fresh primer grey |
 Okay, shell being test fitted again |
 Getting closer to shooting some Katy green |
 Not much left to add on before we hit the paint shop |
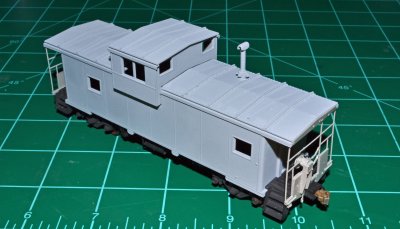
 Still need to rebuild the end cages, add the Plano roofwalk/end ladders and we will be off to the paint booth. |
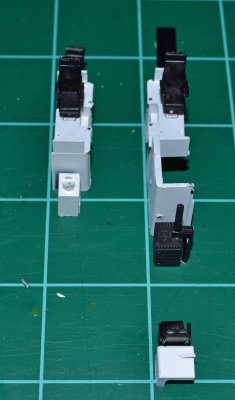
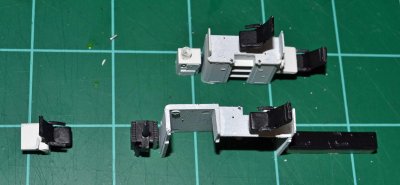
 "B" end cages are done |
 "B" end cages |
 "B" end cages |
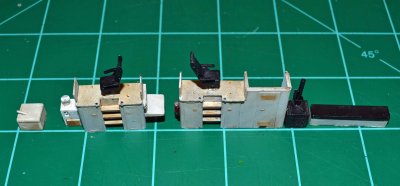
 "A" & "B" end cages completed |
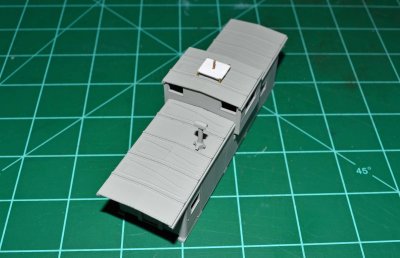 Antenna platform completed |
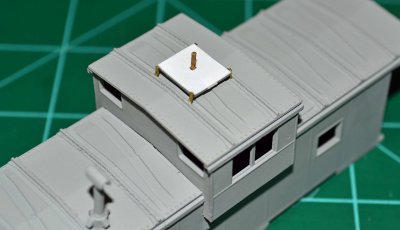 Antenna platform |
 Primed and ready for some MKT green |
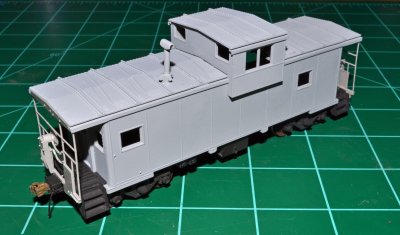
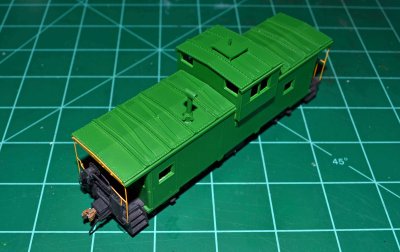
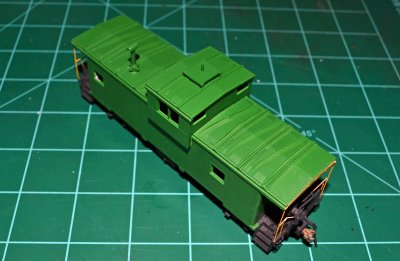
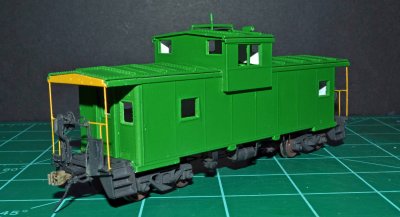
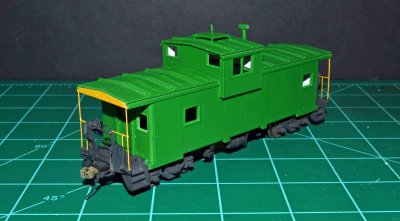
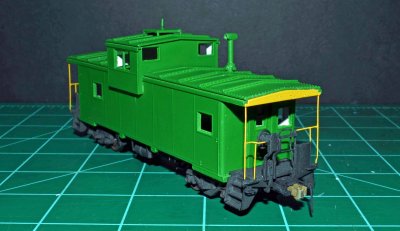
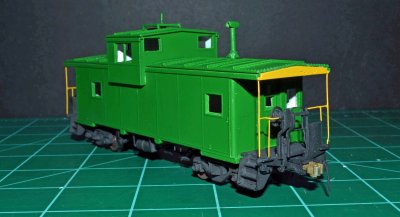
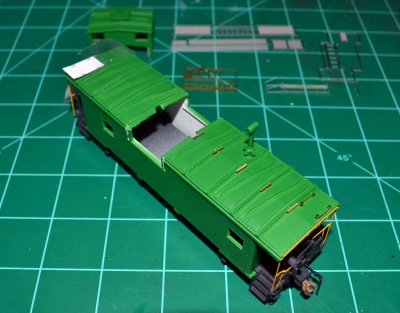
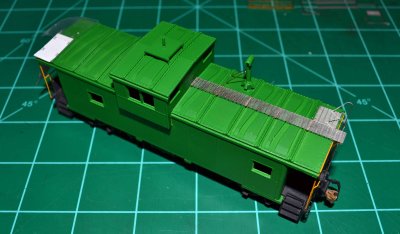
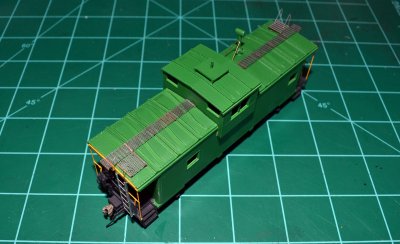
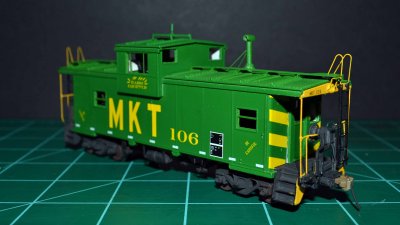
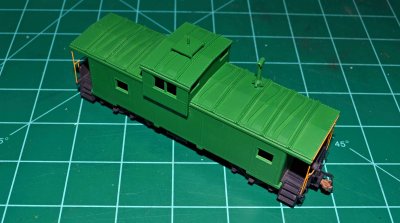 Fresh out of the paint shop |
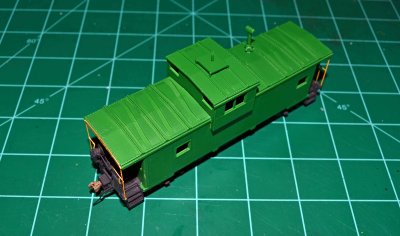
 Fresh out of the paint shop |
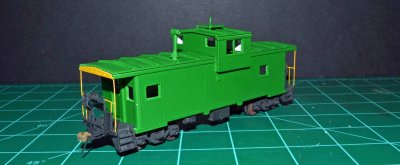
 Fresh out of the paint shop |
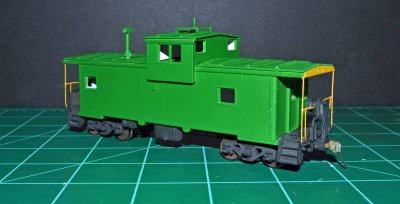
 Fresh out of the paint shop |
 Fresh out of the paint shop |
 Fresh out of the paint shop |
 Fresh out of the paint shop |
 Fresh out of the paint shop |
 Fresh out of the paint shop |
 Fresh out of the paint shop |
 Adding the Plano roofwalk to the "B" end |
 "B" end roofwalk complete |
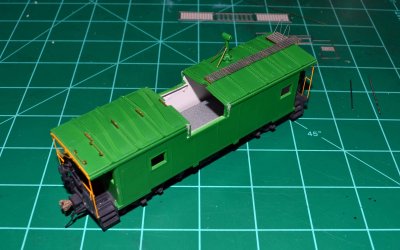 "A" end roofwalk supports in place |
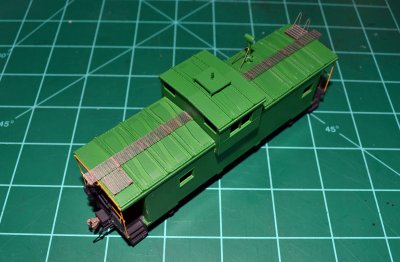 "A" end roofwalk completed |
 "A" roofwalk and end ladders completed |
 Roofwalk & end ladders painted, decal work has begun |
 Roofwalk & end ladders painted, along with more decaling |
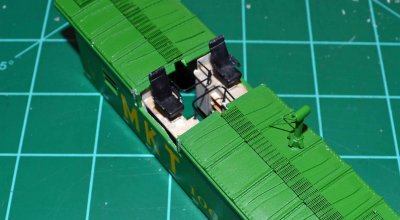
 Keystone caboose interior |
 Keystone caboose interior, layed out roughly how it will look once installed |
 Weathered the interior |
 Interior fitted to the inside of the caboose |
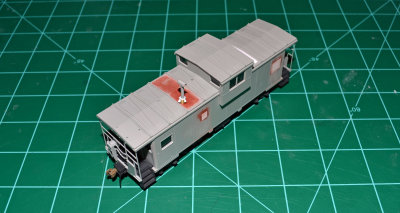
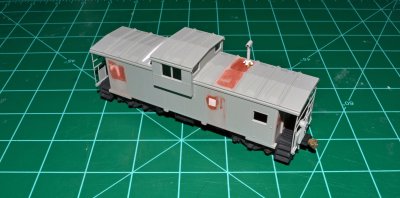
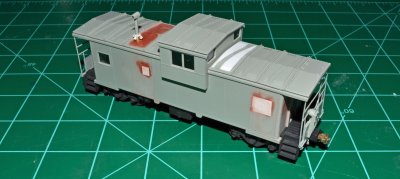
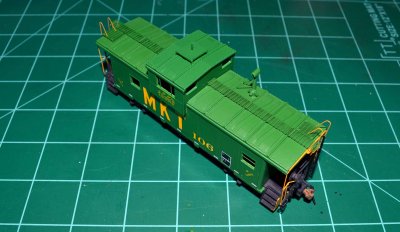
 Decal work almost completed |
 Decal work almost completed |
 Decal work almost completed |
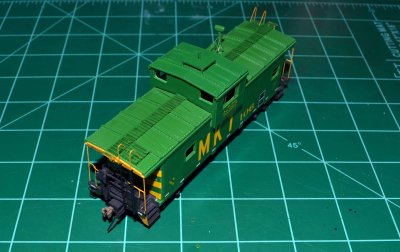
 Decal work almost completed |
 Decal work almost completed |
 Decal work almost completed |
| previous page | pages 1 2 3 4 5 6 7 8 ALL | next page |
| comment | share |