


|
|
|
|
|
|
| roxanneboscobel | profile | all galleries >> Galleries >> porch | tree view | thumbnails | slideshow |
| previous page | pages 1 2 3 4 5 6 7 8 9 10 11 12 13 14 15 16 17 18 19 ALL | next page |
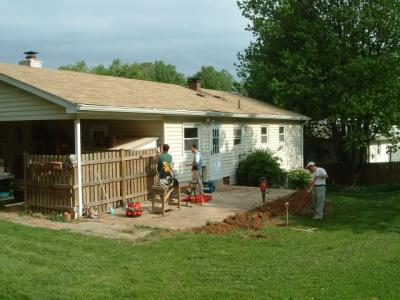
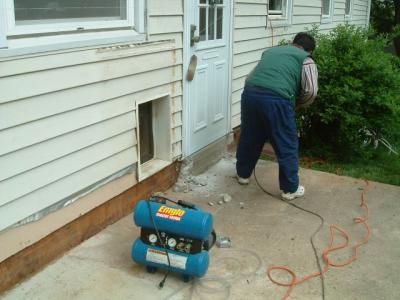
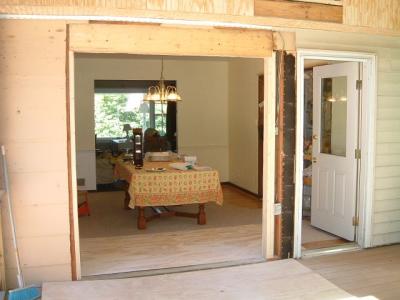
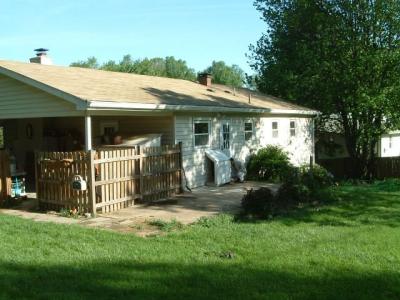 The Before Picture |
 Taking apart the fence |
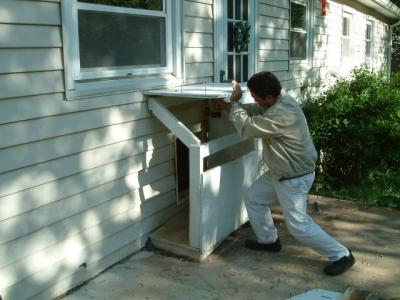
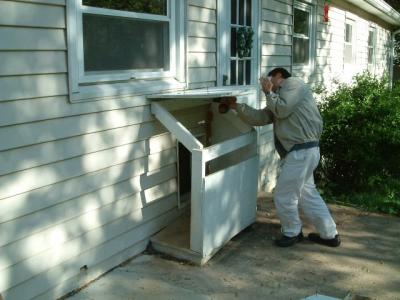 Taking apart the dog door house |
 Argh!! |
 The old dryer exhaust |
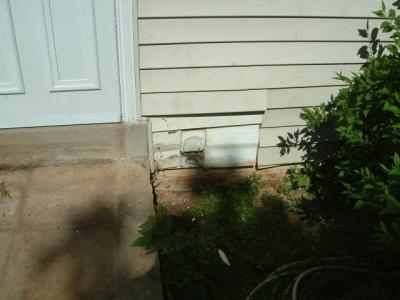
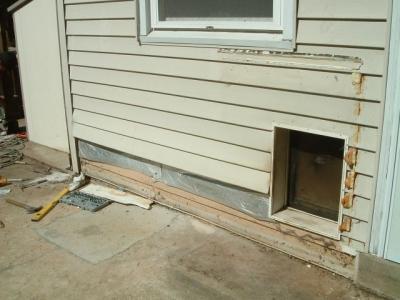 The dog door house is gone! |
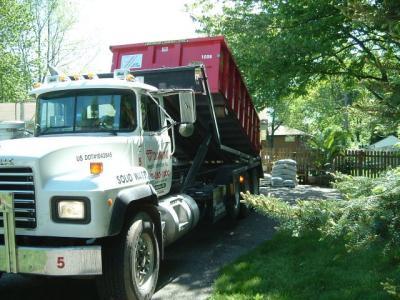
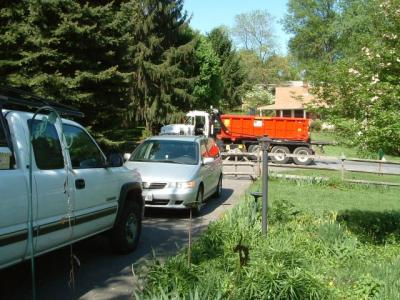 Dumpster is delivered |
 Dumping the dumpster |
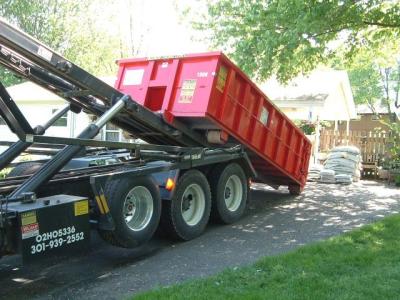 There it goes! |
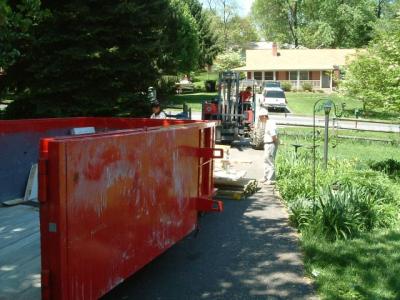 Wow it sure is red! |
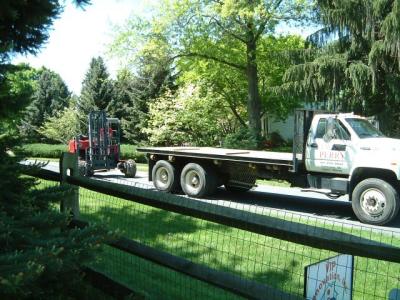 Materials are delivered |
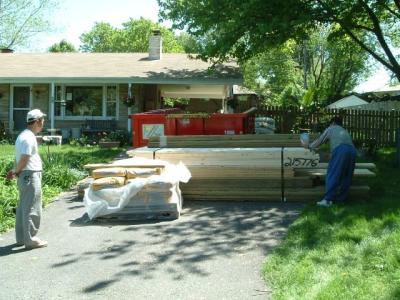 Carefully counting the materials |
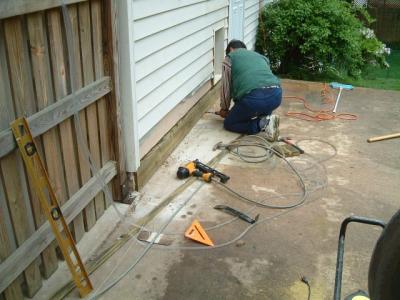
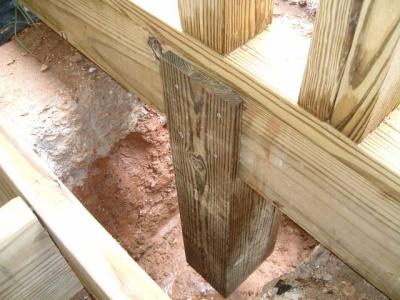
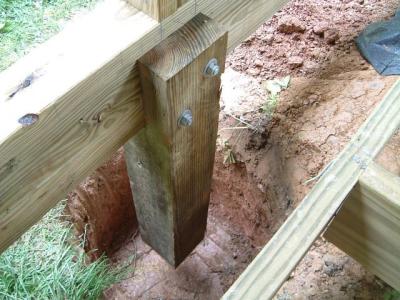
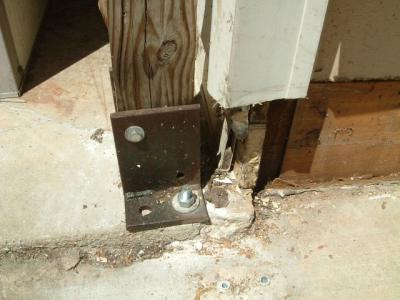 Relocating the fence post |
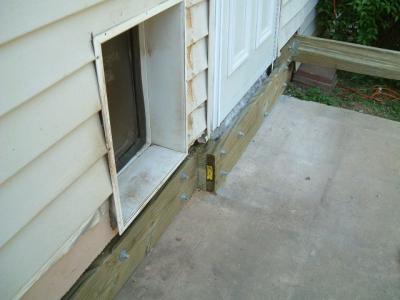
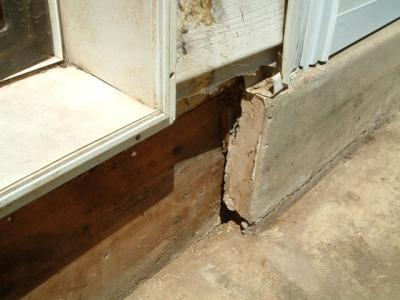 Under the door |
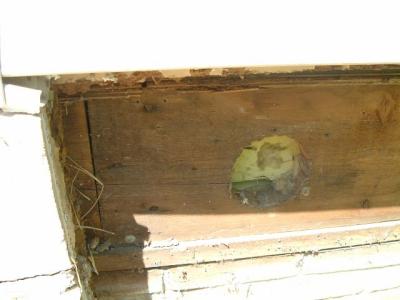 The old exhaust vent |
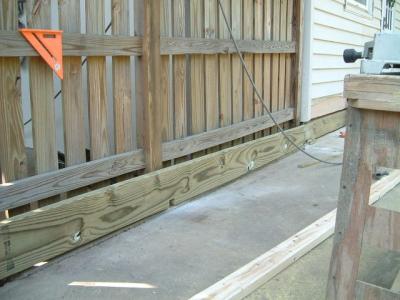
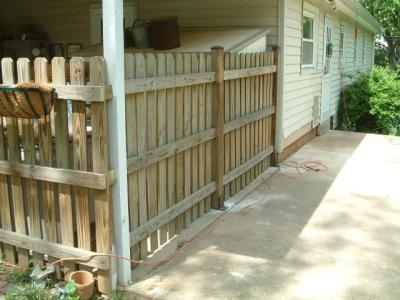 The relocated fence!! Nice!!! |
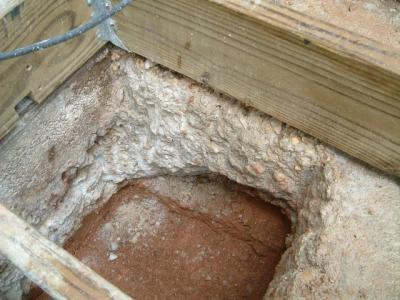
 Digging the holes for the footers |
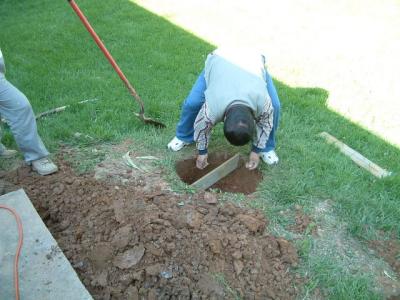 How he measures the holes for the footers |
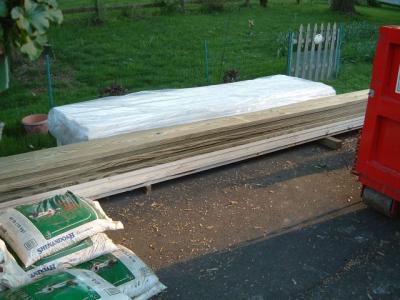 Carefully wrapped materials! |
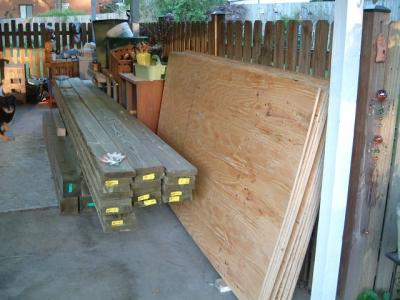 More materials in the carport |
 Carefully wrapped materials and tools |
 Day two |
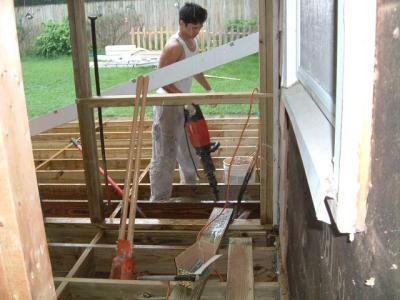
 Yikes, what a noise! |
 Taking off the sill for the most part |
 the view from the basement to show placement of the lag bolt holes |
 placing the ledger and drilling holes into the basement |
 Little piece of ledger to the right of the door |
 They used a long tube filled with water for the level |
 cleaning off the siding |
 working working |
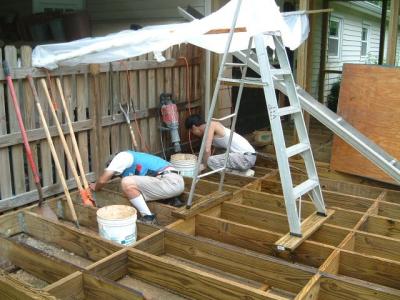
 One of five footer holes |
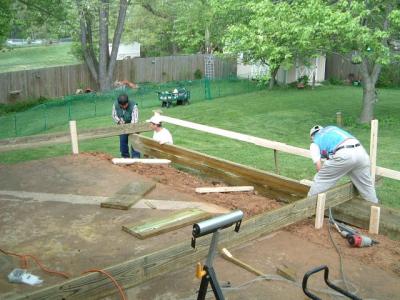
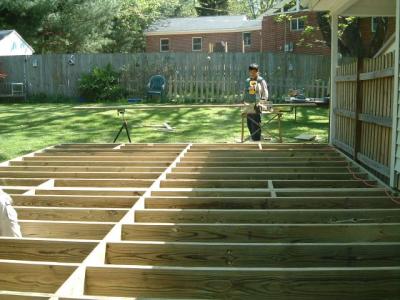
 Layout of the deck |
 Its starting! |
 Joist hanger used against house |
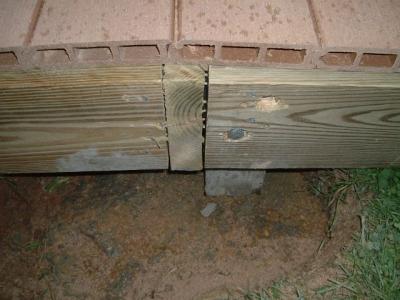
 Showing the piece under the door |
 The ledger for the open deck portion |
 Connecting the two |
 under the door |
 the end of the deck/carport |
 Hanging the main beam |
 beam placement |
 Making it level |
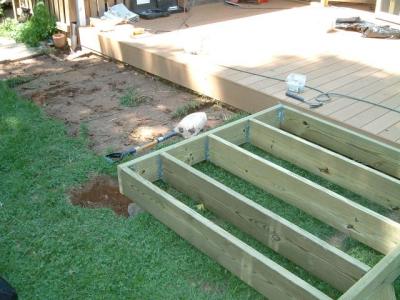
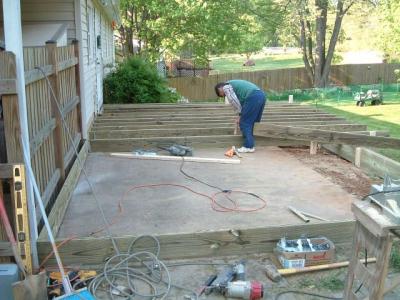 Hanging joists!! |
 Very exciting! |
 16" on center |
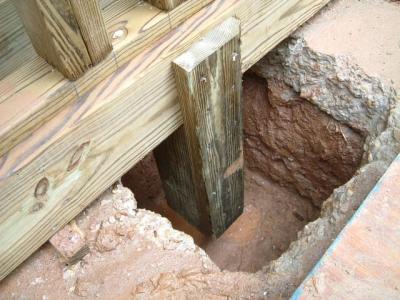
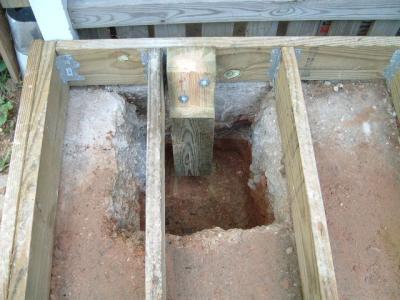
 Standing in the hole to place the support |
 bolted in place |
 from the other side |
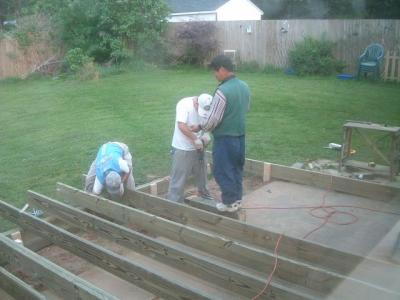 drilling |
 Adding the other ledger |
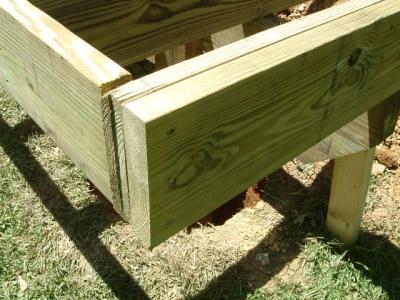
 Doubling up the joists on the end |
 Outside ledger |
 Triple joist in the middle of the deck where the porch wall will be |
 Doubling up the joist on the other wall of the porch |
 aligning the posts |
 Adding the cross braces |
 What a tedious job! |
 Working working |
 Cross braces in place |
 Putting in sleepers |
 from other angle |
 Sleepers |
 Liquid nailed to the patio |
 Inspector inspecting |
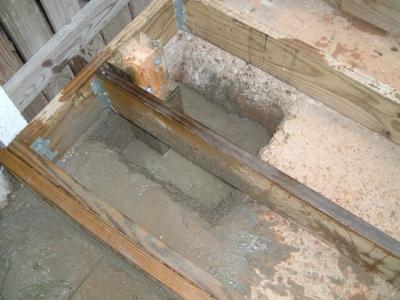
 Pouring the footers |
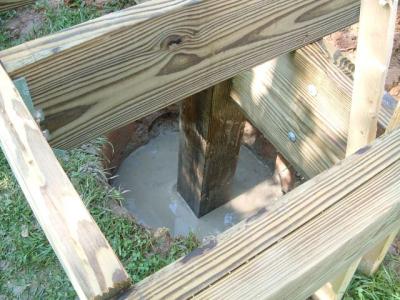 Freshly poured footer |
 Drying out! |
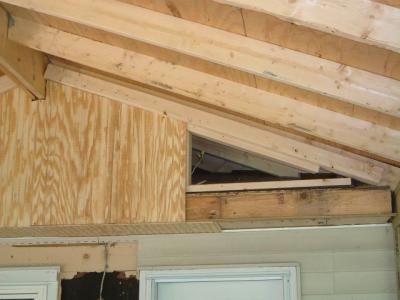
 Cutting into the eaves for the porch posts |
 Cutting into the eaves |
 The left cut |
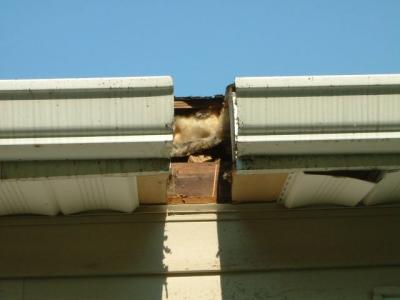 The right cut |
 Sawing in the carport |
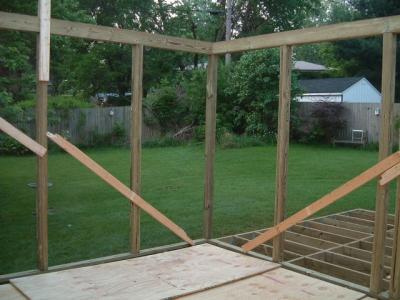
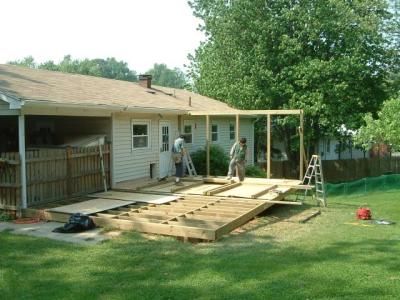 The first wall is up!!!!! |
 How it joins into the eave cut |
 How it joins at the bottom |
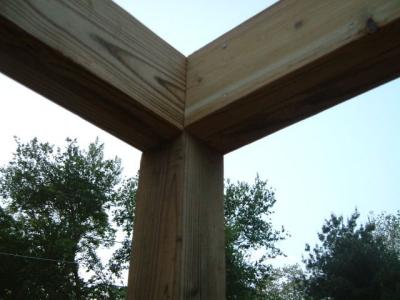
 Left outside corner top |
 Left outside corner bottom |
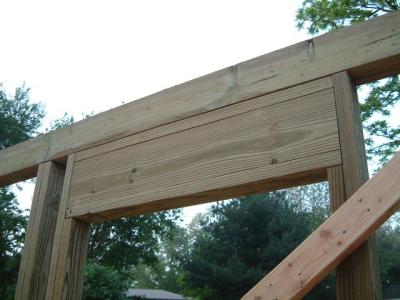
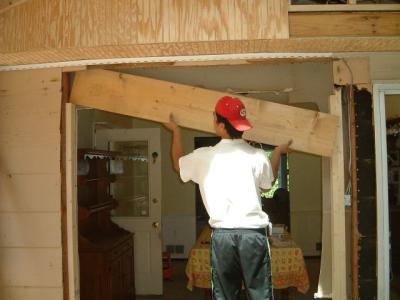
 Putting together the door header |
 The second wall is up! |
 Putting up the third wall! |
 Covered for over night! |
 From the diningroom door looking right |
 Header over the screen door |
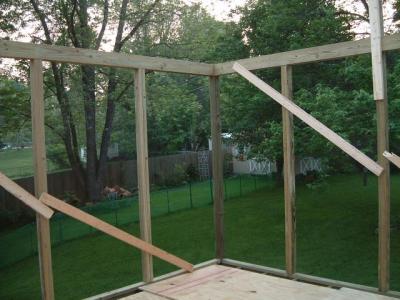 Looking Left from the diningroom door |
 Right outer joint |
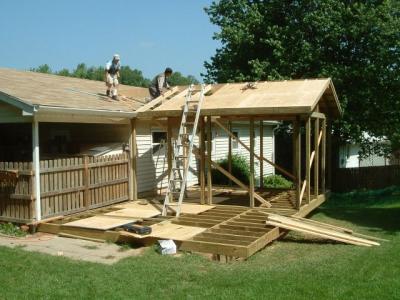
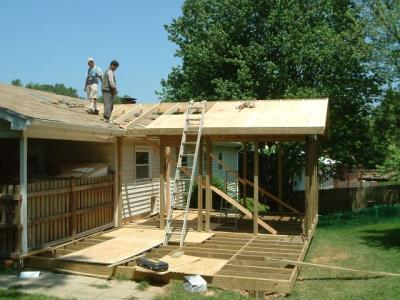
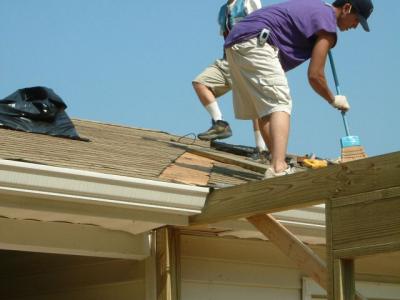 Getting the roof ready |
 Roof stripped and prepared |
 Preparing the beam |
 Amid much yelling and grunting, the beam goes up |
 Aligning the beam just so |
 The beam aligned |
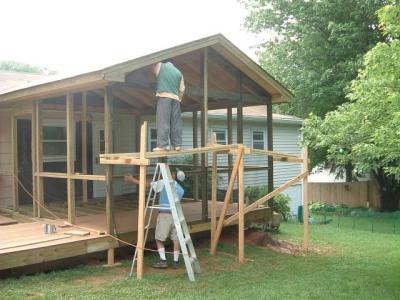
 Building the scaffolding |
 The beam is laid on a larger board |
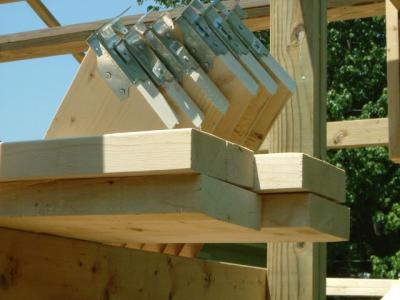 The hangers on the rafters |
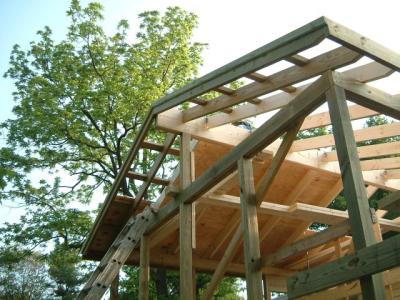
 Rafters go up |
 This will be the exposed end |
 The fascia board |
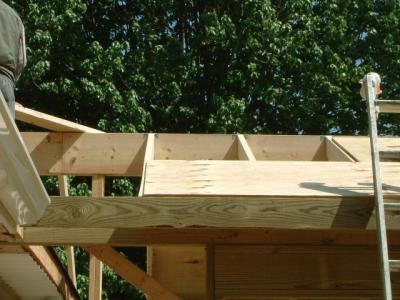
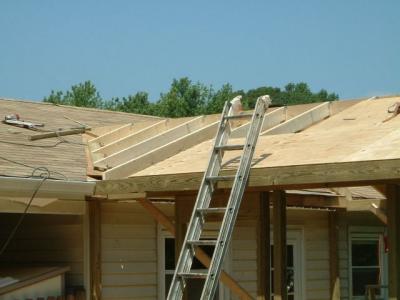
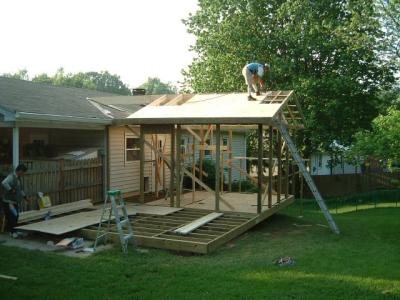 Putting on the roof plywood |
 Detail on the exposed end |
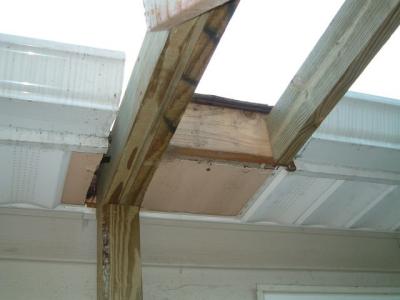
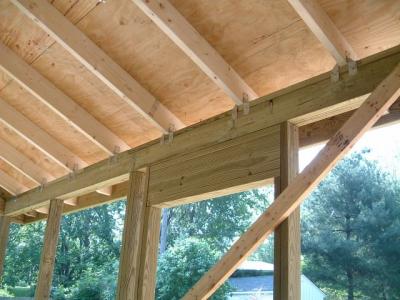
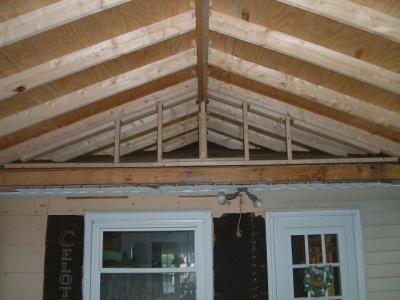
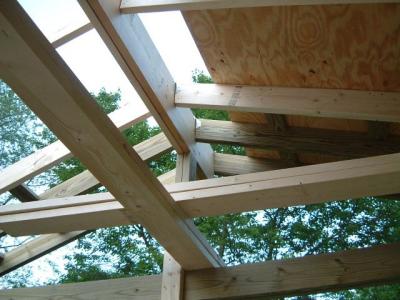 Inside looking up |
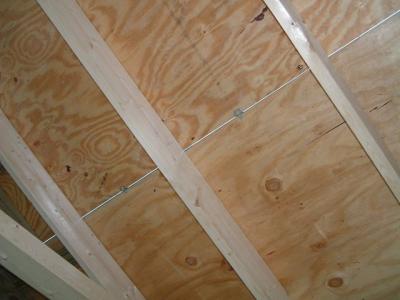 How the roof plywood is butted together with little clips |
 The second cut into the eaves on the left side |
 Second cut into the eaves on the right side |
 The rest of the rafters go in |
 Rafters measured, cut, and placed |
 Showing the hangers in place on the rafters |
 The rest of the rafters in! |
 Showing how they are cut o the roof line |
 More plywood |
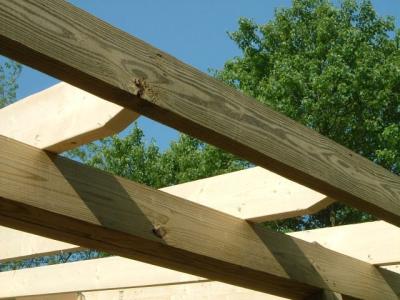
 Looking at the roof joints |
 How the rafters are cut on the right side |
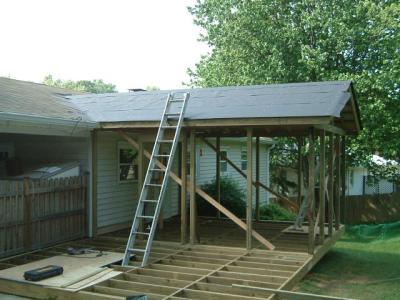 We have tar paper!!!!! |
 Now you can see the construction better |
 New roof joint |
 Joining into the roof |
 The other roof joint |
 At the point of where the roofs meet |
 e.jpg |
 Side view of this connection |
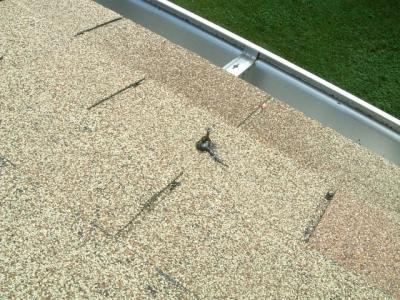 Where the roofers yanked the screws out |
 Also where the screw was yanked out |
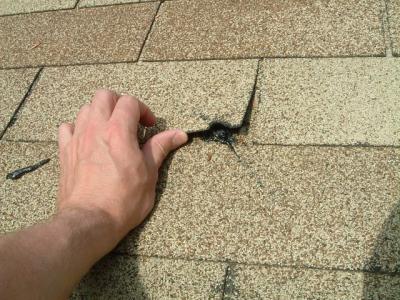 They put in tar but damaged the shingle |
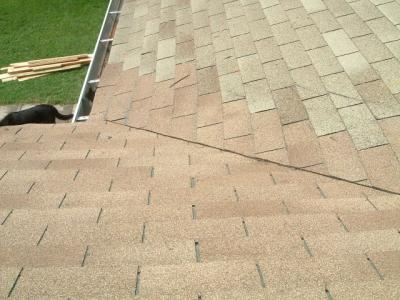
 New roof on porch |
 Another view of the roof joint |
 With the new roof on it |
 A nighttime visitor to the porch |
 The straps supporting the open deck portion |
 Another strap -- total of 3 |
 The shelf-like boards on top of the chair rail |
 Showing the straps that hold the rafters down |
 Putting up the eaves |
 Putting up the eaves |
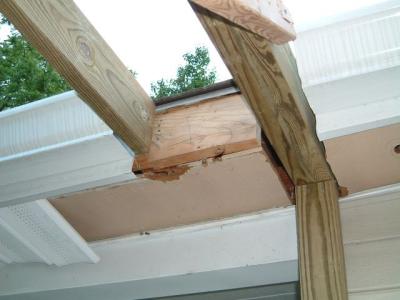
 Cut away the end of the beam and put up eaves |
 Joining the two joist boards |
 Joining the two joist boards |
 Temporary supports reinstalled |
 Temporary supports reinstalled |
 Temporary supports reinstalled |
 Digging hole for one of three footers at the back of the deck |
 The hole for the new footer on the other side of the porch |
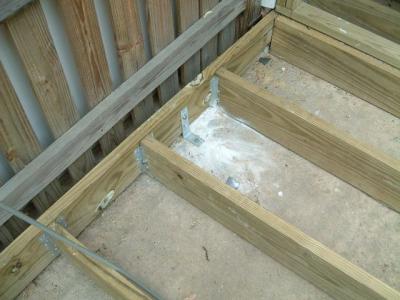
 New footer under one side of the porch |
 Its a gusher!! |
 What a downpour! |
 Right after this lightening struck really close, so I ran inside! |
 Digging thru the concrete in the rain |
 Always fun to work in the rain |
 No wonder they had to dig for so long; look how thick the concrete is! |
 The other hole shows the concrete thickness too |
 The new post in the middle of one side of the porch |
 Other side of the same post |
 New post on the other side |
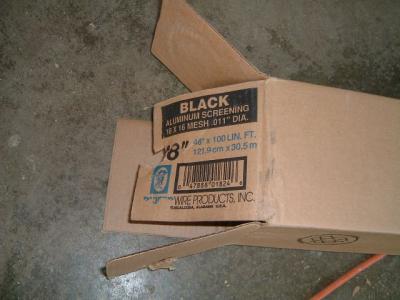 The screen |
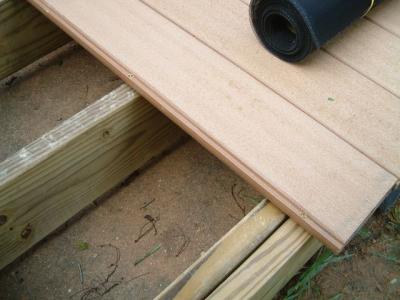 How the decking is attached |
 Fitting the screens |
 New footer hole |
 With concrete |
 Other new one with concrete |
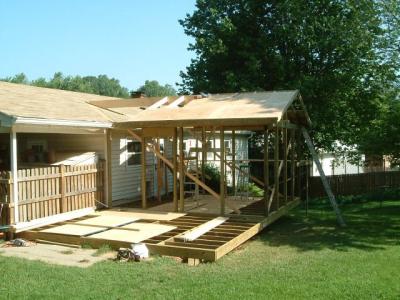
 Getting close to completion |
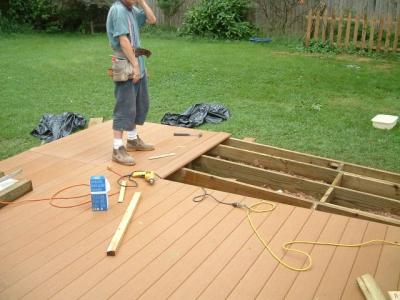
 Fitting the decking |
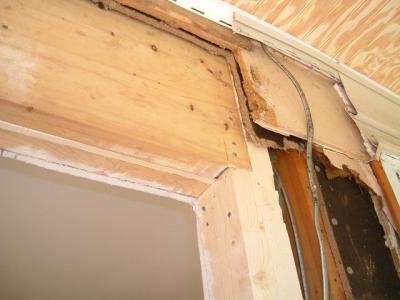
 Header over installed porch door |
 Building the supports for the ceiling |
 Temporarily closing in over the door |
 This board is screwed on so the electrician can access it |
 Boy, that really is a white door...... |
 Looks like summer camp! |
 The dumpster finally leaves p.u.!!! |
 Cutting for the skylights |
 Cutting still for the skylights |
 Wow, look at that light!!!! |
 The holes on the outside |
 Fortunately, these are the same guys who put the roof on.... |
 Fitting the skylights |
 First one in place! |
 Laying down the flashing |
 Showing the flashing |
 More flashing we must have more flashing |
 From the inside |
 From the outside |
 Here's the flashing kit |
 Nearly Done! |
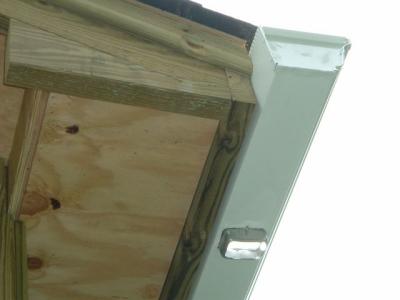 Gutter with connector |
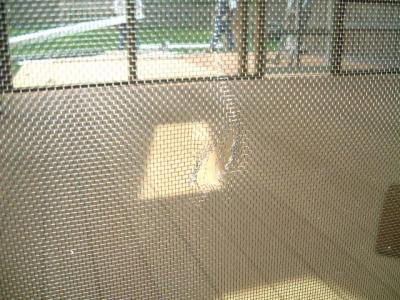 Nice hole in the screen |
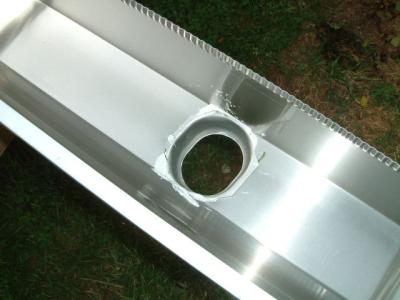 The offending connector |
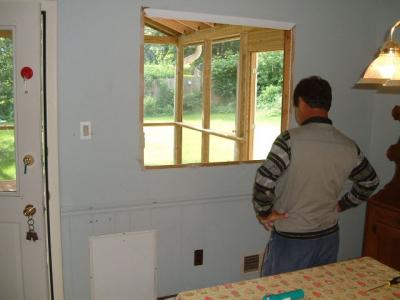 The window is gone! |
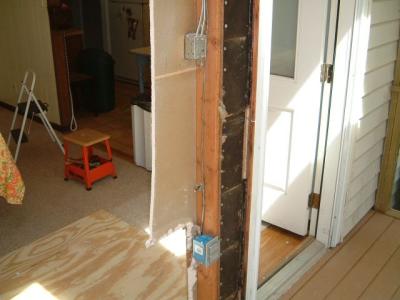
 Everything is out of the wall! |
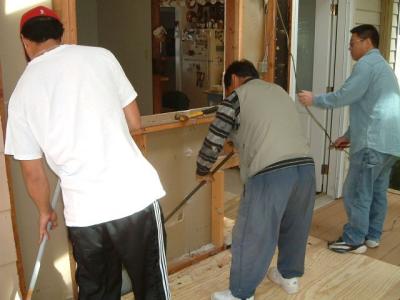 Cleaning out the wall |
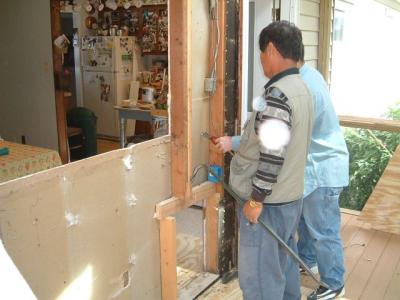 Taking the wall down |
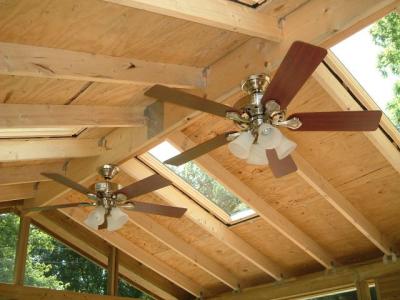 The fans are up! |
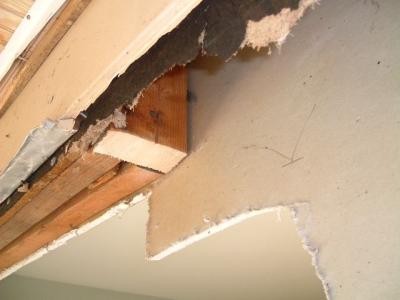 The old header |
 New outlet |
 Getting the fit |
 Upper right |
 Upper left |
 Bottom left |
 Bottom right |
 Wow, look at that!! |
 Hoist! |
 Its a door! |
 Layout out the ramp |
 Still laying out the ramp |
 How the rampy part is connected |
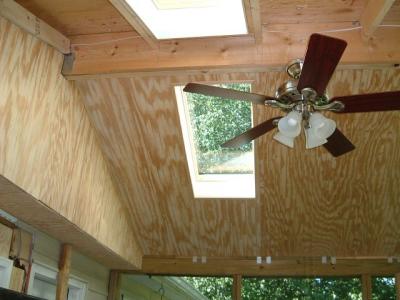 Finishing touches to the ceiling |
 Ramp framing |
 Moulding on the ceiling |
 Building the ramp |
 Ramp support |
 Other ramp support |
 Looking good! |
 Putting on fascia |
 Carolina wren nest in the basket and soffit |
 Siding around sliding glass door |
 Cement walkway from ramp to carport |
 smoothing out cement |
 Nice! |
 Sealing the one side of the porch against the siding |
 The last day leaving --- Byeeeeee! |
 Isn't that cute??? |
 Inside looking to door |
 Looking back where I was just standing |
 See where I hung the metal deer head? |
 My new fave place to read! |
 All done -- isn't it beautiful!?!?!?! |
| previous page | pages 1 2 3 4 5 6 7 8 9 10 11 12 13 14 15 16 17 18 19 ALL | next page |
| comment | share |
| Guest | 28-Sep-2004 18:45 | |