


|
|
|
|
|
|
| roxanneboscobel | profile | all galleries >> Galleries >> carolina_room | tree view | thumbnails | slideshow |
| previous page | pages 1 2 3 4 5 6 7 8 9 10 11 12 13 14 15 16 17 ALL | next page |
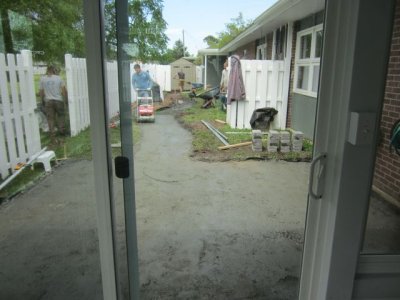
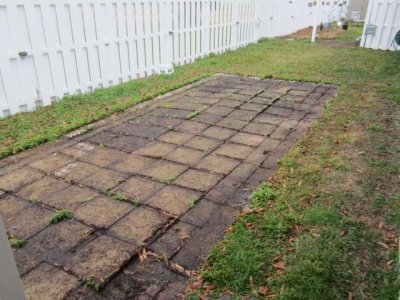 Where we used to have pavers for a make-shift patio |
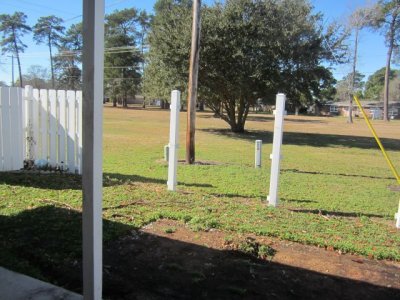 Fence is removed |
 Ready for the workers |
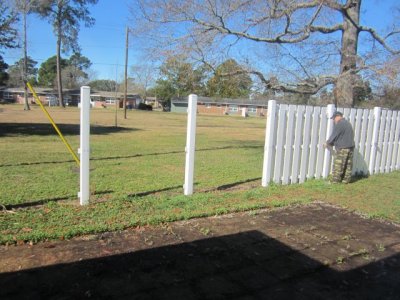
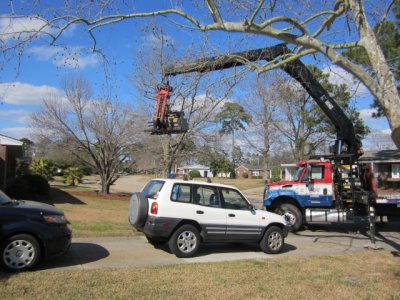
 And here they go! |
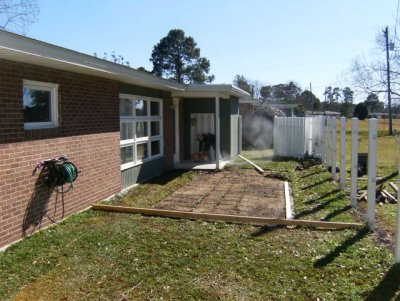
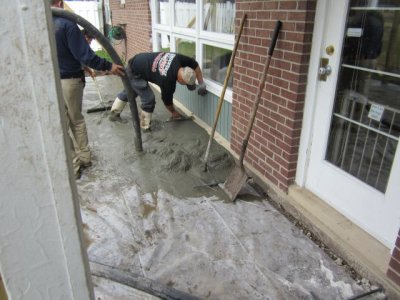
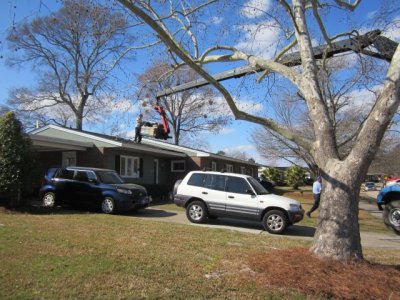
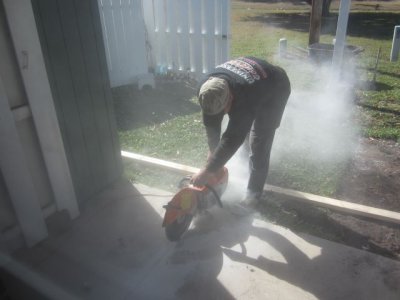 Cutting through the concrete of the back porch |
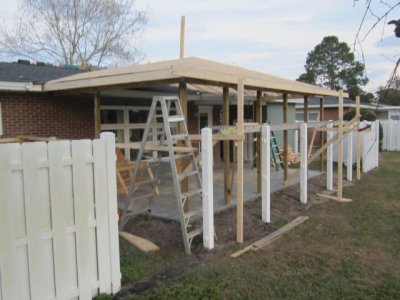
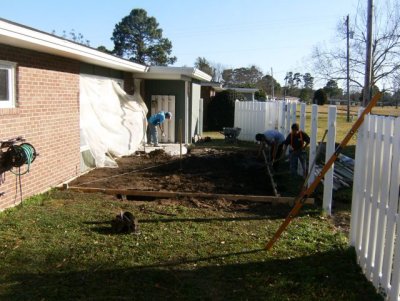 Working to remove the concrete and laying out the room size |
 Digging for the footers |
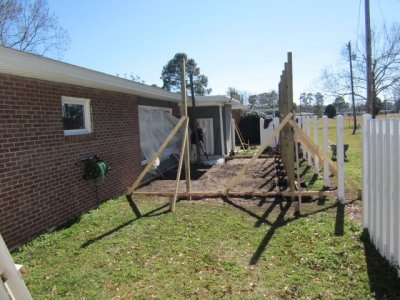 Putting up the 4x4s |
 From the back |
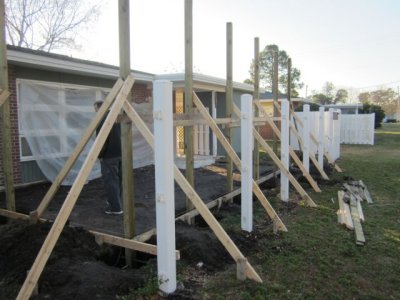
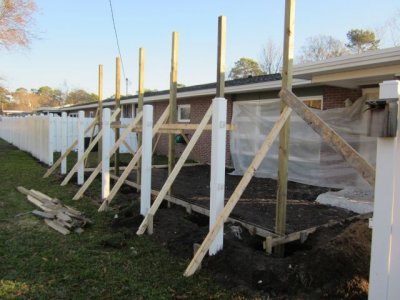 With the 4x4s waiting for concrete |
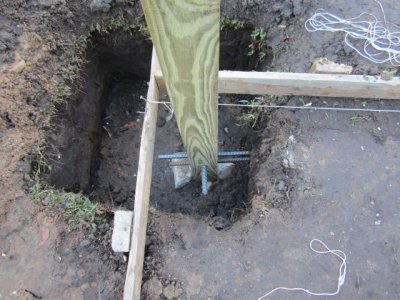 Footer |
 Footer |
 Footer |
 Chipping away |
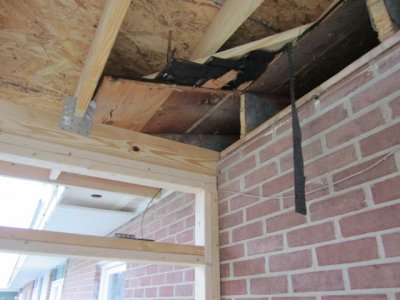
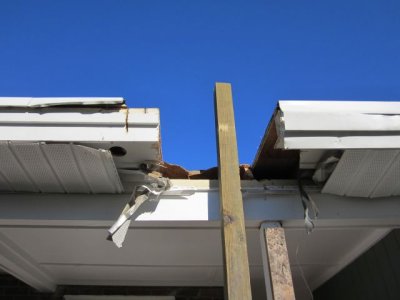 Cutting into the carport roof for the 4x4 |
 Smoothed out |
 From the side |
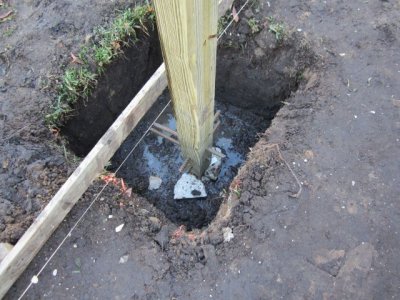
 The 4x4 footer by the porch slab |
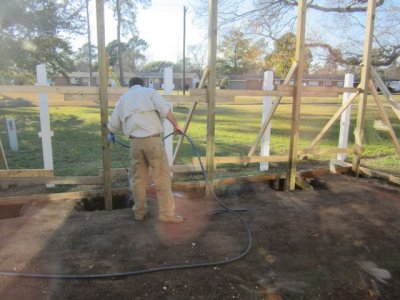 Spraying for termites under the slab and around the footers |
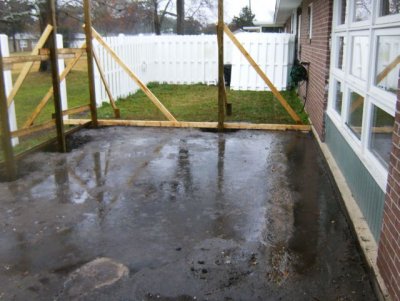
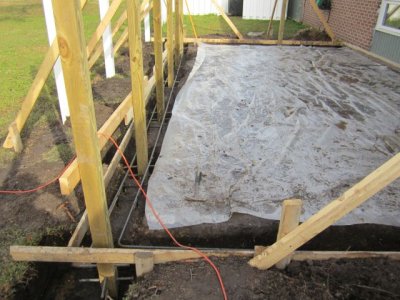
 And it rained the next day |
 Squish |
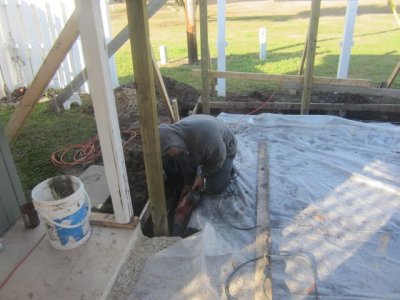
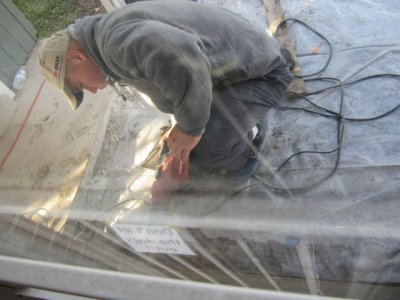
 Digging the full footers in the mud |
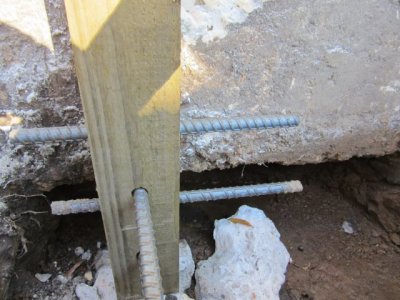
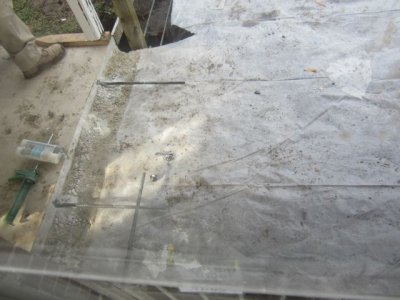
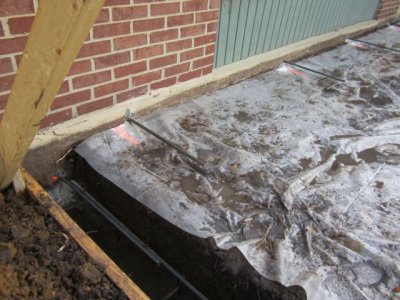
 With the rebar in place in the full footers |
 Corner showing rebar |
 Drilling to put in the connectors |
 Drilling into house slab for connectors |
 Connectors epoxied in place |
 Rebar and connectors |
 Connectors and one down in the footer |
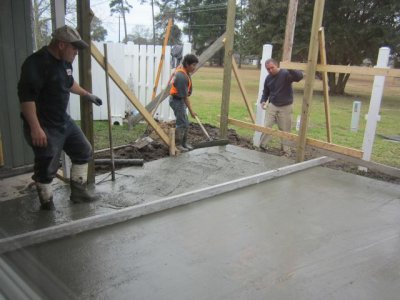
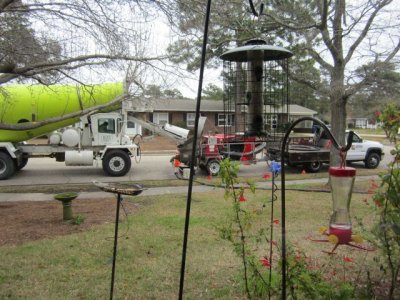 Cement truck and pumper out front |
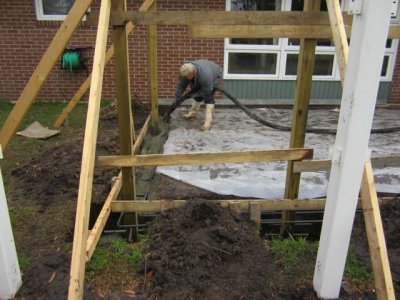 Pumping cement into the first footers |
 Pumping into footers |
 It was more solid than I would have thought |
 Moving dirt up over footers |
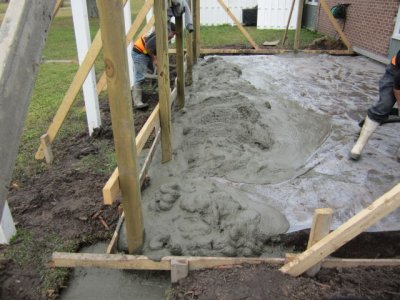
 Poured footers |
 Squish |
 Sploosh |
 Up against the house with minimal splatters |
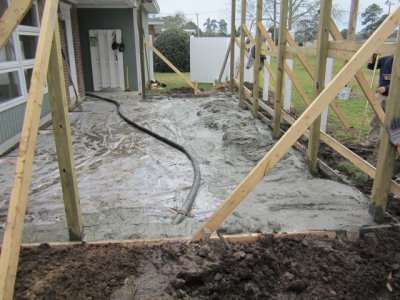
 Starting to level it off |
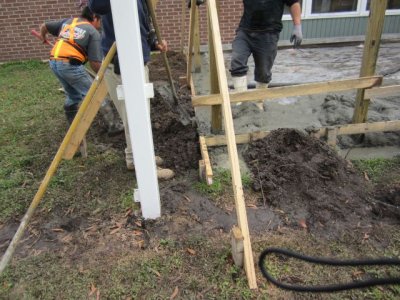
 Dirt over footers |
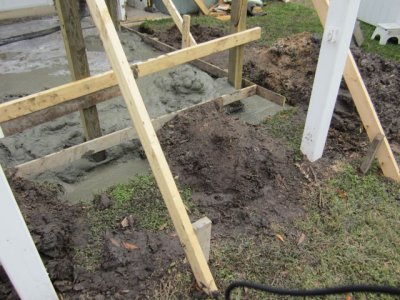
 Leveling off |
 After 10 days of rain, they got started |
 And quickly put up the main beams |
 And started on the joists |
 Where it joins into the house |
 Joists |
 Joists |
 Joists |
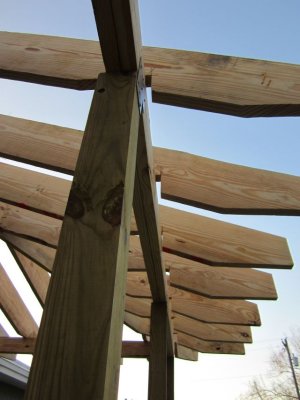 Joists on beams |
 Joists on beams |
 Working working |
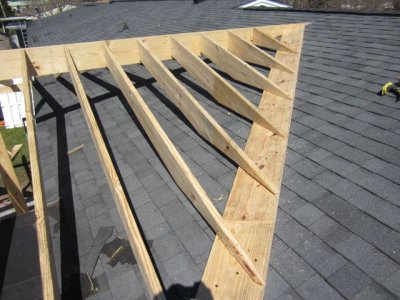
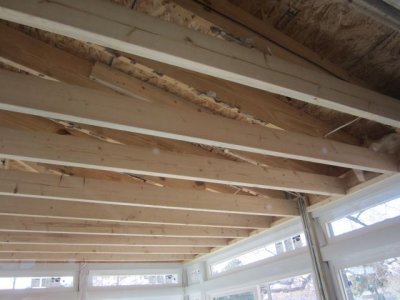
 You can see the shape! |
 Filling in |
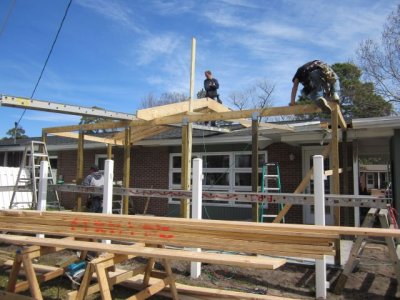
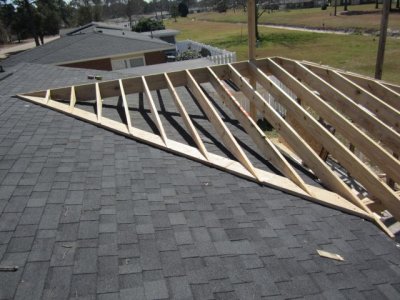 Don climbed on the roof to take these |
 Board nailed to roof; joists nailed to board |
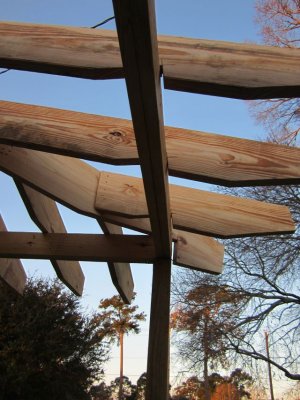
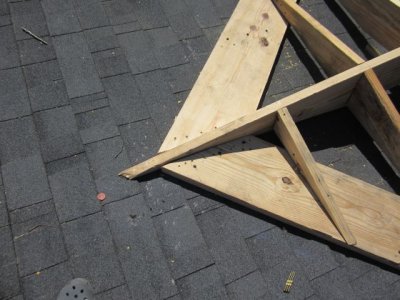 The peak |
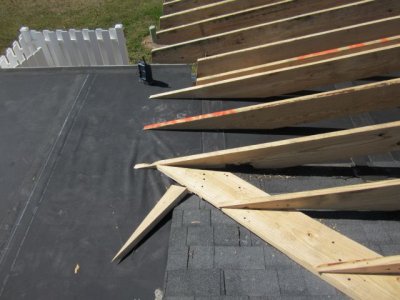 Where it will join into the flat roof of the carport |
 Looking back |
 Delivering the roofing materials |
 directly to the roof! |
 Some plywood is down |
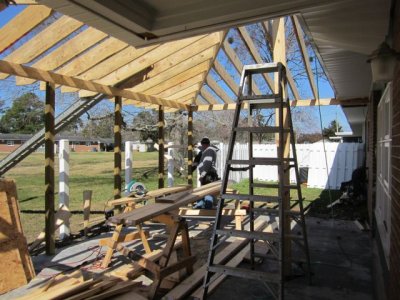
 From the inside |
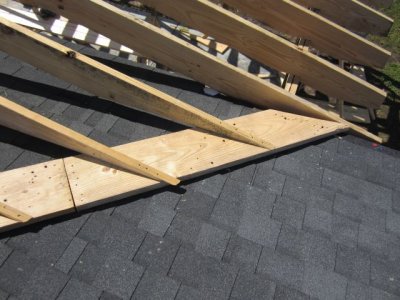
 Where the gable, hip, and flat roofs meet |
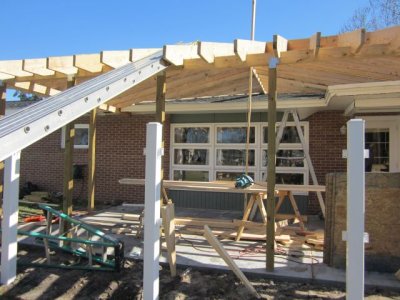
 How it looks |
 Plywooded |
 Fitting the three roofs togethr |
 That extra wood is there for what? At the joint of the plywood? |
 Ummmm |
 Errrr |
 How it looks |
 Shingles are starting! |
 Juncture |
 How it looks |
 Up in the top |
 Cut off and header to support the flat roof |
 I guess you get to the point where you just whack away at it |
 Supporting the roof |
 Well, once they cover it up you'll never know its there.........heh heh |
 Space for the dog door! |
 How it looks with the rough in for the windows |
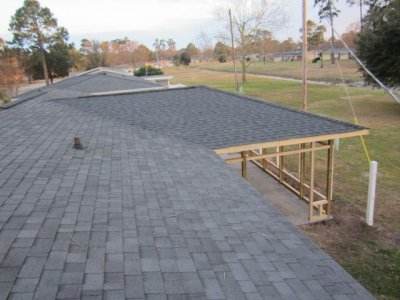 Roof is done! |
 Juncture |
 Juncture |
 Juncture close up! |
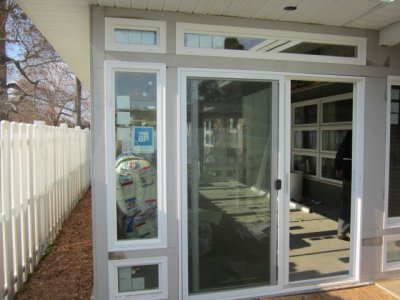
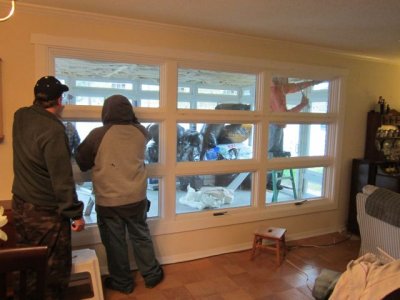
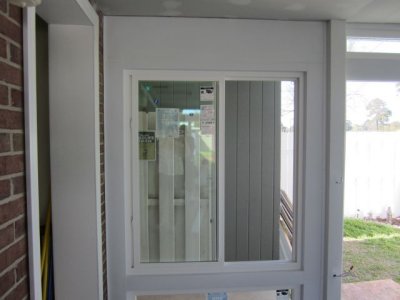
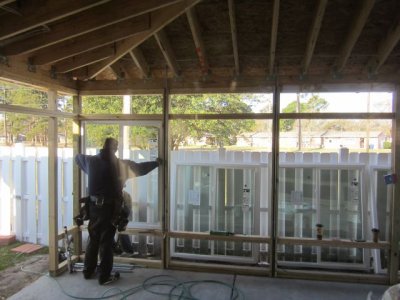 The first window goes in! |
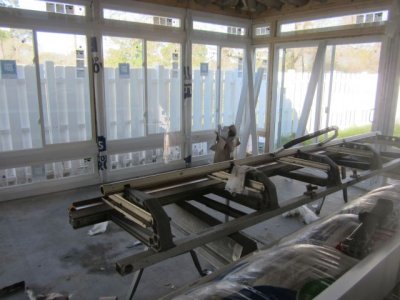
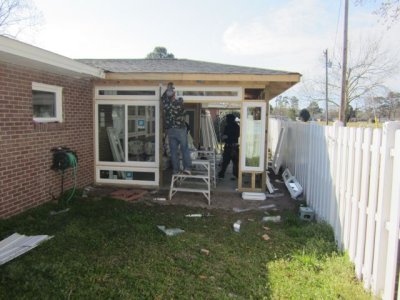 They went in fairly quickly; the glass doors went in the next day |
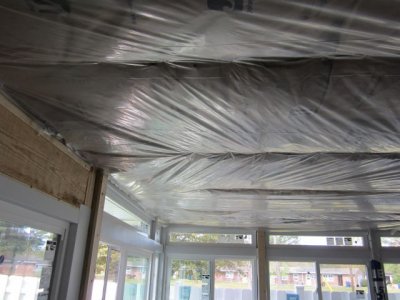
 All the inside surfaces are covered in carefully cut aluminum |
 Covering |
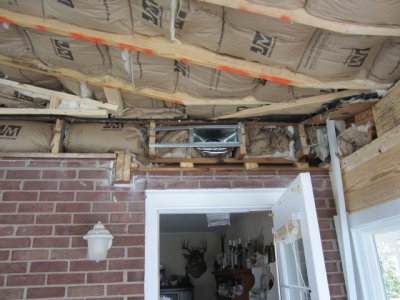
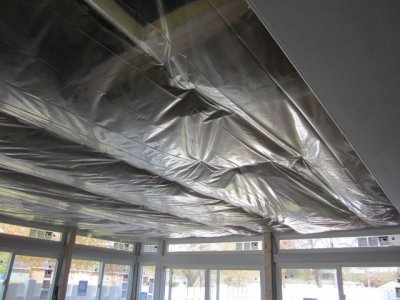
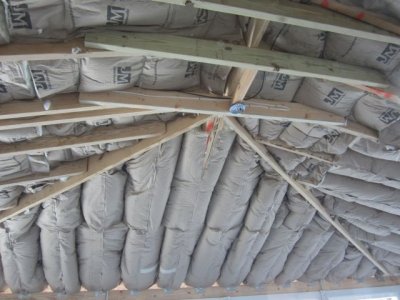 I asked the builder, so how is this supposed to work with the insulation against the roof material? |
 When the inspector came later that day, he just said Oh no, that's all wrong, so they'll redo the insulation |
 Putting up the soffits and outside sheathing |
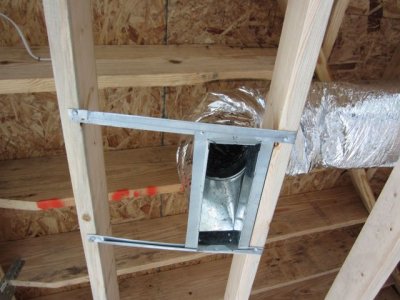
 Making a hole for the HVAC return |
 Just a closeup of the insulation gaps |
 The HVAC guy |
 Putting up the soffits |
 Corner soffit |
 Putting up outside soffits |
 HVAC run to front of room |
 HVAC return pulled in center of front of room |
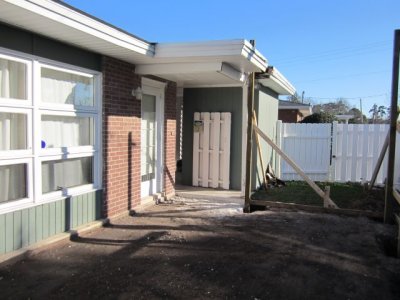
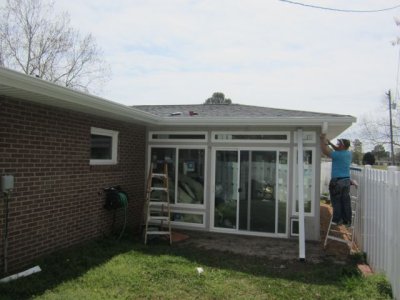
 Kind of looking finished outside |
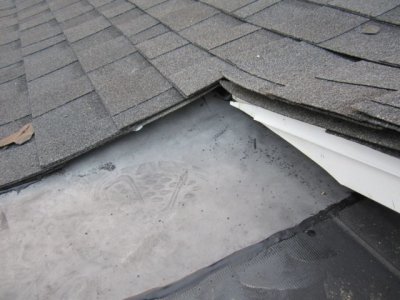
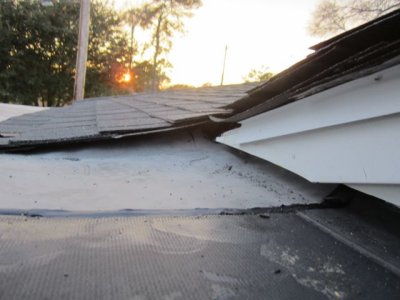
 Interesting use of flashing..... |
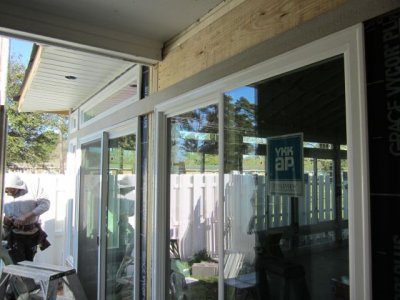
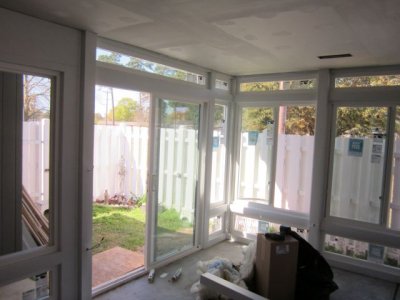
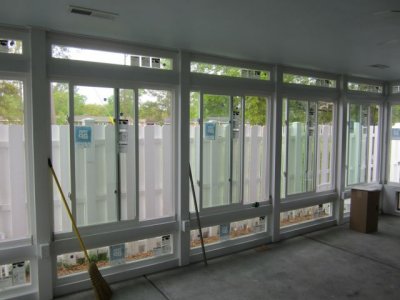
 Looking finished -- needs caulking and paint |
 Don looking at the dog door that needs a lot of adjustment... |
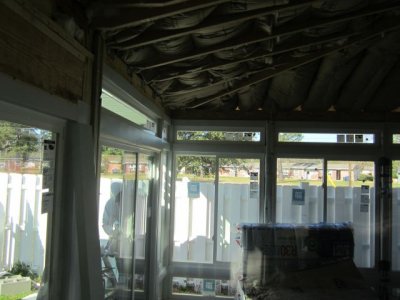
 The guys came and tore down the insulation from the roof |
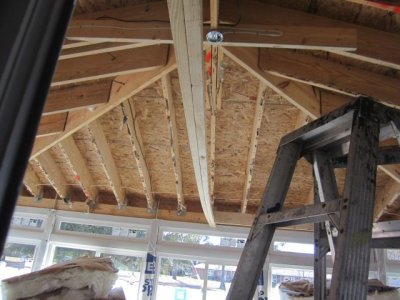
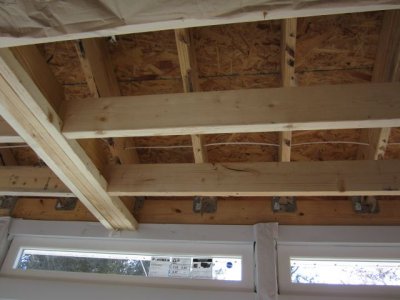
 Putting up the beam for the flat ceiling which seems to be the best solution |
 Where the beam attaches on the house side |
 I said, is it supposed to curve like that? The guy said, we're fixing it now. It was straightend out. |
 Access panel framing |
 Sitting on a cleat |
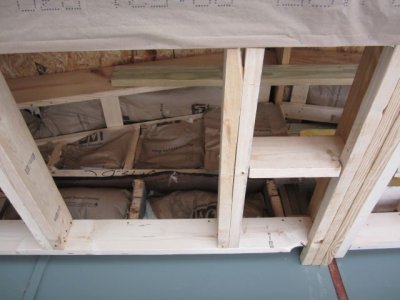 Access panel framing from the other direction |
 Sitting on a cleat against the center beam |
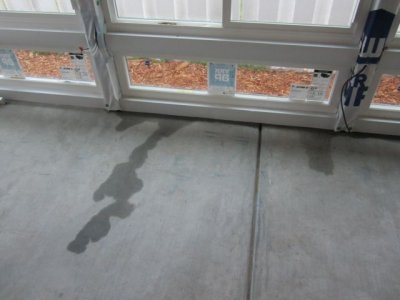 Not yet sealed so last night's heavy rain came in under all the windows |
 And heavily under some of the windows |
 HVAC extended out to near the far windows |
 Showing HVAC position |
 The fastest gutter job I've ever witnessed |
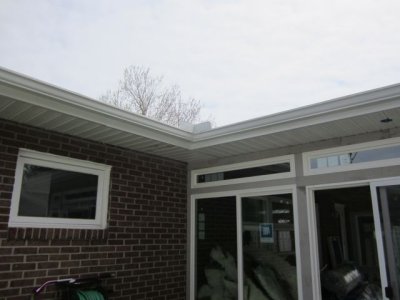 Splash guard at the junction |
 Done! |
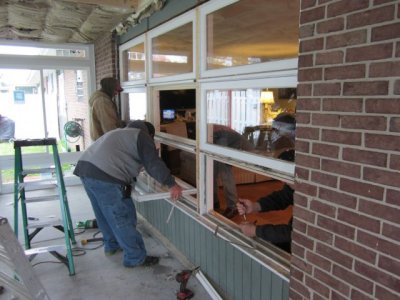
 "We're coming in to remove the windows, um, right now" |
 Unscrewing and removing each of the panes |
 Some came out easily, others were very painted in |
 Pulling the mechanics out |
 After all the windows are out, cut a few things outside the frame and pull a little bit........ |
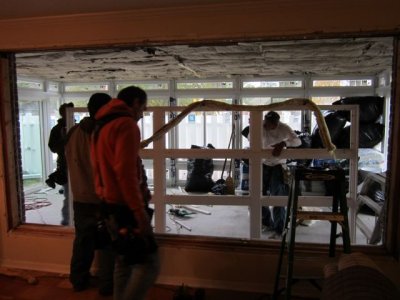 And the question about the header over the window is solved! The answer is yes! |
 Wooden siding, gap, inside wall |
 Corner construction |
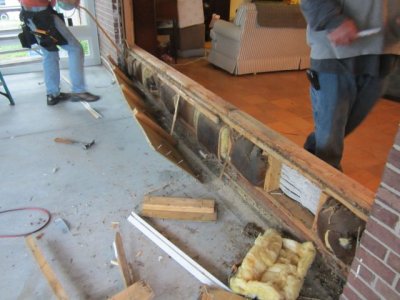 What's in the wooden walls around the windows |
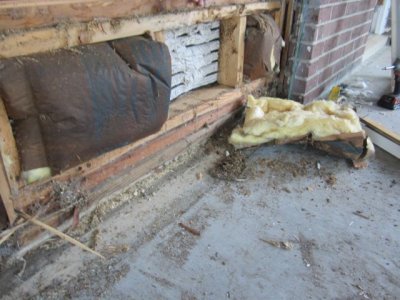 Insulation and the back of 60 year old plaster and metal lath |
 This tumbled out of the wall; it had long feathery things in addition to legs; we put it outside (~2.5" long) |
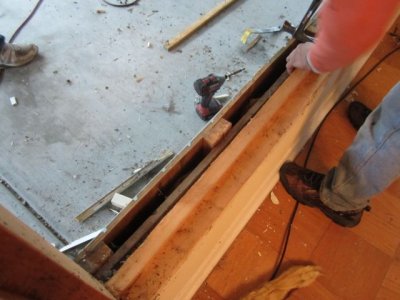
 Hmmmm we'll have the floor guys build a step |
 Sill of the door |
 How the door was framed |
 And since they're doing dusty work..... |
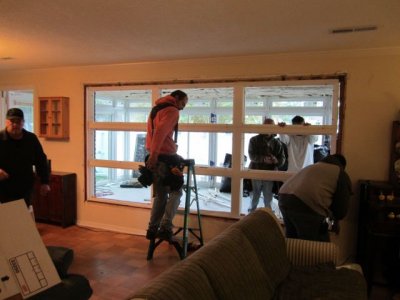
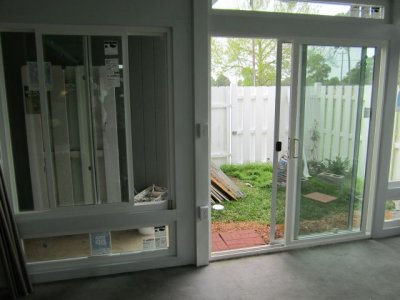
 All open! |
 Now one big room |
 Vapor barrier |
 Putting up vapor barrier |
 Drywall going up |
 More drywall |
 Intake for AC and access panel |
 done! |
 Drywall ceiling done, showing finish to aluminum around windows too |
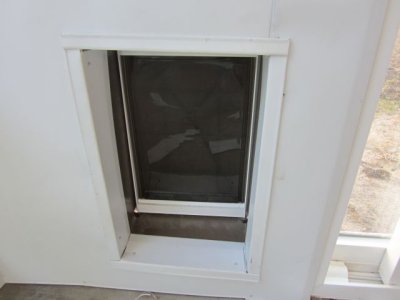 Smoothed out dog door access |
 Aluminum covering header over window |
 Love that ceiling color! |
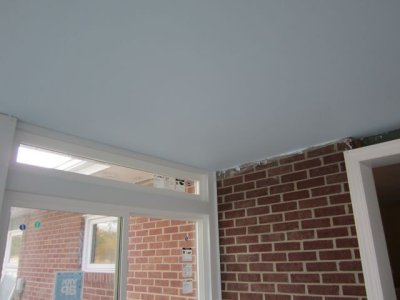 Light light blue |
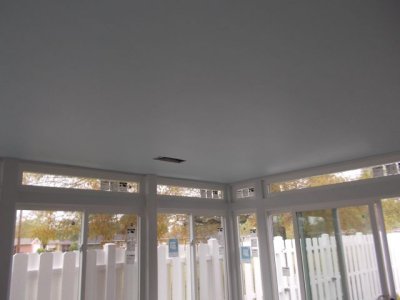 All painted |
 And you can see the finish around the windows |
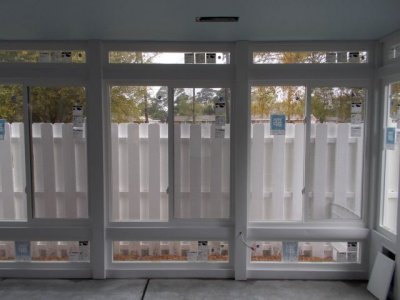
 Except we still have rain coming in under the window..... |
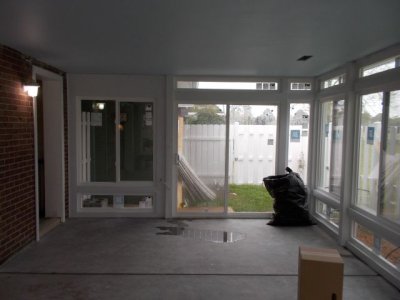
 Electrician finally came! We have light! |
 And switches and outlets! |
 And molding along the ceiling |
 And molding above the opening |
 And they begin the patio and walkway! |
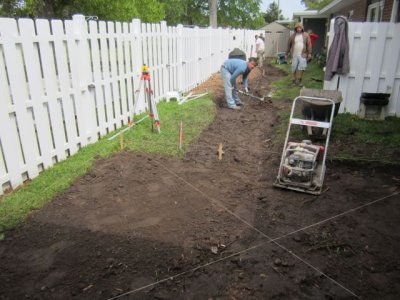 They had to dig out roots with saws and chainsaws! |
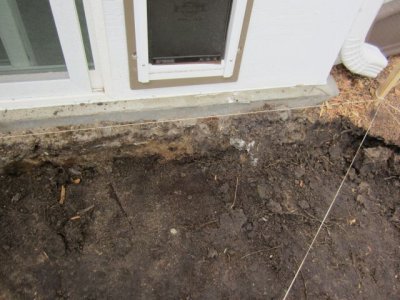 Next to the Carolina Room foundation |
 Putting down landscape cloth |
 Then crush and run over top |
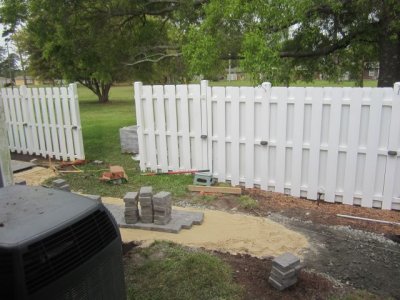
 Down at the other end, cutting out a smaller patio in front of the shed |
 Digging roots! |
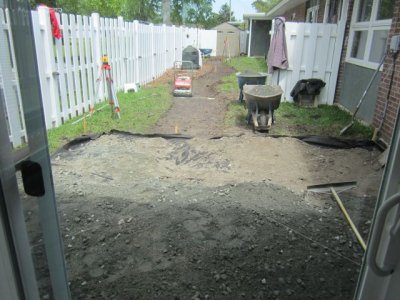 Pushing around the gravel |
 Crush and run on top of landscape fabric |
 The two pipes are for future use; that's the tv cable |
 String for leveling they constantly tripped over |
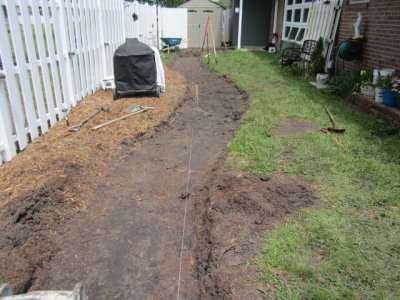
 Crush and run base in place |
 And nicely flattened out |
 Pressing it all down |
 Ready for sand |
 Leveling the sand |
 The placement of the pavers went very quickly |
 Wow! |
 Looking back at Marty |
 The next morning, redoing the path (too wide) |
 Preparing more of the path |
 Sand and laying pavers! |
 There goes the path! |
 The barbeque in the flower bed for now... |
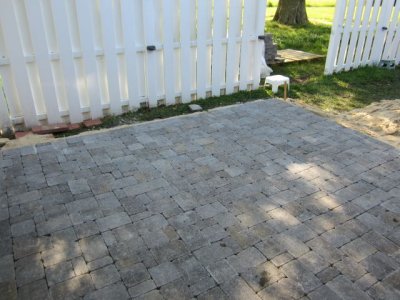
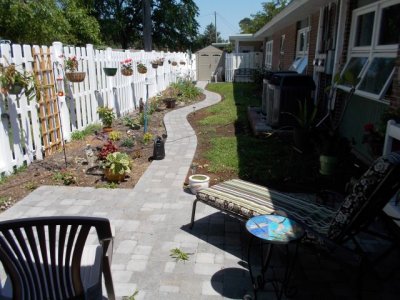
 Looking great! |
 Now you can see the full effect |
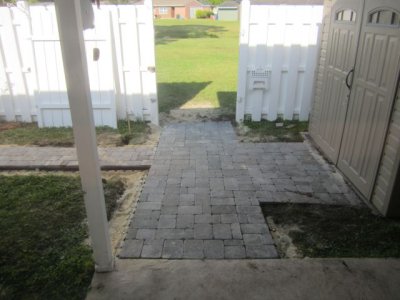
 the path's end |
 The smaller patio |
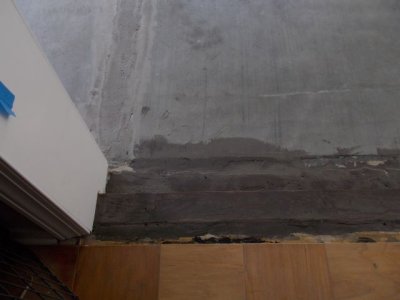
 Flattening out the concrete for tiling |
 Setting up the angle for the step |
 Smoothed out, with thinset and adhesive placed to hold down membrane |
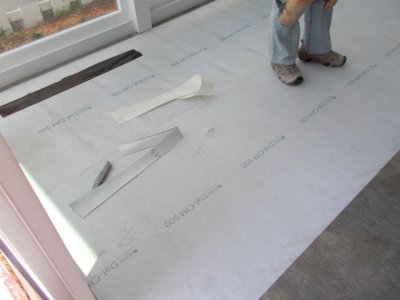 Membrane to keep tiles from cracking |
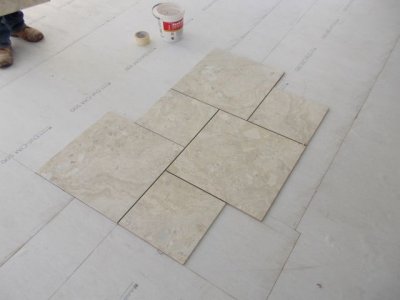 Here's the pattern |
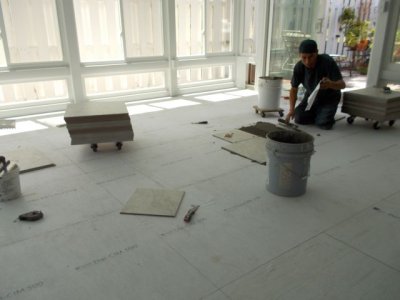 Starting! |
 Grouting! |
 Excellent job building the step |
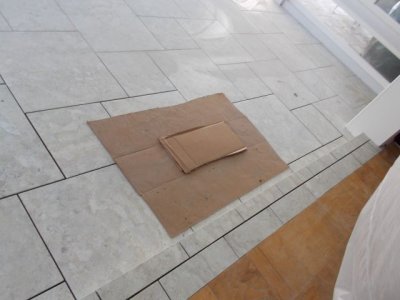
 With the grout in place |
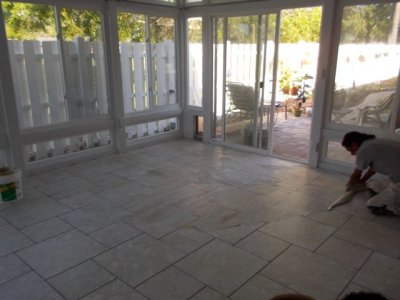
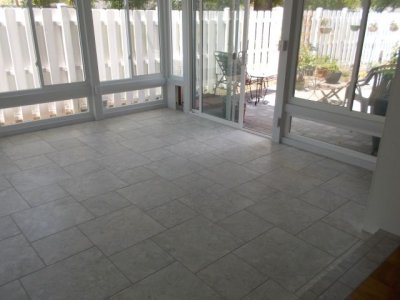
 It looks amazing! |
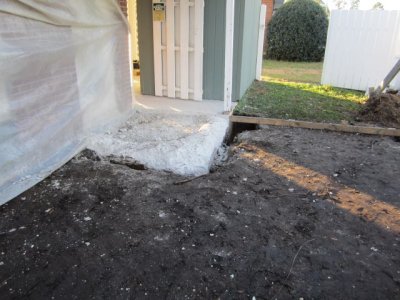
 The only thing left is to take down the fence immediately behind the room, maybe later this week.... |
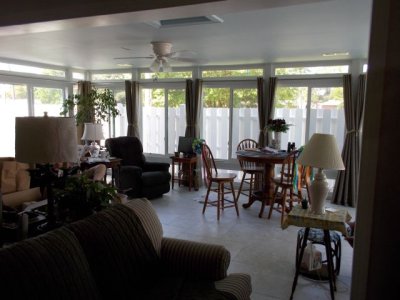
 We have room for the chess table now |
 And a snug corner to read in |
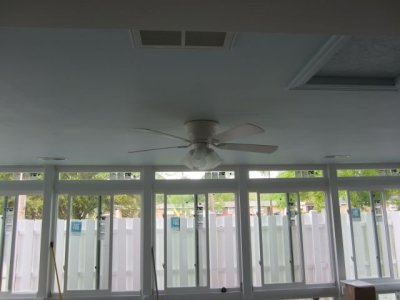
 View from the Carolina Room out to the backyard |
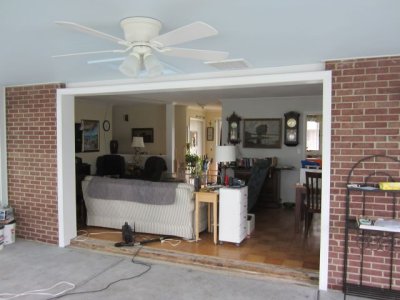
 From the far end back to the house |
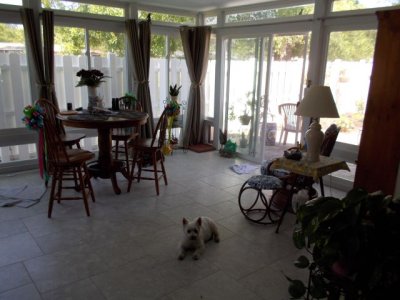 Showing potentially the most important thing -- the dog door.......and Buffy loving the tile floor |
| previous page | pages 1 2 3 4 5 6 7 8 9 10 11 12 13 14 15 16 17 ALL | next page |
| comment | share |