


|
|
|
|
|
|
| Ron Fredrick | profile | all galleries >> Birds of Prey >> Red-tailed Hawks >> Red-tailed Hawk Fight | tree view | thumbnails | slideshow |
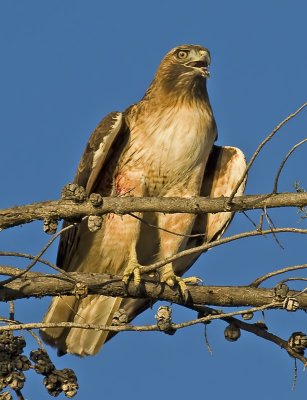
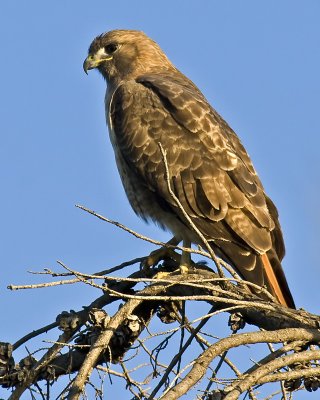 Third hawk, overlooking the two fighting in the field below |
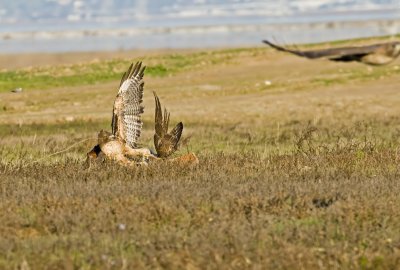
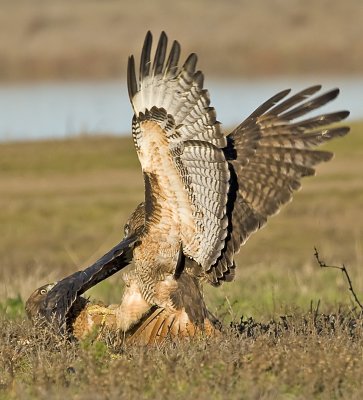
 My first photo of the combatants. Note third hawk in upper left of image. |
 |
 |
 |
 |
 |
 |
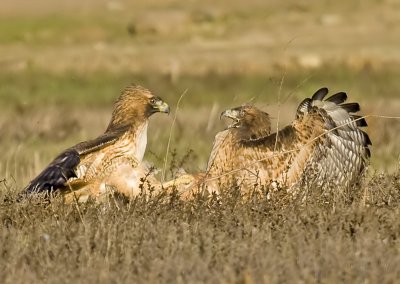
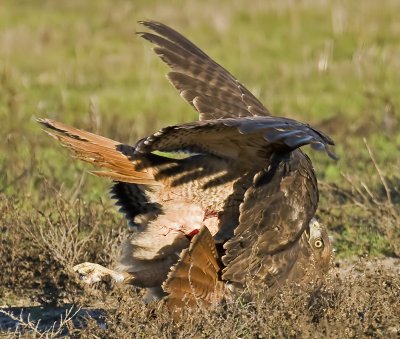
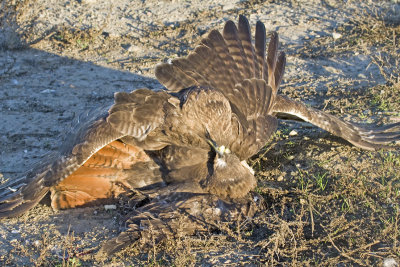
 You can see the talons of both birds in this image |
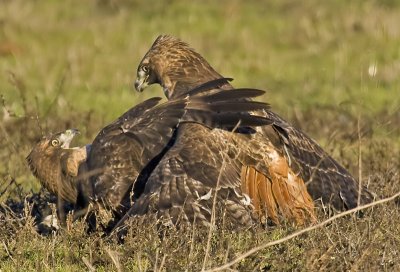
 Note the blood on the side of the hawk on top |
 The hawk on the right is NOT on it's back. It's right wing is bent backwards. |
 |
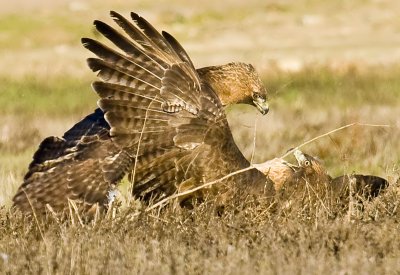
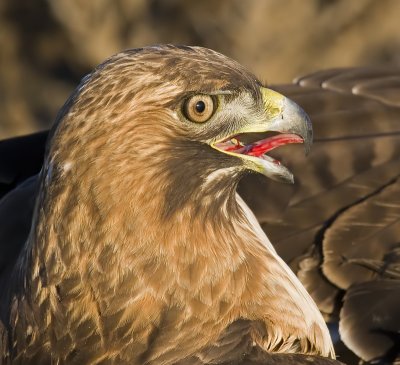 Close-up of the dominant hawk |
 |
 |
 |
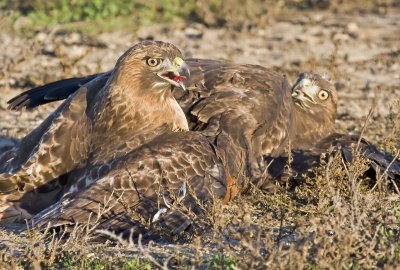
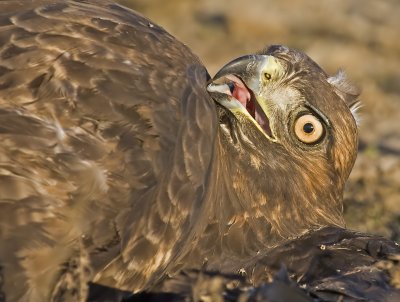
 Hawk at lower left is the "third" one (shown in first image), at upper right was on bottom during fight |
| comment | share |
| militaire | 25-Sep-2015 13:08 | |
| Catholique | 02-Sep-2015 09:10 | |
| cheveux gras | 19-May-2015 06:33 | |
| Guest | 16-Jan-2014 04:53 | |
| Karen Moen | 15-May-2010 06:21 | |
| sHARI h | 07-Apr-2010 02:33 | |
| Rich Adney | 28-Mar-2010 15:21 | |
| Julio Mulero | 19-Nov-2009 04:26 | |
| vnelson | 29-Sep-2009 18:22 | |
| Bob Pelkey | 05-Apr-2009 00:07 | |
| osprey | 08-Mar-2009 22:30 | |
| Nancy Martin | 01-Mar-2009 19:16 | |
| Valerie Phipps | 24-Jan-2009 19:27 | |
| Dennis Ancinec | 18-Jan-2009 16:24 | |
| Dana Clark | 17-Jan-2009 22:40 | |
| John Douglas | 17-Jan-2009 20:28 | |
| Mary Keitelman | 16-Jan-2009 06:22 | |
| Garrett Lau | 16-Jan-2009 06:00 | |