


|
|
|
|
|
|
| Tim C | profile | all galleries >> Galleries >> valve_ajustment | tree view | thumbnails | slideshow |
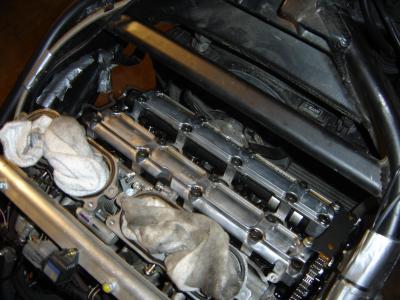
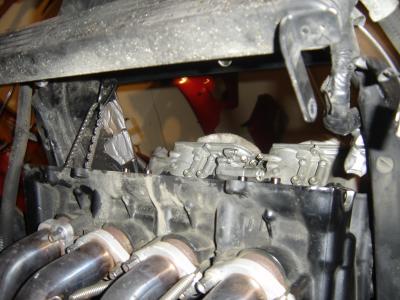
 Valve cover removed |
 DSC02034.JPG |
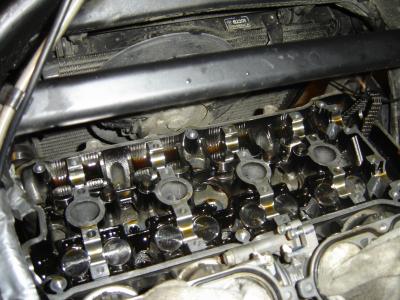
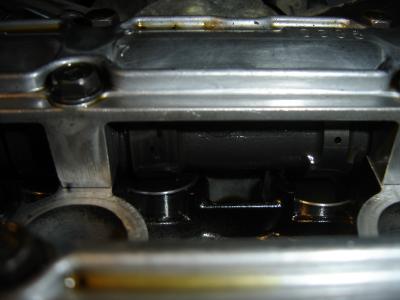 Cam and buckets, closeup |
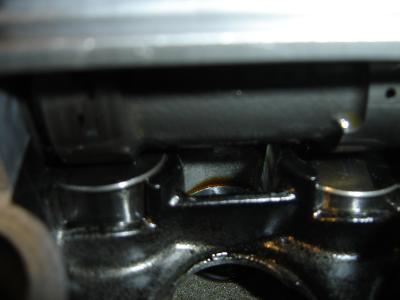 Another closeup |
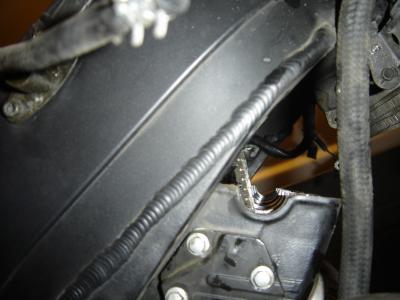
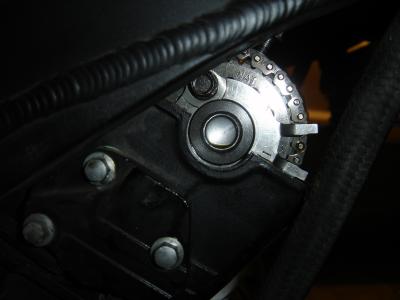
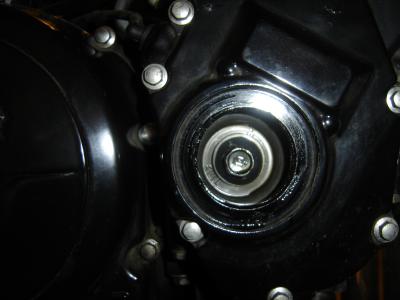 Timing hole cover removed, lined up for exhaust valve check |
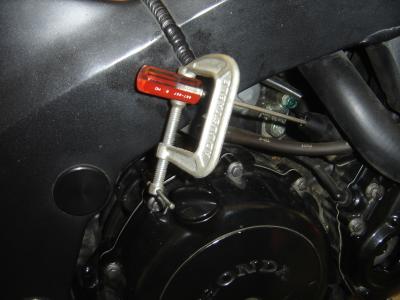 Low-tech CCT holder |
 Cams removed |
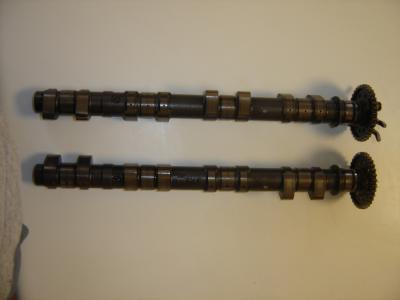 Camshafts, out of bike |
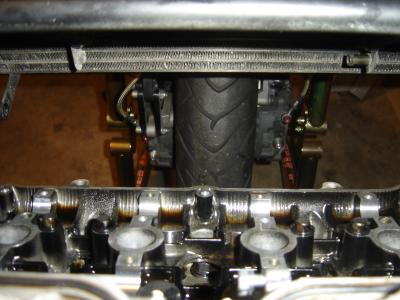 Radiator removed |
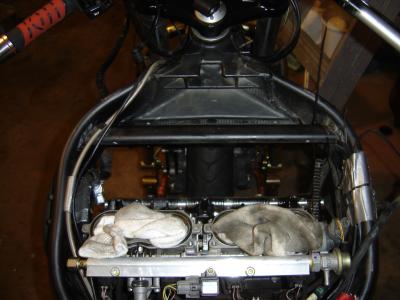
 Another shot sans radiator. Makes for a lot more room to work. |
 DSC02049.JPG |
 Side shot |
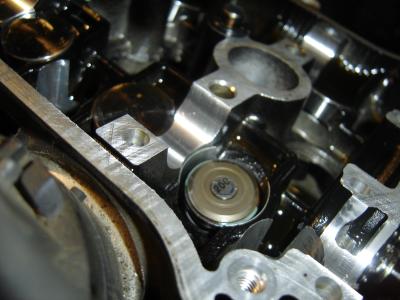 Bucket removed, shim still in place |
 Bucket and shim removed |
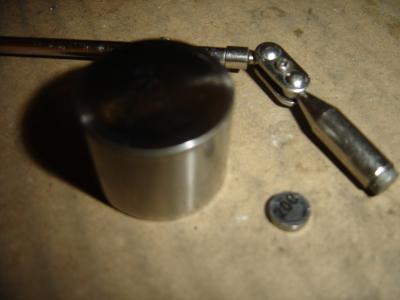
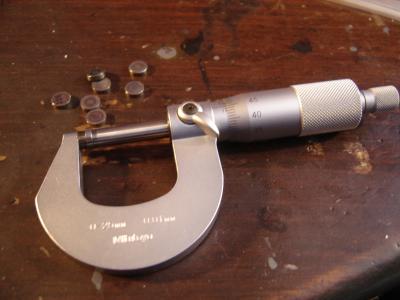 Micrometer- you'll be needing one of these. |
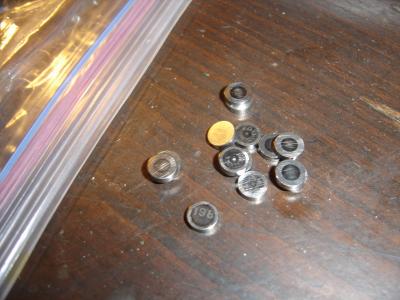 Shims (thanks, J) |
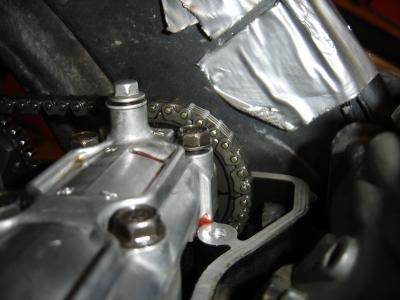 Intake sprocket, marked on inside |
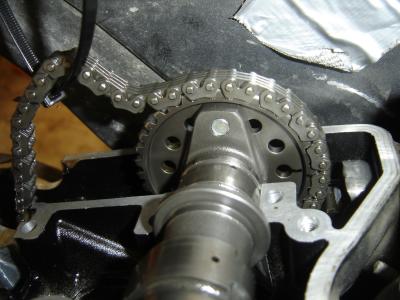 cam sprocket marked |
 exhaust sprocket, post ajustment. |
 Assembly lube is your friend. |
| comment | share |