


|
|
|
|
|
|
| John Frantz | profile | all galleries >> Dave T. Layout Construction Galleries >> Work Session Photos from 12-10-2009 | tree view | thumbnails | slideshow |
| previous page | pages 1 2 ALL | next page |
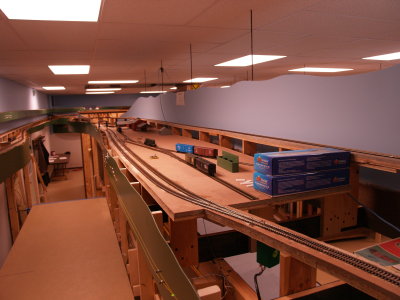
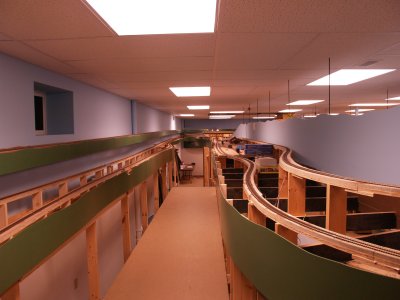
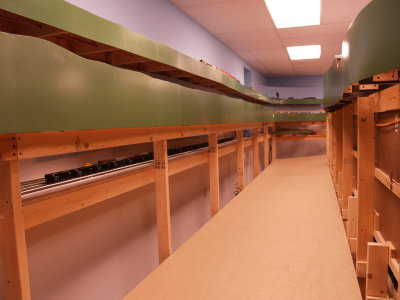
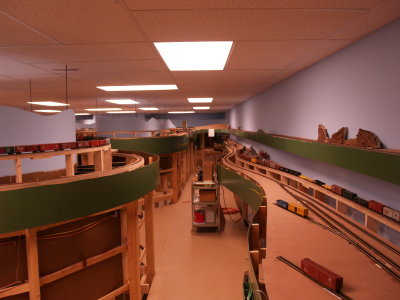
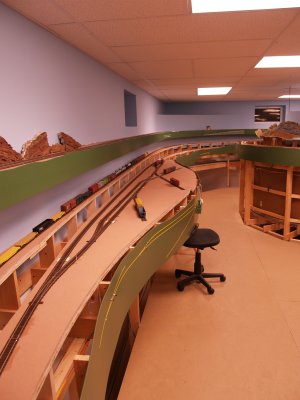
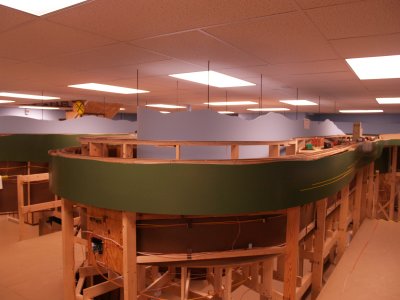
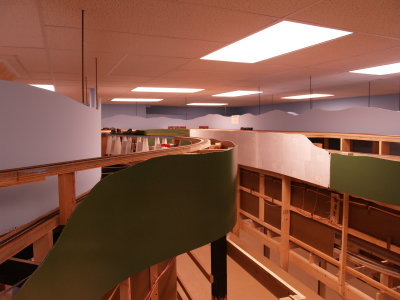
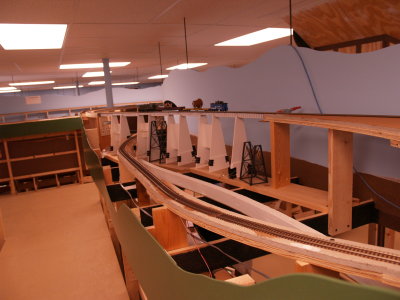
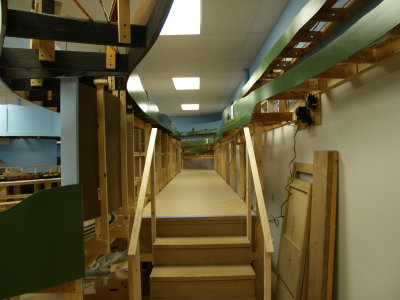 View upon entering the basement looking down the platform to access the upper levels. |
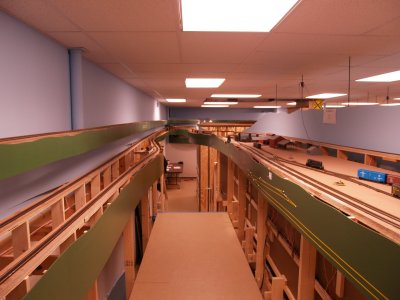
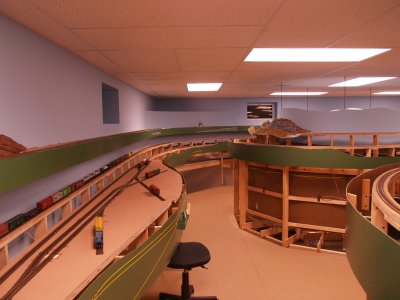
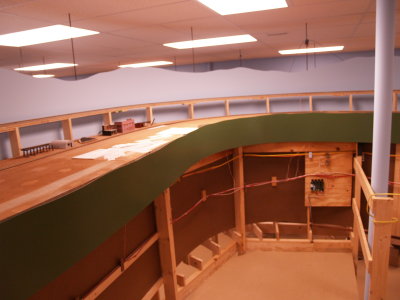
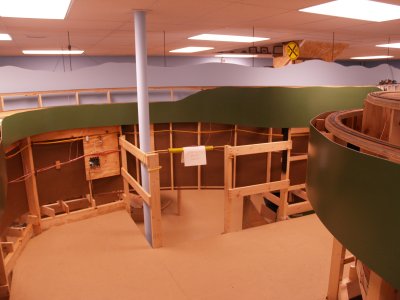
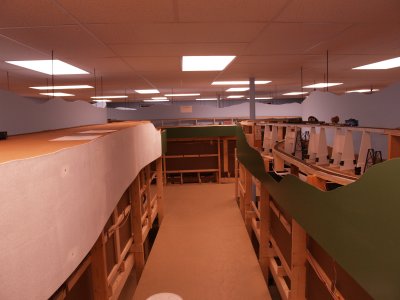
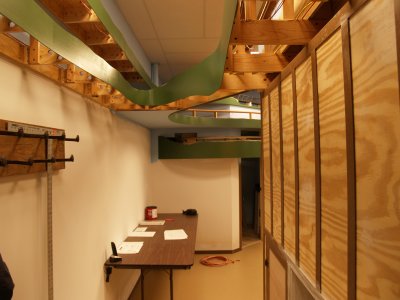 Opposite view from above, looking towards bathroom. |
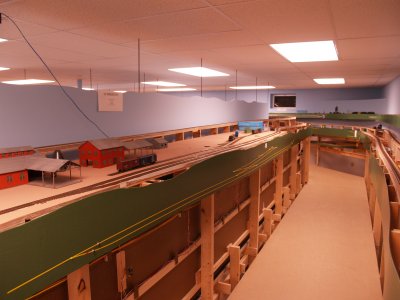
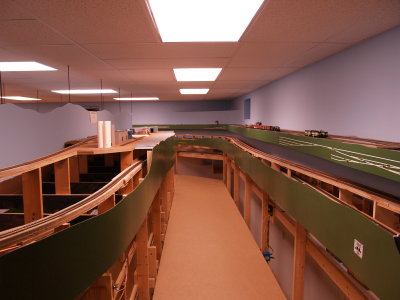
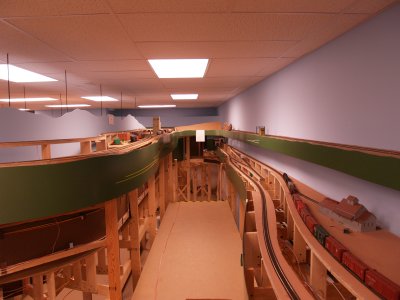
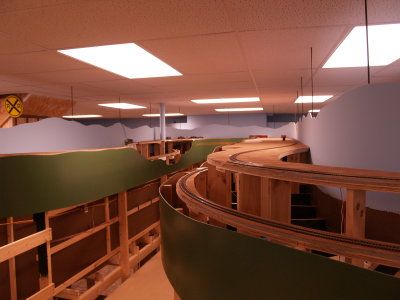
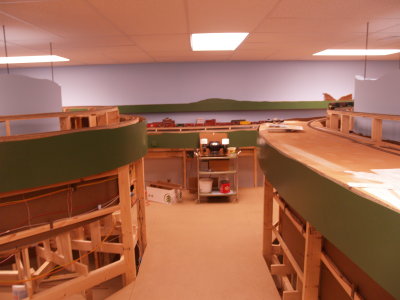
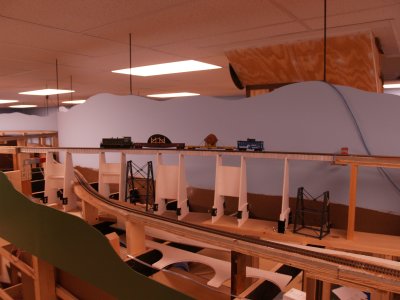
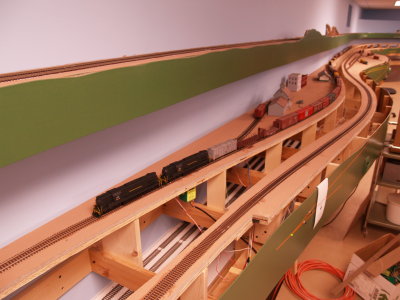
 View from end of shot leg of the platform, looking towards the far shot wall of the basement. Lumberton on the left. |
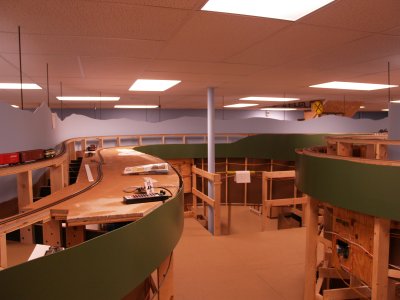
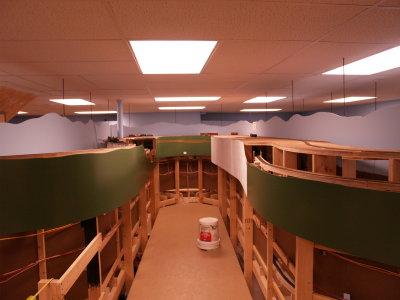
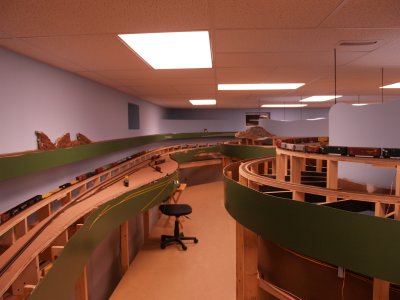
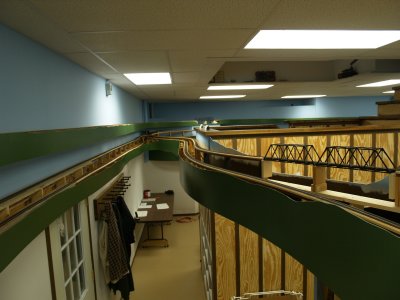 Opposite view from above showing tracks headed towards the bathroom. |
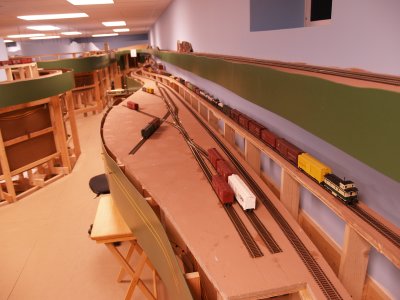
 View of the nearly completed track layout at Lumberton. |
 View looking the opposite direction of the nealry completed track at Lumberton. |
 View down platform towards basement entrance. |
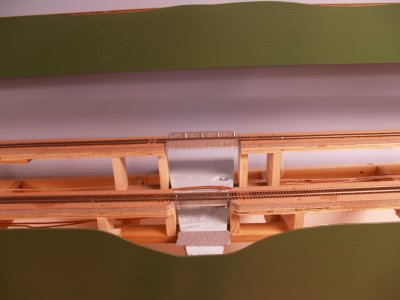 Two bridges cross a small stream on the Middle Level. |
 An industry at Crag on the Middle Level. |
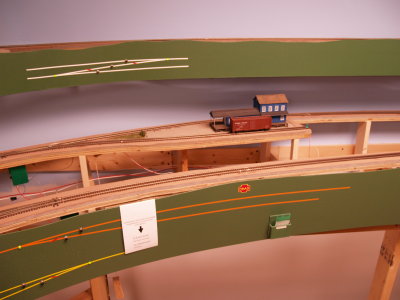
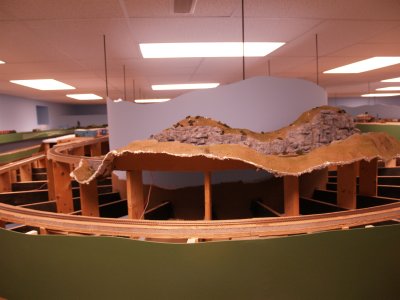
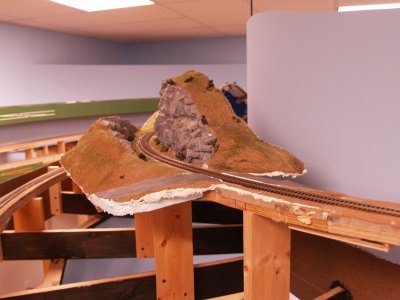
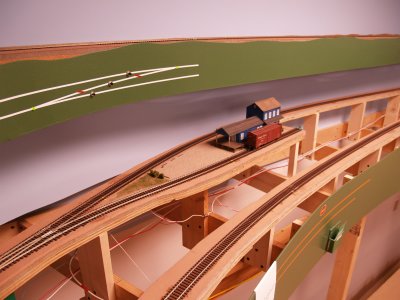 Another view, showing one of only two sceniced portions of the layout currently. |
 View from the one corner of the platform looking back towards the basement entrance. |
 A view 90 degrees from the prvioues viw, looking down the far short wall of the basement. Fishers (R) and Benderville (L). |
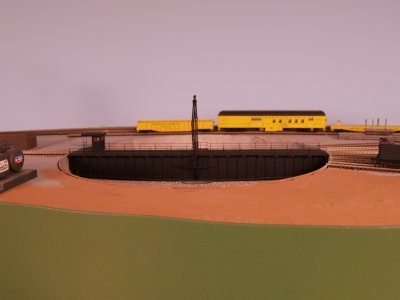 The turntable at Fishers. |
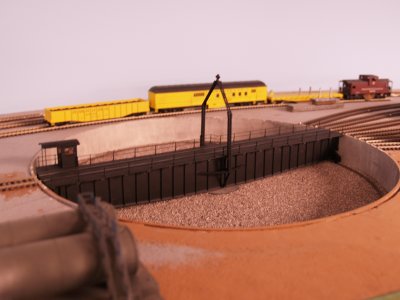 Another view of the custom built turntable. |
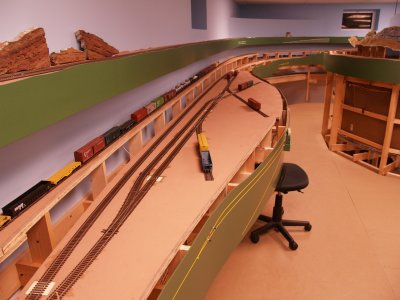
 Overall view showing Fishers on the upper level and the two passsing sidings on the middle level. |
 The return loop for the 4-track storage yard, hidden beneath the middle level. |
 View from the other corner of the upper platform. |
 90 degree view from the previous shot, looking down the long leg of the upper platform. |
 The passing sidings on the middle level. |
 A view of the 4-track storage yard beneath the Middle Level. |
 The Rock Cut on the end of the first interior peninsula on the upper level. |
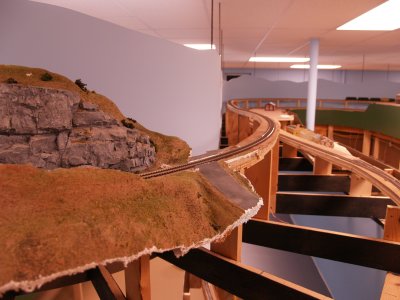 Exiting the rock cut to head towards Dakota Flats. |
 The completed industrial trackage at Poser on the middle level. |
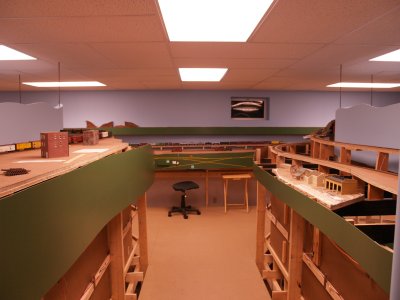
 Looking down the main aisle of the upper platform from the entrance to the first interior peninsula. |
 The other side of the Rock Cut, including a grade crossing. |
 View from the end of the first interior peninsula back towards the main aisle. |
 View of the Poser tracks fromt he other end. |
 An overall showing the entrance to the Poser trakcs. |
 Looking back towards the one corner of the upper evel main aisle. |
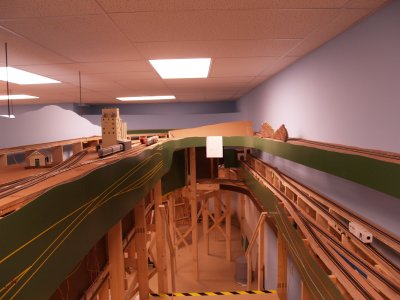
 View fromt he entrance to the second and third interior peninsula looking towards the end of the long aisle. |
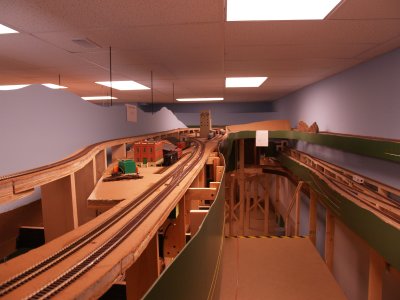
 The second interior peninsula, Centerville on the Left. |
 The end of the third interior peninsula. |
 The inside end of the second interior peninsula, Centerville on the Left. |
 The third interior peninsula. |
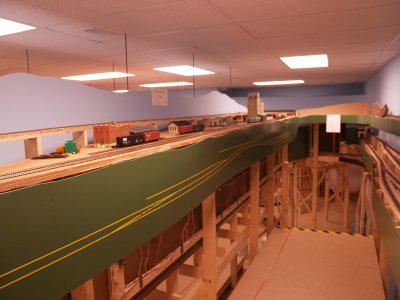
 An overall of the third interior peninsula. |
 Different angle from the prvious picture, taken from the end of the second interior peninsula. |
 The "Emergency Exit" fromt he upper level. |
 View back towards the main upper deck aisle. |
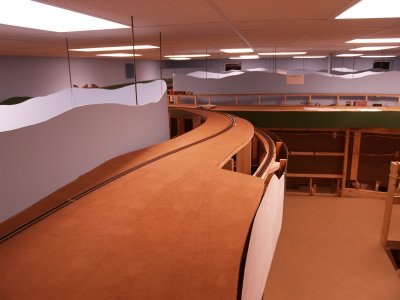
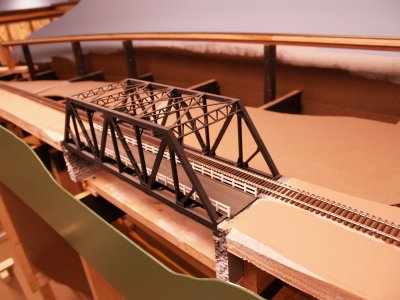
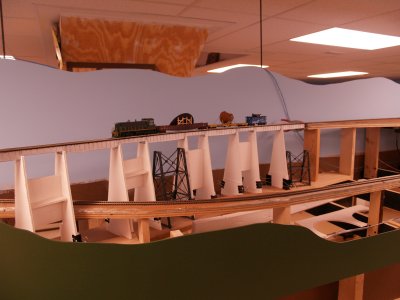 The large bridge near Parchment. |
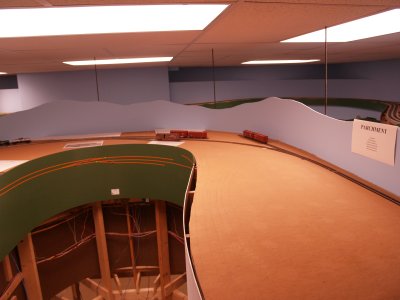 An overall of the area at parchment. |
 Another overall of the area at Parchment. |
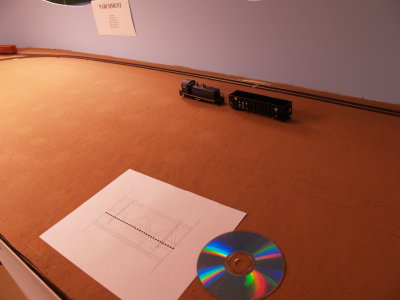 The coal hopper is at the approximate location of the planned rotary dumper. |
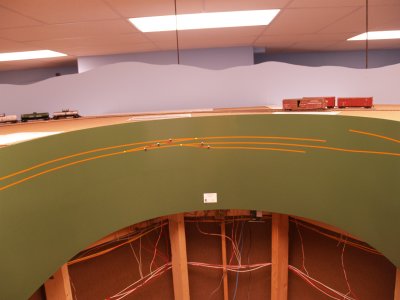 The end of the third interior peninsula, showing a portion of the tracks at parchment already installed. |
 Another view of the large valley near Parchment. |
 View from the end of the third interior peninsula at parchment. |
 A high-wide special train movement heading over the bridge. |
 The approach to Parchement. |
 View looking back towards the corner of the platform along the main aisle. |
 A train passing through Sunshine on the Middle Level. |
 Martinsburg on the left, with the top of the big grade on the lower right. |
 The approach track to Martinsburg. |
 An overall of the nearly completed track at Martinsburg. |
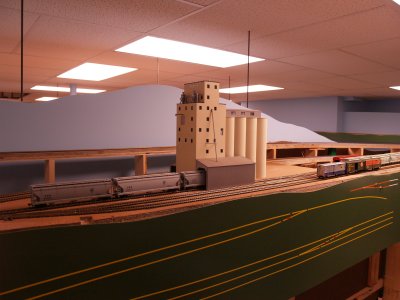 The grain elevator at Martinsburg. |
 View from the top of the steps along the main aisle of the upper deck. |
 View back along the main aisle of the upper deck. |
 The upper deck, Middle deck, and storage yard trakcs along the wall. |
 View of the entrance tracks to the hidden storage yard. |
 The "Big Curve" in the one corner of the basement. |
 View towards the bathroom. |
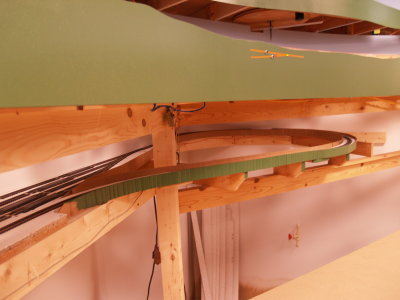
 View of the grade between the Lower and Middle Levels. |
 View of the grade between the Lower and Middle Levels curving around the furnace room. |
 View of the grade between the Lower and Middle Levels. |
 The start of the big grade from the Lower Level. |
 The third interior peninsula on the Lower Level. Anthracite Narrows on both sides. |
 View from the end of the peninsula back toward the main aisle. |
 The bottom of the Big Grade showing the helped pockets. |
 A large, custom built switch by Dave. |
 The typical power setup for the rairload. |
 Another view towards the bathroom. |
 Different angle view of the "Big Curve". |
 The duckunder to access the Middle and Upper Levels |
 The stairs up to the main living area. Crew Lounge on the Right. |
 The custom built TV cabinet with the Big Grade above it. |
 View from the bathroom corner along the far wall near the entrance. |
 Cubby holes on the left, custom built coat rack on the right. |
 View from the crew lounge. |
 One of the bridges on the Middle Level inside the bathroom. |
 The bathroom trackage. |
 Track over the TV. |
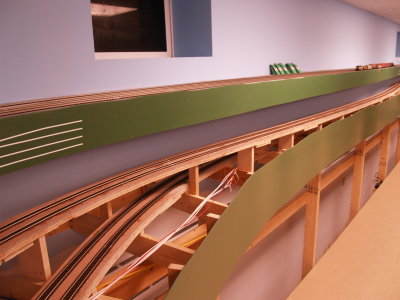
 An overview of the track along that wall. |
 A far view of the "Big Curve". |
 View down the steps towards TV Town. |
 View from landing along the short leg of the upper platform. |
 The custom built coat rack. |
 View from landing along the short leg of the upper platform. |
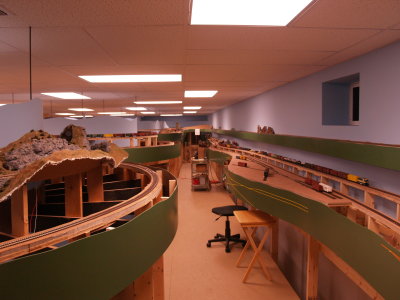
 An overall view of the lower level benchwork. |
 Different angle view of the lower level benchwork from the landing. |
 The Main Aisle on the Lower Level. |
 View back towards the steps. |
 View from the end of the second interior peninsula on the lower level. |
 A kit-bashed Aggregate plant. |
 The lower level main aisle corner. Glenville Yard on the Right. |
 View from the corner down the main aisle. |
 A small valley at the end of the first interior peninsula on the lower level. |
 View back towards the main aisle from the previous location. |
 View of the steps to the main living area. |
 The dispatchers desk. |
 A kit-bashed bridge for railraod and road use at Lumberton. |
| previous page | pages 1 2 ALL | next page |
| comment | share |