
New Photos Will Be Added To The BACK Of The Album As Work Progresses. |
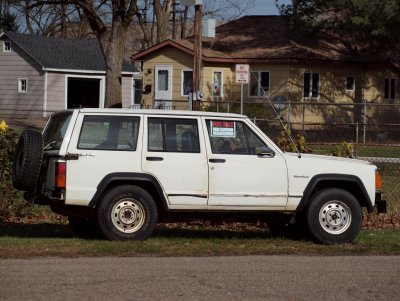
Where It's Been Sitting For Weeks.... |
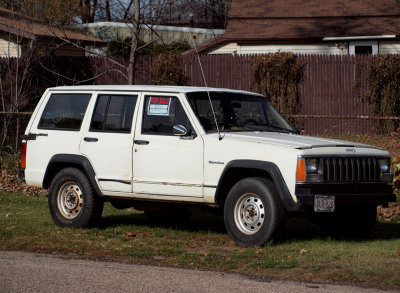
I Just Couldn't Resist Any Longer..!! |
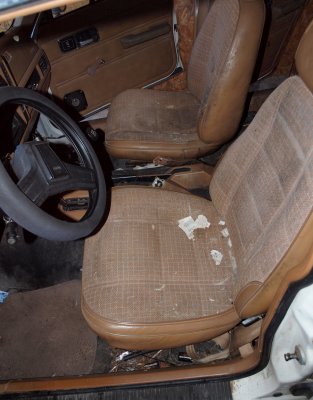
Interior Is Very Dirty |

A Look Under The Rear Seat |

Got The Seats Out...But Not The Garbage |

There Is A HUGE Amount Of Dirt And Garbage In Here. |
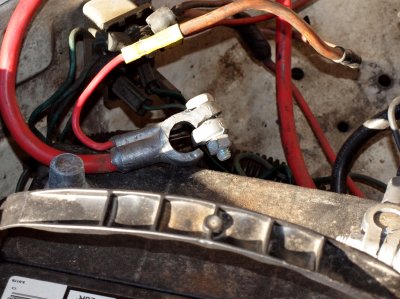
One Of Many Nickle And Dime Repair Needs. |

The Rear Area Cleaned And Mat Installed |
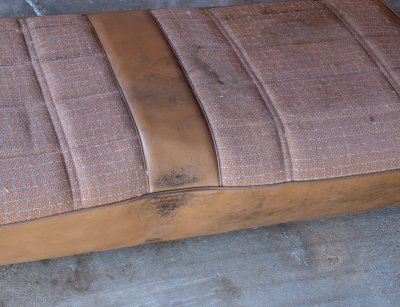
As Dirty As The Seats Were...And They WERE Dirty... |
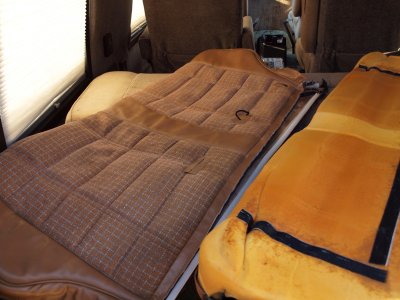
They Cleaned Up Real Nice...After 3 Times Through The Washing Machine |
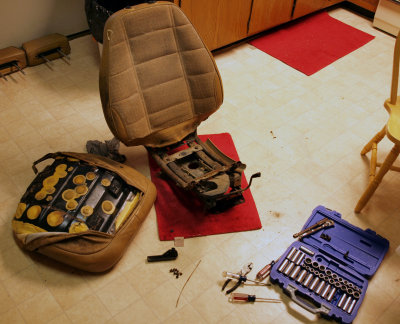
Tearing The First Bucket Seat Apart...It's Warmer In The Kitchen Than Out In Garage. |

The Bare Seat Frame Ready For A Good Washing. |

Got Top Half Of The Back Seat Back From Upholstery Shop And Installed. |

I've Been Able To Do All The Rest Myself...The Interior Looks About 900% Better... |

The Last Piece...The Passenger Side Bucket Ready For Disassembley. |
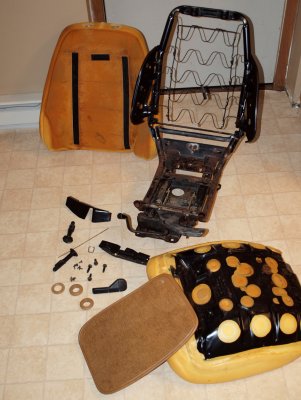
All Tore Apart...The coverings are soaking In The Washing Machine. |
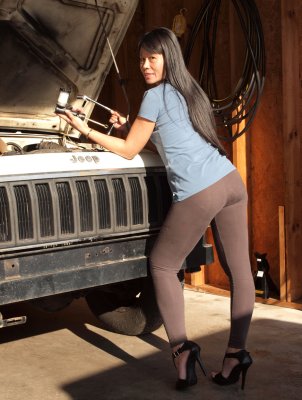
I Gonna Install Clutch Master Cylinder Now Hon... |

Why You Not Help Hon..?? |
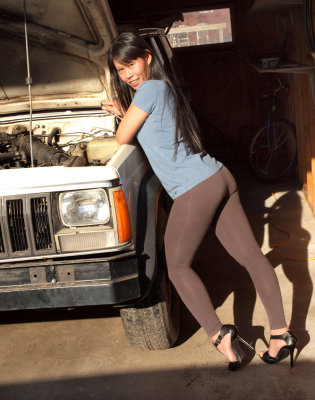
Bring Me Torque Wrench... |

Now We Install Slave Cylinder... |

Getting Ready To Install Clutch Slave Cylinder |

This Is Going To Be A Tight Squeeze |

Getting The Assembled Slave Into Position. |

The Top Nut Was Wayyy Up There.... |

I Thought Eve Could Reach It From On Top But She Couldn't |
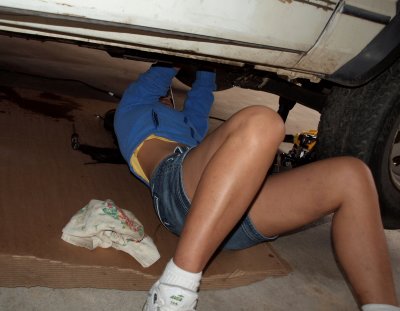
She Worked For About 10 Minutes To Get That One Nut Started On The Threads |
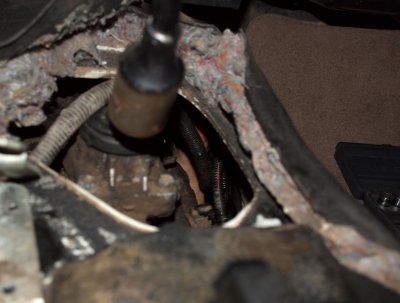
That Flesh Colored Part Is Eve's Hand.... |

I'd Have Never Got That Nut On Without Eve's Help. |

Hon...I Think I Need GoJo..!! |
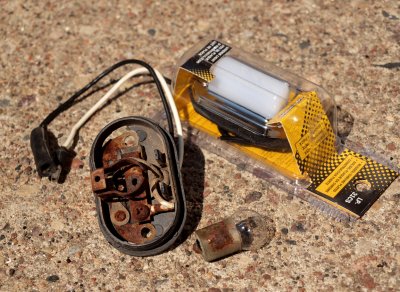
The Old License Plate Light And New Replacement...Check Out That Rust..!! |
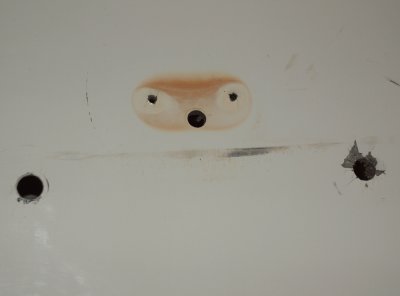
The Mounting Holes Were All Cracked And Damaged But I was Able To Fix With A Little Epoxy |

All Done...Only About 100 More Small Fixes To Go..!! |

Looks Like The Rear Seal Might Be Leaking Just A Bit..!! |

We Finally Got The Axles Back...Had To Have New Bearings And Seals Pressed On. |

I've Already Installed The Other Side...Now It's Eve's Turn. |

I Might Have To Snug The Bolts Down A BIt More Though. |
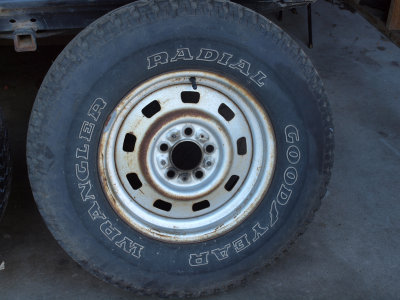
This Was The Best Looking Tire & Wheel As It Came Off The Jeep. |
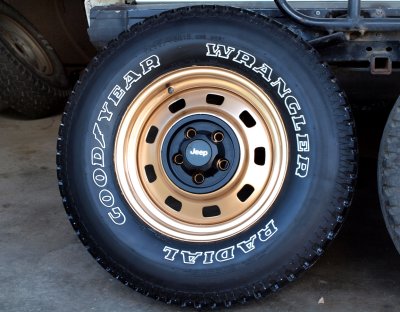
This WAS The Worst One...But It Looks Much Better After Clean Up And Paint. |

I Got To Find 3 More Centers For The Other Wheels Though. |
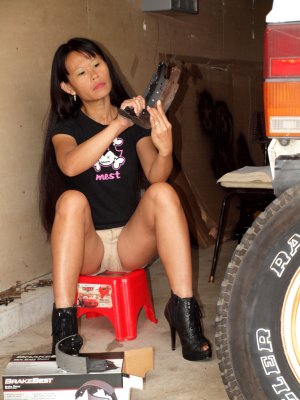
She's Making Sure We Got The Right Parts. |
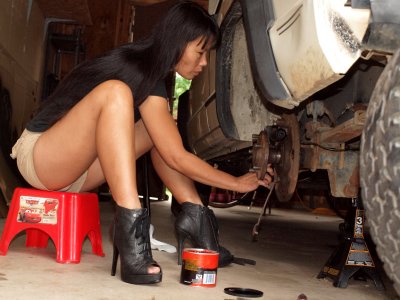
Putting Grease On The Backing Plate Pads. |

Starting On The First Shoe |

This Is Eve's First Time Working With Drum Brakes |

2nd Shoe Going On... |
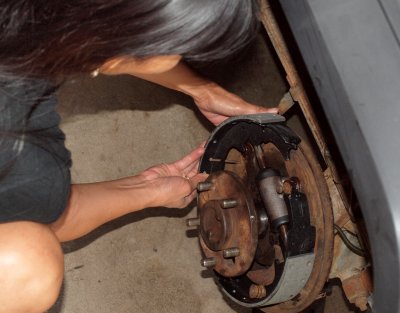
2nd Shoe Going On... |

Attaching The Return Springs. |

Using Brake Kleen On The Drums |

All Finished...Just Needing A Quick Adjustment. |
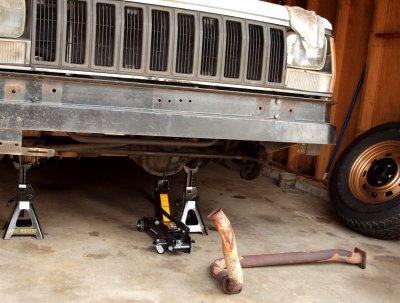
Today I Got The Exhaust Pipe Off...Cleaned And Painted The Front Wheels... |

...And Started Disassembling The Front Brakes...Ya, They Need Work Too..!! |

It's Going Too Need A Complete Job Just Like The Rear Did.... |

Like The Rear...The Front Axle Needed A Leaking Gasket Replaced And Some Clean Lube. |

At Least I Got By Cheap On The Exhaust...A Gasket And A Couple New Bolts. |

New Pads Installed. |

Caliper Installed...All Brake Work Finished...I Hope..!! |
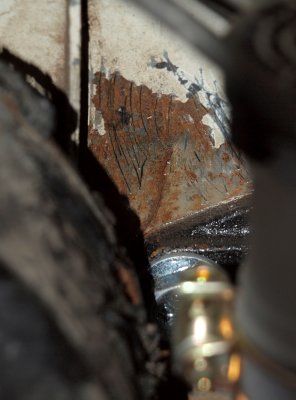
Crack In Firewall Near Clutch Master Cylinder. |

After I Fix This I'll Be Ready To License Truck And Start Driving It. |
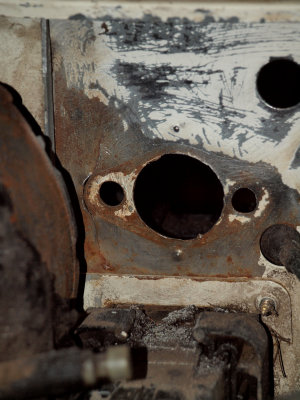
Here's A Better View With Clutch Master Removed. |

We Made A Cardboard Template... |

Now I Just Have To Find A Place To Cut Out A Metal One. |

I Had Two 16 Gauge Plates Made...One For Each Side Of The Firewall. |

Eve's Ready To Place The Outside Plate And Clutch Master In Position. |

A view Of The Backside...Under Dash |

Installing Front Plate And Clutch Master. |
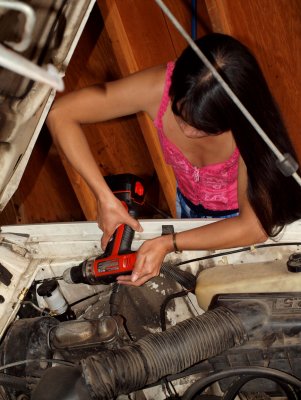
Drilling Holes In Firewall For Additional Bolts. |

Engine Side View Of Completed Installation. |
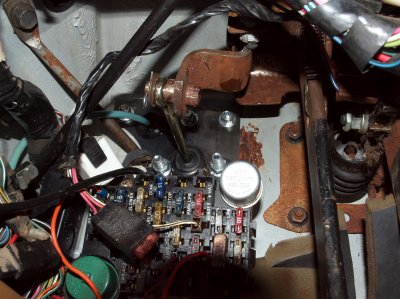
A View Of The 2nd Plate Installed Under Dash. |
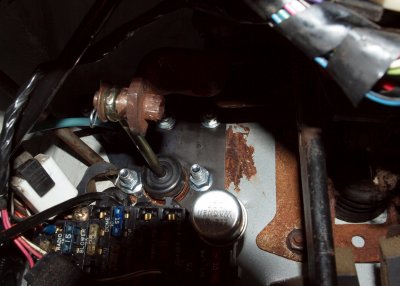
A View Of The 2nd Plate Installed Under Dash. |
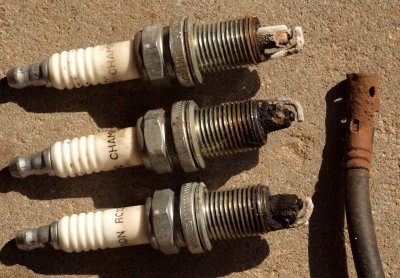
The Coil Wire Had Infinite Ohms...All Four Plugs Were SHOT...I Lost One Before I Took The Photo. |


