


|
|
|
|
|
|
| Gary Holt | profile | all galleries >> All Of Eve's Galleries Are In Here >> Sexy Graphics Girl Eve | tree view | thumbnails | slideshow |
 CLICK ANY PHOTO FOR FULL SIZED PICTURE |
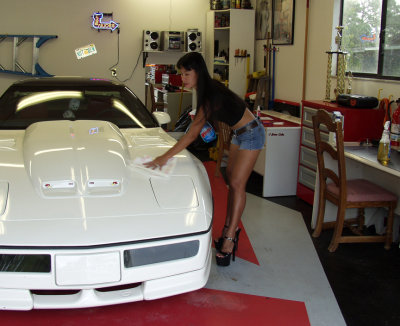
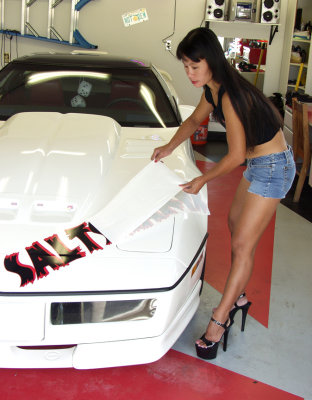
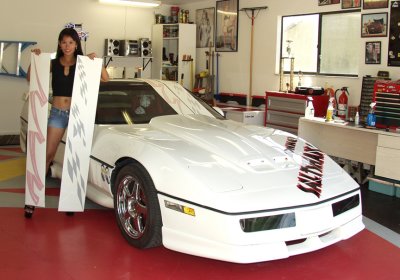
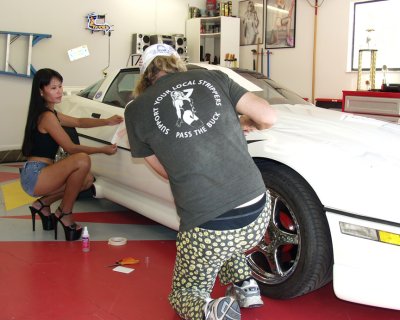
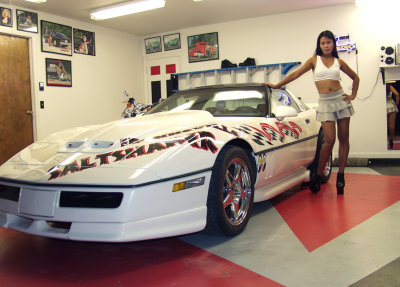
 What One We Do First Hon..?? |
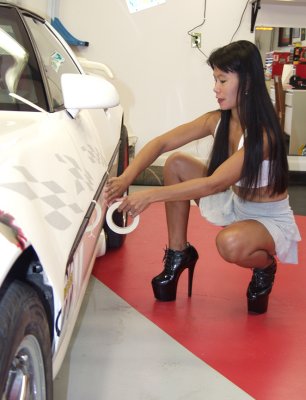
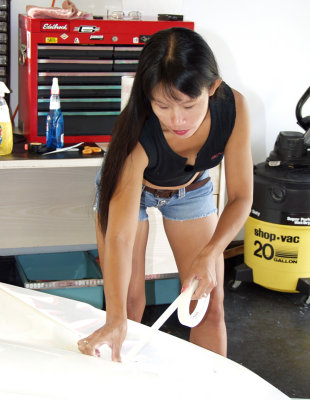 Taping The First Lettering Strip In Position |
 Starting The Install... |
 Using A Squeegee To Get Rid Of Air Bubbles And Smooth Lettering |
 Peeling The Backing Off The Letters |
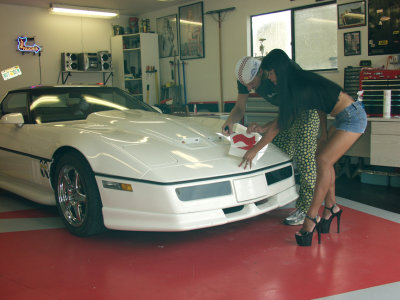
 Trimming Around The Headlight Door |
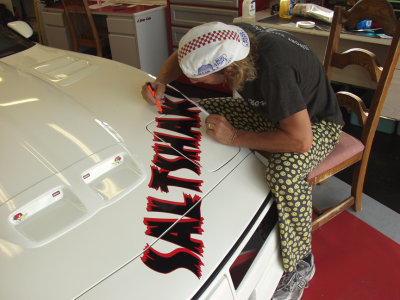
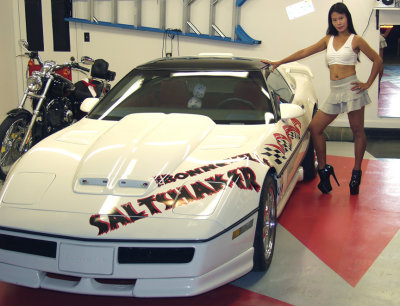
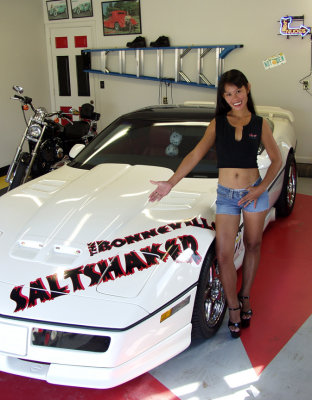 Lettering Job Done |
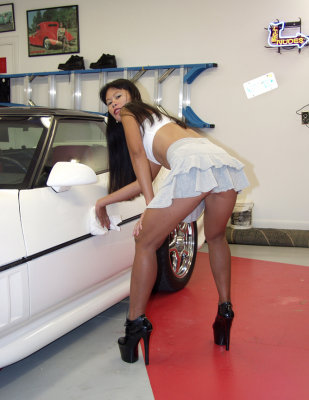
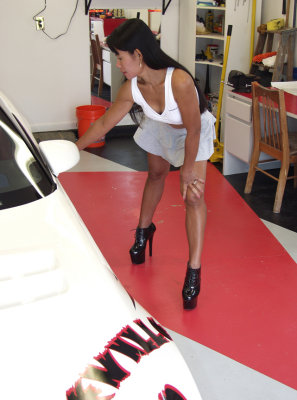
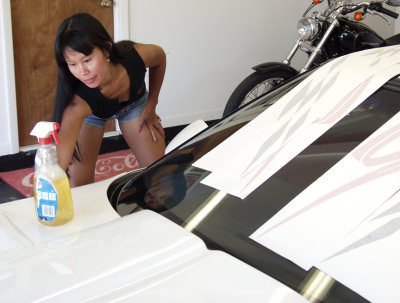 Removing Wax Before Installation Of Graphics |
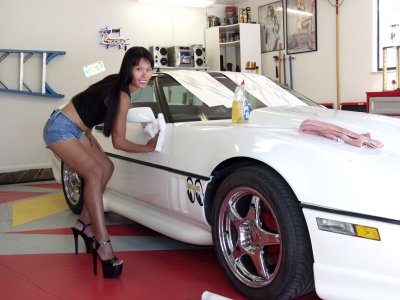 Eve's A Good Cleaner Upper..!! |
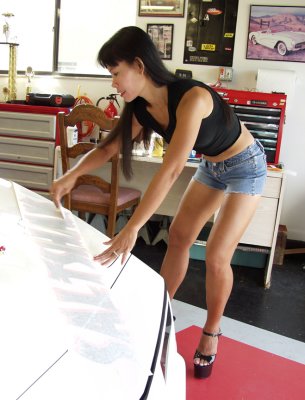
 The Side Graphics Will Go On In Two Sections, One For Each Color |
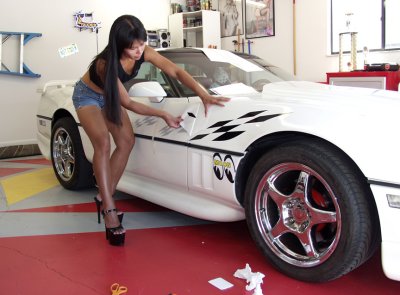 The First Part Of The Side Graphics On |
 Removing The Backing and Wetting Down The Red Part Of The Graphics |
 Positioning The Red Part Of The Graphics With The Black |
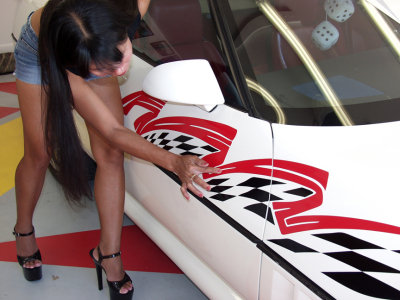
 Smoothing And Removing Air Bubbles |
 Now We Got To wait About 15 Minutes Before Removing The Backing |
 15 Minutes Have Passed, And We Are Removing The Backing From The Red Graphic |
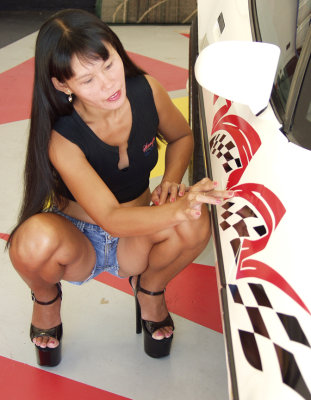
 Eve Is Smoothing Out Some Air Bubbles |
 Eve Was Very Good At This...Far Better Than I Was |
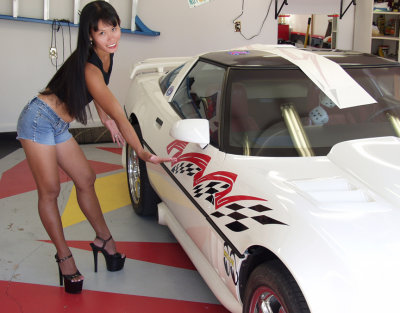 Passenger Side Completed |
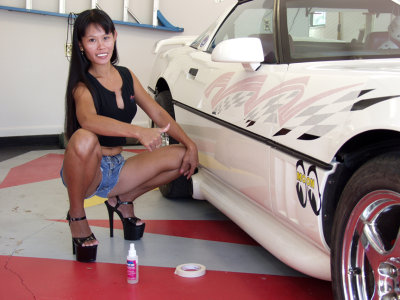
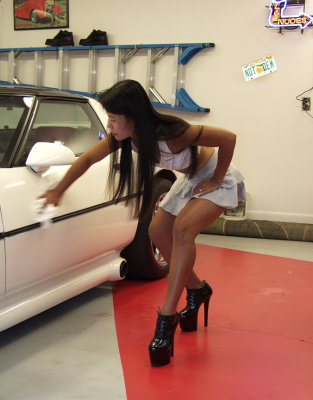 Cleaning The Drivers Side |
 Love That Short, Short Skirt...AND Those High, High Heels..!! |
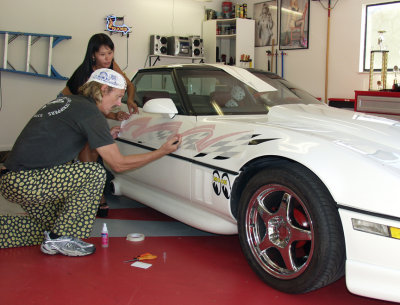
 Placing And Taping The Black Graphics...This Side Went MUCH Faster...A Little Experience Goes A Long Way. |
 I Know You Will All Be Mad At Me For Bocking The View Of Eve Here...But I Got To Get In A Few Photos..!! |
 Wetting The Red Graphic For Drivers Side |
 Getting Red Graphic In Position And Air Bubbles Removed |
 Eve Works That Squeegee Pretty Good |
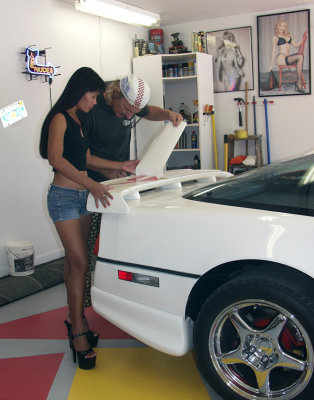
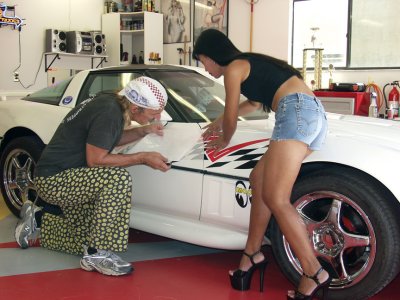
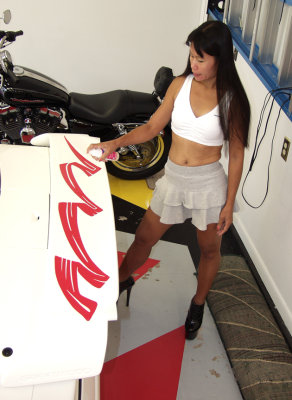
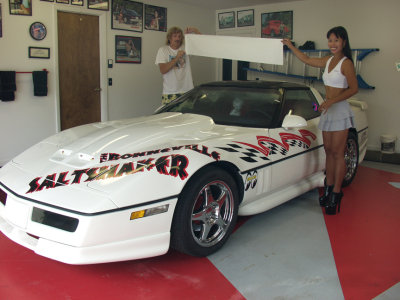 Here We Come With The Sun Visor Strip |
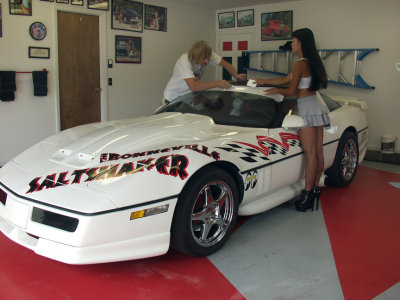 Trimming The Sun Visor Strip |
 I Wish Those Lights Did Not Reflect On The Hood So Much...Makes It Hard To See Our Lettering Job |
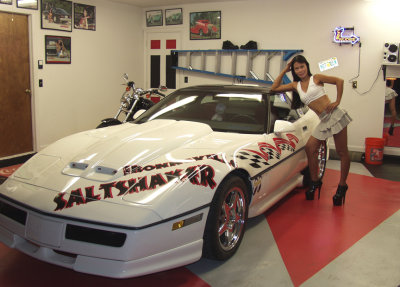
 Eve Looks So Good In This Outfit I Had To Get A Few More Pictures |
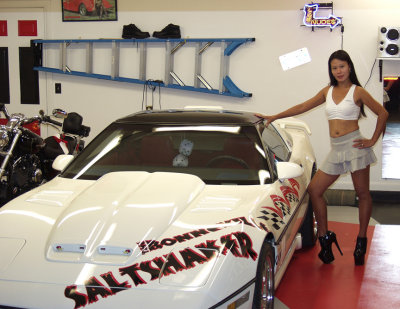
 I Think Eve Is Happy The Job Is Done...I Know I Am..!! |
 CLICK ON ANY IMAGE FOR FULL SIZE PHOTO |
 Eve Worked Hard On This Project....She Wants To Sit Down Now And Rest A Bit |
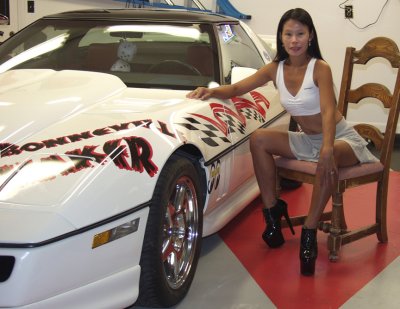 Sittin Pretty... |
 Lookin Good |