


|
|
|
|
|
|
| Maxwell Heazlewood | profile | all galleries >> JEREMY J. JAGUAR >> JEREMY J. IN THE WORKSHOP >> REMOVAL AND REFURBISHMENT OF STARTER MOTOR | tree view | thumbnails | slideshow |
 07Dec.2019_004b.jpg |
 07Dec.2019_004c.jpg |
 07Dec.2019_005b.jpg |
 07Dec.2019_007.jpg |
 07Dec.2019_009.jpg |
 07Dec.2019_010.jpg |
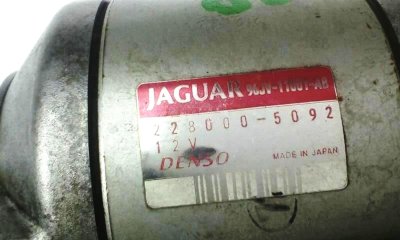 This is the ID sticker on side of starter motor |
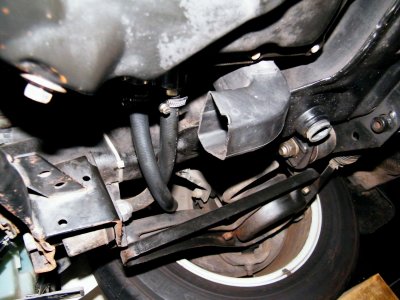
 This is the angle you see the motor from underneath |
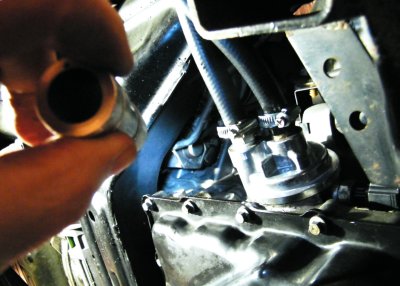
 Direct approach for socket and extension on left side |
 Solenoid housing at bottom of motor |
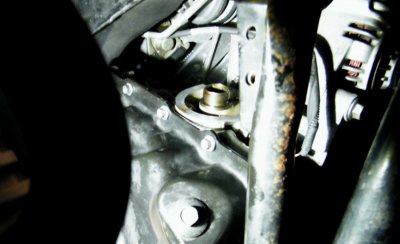
 Angle of socket and extensions on the right (blind) side up against crankcase |
 Location of the main power lead coming from boot/trunk to bus link for the starter lead |
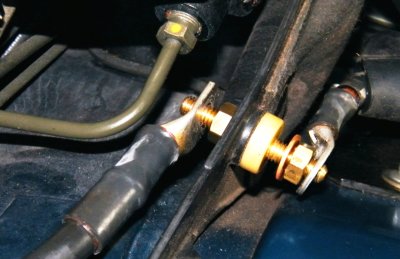 Make sure all surfaces are clean and smear with di-electric grease. Always use two wrenches to tighten |
 Location of EFI and Starter relays |
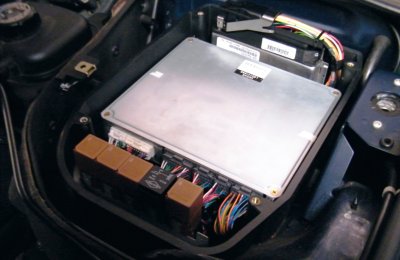
 Power boxes on left side containg fuses,relays and main power posts |
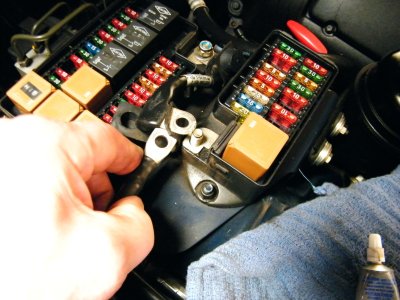 take these apart and thoroughly clean and smear with di-electric grease |