


|
|
|
|
|
|
| Olympus Talk | profile | all galleries >> Resources ... >> Straighten Pictures in PhotoShop | tree view | thumbnails | slideshow |
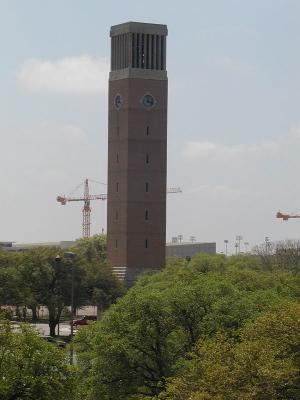 Orignal Image | This is the orginal picture we need to straighten. It is not off a lot but it just does not look very good. It is very easy and quick to do. |
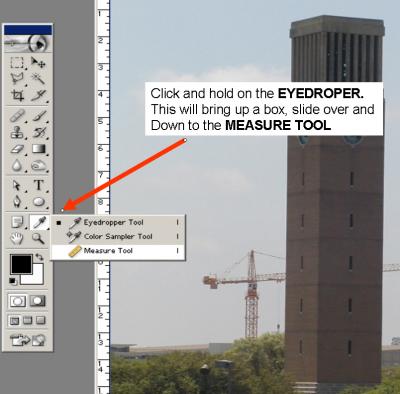 First Step | Load the picture in PhotoShop.
Click and hold on the Eyedroper, this will bring up the next menu. Now slide to the Measure Tool. |
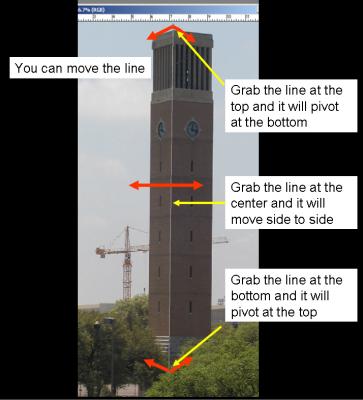 Step 2 | With this tool draw a line along the item you want to be stright.
Here I put it right on the line of the building. After you draw the line you can move it and adjust it to the correct position if needed. When you grab the top you can move the line and it will pivot at the bottom. When you grab the bottom of the line it will pivot at the top. If you grab it in the center the line will move side to side. |
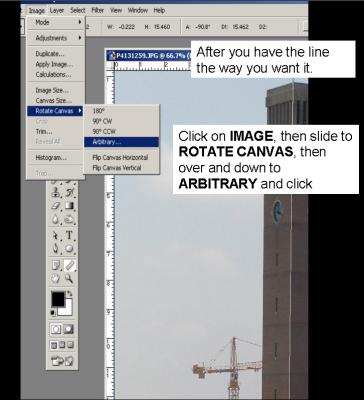 Step 3 | Now that you have the line just the way you want it, straight.
Click on Image on the top menu bar, slide to Rotate Canvas and then to Arbitrary and click. |
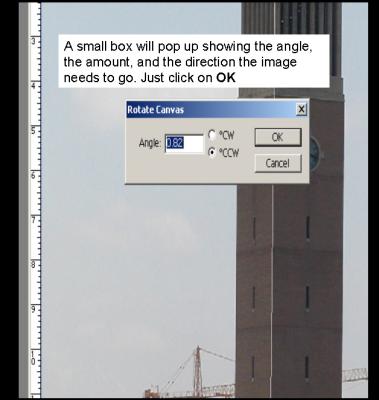 Step 4 | Now a small box will pop up with the angle, the amount and the direction to rotate.
Just click OK. |
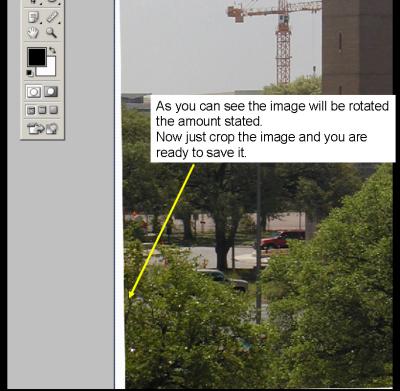 Thats It | Now the image will be rotated the amount stated in the last step and you are ready to crop the image the the size you need.
Now that was real easy wasn't it? |
| comment | share |