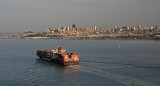
This and the next image were taken from the bridge itself.
(C) Mike Horsley 2008-2024. All rights reserved.