


|
|
|
|
|
|
| Mark Lerman | profile | all galleries >> 2014 Modification of the Lexmark E260 for Direct Laser Printing >> 2014 DLP Instructable: Modification of the E260 - MCU Version | tree view | thumbnails | slideshow |
| previous page | pages 1 2 3 4 5 ALL | next page |
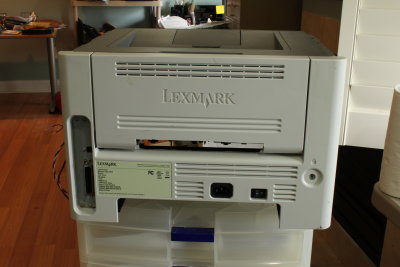
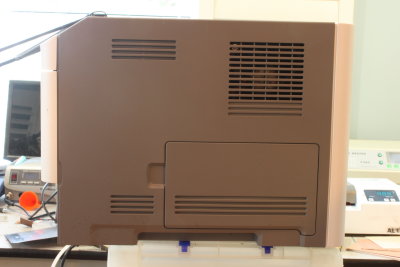
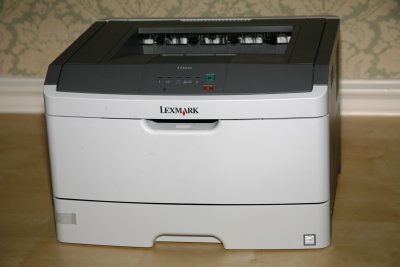 Lexmark E260dn.jpg |
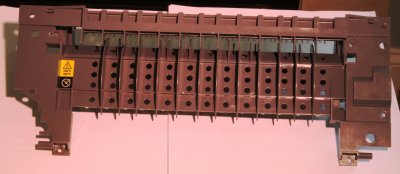
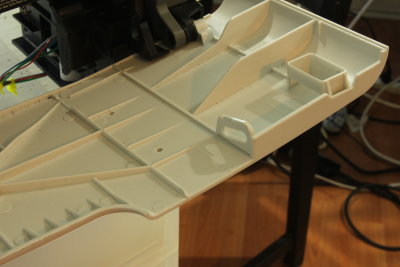
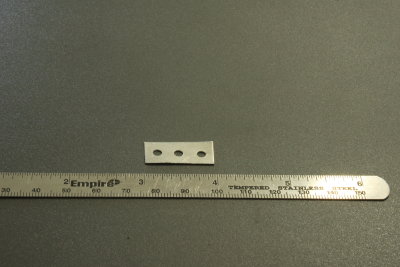
 01 Paper Platform Bottom.JPG |
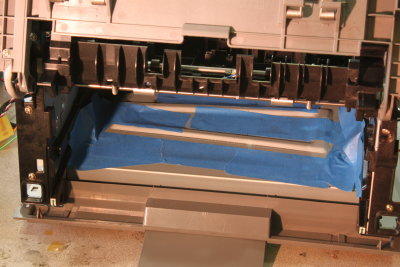
 02 Paper Platform Bottom.JPG |
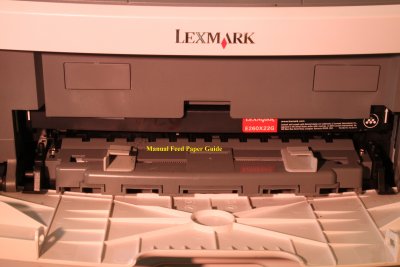 03 Manual Feed Paper Guide.JPG |
 04 2.7K Resistor.JPG |
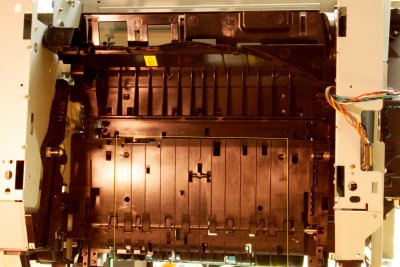
 05 Rear Exit Guide Assembly.JPG |
 06 Rear Exit Guide Assembly.JPG |
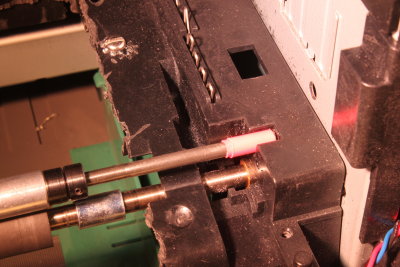
 07 Masking the Laser.JPG |
 08 Dremel with Router.JPG |
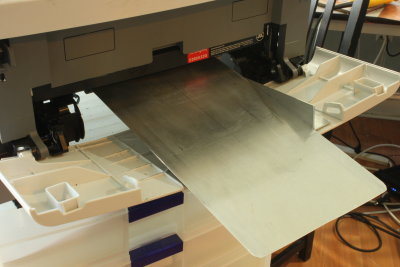
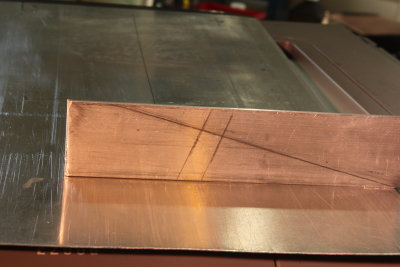
 09 Paper Platform Cut Lines.jpg |
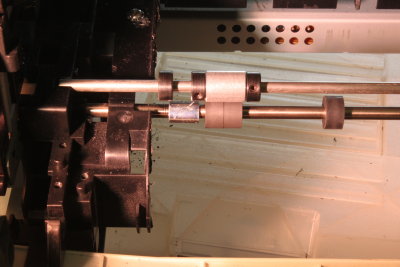
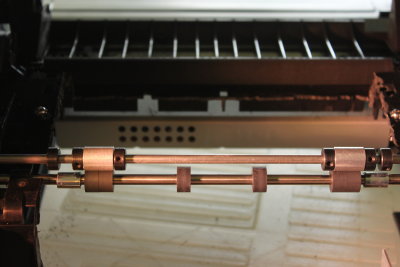 10 New Rollers.JPG |
 11 New Rollers.JPG |
 12 New Rollers.JPG |
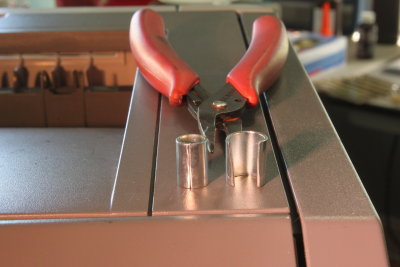 13 Split Spacer.JPG |
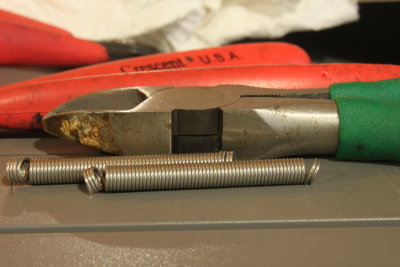 14 Springs.JPG |
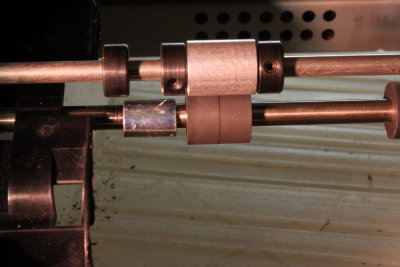
 15 New Rollers.JPG |
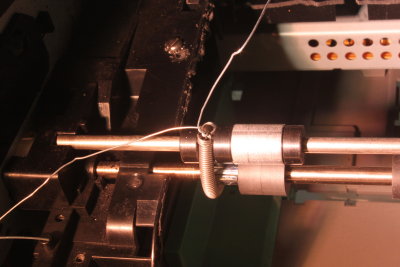 17 Springs.JPG |
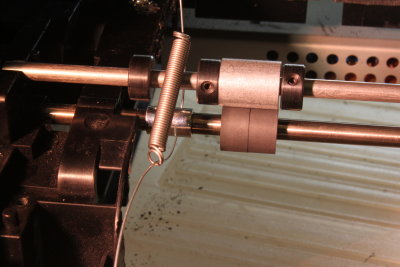
 18 New Rollers.JPG |
 19 New Rollers.JPG |
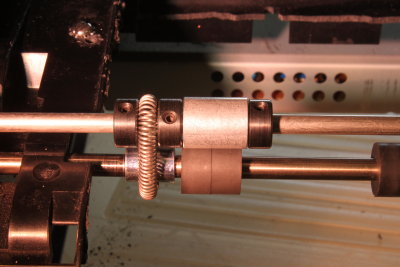
 20 New Rollers.JPG |
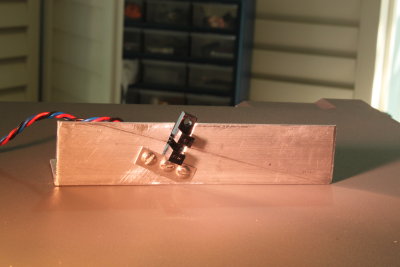
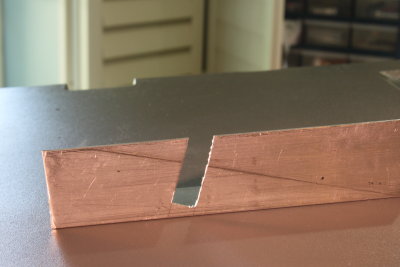
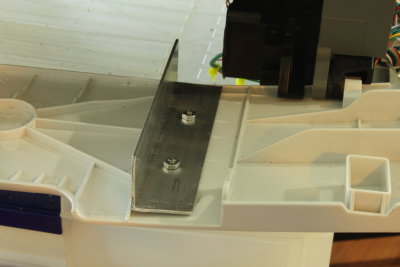 21 Carrier Guide.JPG |
 22 Carrier Guide.JPG |
 23 Carrier Guide.JPG |
 24 Carrier Guide.JPG |
 25 Carrier Guide.JPG |
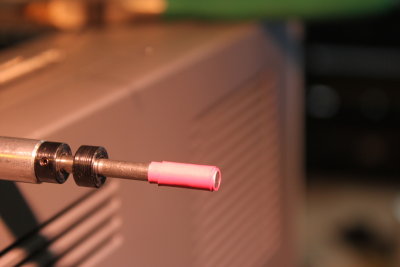
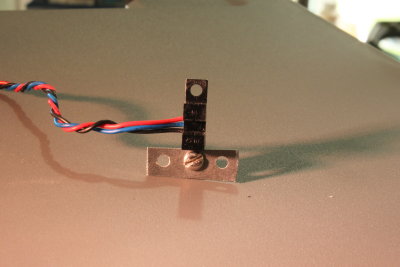
 26 NPIS.JPG |
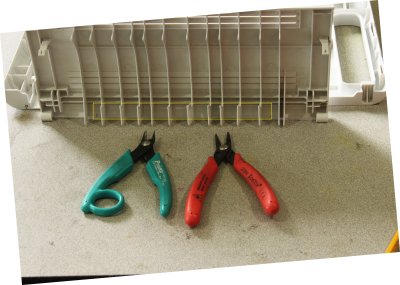
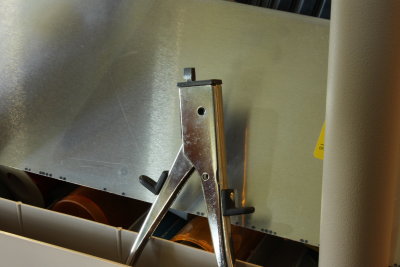 27 Nibbler Tool.JPG |
 28 NIPS.JPG |
 29 NPIS.JPG |
 30 NPIS.JPG |
 31 NPIS.JPG |
 32 NPIS.JPG |
 33 NPIS.JPG |
 34 NPIS.JPG |
 35 NPIS.JPG |
 36 Carrier.JPG |
 37 Carrier.JPG |
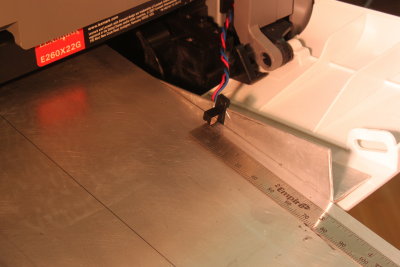
 38 Rear Cover Cutout.jpg |
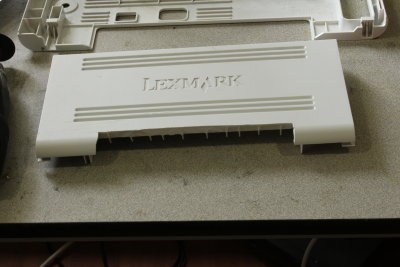 39 Rear Door Finished.JPG |
 40 Rear Door Mounted.JPG |
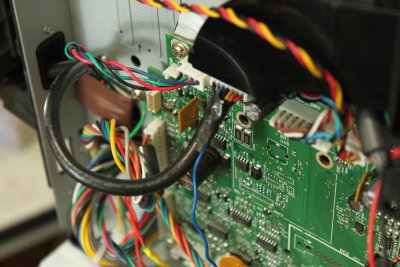
 41 MCU Board.JPG |
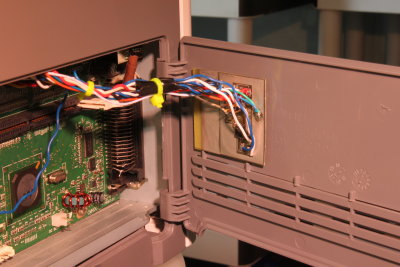
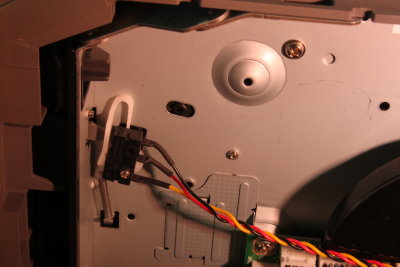 42 Door Switch.JPG |
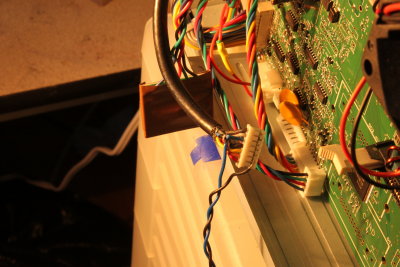 43 Operator Panel Connector.JPG |
 44 Operator Panel Connector 2.JPG |
 45 MCU Board.JPG |
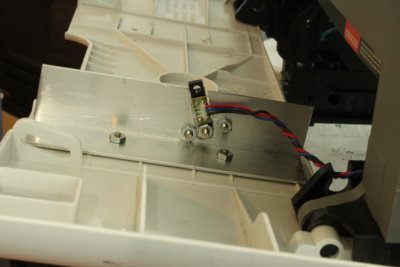
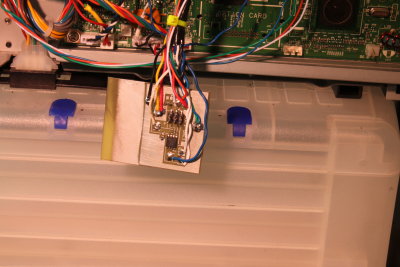
 46 MCU mount 1.JPG |
 47 MCU Mount 2.JPG |
 48 MCU Mount 3.JPG |
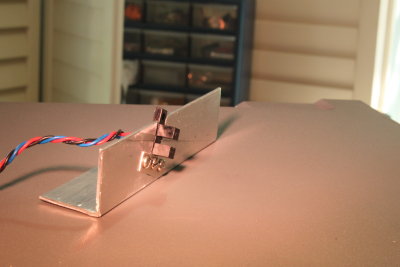
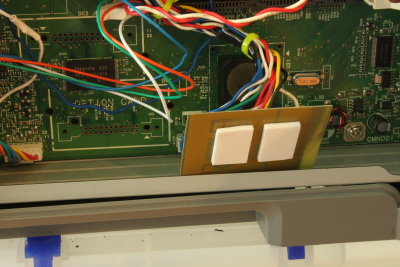
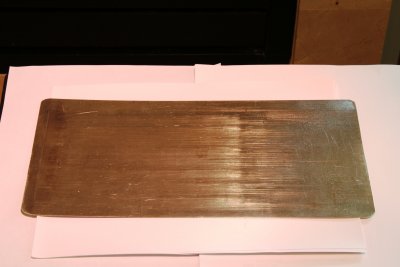 49 Aluminum Carrier.JPG |
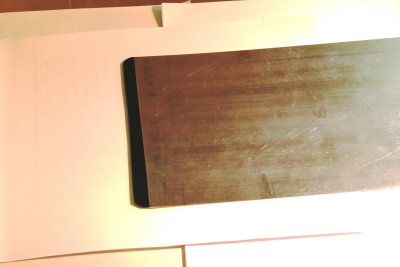 50 Tape Leading Edge.JPG |
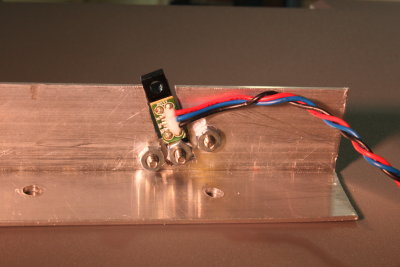
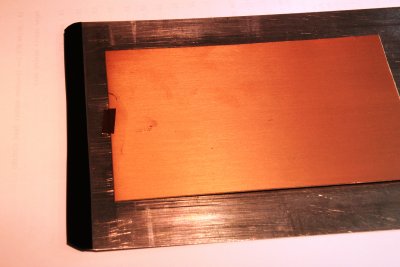 51 Copper Tape.JPG |
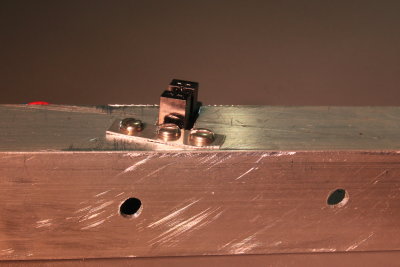
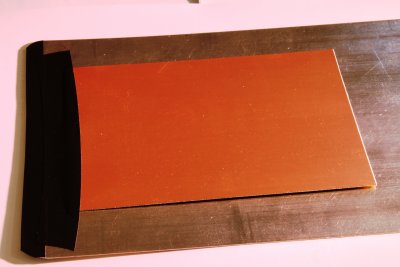 52 Tape PCB to Carrier.JPG |
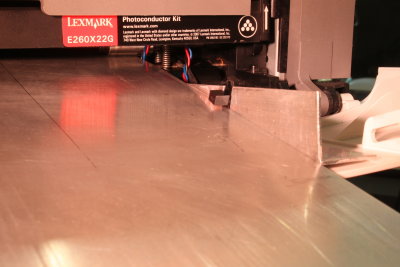
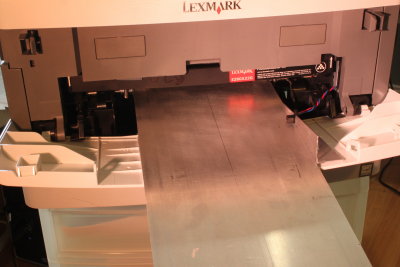
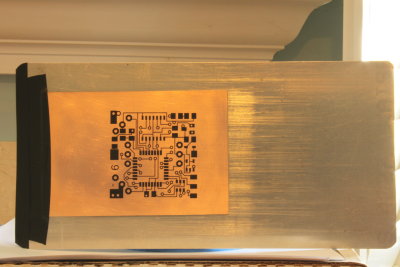 53 First Print.JPG |
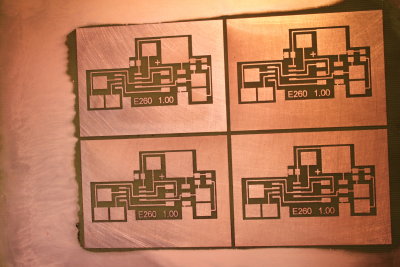
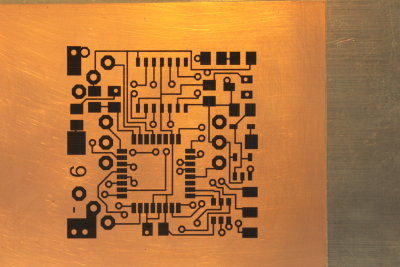 54 Close Up.JPG |
 55 Scrub and Acetone.JPG |
| previous page | pages 1 2 3 4 5 ALL | next page |
| comment | share |