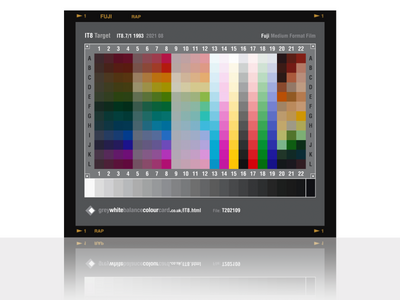
photo sharing and upload picture albums photo forums search pictures popular photos photography help login
Marco Raugei | profile | all galleries >> Technique >> Scanner Calibration and Scanning tips tree view | thumbnails | slideshow

Scanner Calibration and Scanning tips

Scanner Calibration and Scanning tips


If you are shooting film (colour positives/slides and/or colour negative) and then scanning it yourself, then for maximum accuracy in colour reproduction, it is advisable that you calibrate your film scanner using a standard "IT-8" target (this can be done from within many scanning software packages, e.g., VueScan).

These targets are generally available as 35mm, 6x7cm and 4x5" Fujichrome and Ektachrome transparencies (slides).


Then, when it comes to scanning your film, the following are my basic suggestions on how to proceed:


1) Always set the scanner to scan as POSITIVE IMAGE (i.e., without selecting any "negative" inversion option in the scanning software), and without making ANY modifications, nor applying ANY sharpening

        If it is a colour NEGATIVE film:

        1b) Adjust the “analog gain values” (or exposure times) for the three R, G and B channels individually until a scan of a clear section of the negative base produces three superimposed “peaks” towards the right-hand side of the preview histogram. (This step compensates for and “removes” the orange mask of the negative.)

2) SCAN and SAVE the image as a 16-bit RGB TIFF file, and open such file in your image editing software of choice (e.g., Photoshop, or DxO PhotoLab)

        If it is a colour NEGATIVE film:

        2b) INVERT the image (e.g., by dragging the end-points of the “Curves” control), and set "black" and "white" points for the three R, G and B colour channel individually (while looking at each respective channel histogram to ensure no clipping)

        2c) EXPORT the inverted image as 16-bit RGB TIFF file, and from this point onwards, continue working on this new inverted TIFF file

3) EDIT the image further if/as desired (white balance fine-tuning, contrast, saturation, etc.)

7) SHARPEN the image by applying a "tight" Unsharp Mask (USM): Amount = ~ 100 - 200% , Radius = 1.0 , Threshold = 0 - 5

9) EXPORT the final image as 8-bit JPEG (maximum quality)
IT-8 target
IT-8 target