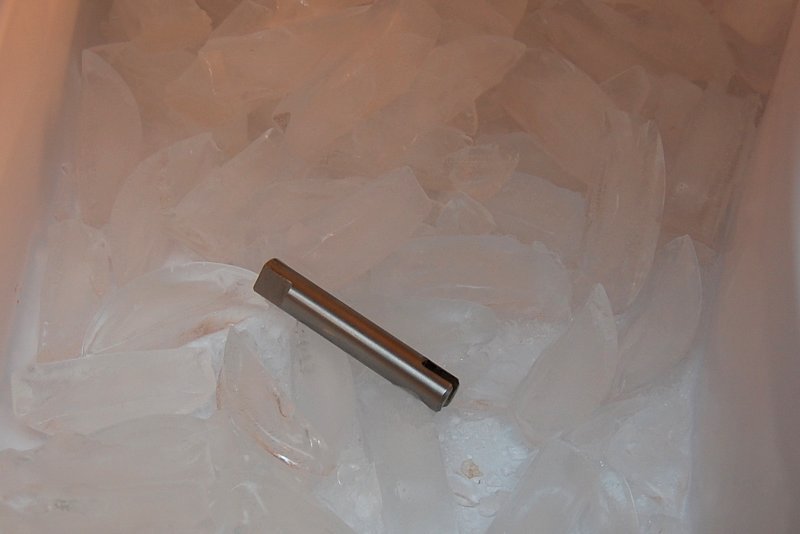
Shaft In The Ice Box
Here's the shaft chilling down in order to shrink it ever so slightly.
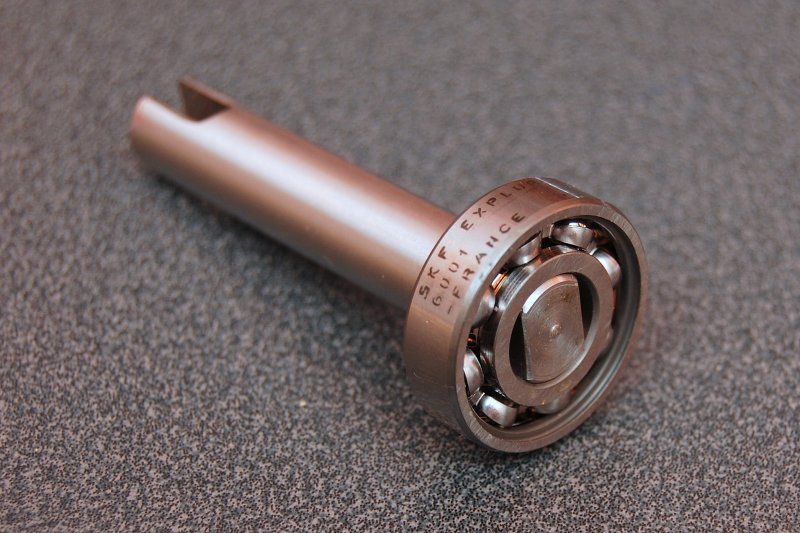
Did Not Work Out
While I was able to get the bearing started it just did not work out as I had wished it would. The temperature of the larger mass of the shaft quickly cooled the bearing race and it ceased sliding onto the shaft. Damn......
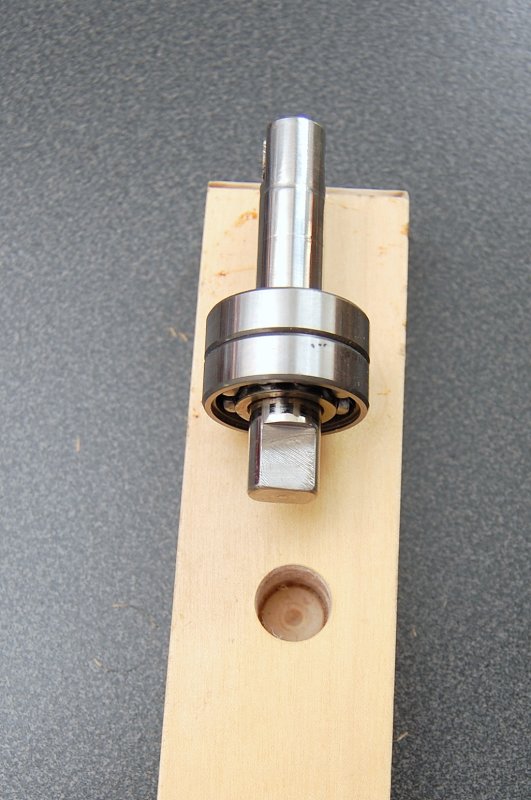
The Home Made Bearing Press
I wanted to be able to show you how to do this without needing to use a shop press. As long as you have a bench vise you can do this job.
My first task was to drill a hole just slightly bigger than the shaft in a 3/4 thick piece of Maple. I used the old shaft and bearings, as a guide, to drill the hole deep enough.
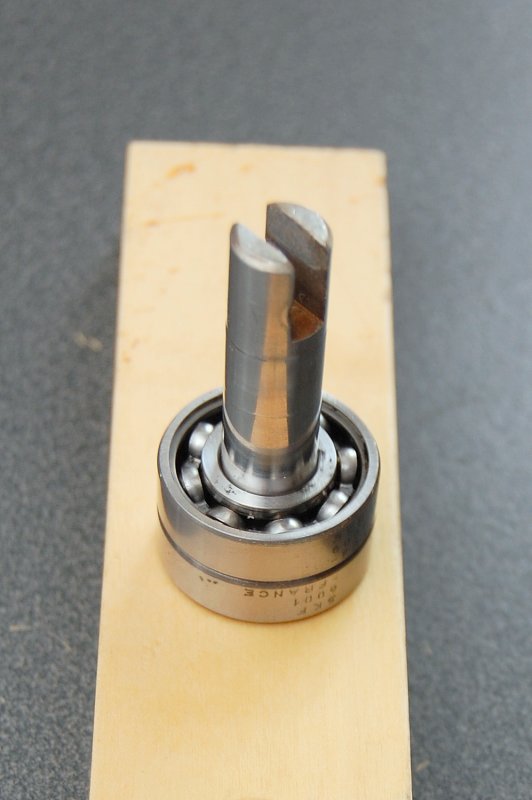
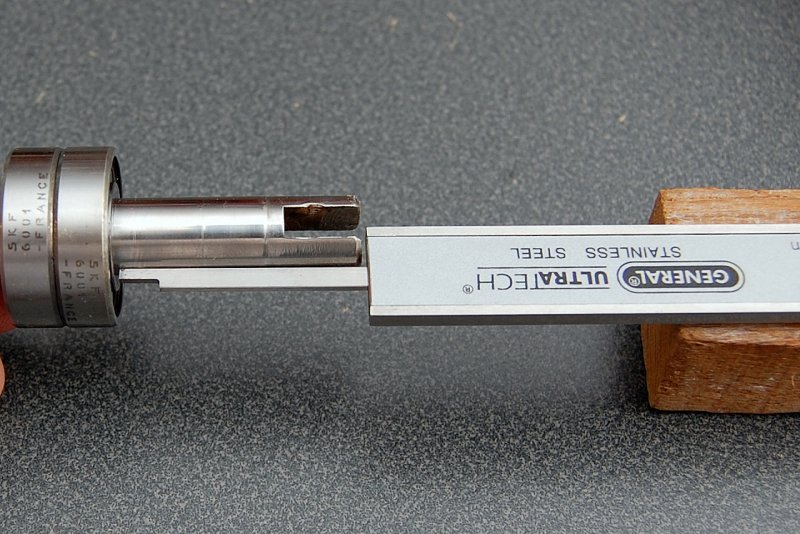
It Fits
Here I am testing the depth of the hole to make sure it fits without bottoming out.
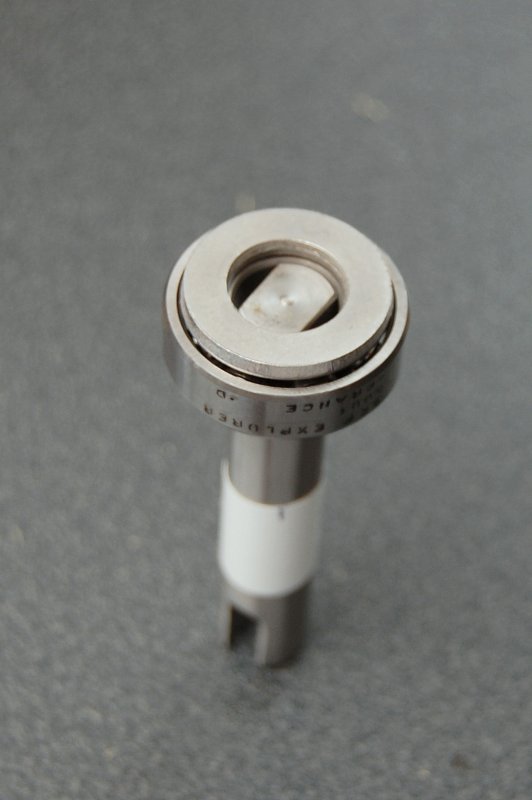
Measure The Bearing Depth
It is important that your bearings end up in the same location as the originals but on the new shaft. To transfer this measurement I used the depth gauge on my calipers and measured from the impeller end of the shaft to the inner bearing race.
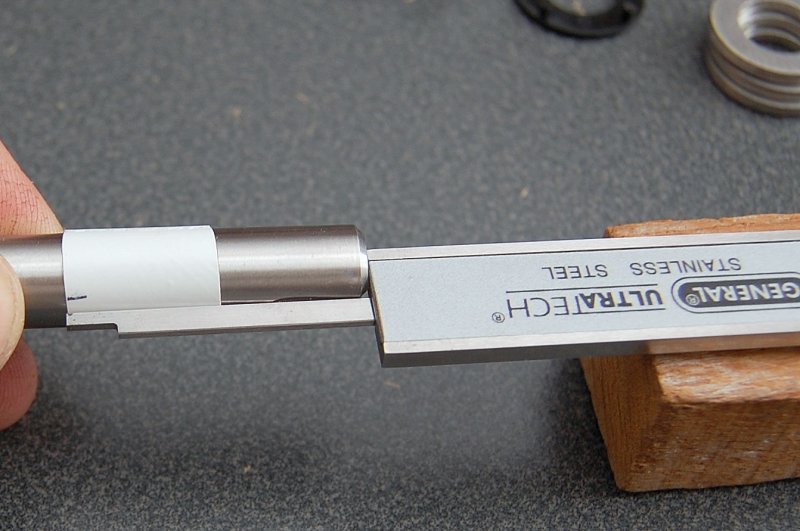
Transfer The Bearing Depth
You'll now need to transfer the bearing depth over to the new shaft. I used some white electrical tape and then made a reference mark with a pen. Unfortunately when you wrap electrical tape around a shaft it may be crooked so making a reference mark on a round shaft is a wise idea if you need to hit a precise mark.
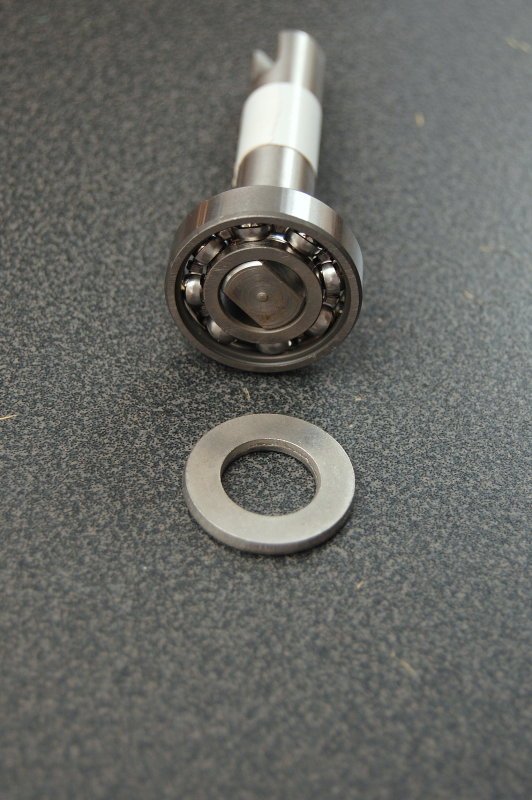
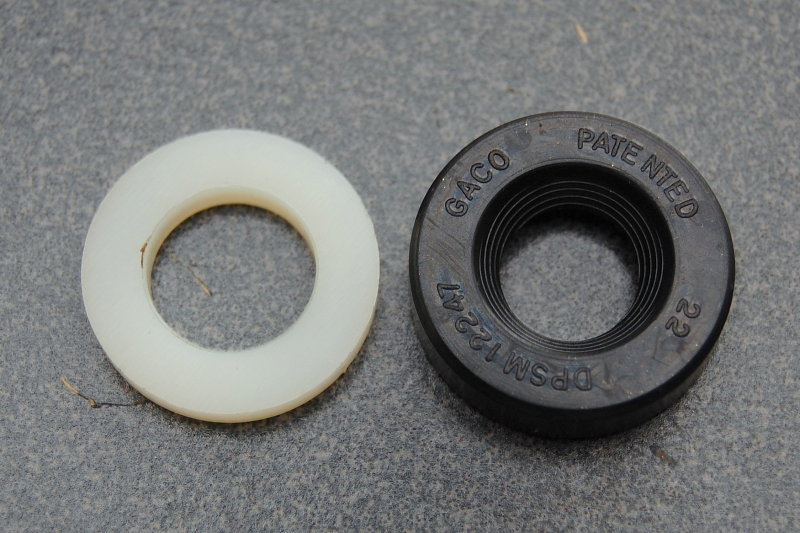
The Pressing Washer
In order to press the new bearings onto the shaft it takes considerable pressure. This type of pressure should only be applied to the inner bearing race or the one that is in contact with the shaft. Pressing on the outer race may cause damage to the bearings or races. This is a metric washer I had in my nut & bolt supplies that fit perfectly over the shaft but remained just inside the outer race.
Pressing Washer Fit
As you can see the pressing washer will only apply pressure to the inner bearing race and will not impinge on the outer race..
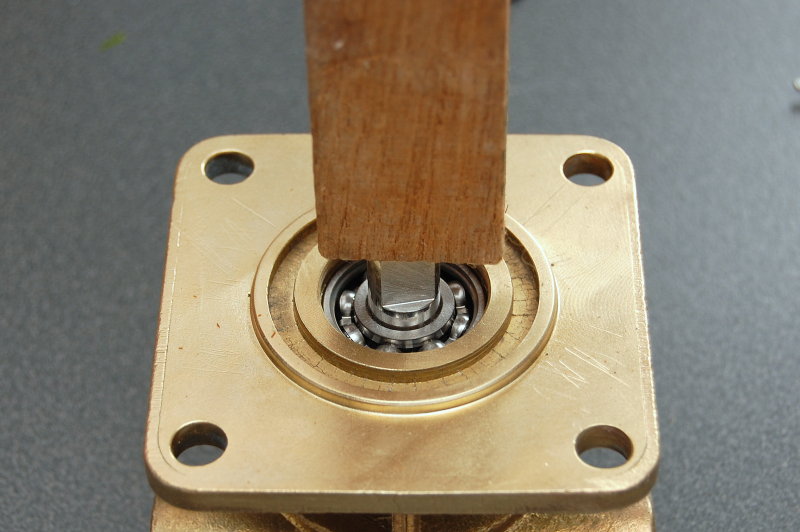
The Bench Vise / Home Made Press
In this picture you can see that I have faced the jaws of my vice with two maple blocks and held them in place with electrical tape. Both wood blocks have holes in them to accept the shaft & keep it in place. The holes and blocks are also centered perfectly over the center line of the vise jaws.
Vises are not the most precision instruments therefore it is imperative that you line everything up so the jaws don't cock one way or the other when you tighten down on the shaft & bearings. The bearings must go on at a perfect 90 degree angle to the shaft.
If you look closely you can see the pressing washer.
Depth Check
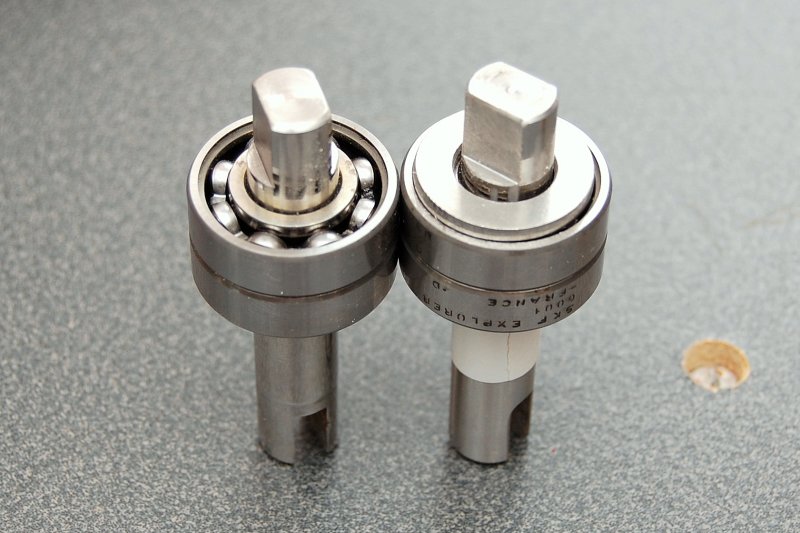
Here I am comparing the old shaft & bearings to the new one.
********IMPORTANT**********
The bearings MUST be pressed on from the opposite side of the shaft, the engine side on this pump, from the water & oil seals. If you press the bearings on over the shaft from the impeller end you WILL mar the surface which will in turn ruin the seal and you'll have water and oil leaks.
DO NOT over press your bearings either. The oil seal is very close to the bearings if you press the bearings beyond where they need to be you will have just ruined your shaft. Do not skip the depth marking and measurement steps.
Install The New Shaft & Bearings
Just like you removed it you can install it with a block of wood and a hammer. Please be careful to make sure your bearings & shaft are 90 degrees to the base of the pump before tapping them home. You do not want to try and tap them in crooked.
If your bearing press-fit into the pump housing is tight you will want to come up with a way to press on the outer bearing races that meet the pump body. This takes the pressure off the bearings and inner race. This pump was not a horribly tight fit so the block of wood worked fine.
Press In The Oil Seal
The nylon washer is used with a socket to apply even pressure to the oil seal when seating it into the pump body. It is just slightly smaller than the seal itself. I use nylon to prevent marring the pump body. If you were to scratch these inner walls water or oil would have a way around the seal via the scratch.
*******CLICK BELOW FOR PAGE 3*******