


|
|
|
|
|
|
| |
| 02-DEC-2005 | |
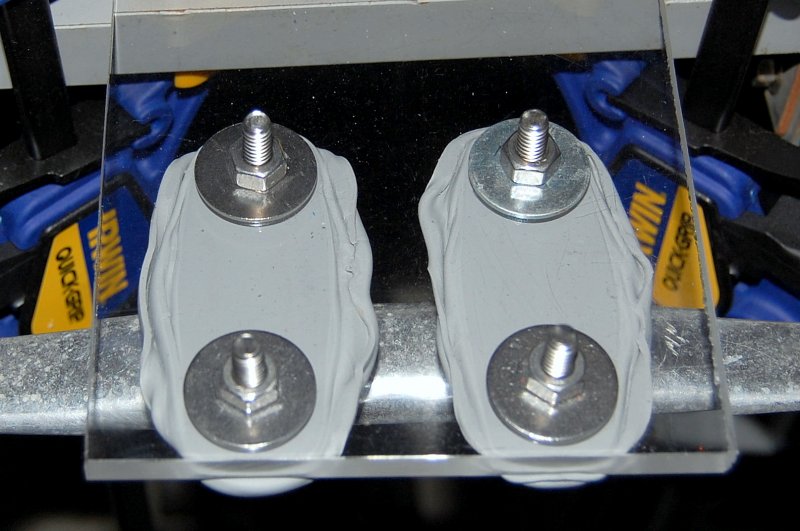
Step 7 - Install the backing plates, in this case I just used fender washers, and begin to tighten. Please use suitable backing plates. These fender washers would not be the best choice in a stanchion or deck cleat as they are far to thin and a little on the small side diameter wise for a cored deck.
You will be best to have two people or a good way to keep the bolt from moving. Ideally you do not want the machine screw or bolt to spin, but if you absolutely have to, you can slightly soften the butyl with a q-tip and some mineral spirits and go for it.
*****IMPORTANT, IMPORTANT, IMPORTANT*****
Tighten a little bit at a time as the butyl will ooze out slowly because the consistency is quite thick by design. Tighten, let sit, tighten, let sit etc. etc.. When little to none squishes out & the bolt & nut become tight you can stop. This can take DAYS of small tightening events or weeks if you want to spread it out. It does not cure so do not rush it..
If you have a wood deck core DO NOT crush it by over tightening, better yet bore out some core and pot the hole with thickened epoxy. Unlike the "two step" method you are not waiting for the butyl to "cure" or change consistency but you do need to allow it to slowly displace out from under the fitting. This compression & squeezing forces the butyl into every nook and cranny and makes for an excellent seal..
Here I have taken pictures of the underside and the top side of the fitting.
© All Images property of Compass Marine Inc.