


|
|
|
|
|
|
| LowTech | profile | all galleries >> World Views >> Spacial Transformations >> Rigs >> She Beast | tree view | thumbnails | slideshow |
| previous page | pages 1 2 3 4 5 6 7 ALL | next page |
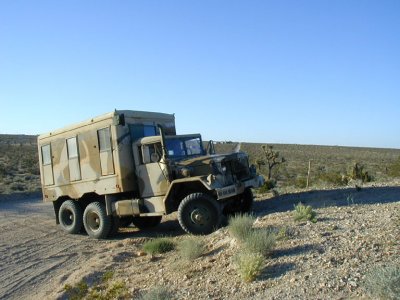
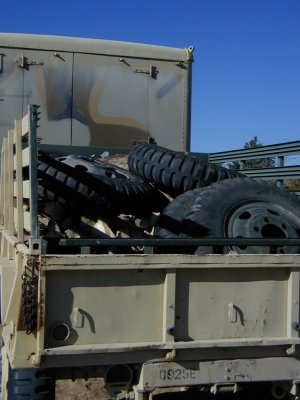
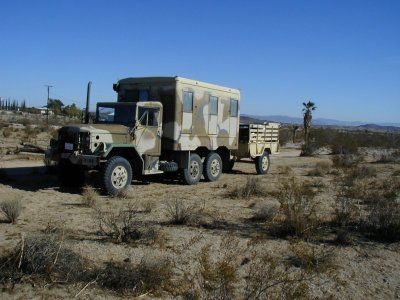
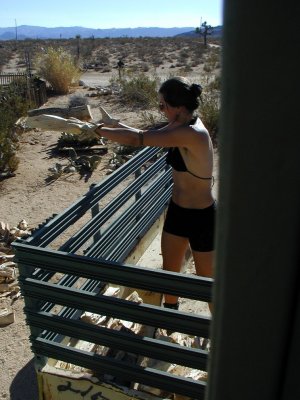
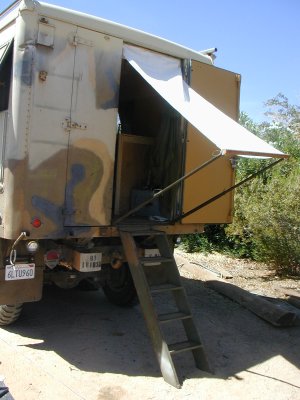
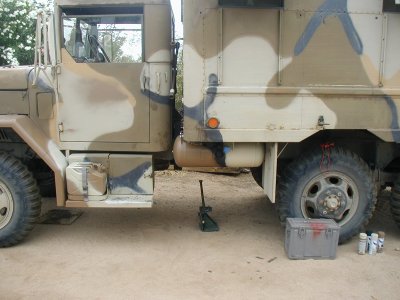
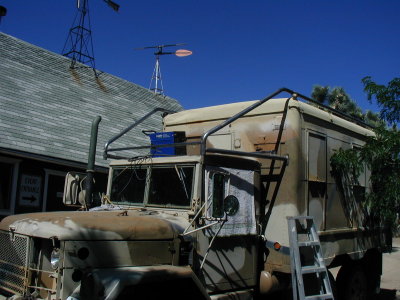
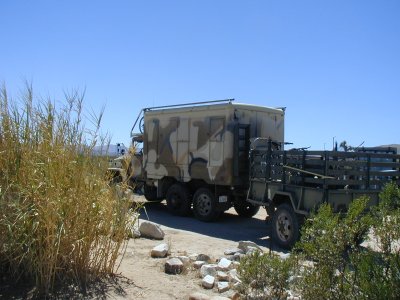
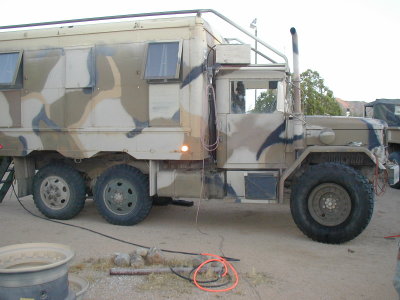
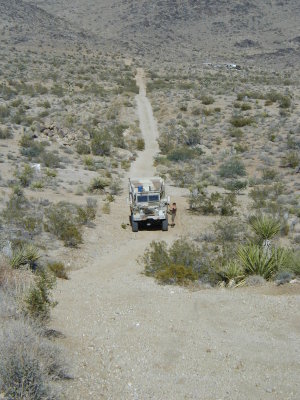
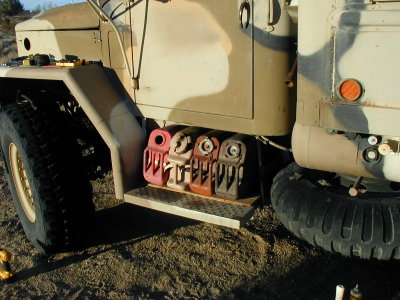
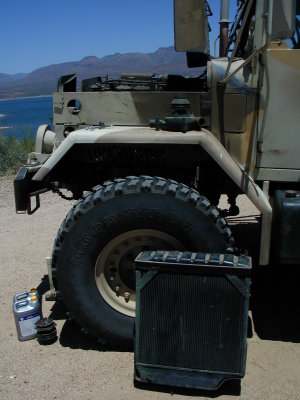
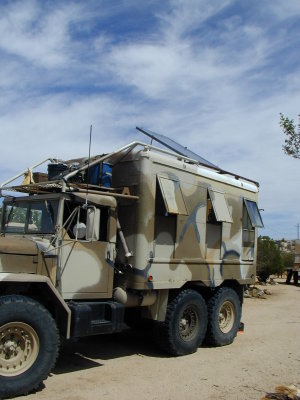
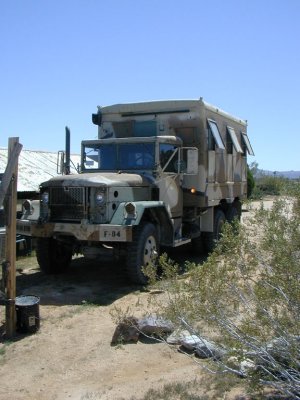 Successful Rescue! The newest member in our stable of rigs & trailers |
 Happy Owner! |
 that's a 4' ladder |
 at the moment it's the tallest thing on the property |
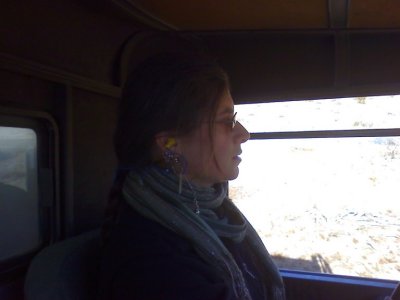
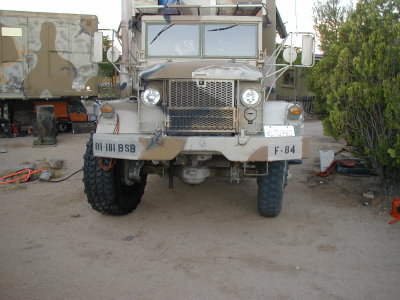
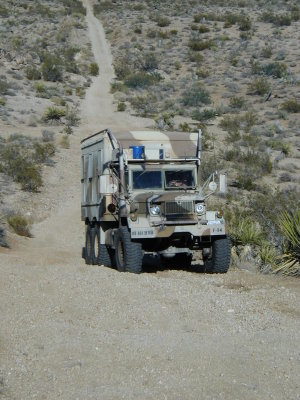
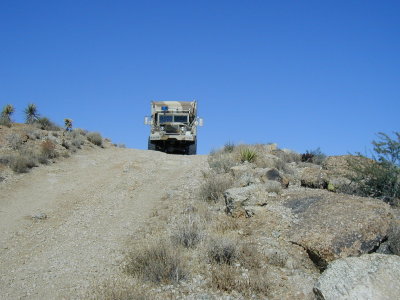
 . . . little test drive |
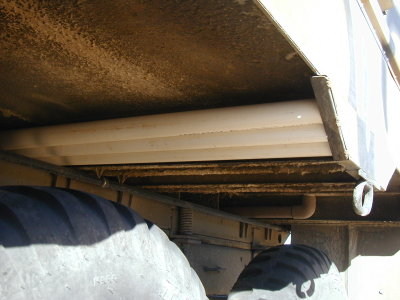
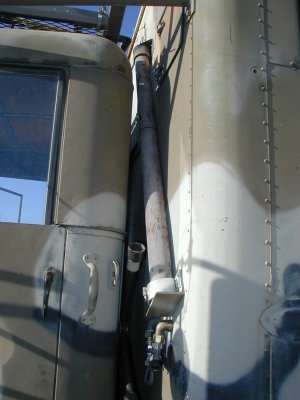
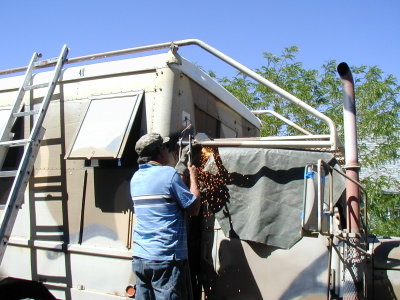
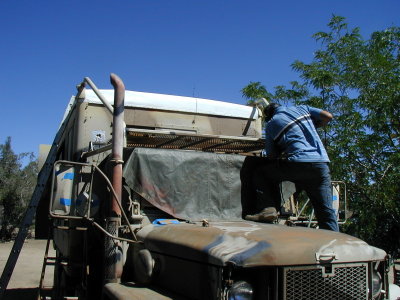
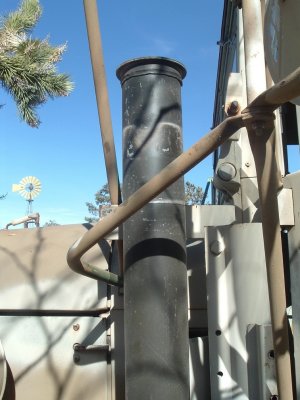 Time to re-deuce that exhaust sound to bearable levels . . . here the top of the stack is removed |
 sawz-alls!!! |
 muffler in place, |
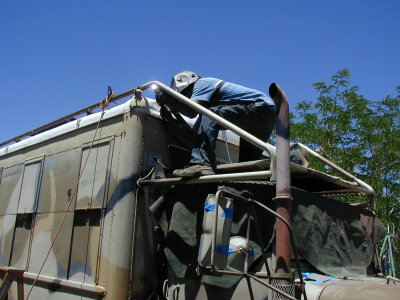
 top of the stack back in place . . . |
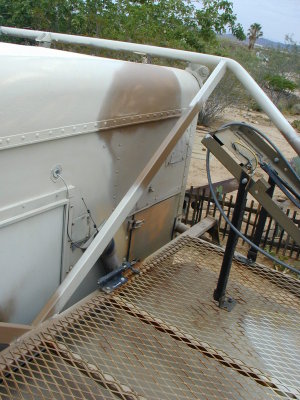
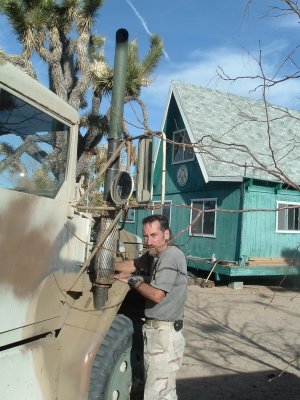 heatshield remounted. |
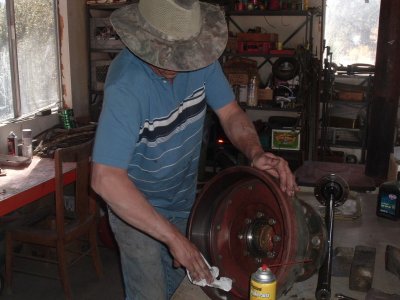
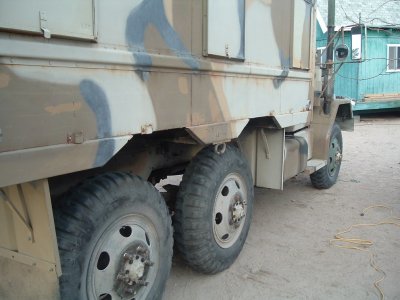
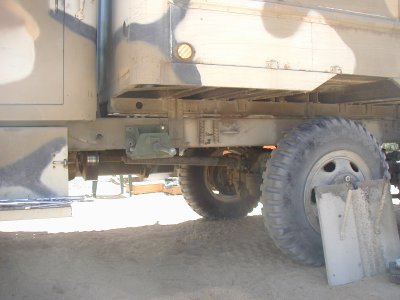
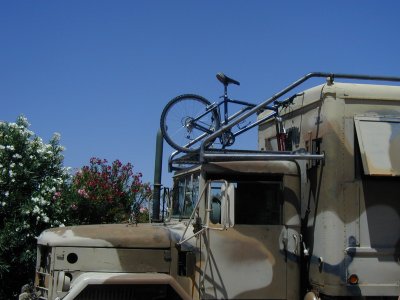
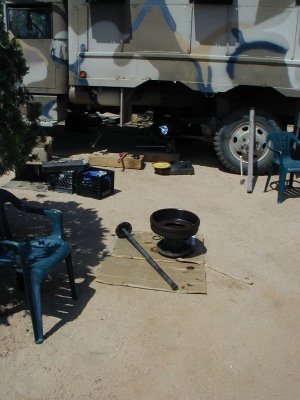
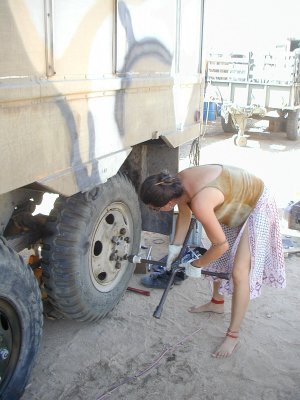
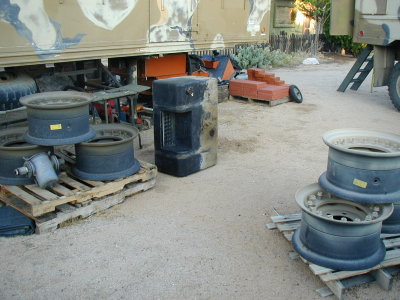
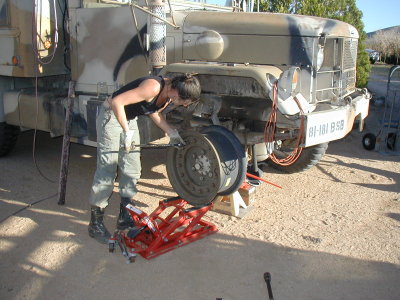
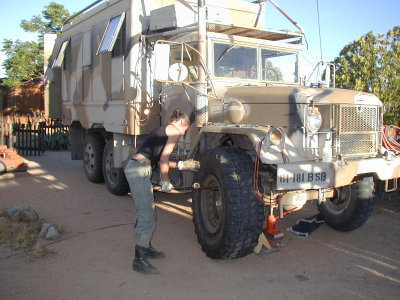
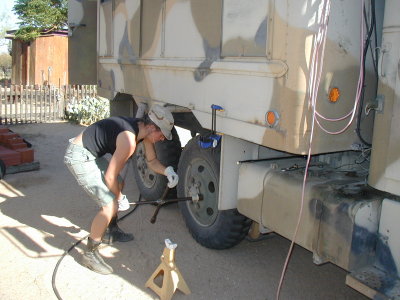
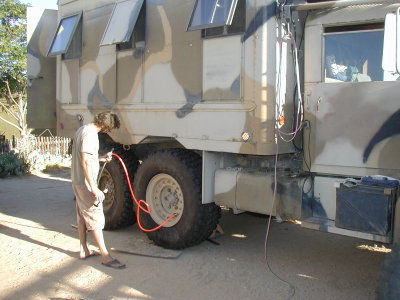
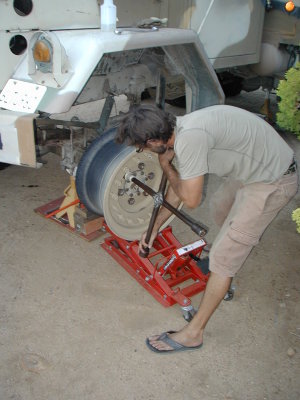
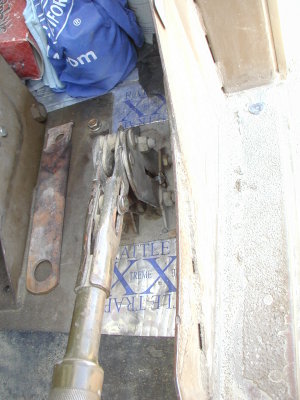
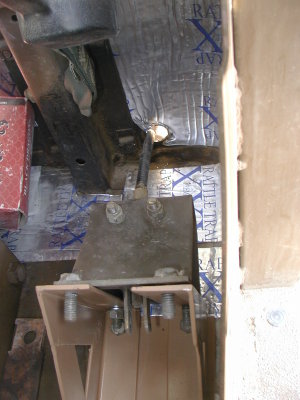
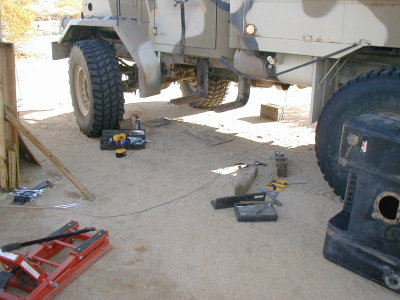
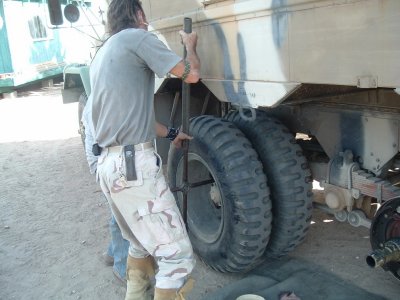 Changing to Singles . . . the process starts |
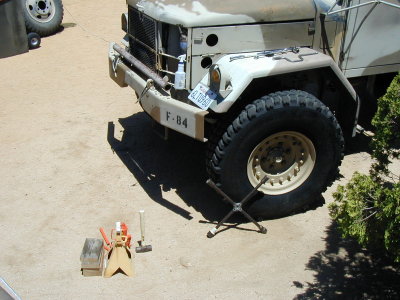
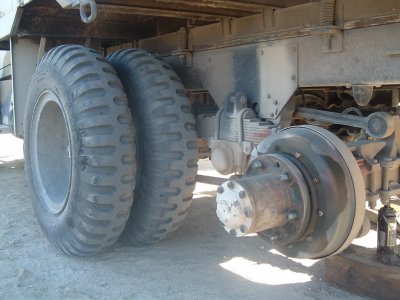 Flange & Brake Drum w/o wheels |
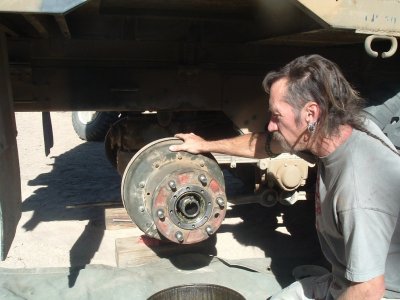
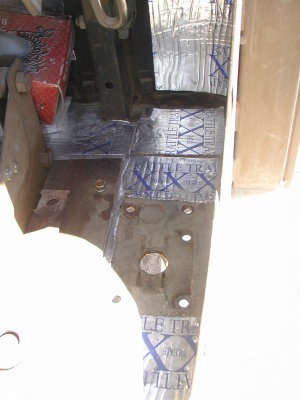
 Axle half-shaft pulled and brake drum removed |
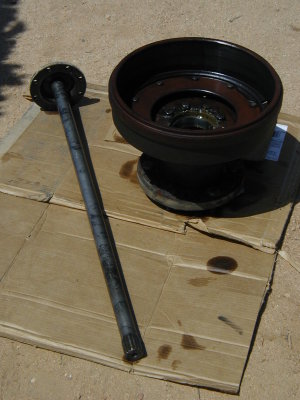
 Flange & Drum ready for separation |
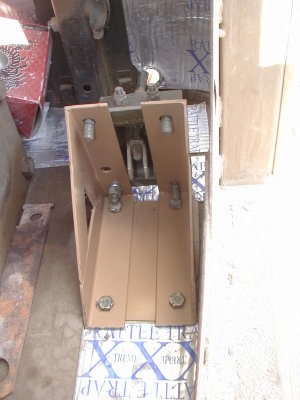
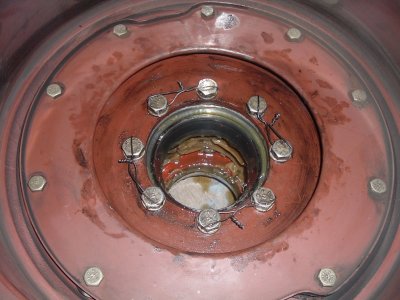 connecting bolts remounted & wired |
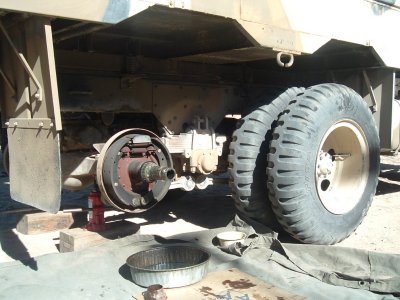
 Drum w/ Flange reversed |
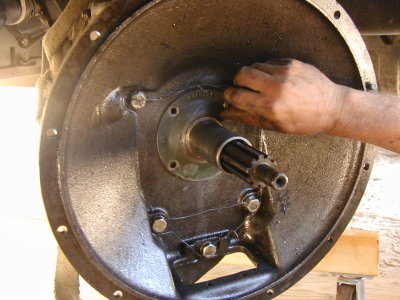
 re-installing Axle half-shaft |
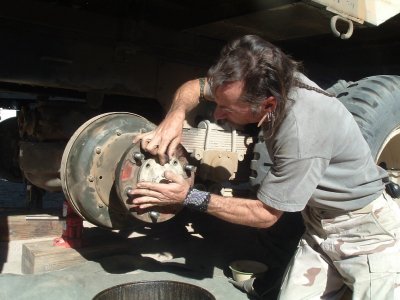
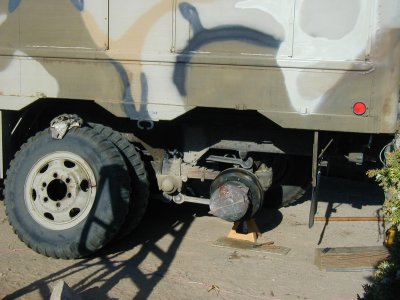
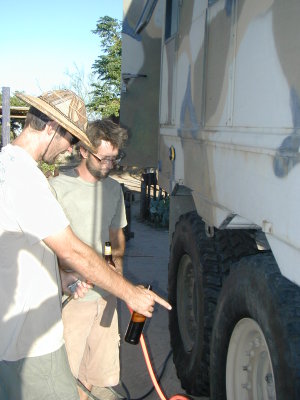
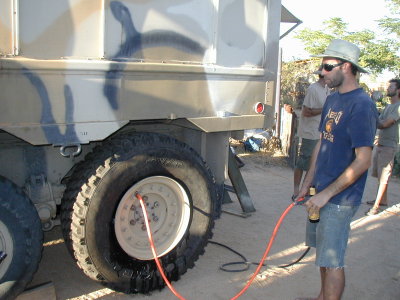
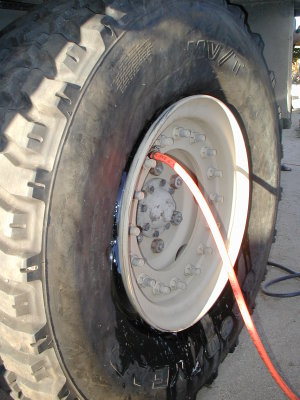
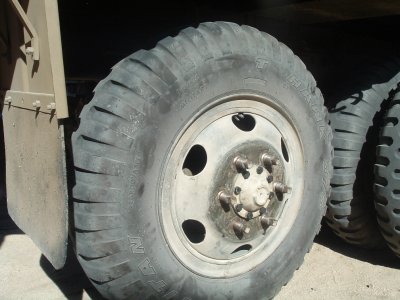 First hub singled . . . we didn't have enough lug nuts for all axles, so we are using the lugs for inside wheels |
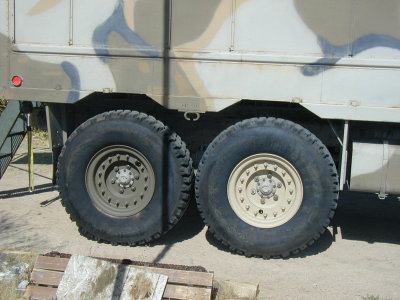
 The look of singled 9.00x20 |
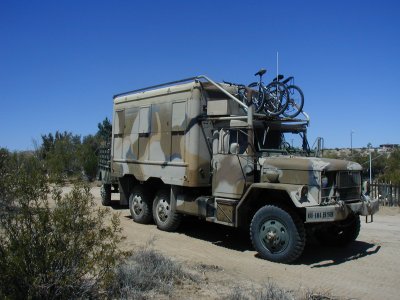
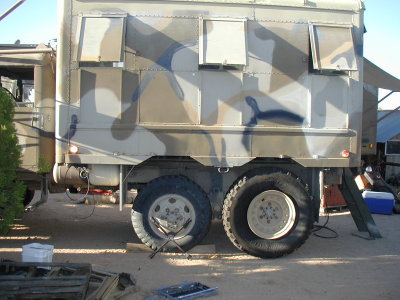
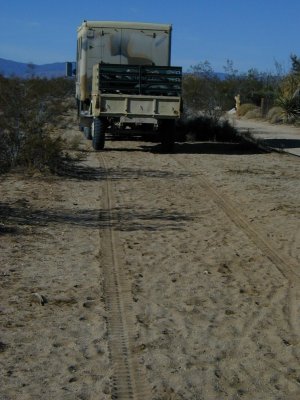 Way less tracks, . . . even w/ a trailer |
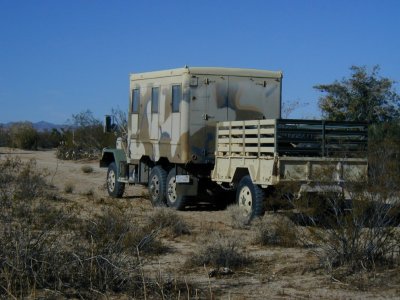 Her new look |
 We now have extra spares . . . at least till we change to over-size tires |
 And! It does handle lots better. |
 It's really her truck . . . I'm just the wrench. |
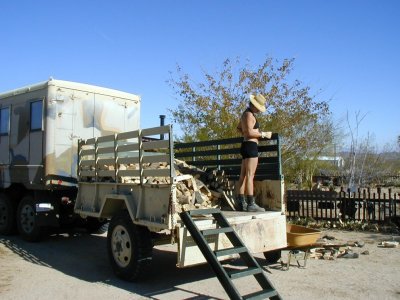 off-loading the firewood that we picked up while in the mountains changing to singles |
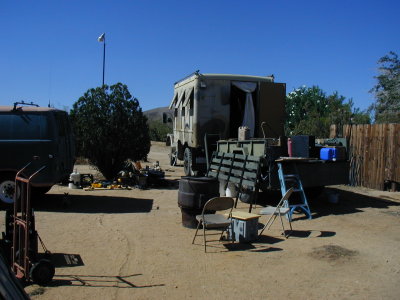
 Our last few days of summer! |
 Seven days later it's cold, . . . driving down to get 2 tons of gravel in the trailer she just emptied |
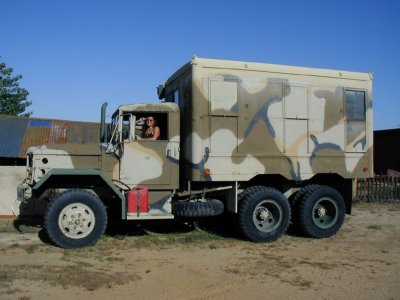
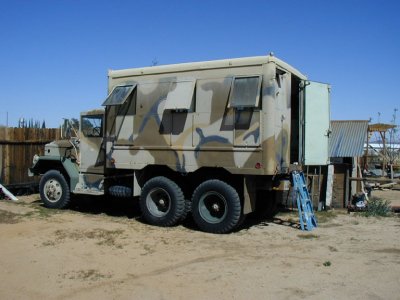
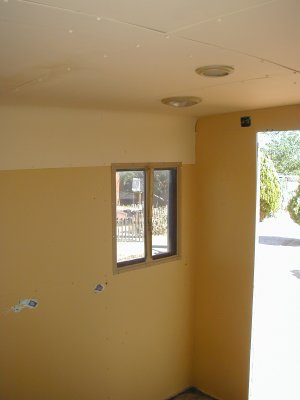
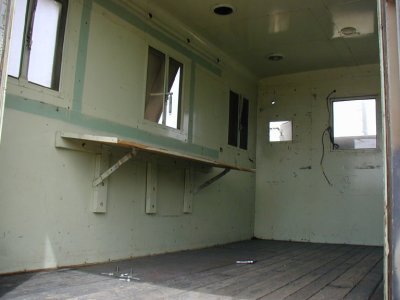 How it looked when we got it . . . |
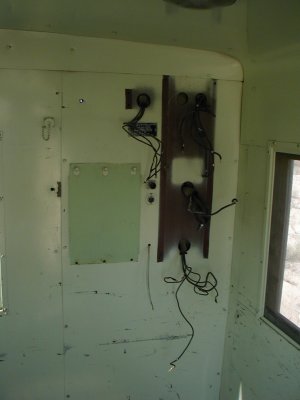
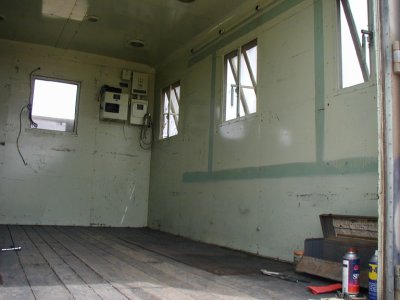 . . . |
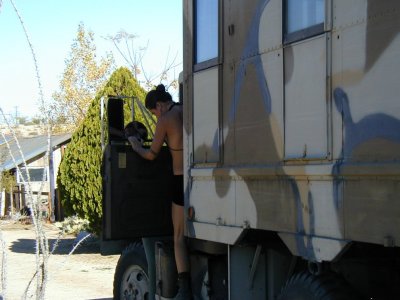
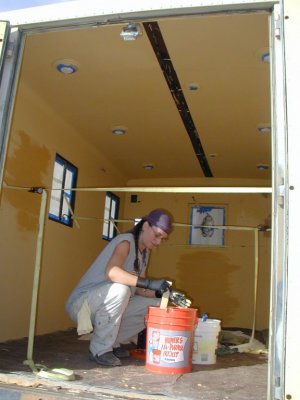
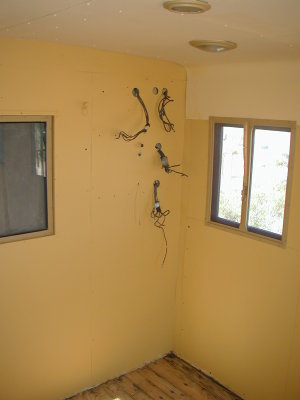
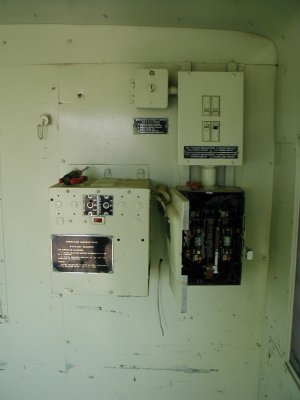 the "old school" control center |
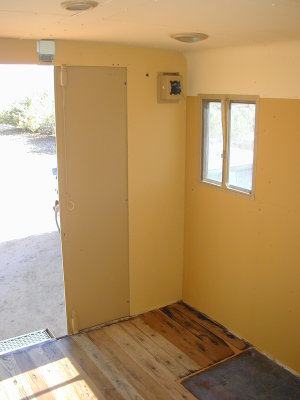
 after tear-out |
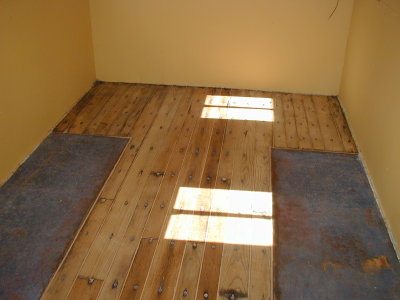
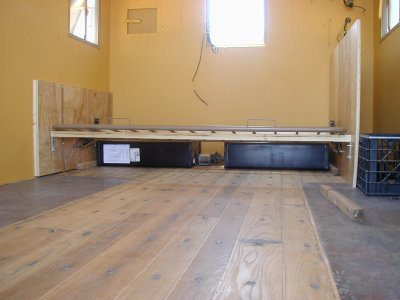
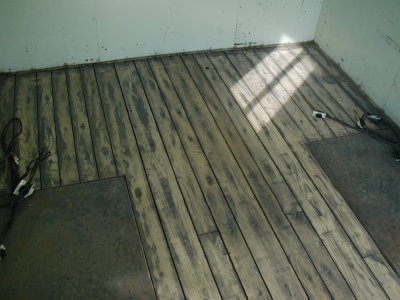 The oak floor after some sanding . . . more sanding yet to happen |
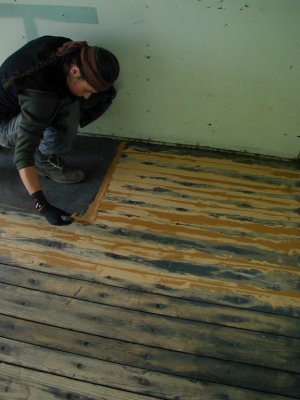 filling the floor |
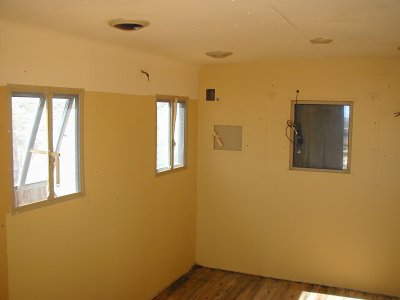
 the inside's getting its' new colors |
 P5290006.JPG |
 P5290007.JPG |
 P5290008.JPG |
 P5290009.JPG |
 P5290010.JPG |
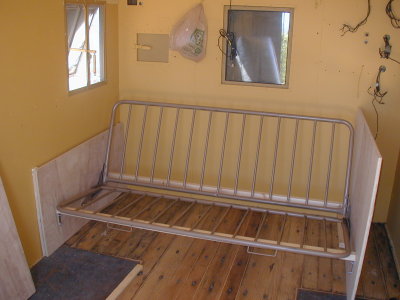
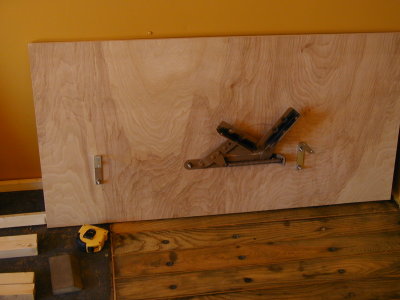 Took some hardware off a $5 (at the swapmeet) futon frame, |
 made my own footboard, |
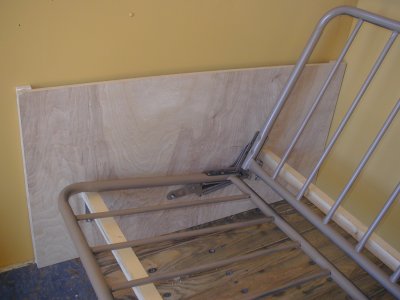
 and headboard with some birch ply |
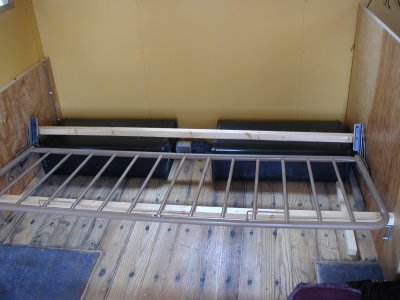
 . . . that started like this, |
 and spent a day w/ clamps and wood glue. |
 To get this |
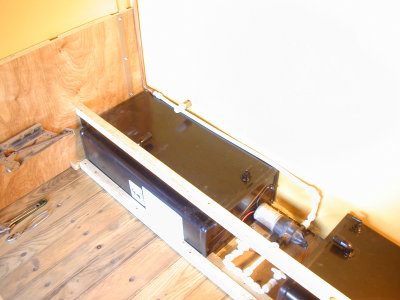
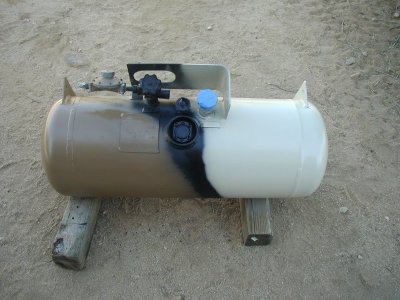
 put in two 15 gal water tanks, |
 with a Shureflow pump in between. |
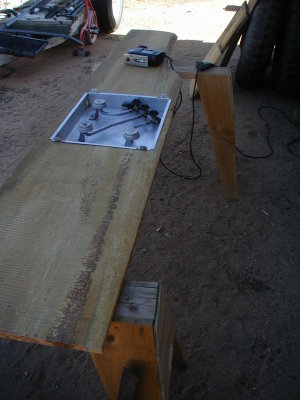
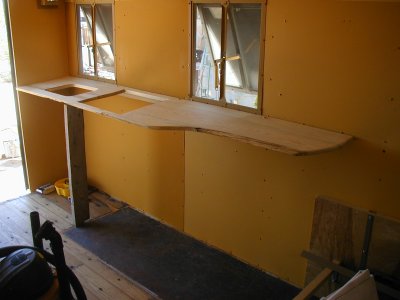
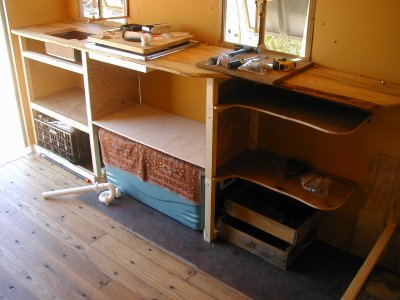
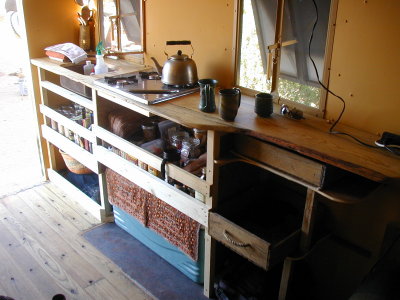
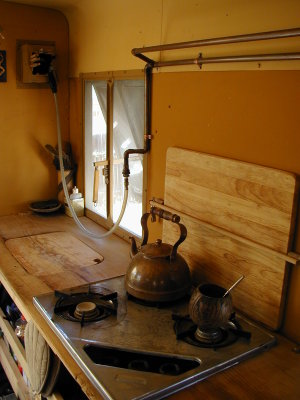
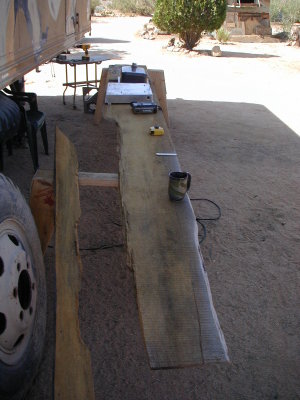 Started the kitchen counter while I waited on parts. |
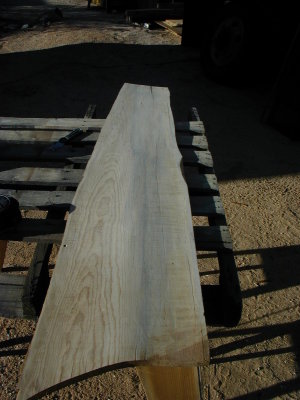
 One slab that I'll take this counter, and other shelves, out of |
 Shaped and planning the lay-out |
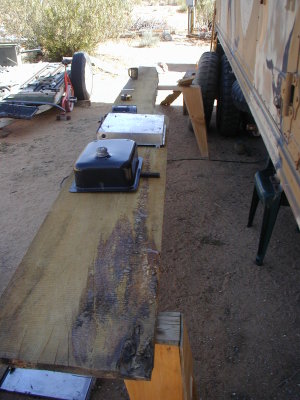
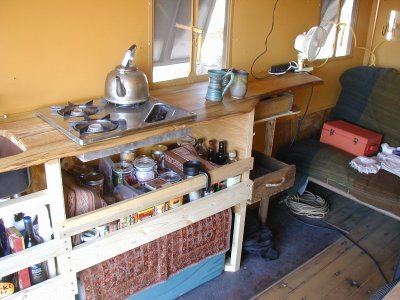
 stove in . . . |
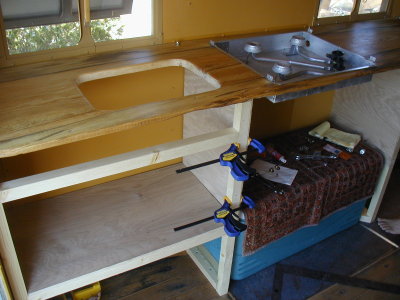
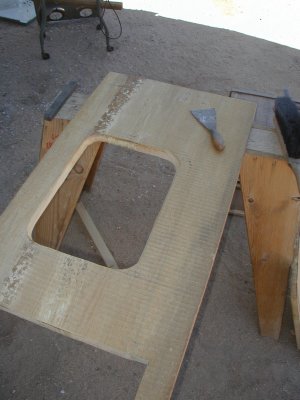 sink will be under counter mounted, |
 with a piece that fits back in. |
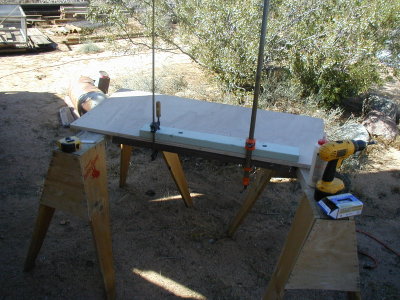
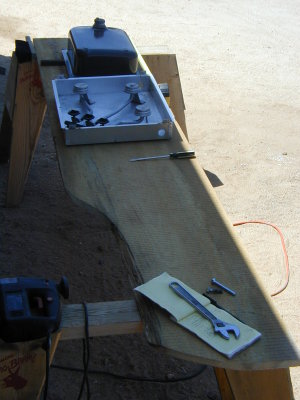
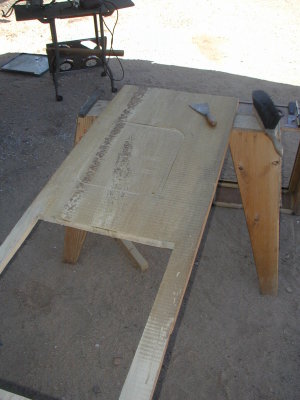
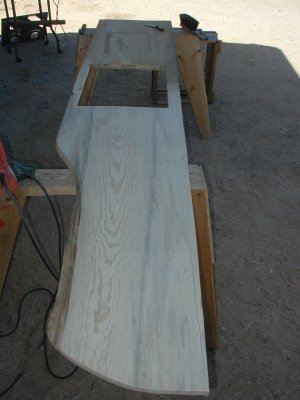 After some sanding . . . |
 Time to test fit |
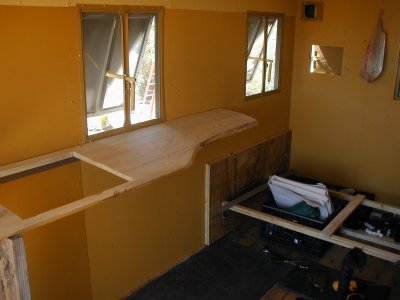 . . . |
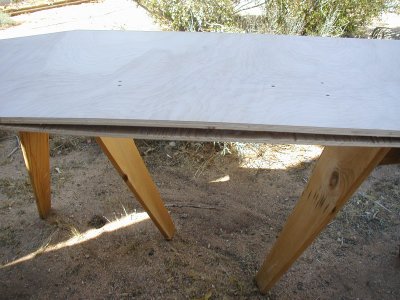
 Starting the framing |
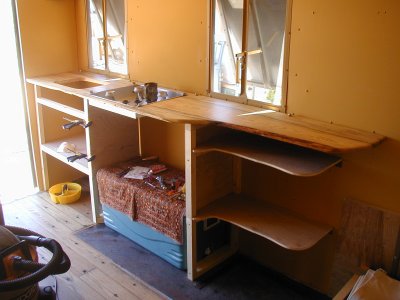 |
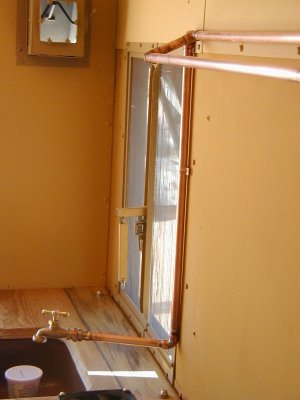
 Sink in and ready for plumbing |
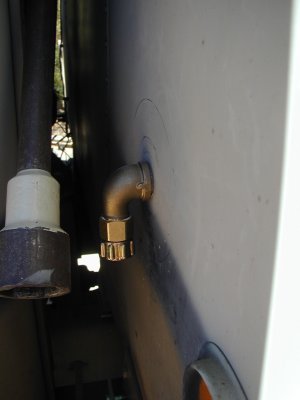
 Our water supply line |
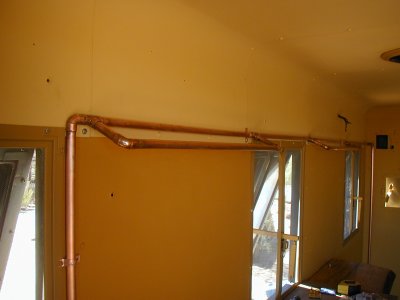 Surface plumbed with sweated copper |
 |
 |
 To a surflow pump between two 15 gal tanks |
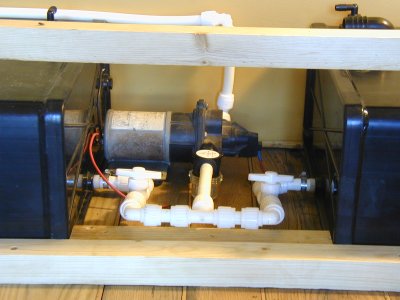 Each with it's own cut-off |
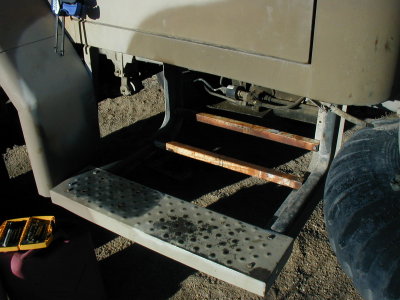
 Last of the framing for this trip |
 The wooden trays will be strapped in place |
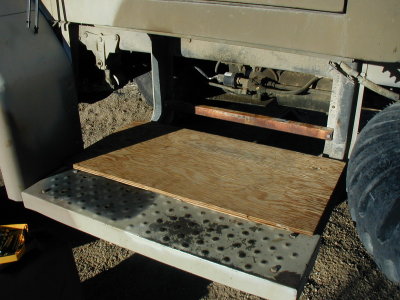
 Packed and usable |
 |
 Yes I do pack in glass, it has proved the best for me in the last 30 years of living in rigs. |
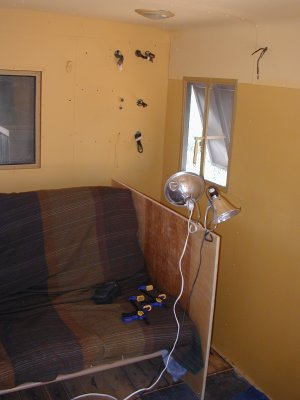
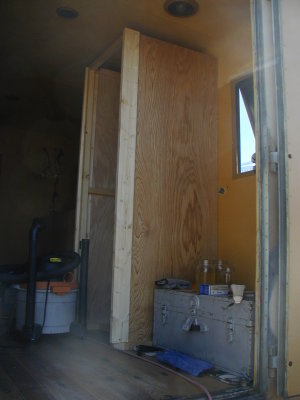 This was the toilet stall we made to pass RV status. It had a curtain. |
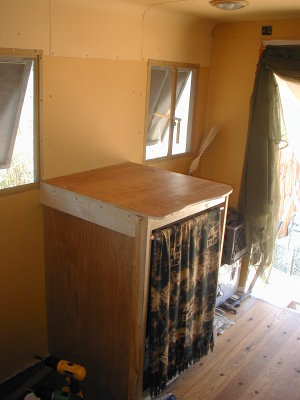 Which got turned into this as soon as we got back from the DMV, a closet/ counter top. |
 Now it looks kind of like this . . . |
 and it's time to connect this corner to the closet. |
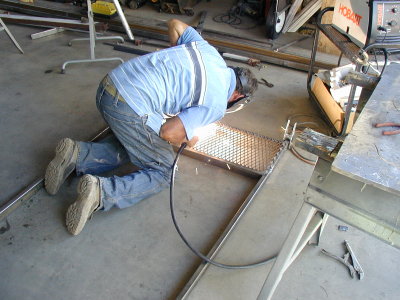
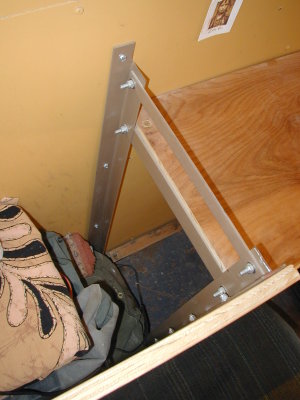 Some framing, . . . this is how you do it when you don't weld |
 there will be more framing around the top & against the wall |
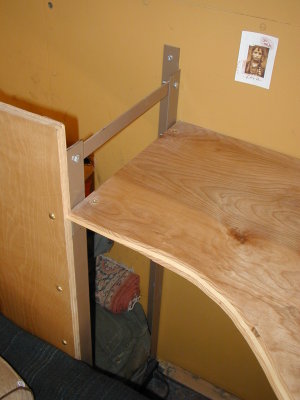 All bolted |
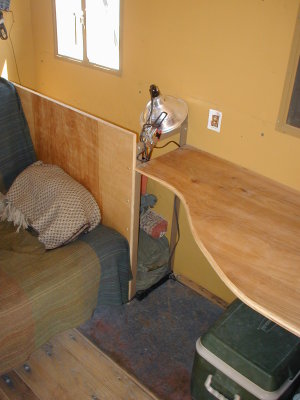 Future = opening lid & side door under the desk |
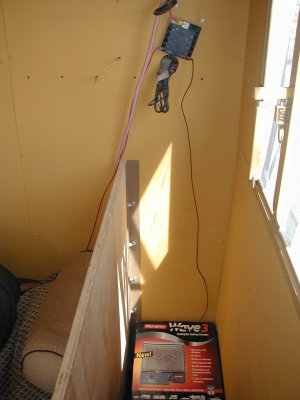
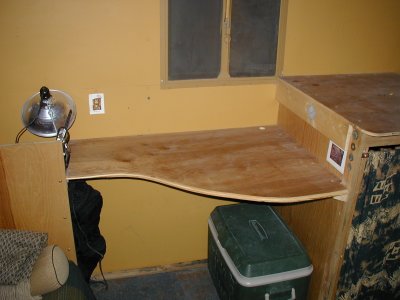 Connected |
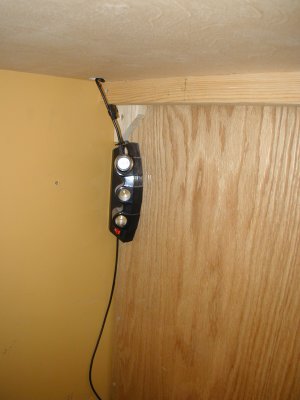 Wired for 12 volt |
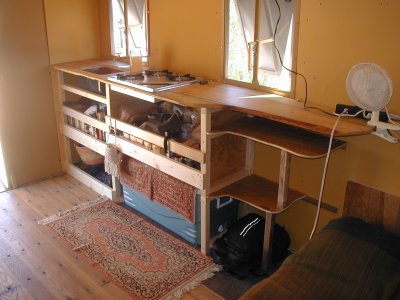
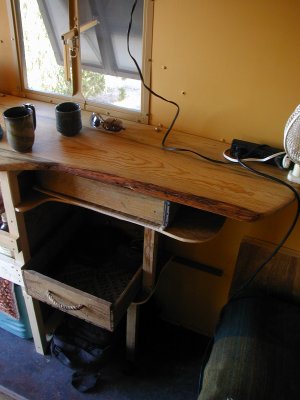
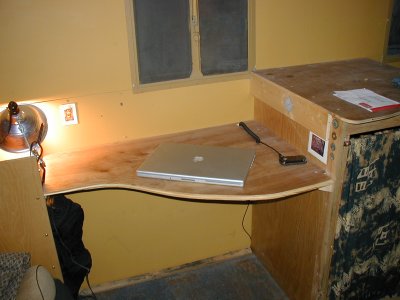 Office on the road |
 Time for some "Outside" mods. Canvas curtain/ entrance shade |
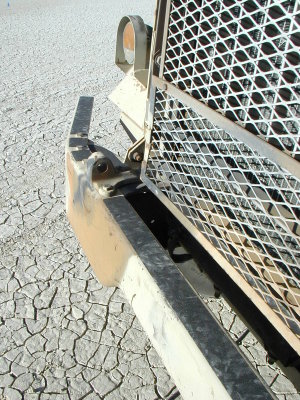
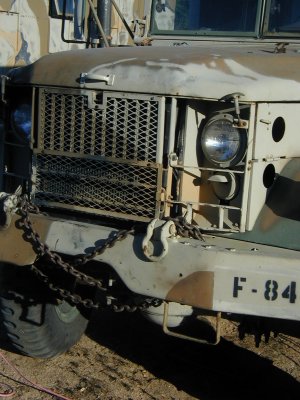 Added a handle for lifting the hood & a step on the bumper |
 Making some space for the propane tank |
 painted and ready for install |
 in place . . . next remounting the spare holder. |
 Needs a little spacer to clear the tank |
 |
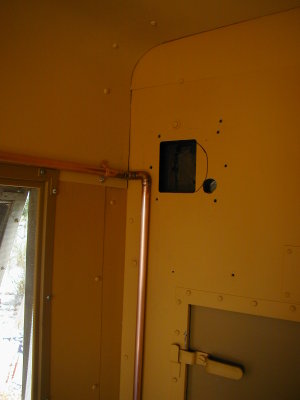
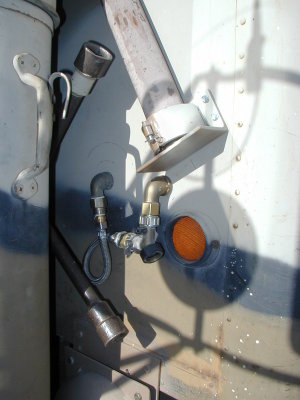
 "water tank fill" location |
 |
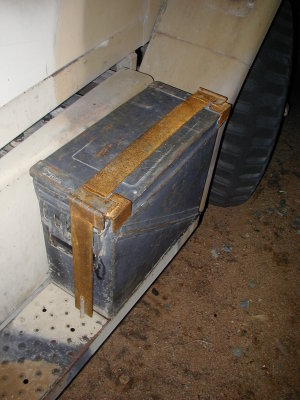 A way to hold an ammo box on the step. It does get painted later. |
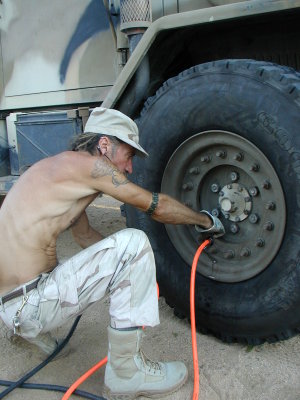
 Some tools. Breaker bar and air hose for the on-board compressor. |
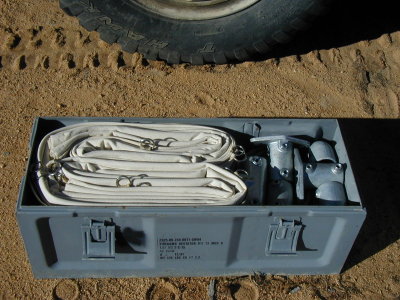 The 12'x12' canvas shade for the side of the truck stores nicely in an ammo box w/ all it's fittings. |
 The legs fit crosswise above the frame. |
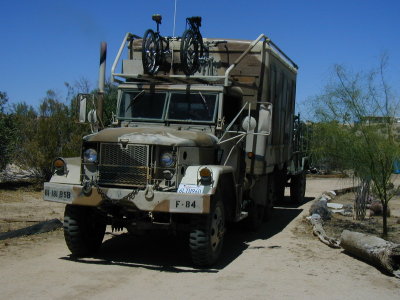
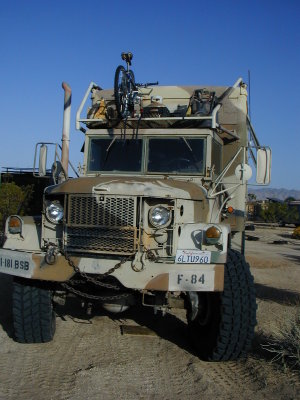
 Cab-Over Rack & Branch Pushers |
 The rack is based off the Box |
 with room (hopefuly enough) for the cab to flex. |
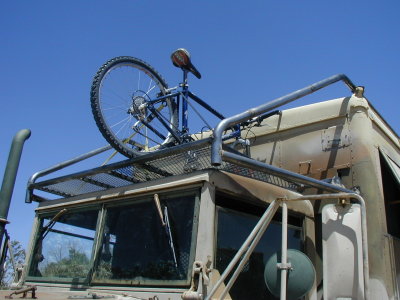 It will hold 2 bikes, a dual 12v batt box, and things yet to be discovered |
 with out raising our headroom needs. |
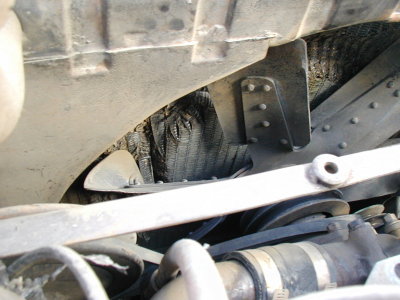
 Had a wheel seal that leaked into the bearings, |
 cleaned and repacked it, |
 Dropped the tranny again to un-plug an oil return hole. |
 Then another wheel wanted the same treatment, I let Tuff take off the wheel . . . done enough of that. |
 Bagged while we get parts |
 with that done all that's needed is to figure out the trailer's configuring and build that . . . |
 Two days later we roll out of our Oasis |
 and head north. |
 That Adventure is @ DirtTrackTravelers.com |
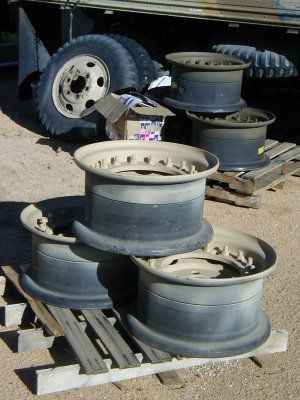 Later in the year we got some better rims in. |
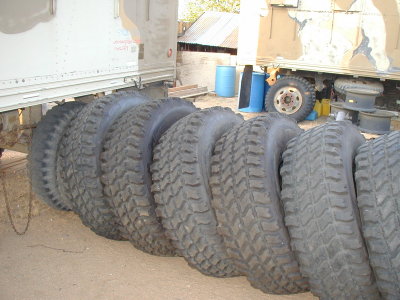
 6 months after that we offloaded some tires for them. |
 |
 We also picked up a 50 gal fuel tank that we're hoping to stuff under the drivers door, |
 The rims are 2 piece need to be unbolted to put the tire on. |
 Tire installed |
 Airing up |
 First look |
 |
 A few days later we did another one. |
 That weekend we had a party. |
 |
 You'd be amazed how long it takes to fill one of these tires. |
 Loads of soapy water to let the bead seat better. |
 Quite a difference |
 The left wheel still does not have it's other half on. |
 Last wheel to mount. |
 This was all done with only the tools that you see. |
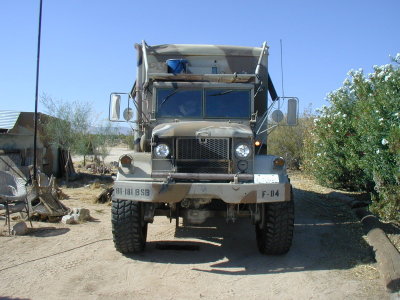
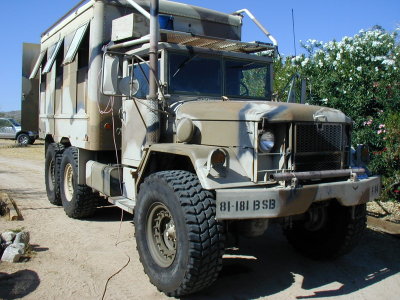 How she looks now |
 |
 Couldn't go any bigger. |
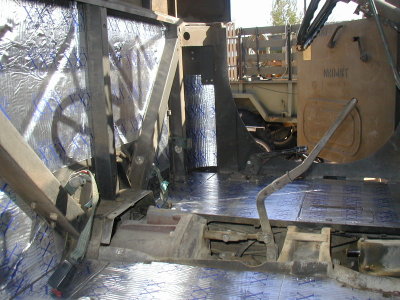 While we were waiting on tires we stripped the cab and put in some sound deadening. |
 It was installed in a way so that we can still remove the panels in the middle. |
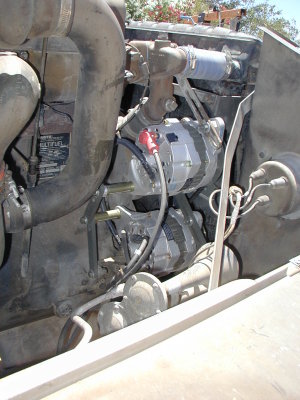 We also did a duel alternator install. |
 Time to test those tires. |
 |
 |
 Had a buddy fab up some holding brackets for the �Help in Taking Off the Wheel� bar. |
 Just need to take some corners off. |
 Added some No-Slip to the top of the bumper. |
 Starting to make the space ready for the aux tank. It will still be a bit before I can mount the tank. Till then. . . |
 Piece of scrap for the base. |
 Now it'll hold 4 jerry cans = 20 gals |
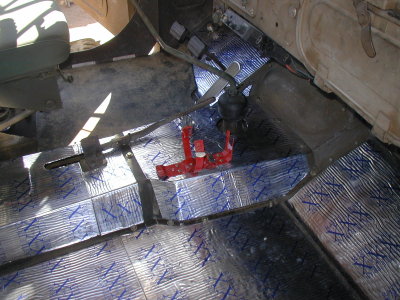
 The other thing in the way was the parking brake cable routing. You can see it in the previous photos. |
 I removed the unit from the floor. |
 Had an angle fab'd up to allow me to mount it to the vertical side instead of the floor. |
 I then drilled a hole in the back wall of the cab and routed the cable that way. |
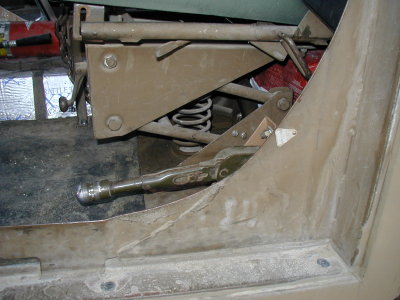 The lever is still in about the same place, I just reversed the action. |
 Time to test fit the tank |
 |
 Changed the mounts from the ones holding the step to ones that would hold the tank. |
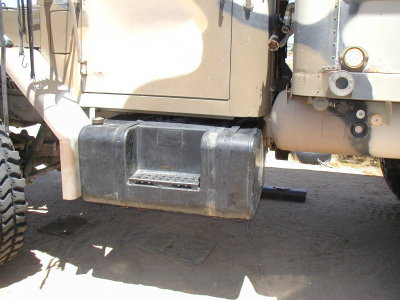 Fits in nice. |
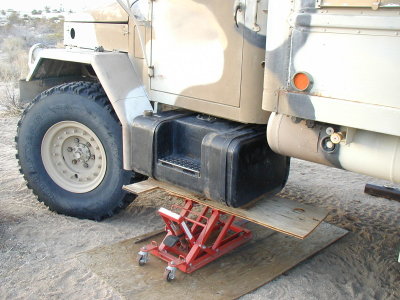
 Problems! |
 Damage |
 The first thing is to do is catch the coolant that's quickly running out. |
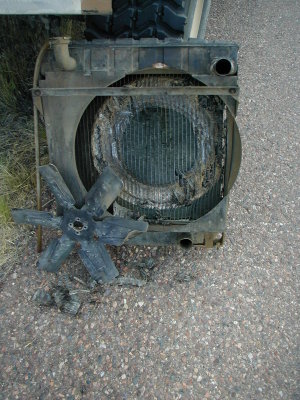 Scrap! |
 Rad, water pump, fan belts, all removed, or out of the way. |
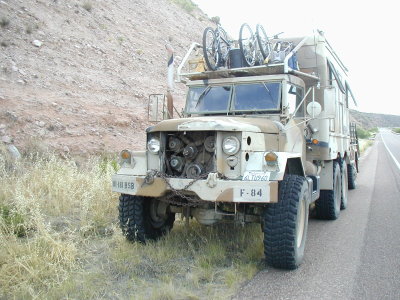 Time to move her off the road. |
 This pull-off was just behind me a � mile. Good spot to be "broke-down" at. |
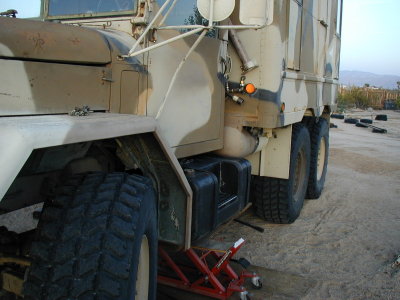
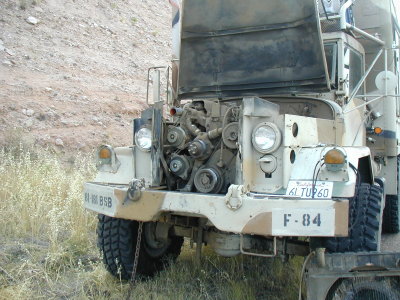
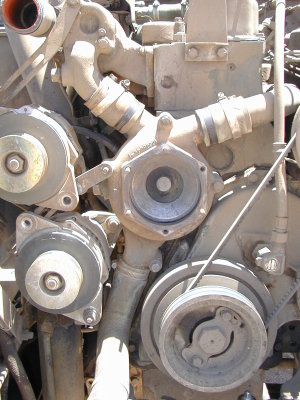 Water pump housing w/o the pump and fan. |
 A good used rad and water pump delivered by a friend. Next morning back on the road. |
 The cab-over rack loaded. |
 Mtn bike, extra LP tank, container w/ potable water hose, tool rack w/ shovel & mattock, and jack stand. |
 Time to contemplate what next. |
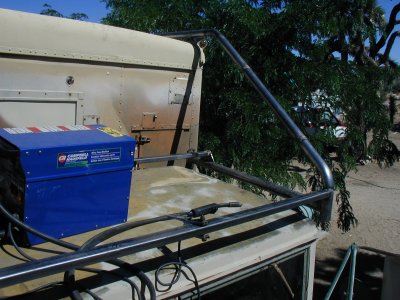
 We decided that bumping the electrical system was next. |
 The frame was designed to mount between the rails and still be able to tilt up to catch better sun at northern lats, or winter. |
 The panel was about 18� of the full width. That allowed us to create a space to stand during tilting. |
 we also needed to lift, and add more support to, the cab-over rack. |
 The base raised, |
 and supports going in. |
 The finished and painted supports |
 Panel mounted |
 and In a raised position. |
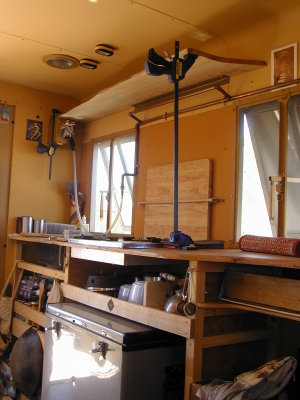
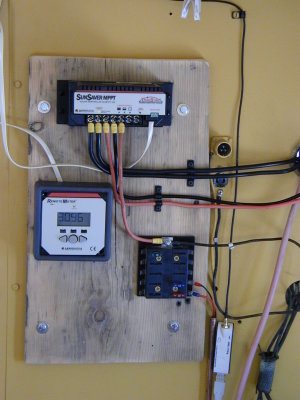 The start of the control center |
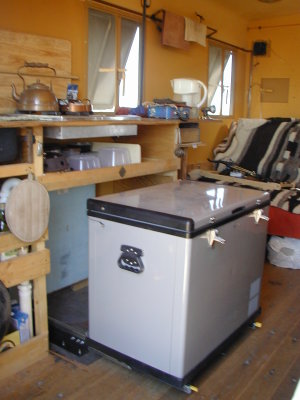
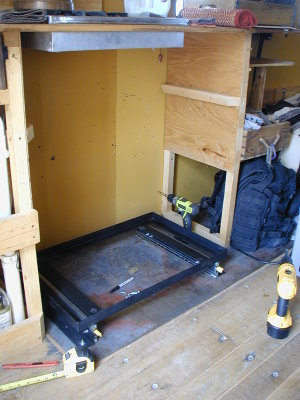 Now for the main reason for the power upgrade, a refrigerator. |
 The unit that's going in. 85 quart 24/12/110v fridge, or freezer. It will do both. |
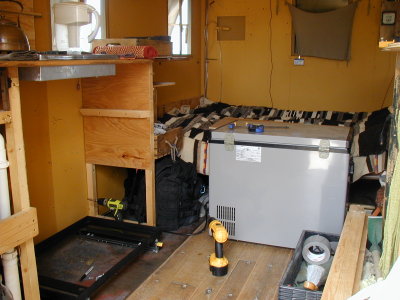
 Mounted in the frame and a new shelf over it. |
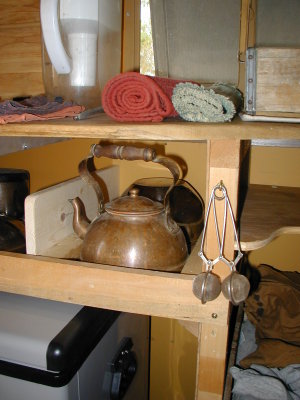 I divided the shelf into a couple of sections so that things would stay in place. |
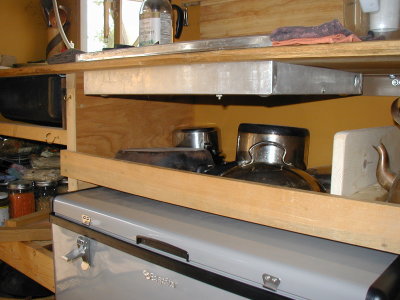 The next stage would be to face this and make slide-outs. That's in the future, other things are needed now. |
 Slide out to open. |
 Now that the area around the fridge was re-configured, I was going to do a shelf above the windows for all the displaced stuff. |
 I started with the off-cut from the kitchen counter. Sanded it smooth, and cut a straight edge for the back side. |
 Shelf / Exhaust-hood in position. |
 It's supported on one end by the box that's the vent, and I added some angle to the side wall. |
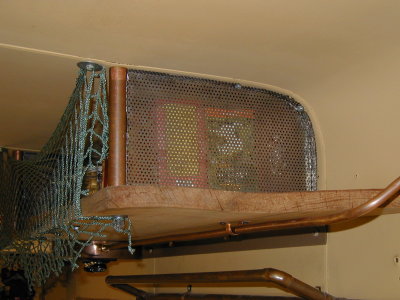 Two of these mounted to the ribs help support the shelf |
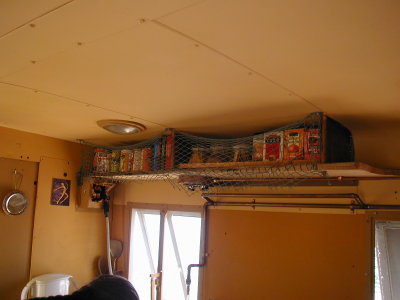 I added some stops and netted the front as a temp till we fab up something fancy. |
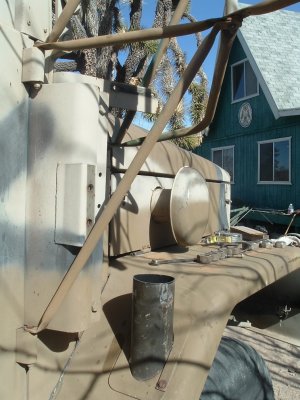
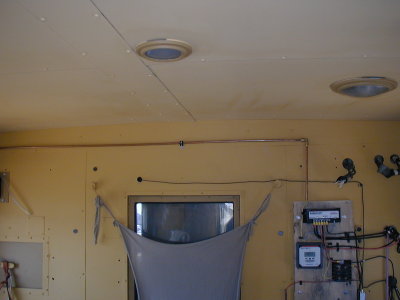
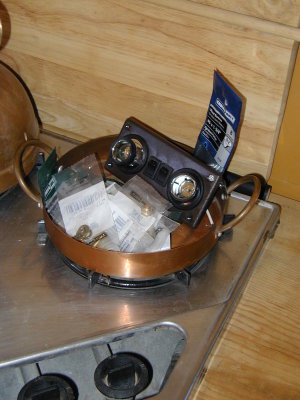 The other thing solar was going to give us was lights. I put together this collection of parts to make a light over the stove. |
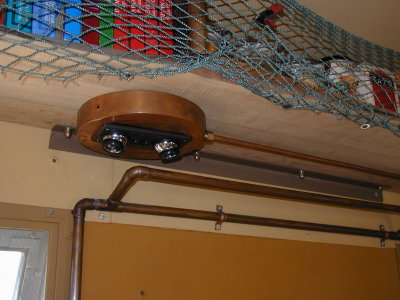 This light needed to be flush mounted and I didn't want to cut into the shelf. This was my solution. |
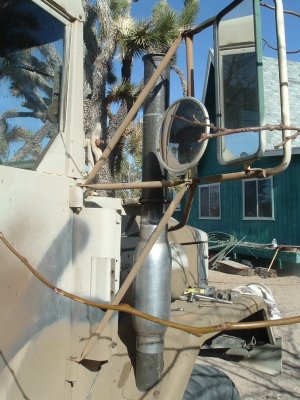
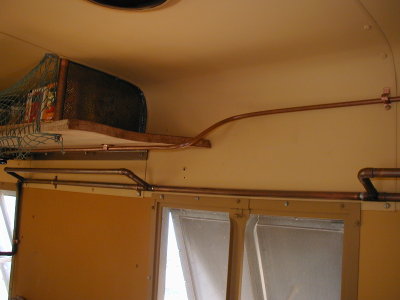 Some copper tubing for conduit, |
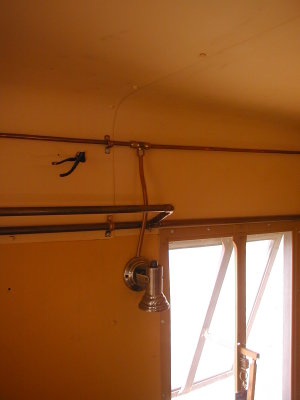 off-shoot for a reading light, |
 and back to the source. At some point I'll find the right box to mount here and enclose all the controls. |
| previous page | pages 1 2 3 4 5 6 7 ALL | next page |
| comment |
| joseantonio | 12-Jun-2014 04:16 | |
| Peg | 07-Nov-2010 20:50 | |
| Peter | 22-Sep-2010 19:04 | |
| elise | 06-Aug-2010 05:38 | |