


|
|
|
|
|
|
| LowTech | profile | all galleries >> World Views >> Spacial Transformations >> Rigs >> She Beast | tree view | thumbnails | slideshow |
| previous page | pages 1 2 3 4 5 6 7 ALL | next page |
 We decided that bumping the electrical system was next. |
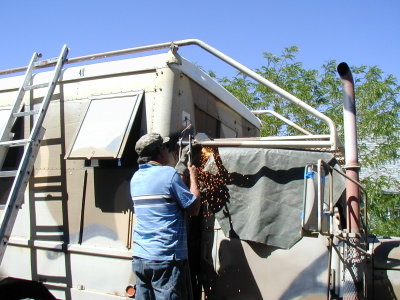
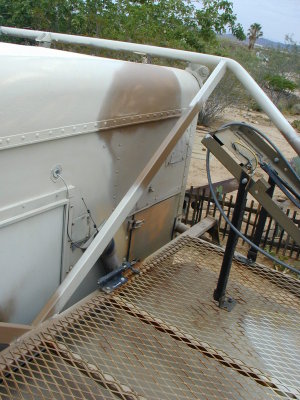
 The frame was designed to mount between the rails and still be able to tilt up to catch better sun at northern lats, or winter. |
 The panel was about 18� of the full width. That allowed us to create a space to stand during tilting. |
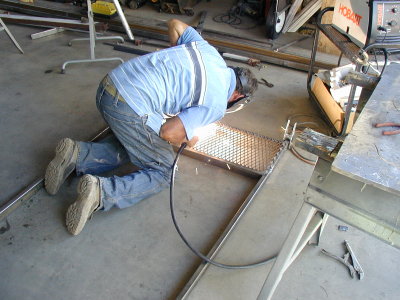
 we also needed to lift, and add more support to, the cab-over rack. |
 The base raised, |
 and supports going in. |
 The finished and painted supports |
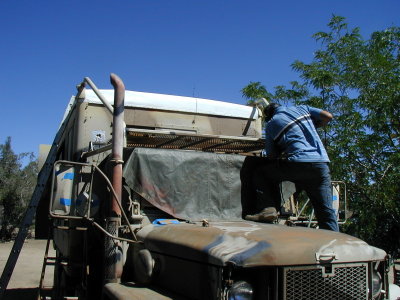
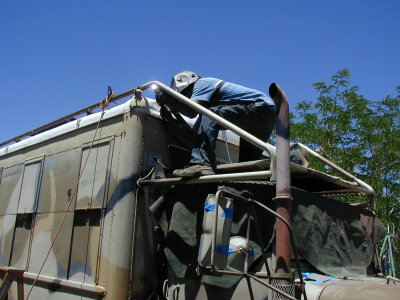
 Panel mounted |
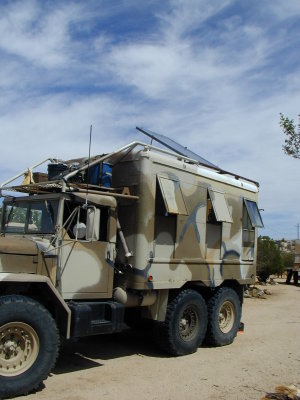 and In a raised position. |
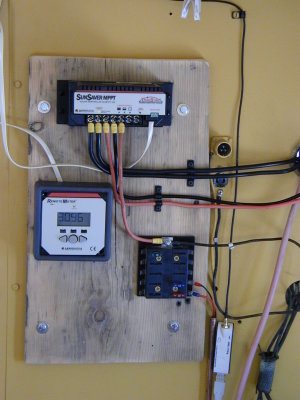 The start of the control center |
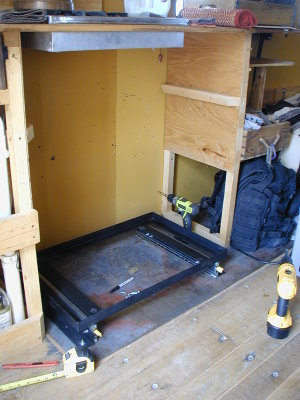 Now for the main reason for the power upgrade, a refrigerator. |
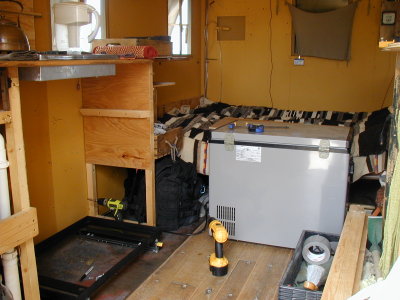 The unit that's going in. 85 quart 24/12/110v fridge, or freezer. It will do both. |
 Mounted in the frame and a new shelf over it. |
 I divided the shelf into a couple of sections so that things would stay in place. |
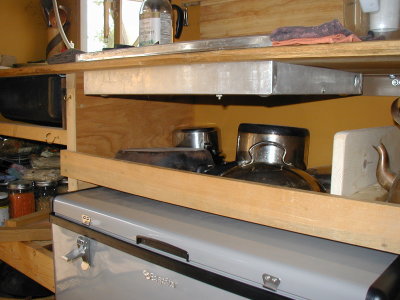 The next stage would be to face this and make slide-outs. That's in the future, other things are needed now. |
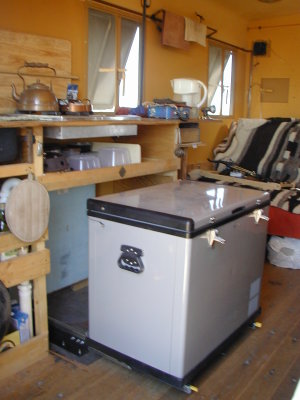 Slide out to open. |
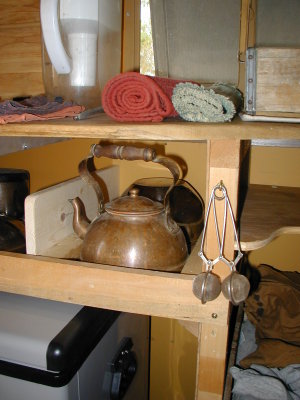
 Now that the area around the fridge was re-configured, I was going to do a shelf above the windows for all the displaced stuff. |
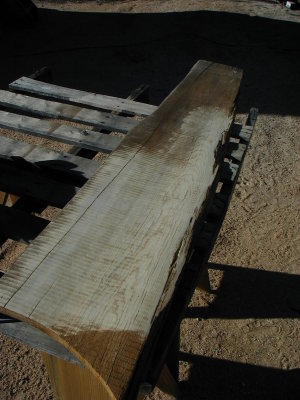
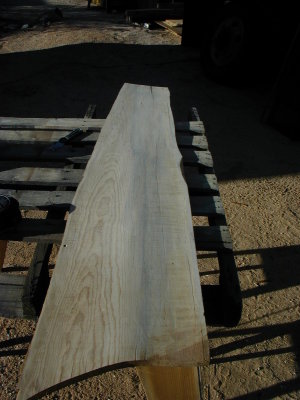 I started with the off-cut from the kitchen counter. Sanded it smooth, and cut a straight edge for the back side. |
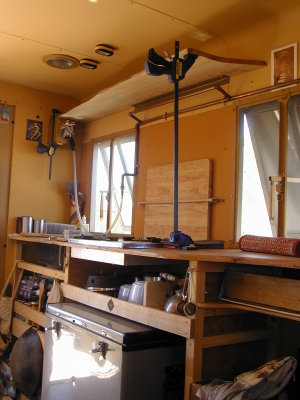 Shelf / Exhaust-hood in position. |
 It's supported on one end by the box that's the vent, and I added some angle to the side wall. |
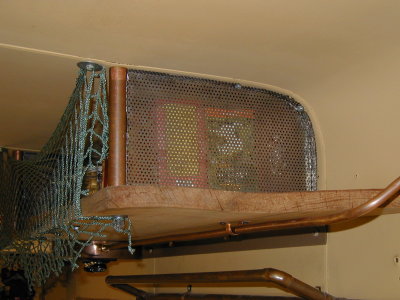 Two of these mounted to the ribs help support the shelf |
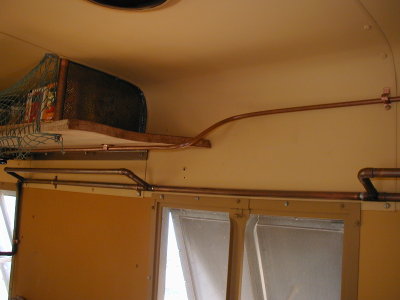
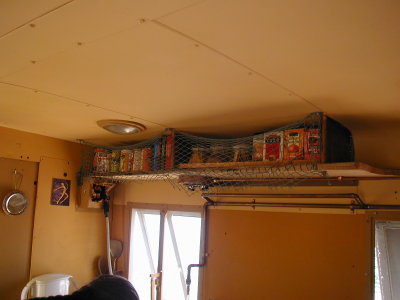 I added some stops and netted the front as a temp till we fab up something fancy. |
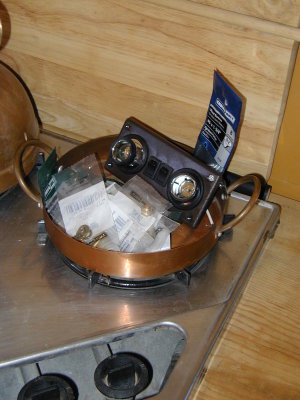 The other thing solar was going to give us was lights. I put together this collection of parts to make a light over the stove. |
 This light needed to be flush mounted and I didn't want to cut into the shelf. This was my solution. |
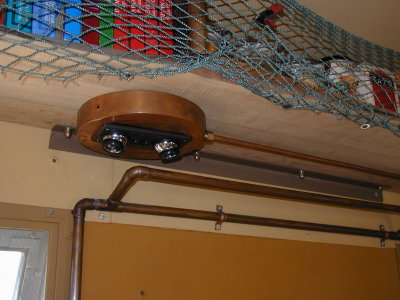
 Some copper tubing for conduit, |
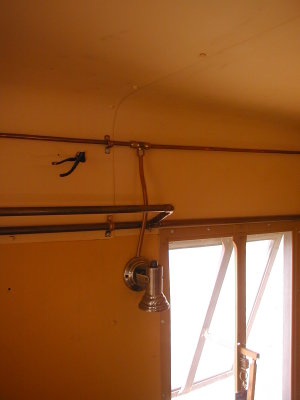 off-shoot for a reading light, |
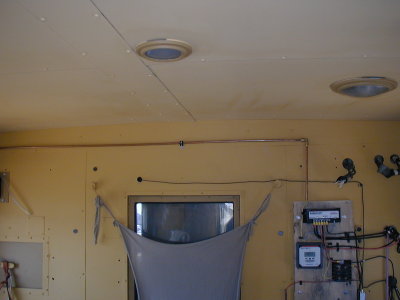 and back to the source. At some point I'll find the right box to mount here and enclose all the controls. |
| previous page | pages 1 2 3 4 5 6 7 ALL | next page |
| comment |
| joseantonio | 12-Jun-2014 04:16 | |
| Peg | 07-Nov-2010 20:50 | |
| Peter | 22-Sep-2010 19:04 | |
| elise | 06-Aug-2010 05:38 | |