05-JUL-2013
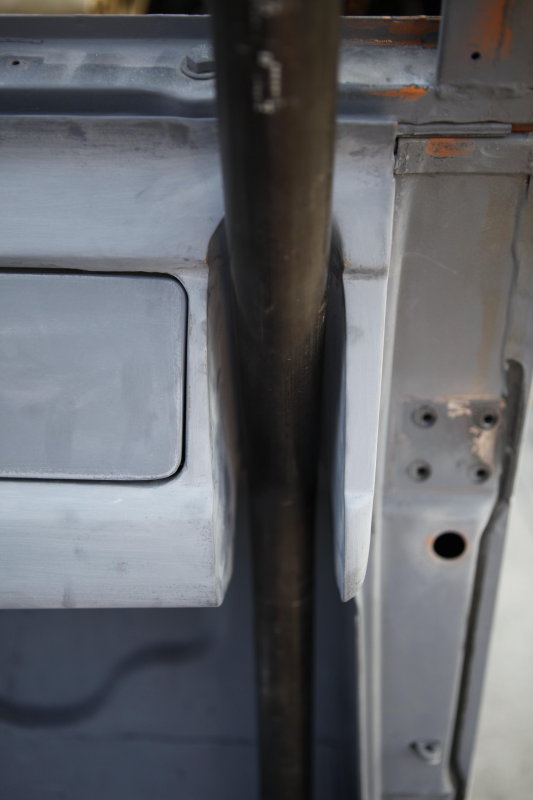
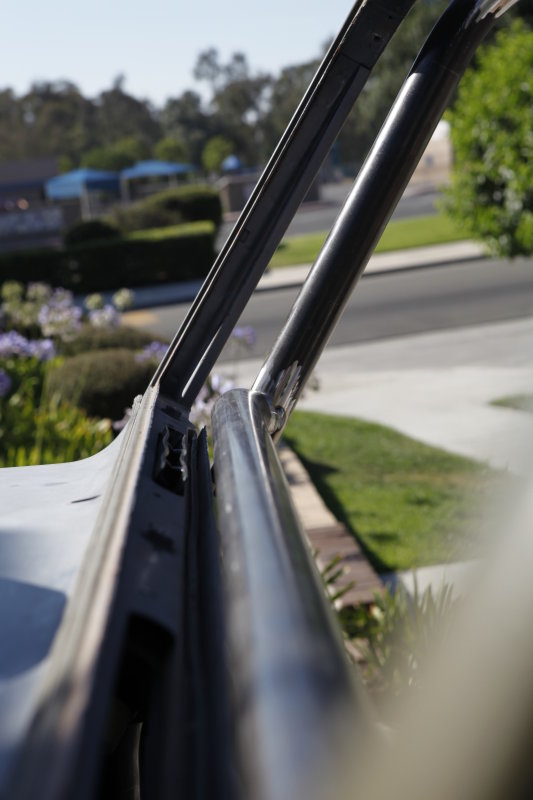
Clearance around the tube
Another angle of the clearance between the tube and the dash slot.
Hopefully with body flex and everything moving around offroad that there will be enough room for the roll cage tube to move without hitting the sides of the dash...
....too much!
05-JUL-2013
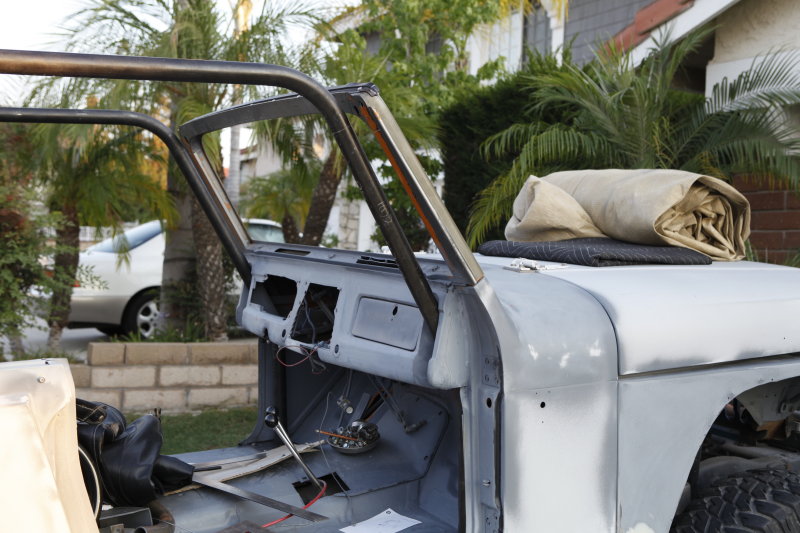
Front cage section
With the addition of the dash slots, it allowed me to tuck the vertical section of the cage more forward and out of the way of getting in and out of the Jeep and the angle of the cage running next to the windshield frame is nice and tight.
05-JUL-2013
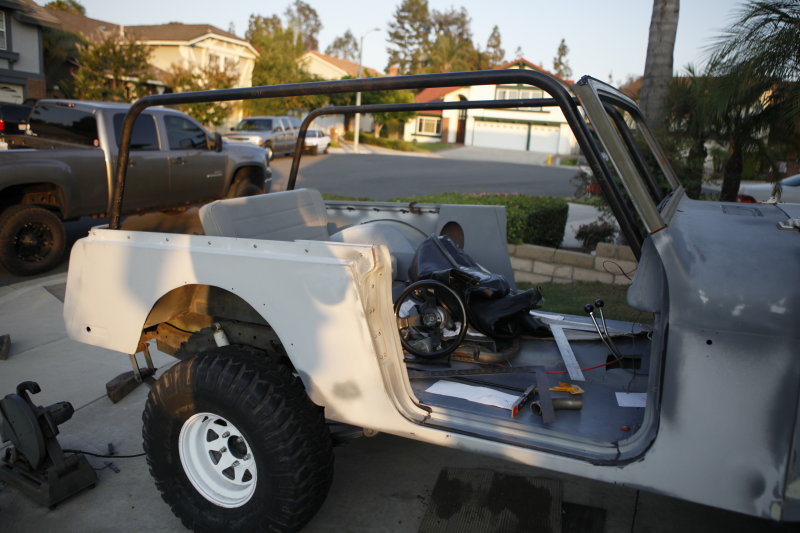
Main frames both complete
Both main pieces are bent and in place. I have a little fine tuning to do to make sure that the height is the same on both sides and that both pieces are straight and vertical.
One problem that I need to fix is that I need to be able to remove the cage so that I can paint the tub and also paint the cage since they will be painted different colors. The mounting on the C pillar is tight in the back corners close to the back side of the tail lights and because the angle of that section of the body angles inward it will make it virtually impossible to remove the cage.
Some re-engineering of the back tubes will need to be done to fix this issue!
22-JUL-2013
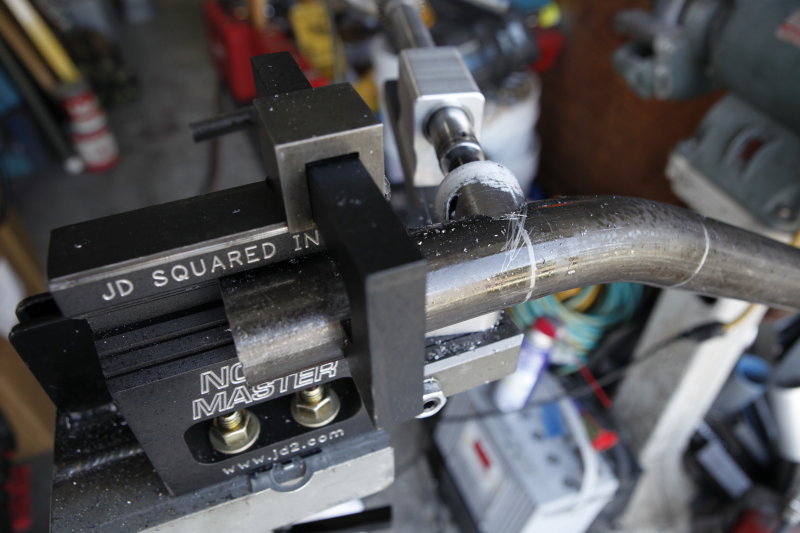
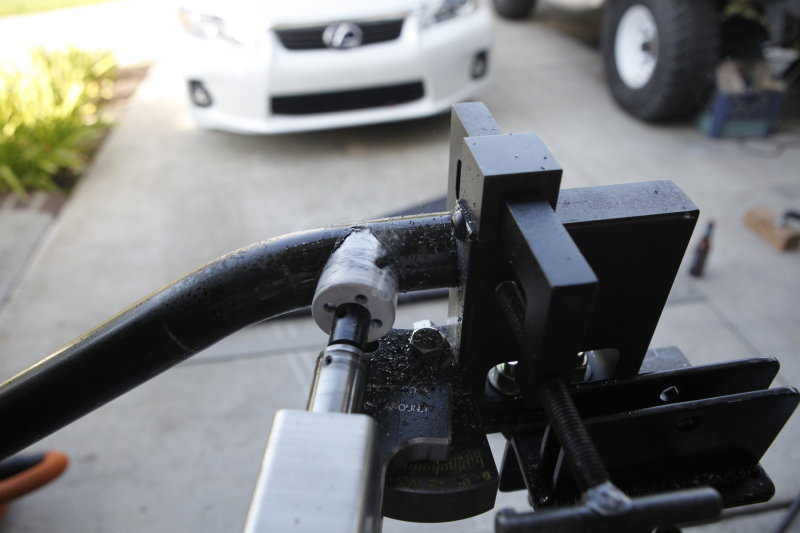
Bending and notching
Now begins the bending and notching of the main frame cross bars, the JD 2 Notch Master works way better that the cheesy Harbor Freight notcher that I started with.
I welded an extension mount to my bead roller mounting tube head to mount the notcher to. Once the mount is bolted to the floor it is pretty stable.
22-JUL-2013
Upgraded parts
I upgraded the shaft on the Notch Master to Swag Offroad's Supershaft which allows a better mount for the hole saws. Also upgraded on the notcher is Swag's "Reach Around arm" that allows the notcher much more versatility in notching angles.
Since I am doing many offset bends with weird angled notches, this upgraded arm was a must.
13-JUL-2013
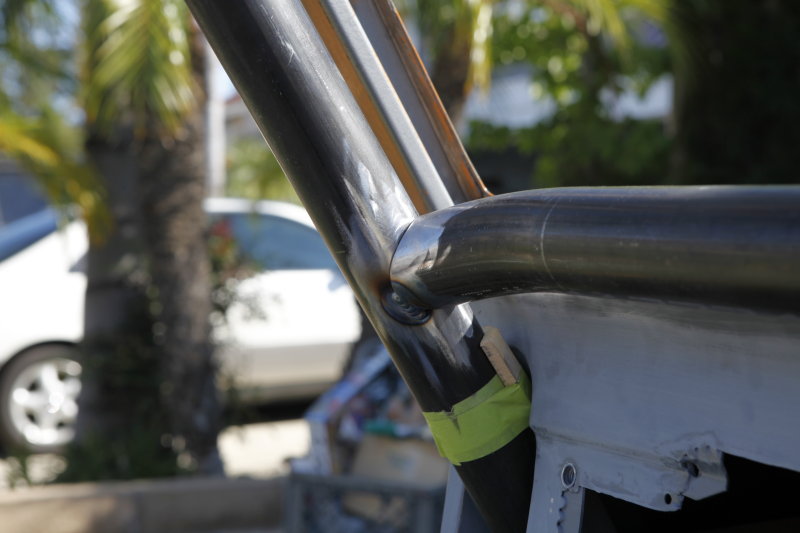
"A" pillar windshield bar
Part of my idea of my cage is to make it roomy and not cramped, hence the reason for the frenched cutouts in the dash. So I bent both of the A pillar windshield bars to give me more room forward and overhead.
I cut some wood spacers and taped them to the main frame to keep the gaps consistent in my dash cutouts.
13-JUL-2013
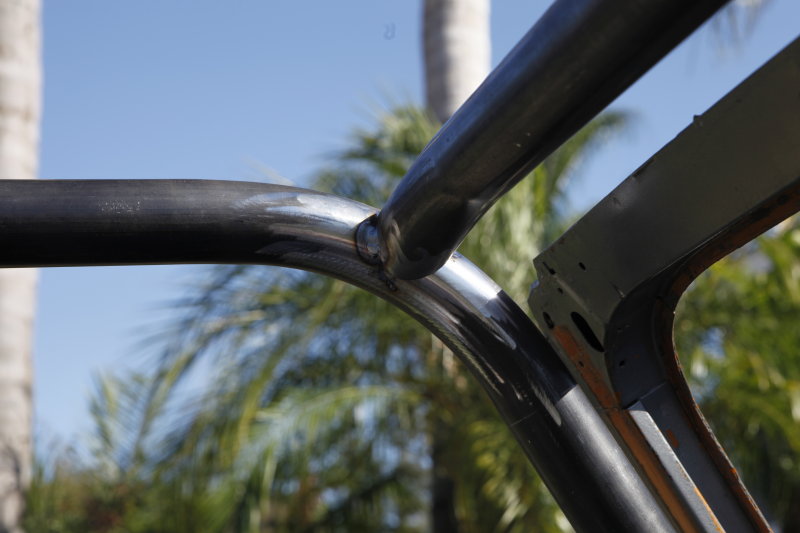
Lower windshield bar tacked in place
I'm happy with the bends and mounting of the lower windshield bar, it's close to the dash but not too close that it will bang into the dash while driving off road...
....I hope!
13-JUL-2013
Upper A pillar bar in place
The upper windshield bar bent, notched and tacked in place. The slight 30 degree bend offset in the tube will allow the height in the front of the cage to provide good headroom.
13-JUL-2013
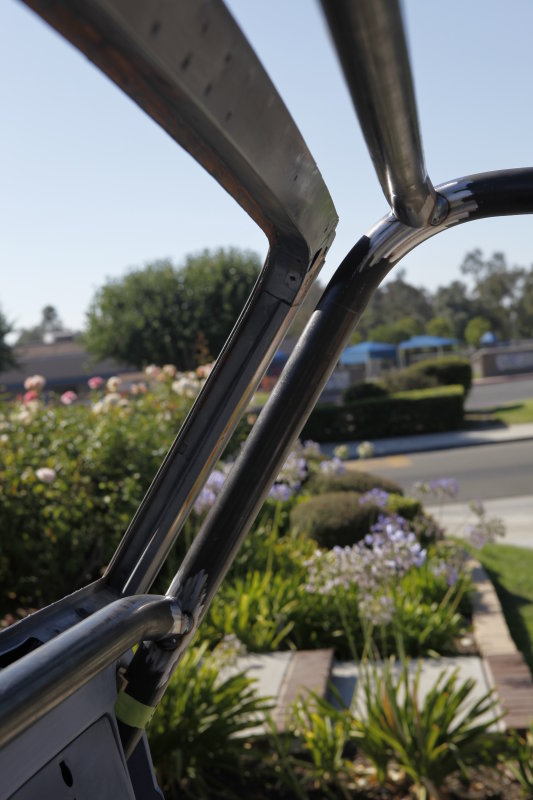
Side view or the A pillar bars
With both upper and lower A pillar windshield bars tacked in place I can proceed to the B pillar. My plan is to have overhead connecting bars from the A to B that will provide strength as well as a support for a small overhead console. Headroom will be priority in the decision of where the bars will go.
13-JUL-2013
Lower bar placement
This shot shows the placement of the lower bar in relation to the dash.
13-JUL-2013
B pillar bars
I bent the B pillar support bars so that they hugged the inside of the tub allowing for more seat room and the top bar has a slight rise above the main frame to allow for ample headroom.
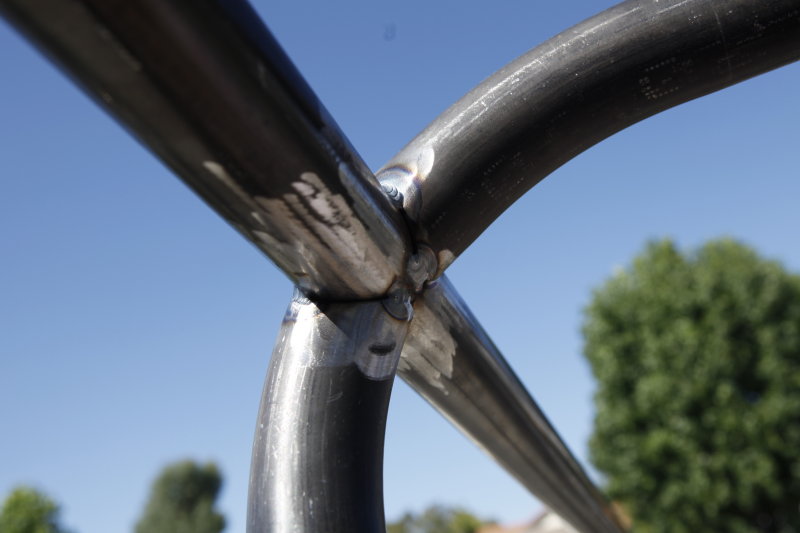
13-JUL-2013
B pillar side view
I made the B pillar cross bar first and then made my support bars, but because I have a slight angle of my support bars my cross bar didn't really match the angle of the vertical support bars mainly because I notched it at 90 degrees. I didn't notice it until it was all tacked up.
I ended up making a new cross bar but rolling it back about 8 degrees before notching it. The end result was a much better matching of the three bars.