


|
|
|
|
|
|
| Keith Luken | profile | all galleries >> Galleries >> House Re-Pipe Project 2022 | tree view | thumbnails | slideshow | map |
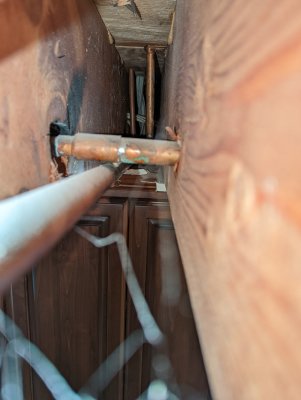
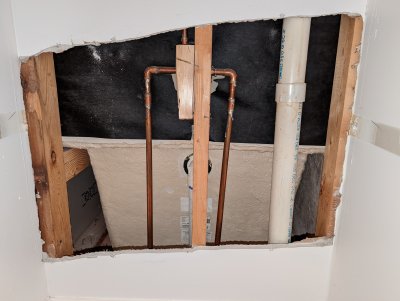
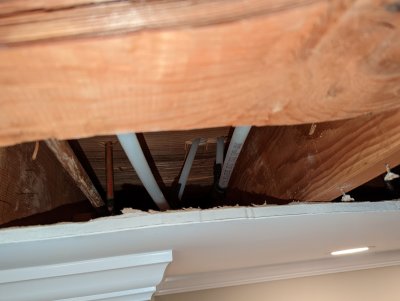
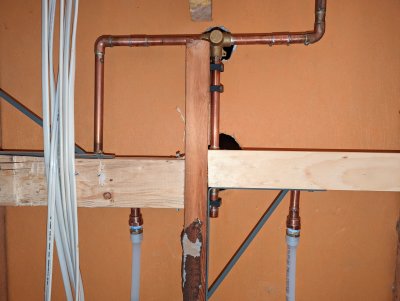
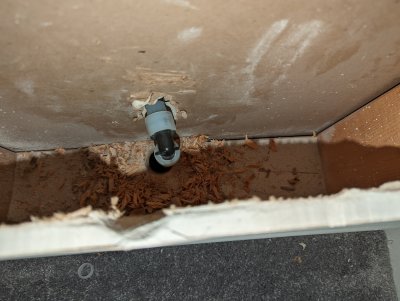
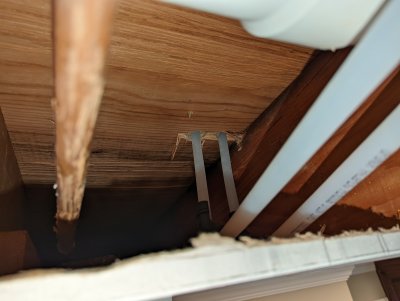
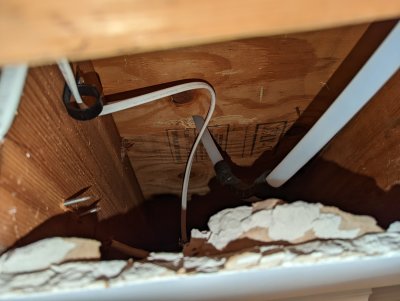
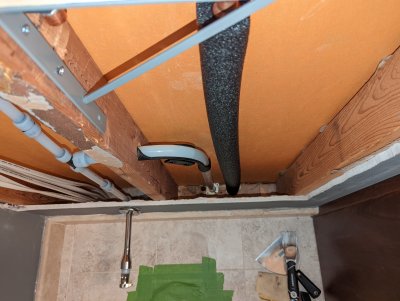
 Pipes - Kitchen Pipe Location from Basement.jpg |
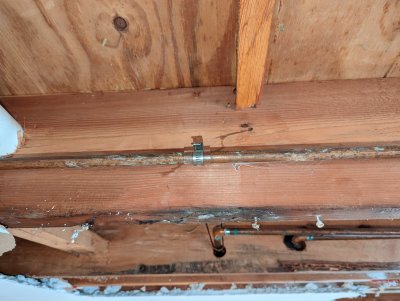
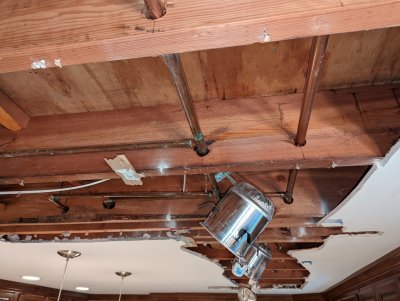
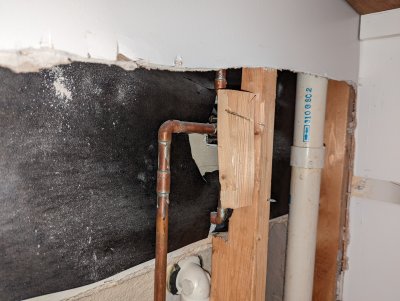
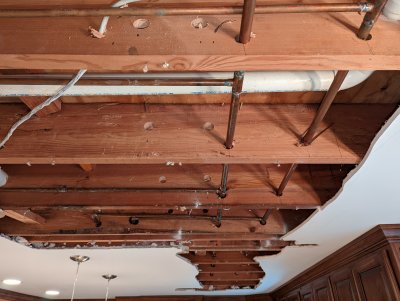
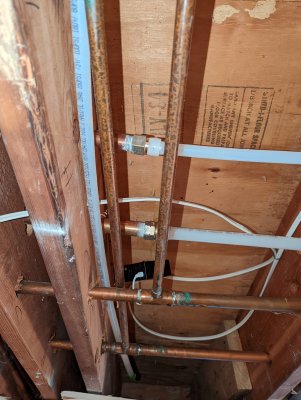
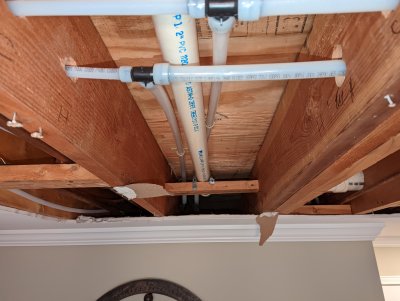
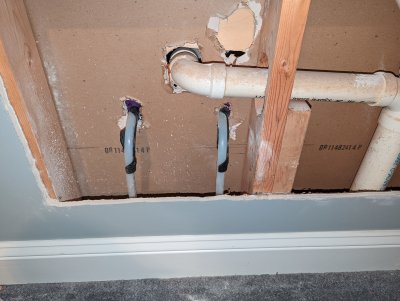
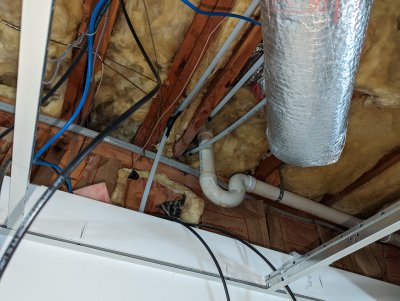
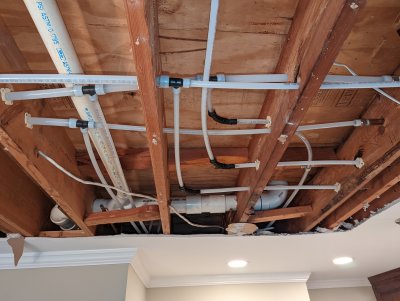
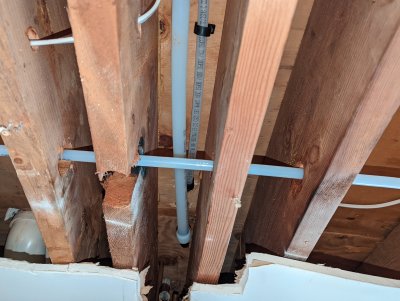
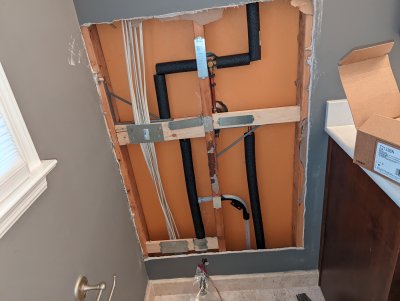
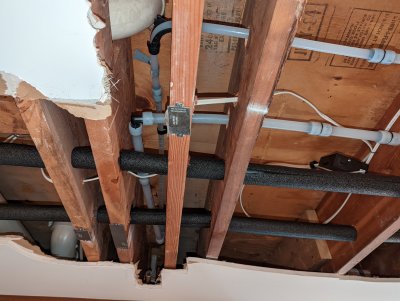
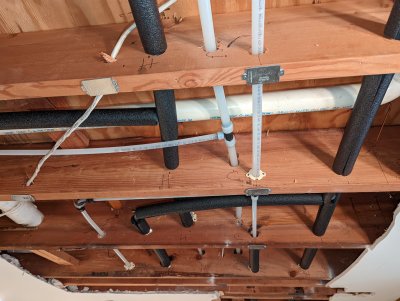
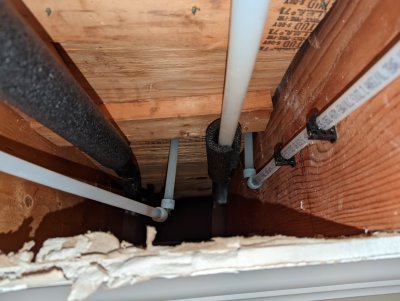
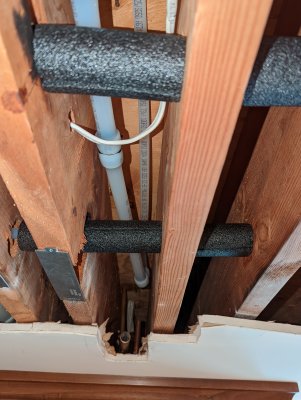
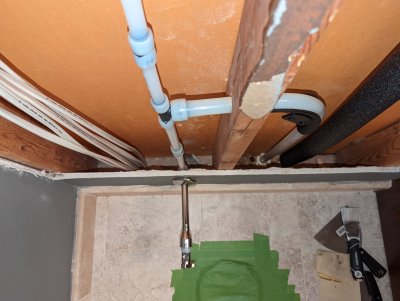
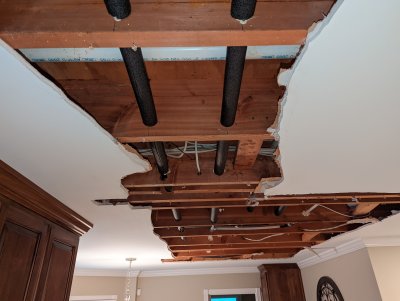
 Pipes - Kitchen Pipe Locations ceiling.jpg |
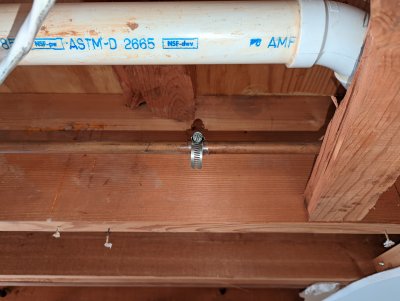
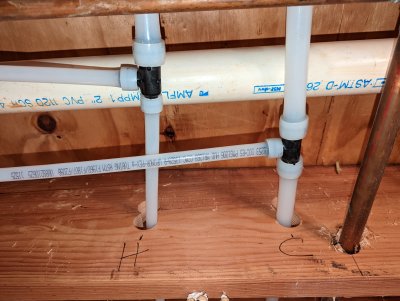
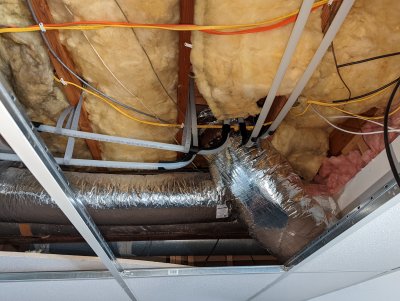
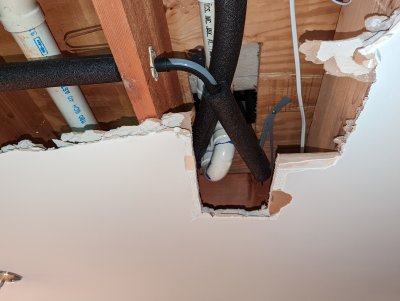
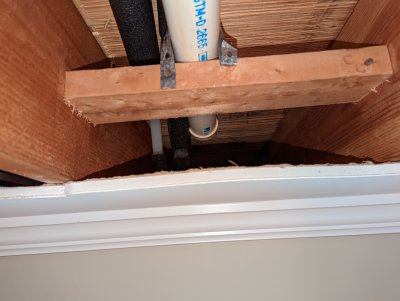
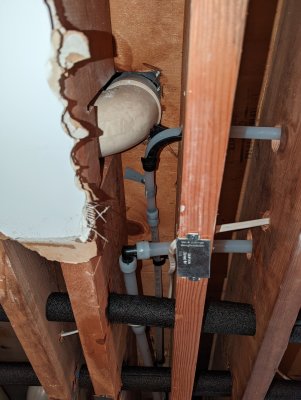
 Pipes - Kitchen Bubble 3.jpg |
 Pipes - Kitchen Bubble 4.jpg |
 Pipes - Kitchen Bubble 5.jpg |
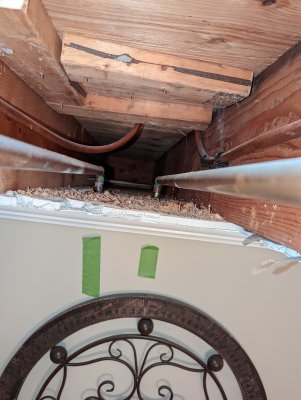
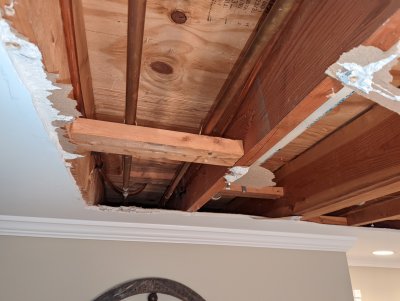
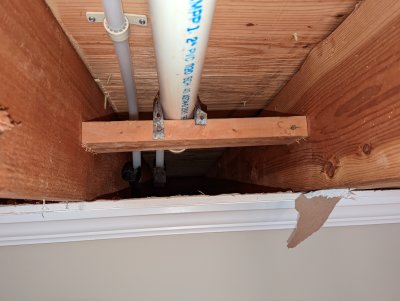
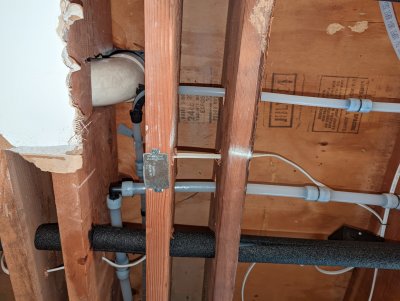
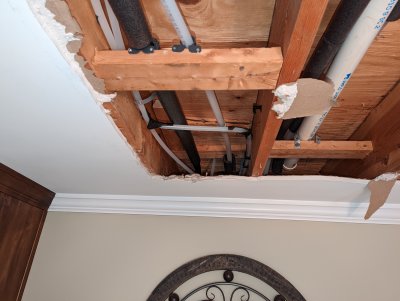
 Pipes - Kitchen Ceiling From Right 20220228.jpg |
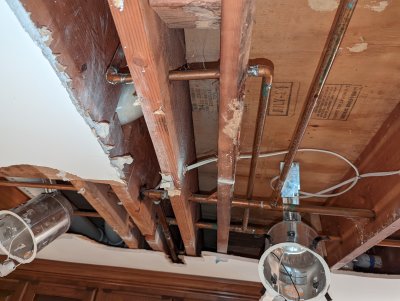
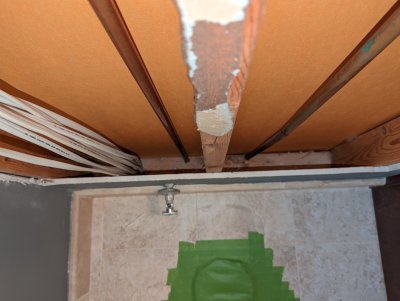
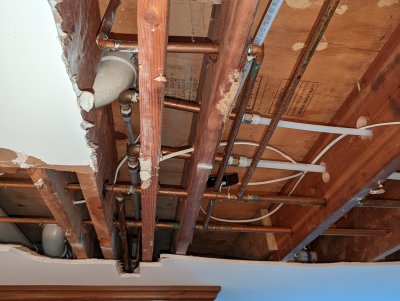
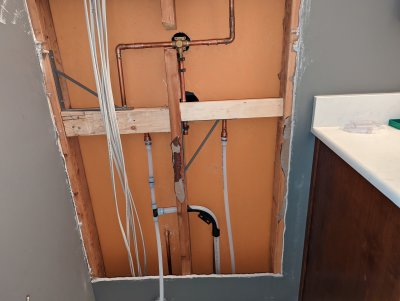
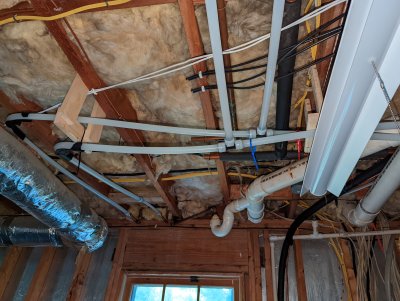
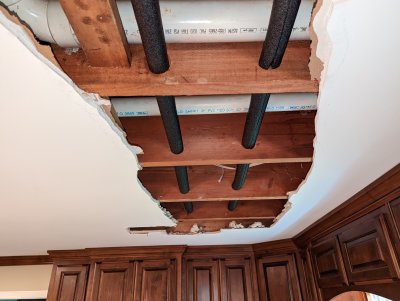
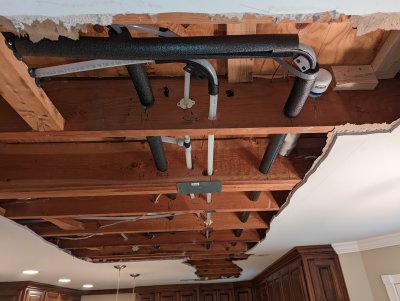
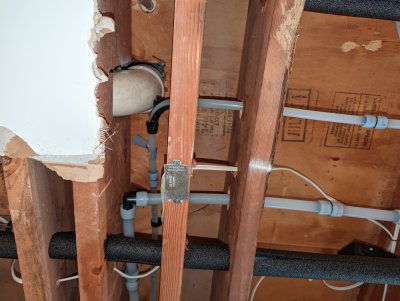
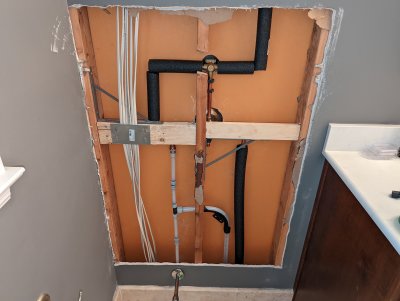
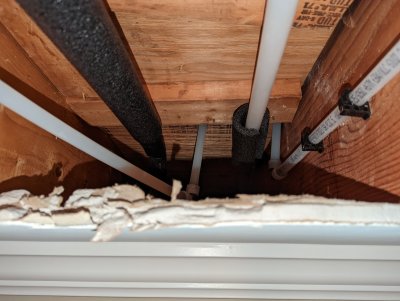
 Pipes - Kitchen Ceiling Open Wide 20220228.jpg |
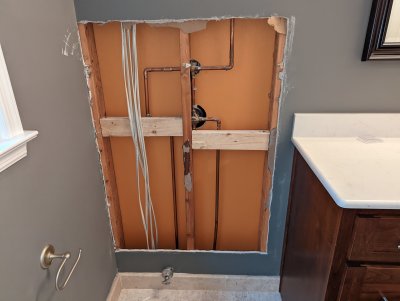
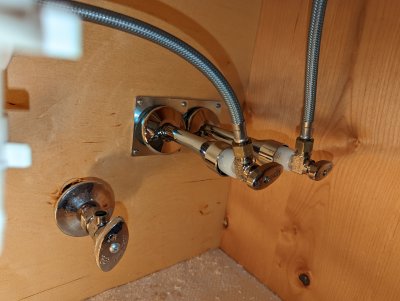
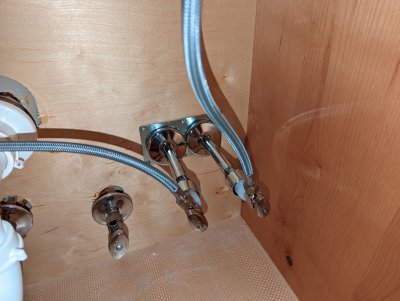
 Pipes - Kitchen Master Vanity Right 20220212.jpg |
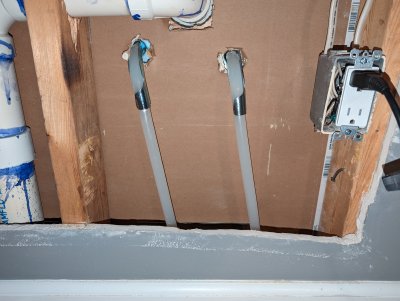
 Pipes - Kitchen Master Shower Guest Toilet 20220213.jpg |
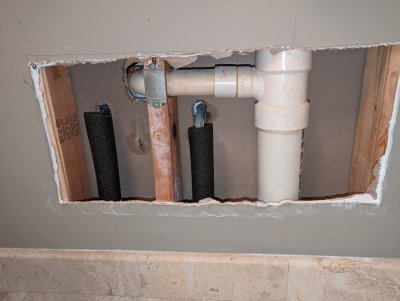
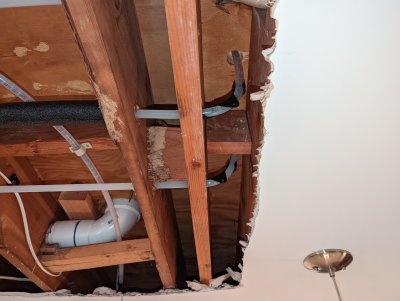
 Pipes - Kitchen Pinhole 1.jpg |
 Pipes - Kitchen Pinhole 2.jpg |
 Pipes - Kitchen Trunks from Basement 20220205.jpg |
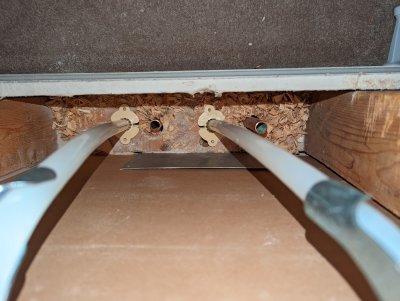
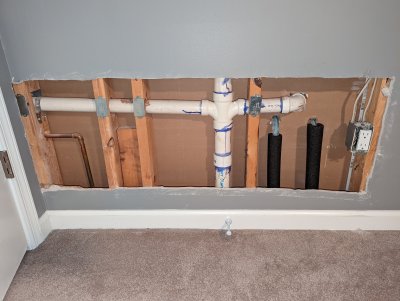
 Pipes - Master Shower Guest Run 20220227.jpg |
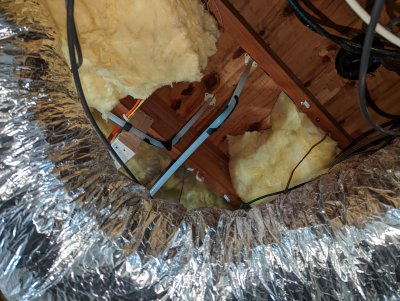
 Pipes - Master Shower Guest Tees Below 20220227.jpg |
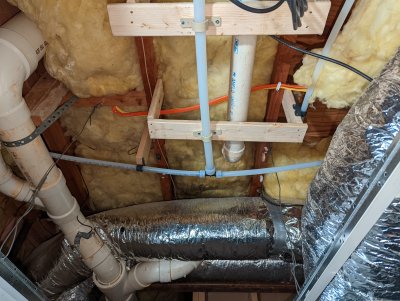
 Pipes - Upstairs Trunks 20220227.jpg |
 Pipes - Washer Outlet 20220227.jpg |
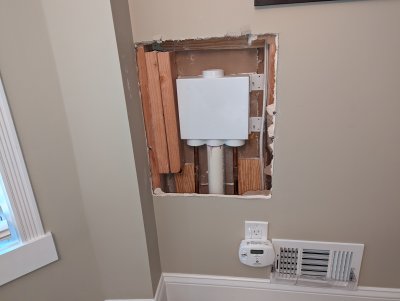
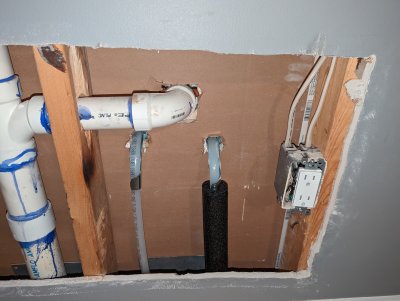
 Pipes - Kitchen New Can Box 2.jpg |
 Pipes - Kitchen Old New Cans.jpg |
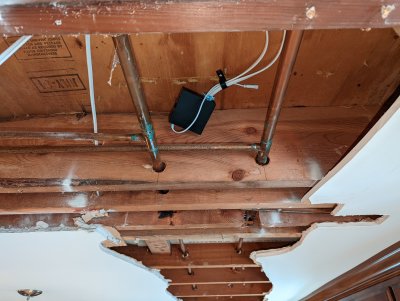
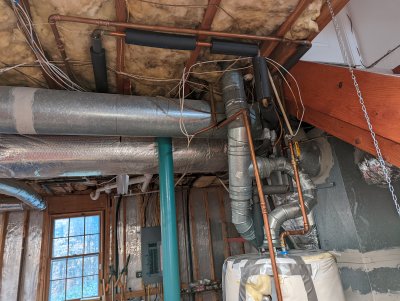
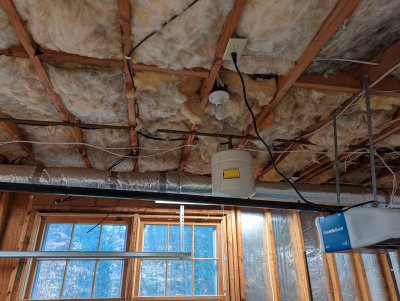
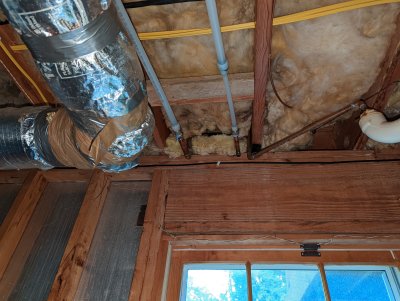
 Pipes - Media Room 20220219.jpg |
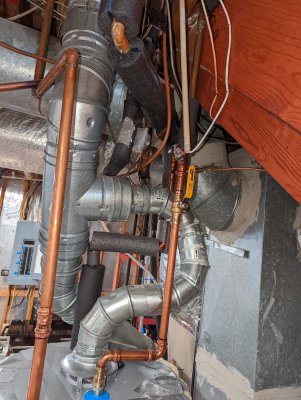
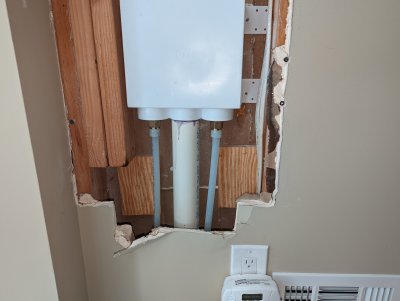
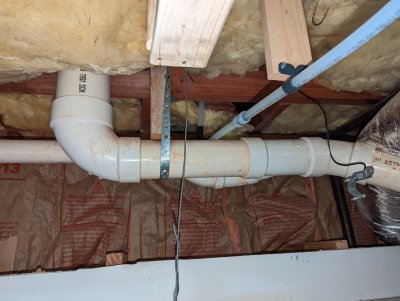
 Pipes - Media Room Downstairs Bathroom 20220219.jpg |
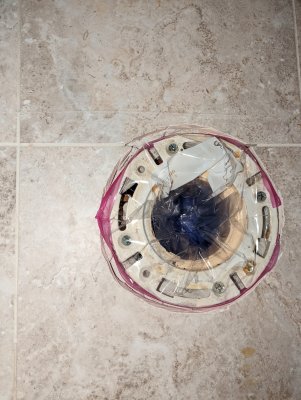 Toilet Flange Bag 20220226.jpg |
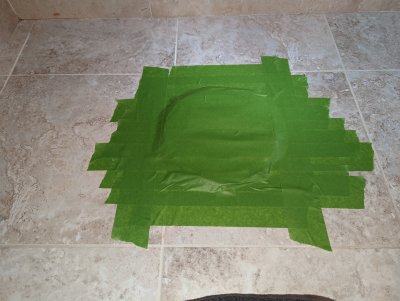 Toilet Flange Covered 20220226.jpg |
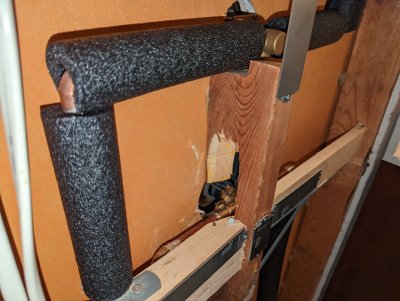
 Pipes - Master Shower Back 20220227.jpg |
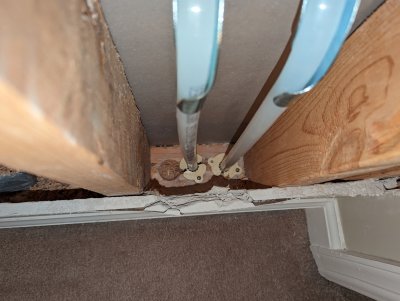
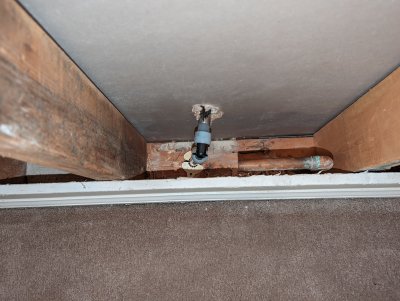
 Pipes - Master Shower Floor Holes 20220227.jpg |
 Pipes - Master Shower Valves Side - 20220227.jpg |
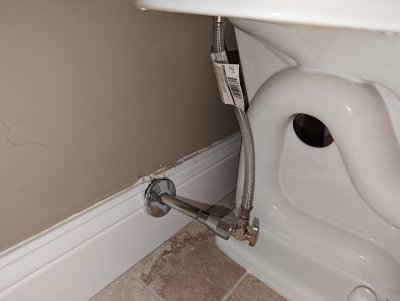
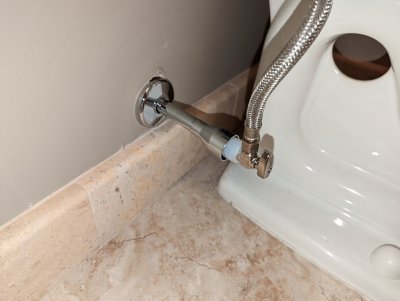
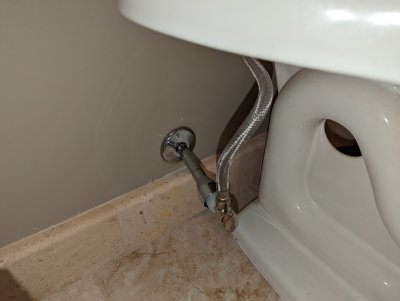
 Pipes - Master Toilet.jpg |
 Pipes - Master Vanity Left.jpg |
 Pipes - Master Vanity left floor 20220227.jpg |
 Pipes - Master Vanity Right Hot 20220227.jpg |
 Pipes - Tub Valve 20220227.jpg |
 Pipes - Tub Right Side 20220220.jpg |
 Pipes - Tub Valve Left 20220227.jpg |
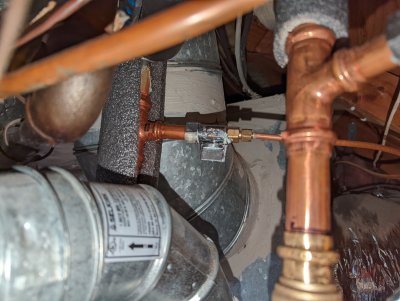
 Pipes - Basement Water Heater 20220227.jpg |
 Pipes - Water Heater Route 20220301.jpg |
 Pipes - Water Heater Humidifier 20220301.jpg |
 Pipes - Basement Front Hose Bib 20220227.jpg |
 Pipes - Basement Expansion Tank 20220227.jpg |
 Pipes - Basement Kitchen Sink 20220301.jpg |
 Pipes - Basement Trunk to back 20220227.jpg |
 Pipes - Basement Split to Upstairs.jpg |
 Pipes - Basement Washer Vanity split 20220227.jpg |
 Pipes - Basement to Toilet.jpg |
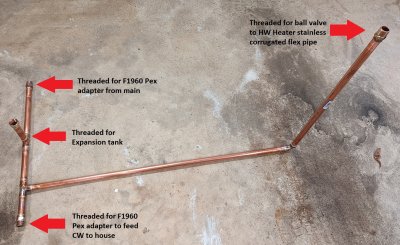 Copper - Hot Water Heater Cold Side - noted.jpg |
 Copper - Hot Water Heater Hot Side - noted.jpg |
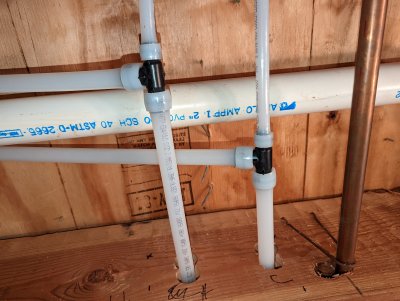
 Pipes - Kitchen Ceiling parallel path.jpg |
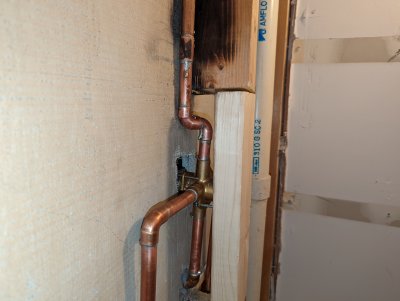
 Fittings - Bend to master Vanity Left.jpg |
 Fittings - Brass Elbow to Shower.jpg |
 Fittings - Brass to Pex Master Shower.jpg |
 Fittings - Master Vaniry bend support.jpg |
 Fittings - Pex to Brass for Master Shower.jpg |
 Fittings - Tee Master Vanity Right then Shower.jpg |
 Fittings - Trunks from basement bend.jpg |
 Fittings - Trunks from Basement.jpg |
 Fittings - Trunks to Master Vanity.jpg |
 Pipes - Master Vanity Right.jpg |
 Pipes - Master Vanity Right Side.jpg |
 Pipes - Master Vanity Right Riser.jpg |
 Pipes - Master Vanity Left.jpg |
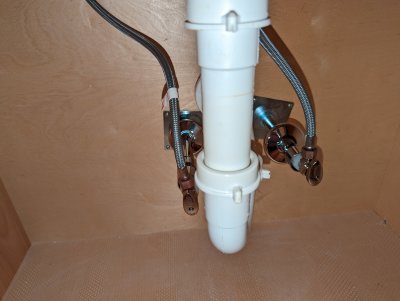
 Pipes - Master Vanity Left Bottom.jpg |
 Pipes - Master Vanity Left Back.jpg |
 Pipes - Master Vanity Left Riser.jpg |
 Pipes - Master Toilet Back.jpg |
 Pipes - Master Toilet.jpg |
 Pipes - Master Vanity Toilet Back.jpg |
 Pipes - Master Shower New Vavles.jpg |
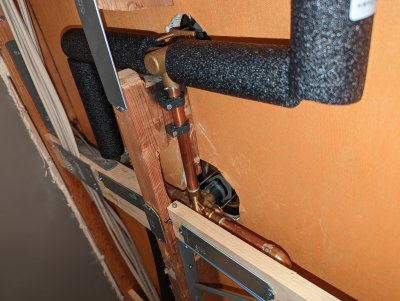
 Pipes - Master Shower Back Angle.jpg |
 Pipes - Master Shower Back.jpg |
 Pipes - MAster Shower Back Full.jpg |
 Pipes - Washer Box.jpg |
 Pipes - Laundry Vanity.jpg |
 Pipes - Laundry Toilet.jpg |
 Pipes - Laundry Toilet Back.jpg |
 Pipes - Laundry Vanity Back.jpg |
 Pipes - Trunk split to Laundry.jpg |
 Pipes - Laundry Vanity Bottom.jpg |
 Pipes - Branch to Washer box and Rear bib.jpg |
 Pipes - Main Transition.jpg |
 Pipes - Water Heater Expansion Tank.jpg |
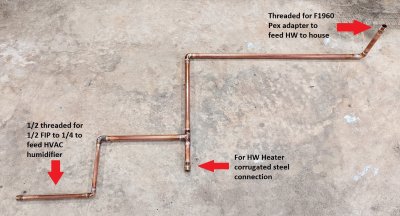
 Pipes - Water Heater Copper.jpg |
 Pipes - Water Heater Connections.jpg |
 Pipes - Washer Box and rear bib.jpg |
 Pipes - Basement Trunk split to Kitchen.jpg |
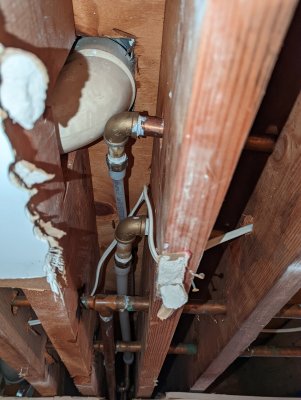
 Pipes - Kitchen Sink Transition.jpg |
 Pipes - Half Bath Toilet Back.jpg |
 Pipes -Half Bath Vanity Back.jpg |
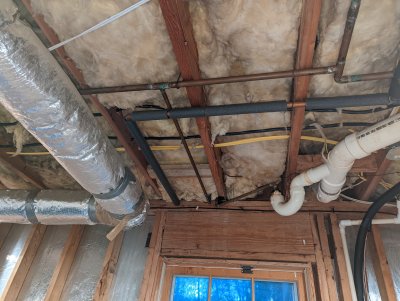
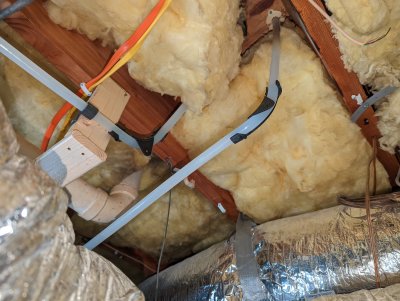
 Pipes - All Trunks Media Room.jpg |
 Pipes - Guest Tub Bends Below.jpg |
 Pipes - Guest Trunks.jpg |
 Pipes - Master Toilet.jpg |
 Pipes - Master Vanity Right.jpg |
 Pipes - Master Vanity Left.jpg |
 Pipes - Master Vanity Left Bottom.jpg |
 Pipes - Master Vanity Left Back.jpg |
 Pipes - Master Vanity Left Riser.jpg |
 Pipes - Master Vanity Right Riser.jpg |
 Pipes - Master Toilet Back.jpg |
 Pipes - Master Vanity Toilet Back.jpg |
 Pipes - Laundry Toilet.jpg |
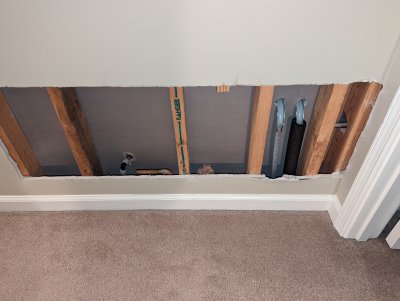
 Pipes - Half Bath Below.jpg |
 Pipes - Half Bath Toilet Below.jpg |
 Pipes - Trunk Split to Upstairs.jpg |
 Pipes - Second Truck to Upstairs.jpg |
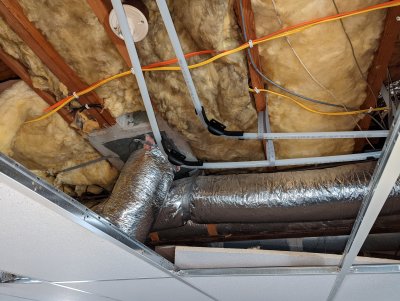
 Pipes - All Trunks to Upstairs.jpg |
 Pipes - Kitchen Master Vanity Right, Toilet and Guest Vanity.jpg |
 Pipes - Trunks From Basement.jpg |
 Pipes - Second Trunks From Basement.jpg |
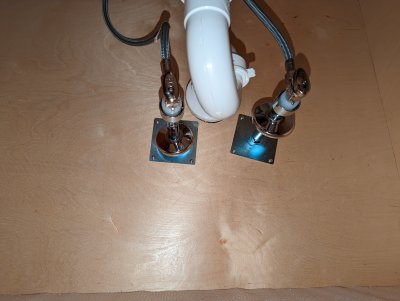
 Pipes - Master Vanity Right Below.jpg |
 Pipes - Master Shower Below.jpg |
 Pipes - Guest Tub Below.jpg |
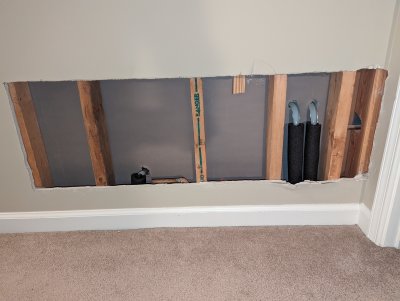
 Done - Master Shower Guest Toilet down.jpg |
 Done - Master Shower Left.jpg |
 Done - Master Shower Right.jpg |
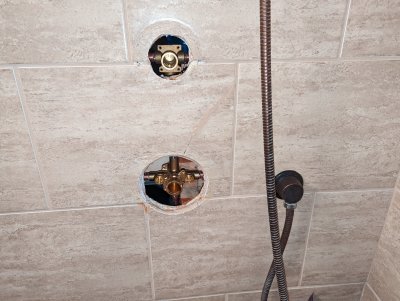
 Done - Master Shower.jpg |
 Done - Guest Vanity.jpg |
 Done - Master Vanity Left.jpg |
 Done - Master Vanity Right.jpg |
 Done - Guest Tub Bottom.jpg |
 Done - Lines to Guest Tub.jpg |
 Done - Master Shower Bottom.jpg |
 Done - Guest Vanity Below.jpg |
 Done - Master Toilet Below.jpg |
 Done - Main Trunks and Guest vanity split.jpg |
 Done - Master Vanity Right Below.jpg |
 Done - Trunks Split to Master Vanity Right.jpg |
 Done - Main Trunks From Basement.jpg |
 Done - Upstairs Lines Full View.jpg |
 Done - Second Truncks from Basement and Master Vanity Left.jpg |
 Done - Master Shower Patch Replaced Brass.jpg |
 Done - Master Shower Replaced Brass.jpg |
 Done - Master Shower Replaced Brass Bend.jpg |
 Done - Master Shower Lines Below Final.jpg |
 Done - Master Toilet.jpg |
 Done - Master Vanity Left Rear.jpg |
 Done - Master Vanity Rigth and Toilet.jpg |
 Done - Master Shower Down 2.jpg |
 Done - Master Shower Down.jpg |
 Pipes - Master Shower .jpg |
 Pipes - Guest Tub Left.jpg |
 Pipes - Guest Tub.jpg |
 Done - Kitchen Lines to Guest Vanity.jpg |
 Done - Kitchen Guest Vanity.jpg |
 Done - Kitchen Truncks Right.jpg |
 Done - Kitchen Trunks to Guest.jpg |
 Done - Master Vanity Left Redo Wide.jpg |
 Done - Master Vanity Left Redo.jpg |
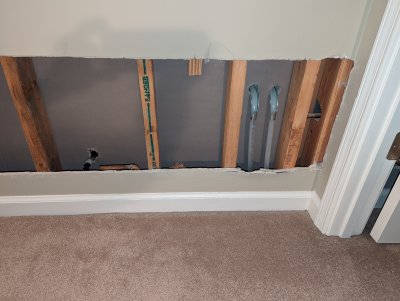
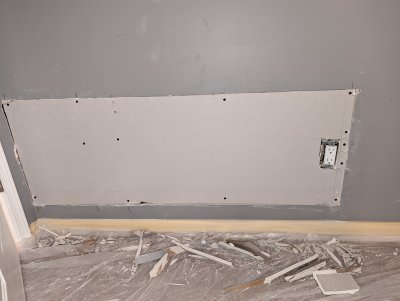
 Wall - Master Vainity Right .jpg |
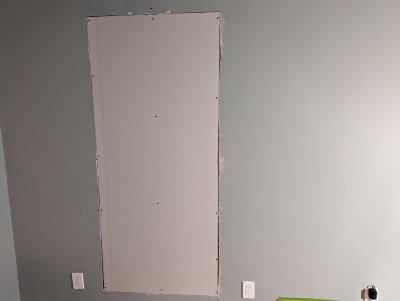
 Wall - Master Vanity Left.jpg |
 Wall - Media Room Half bath.jpg |
 Wall - Media Romm Trunks.jpg |
 Wall - Master Bathroom Guest Vanity.jpg |
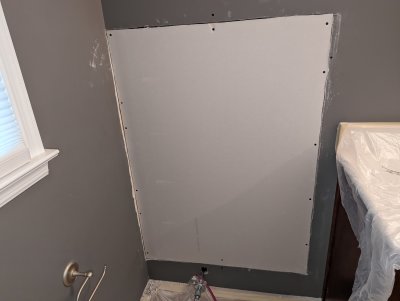 Wall - Guest Wall Master Shower.jpg |
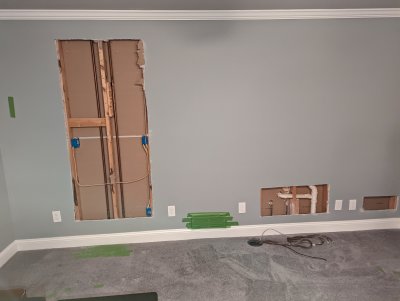
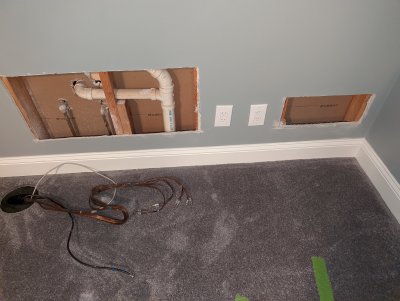
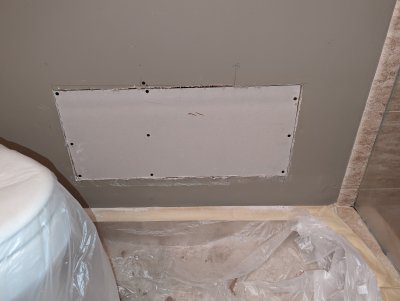
 Wall - Guest Bath Closet.jpg |
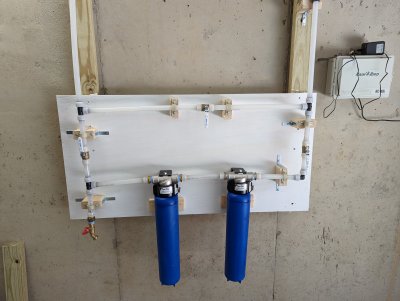 Water Filters Board.jpg |
| comment | share |