


|
|
|
|
|
|
| Kenneth MacDowell | profile | all galleries >> My Paintball Markers >> Non-Cocker Markers >> EVOLUTION OF MY RAINMAKER >> RAINMAKER (step II) | tree view | thumbnails | slideshow |
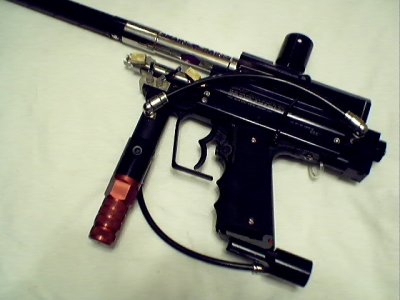 Rainmaker (2nd round of modifications) |
 Rainmaker (2nd round of modifications) |
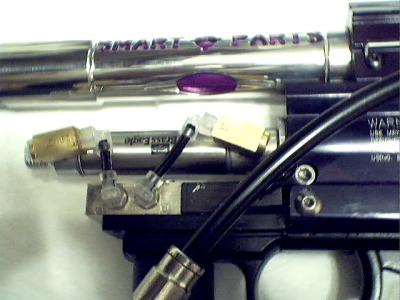 Rainmaker Mac Mount |
 Rainmaker (2nd round of modifications) |
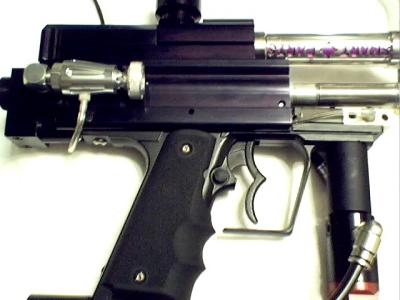
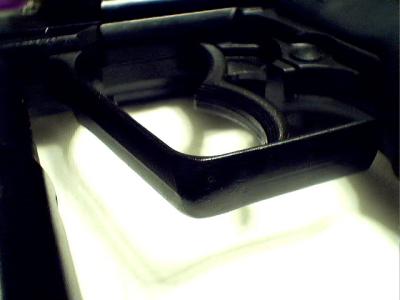 Cut trigger Guard |
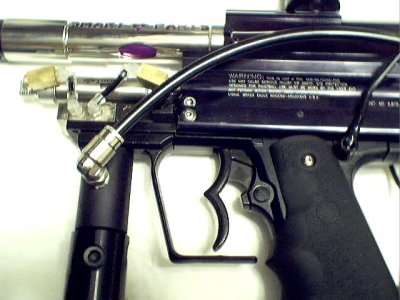
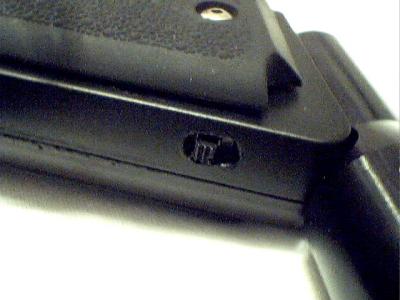 ON/OFF switch |
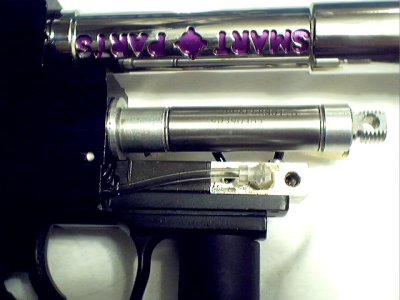 Rainmaker Mac Mount |
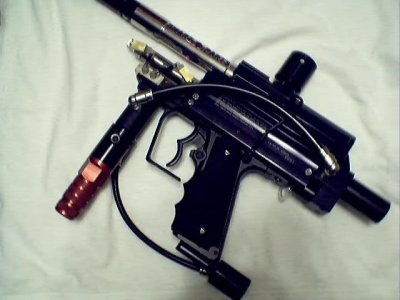 Rainmaker (2nd round of modifications) |
| comment | share |