


|
|
|
|
|
|
| Julien Chiang | profile | all galleries >> Galleries >> Building A Really Personal Computer | tree view | thumbnails | slideshow |
| previous page | pages 1 2 3 4 5 6 7 8 9 ALL | next page |
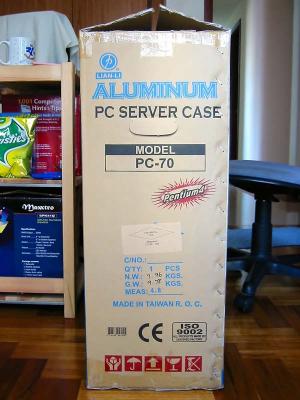
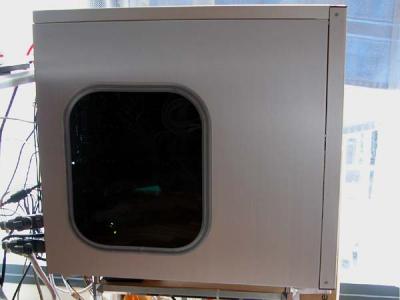
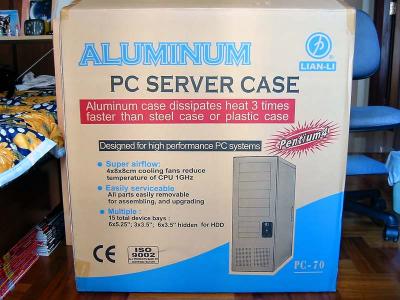 1st Lianli casing I bought - PC70 |
 Didn't get the PC70-U cos no point having USB ports right @ the bottom of the casing when it's sitting on the floor |
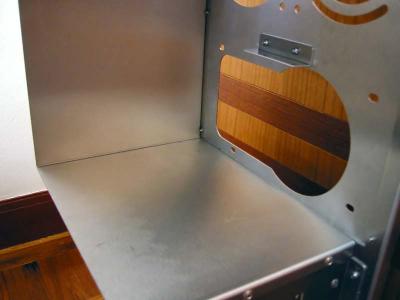
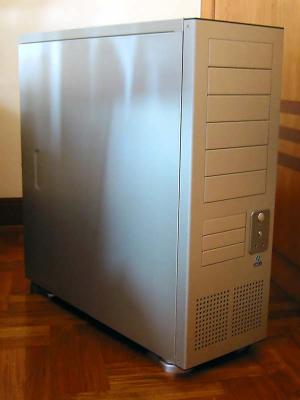 A beauty indeed, @ it's stock form |
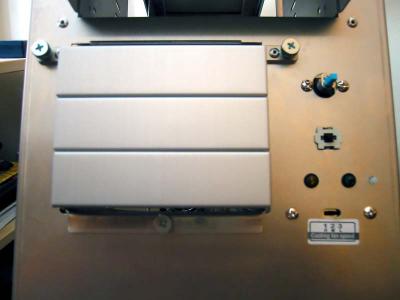
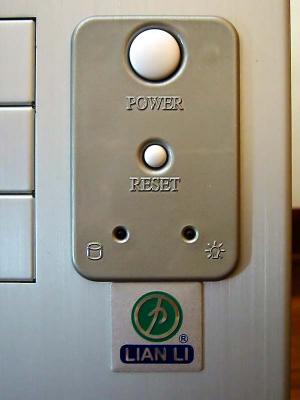 Power & Reset Buttons |
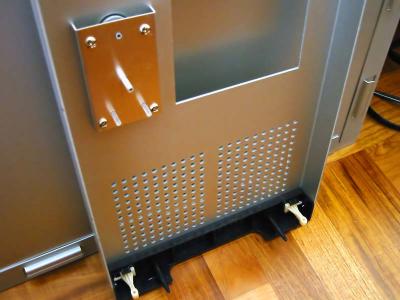
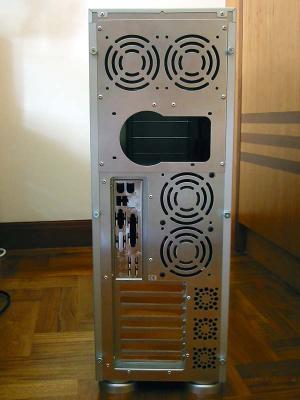 Backside |
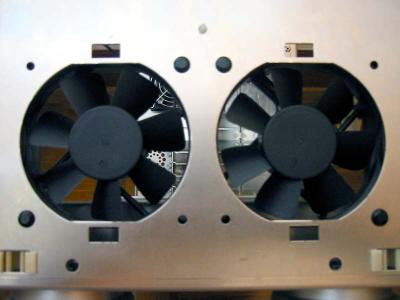
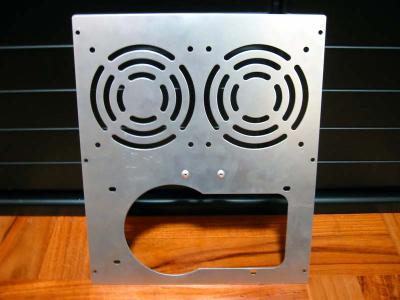
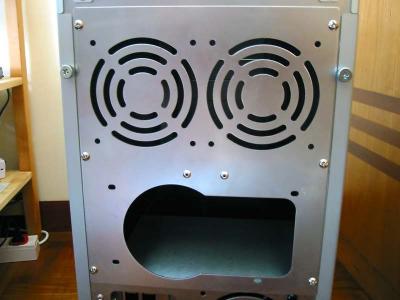 PSU plating with room for 2 80mm fans |
 Bottom of case with 4 feet |
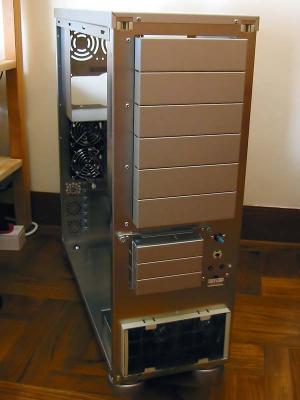
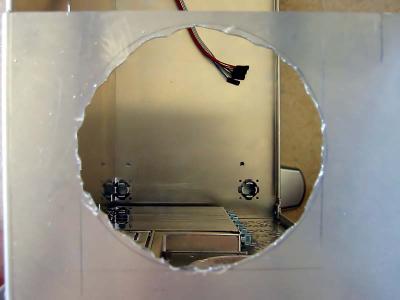
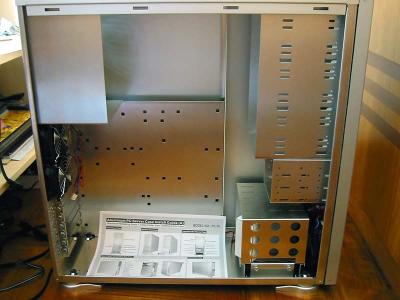 It's internals |
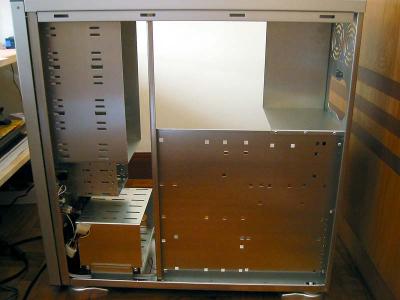 The other side |
 Notice the PSU space ain't particularly friendly for dual fans type PSU |
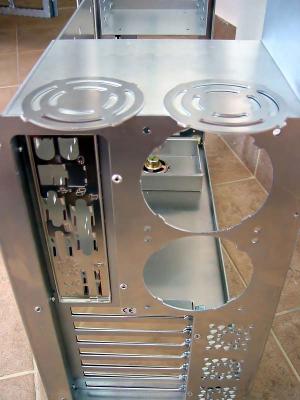
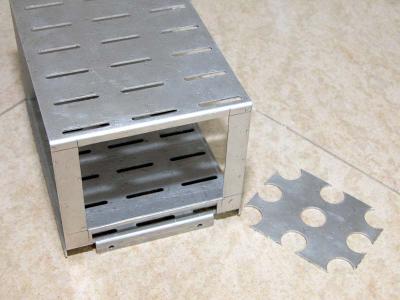
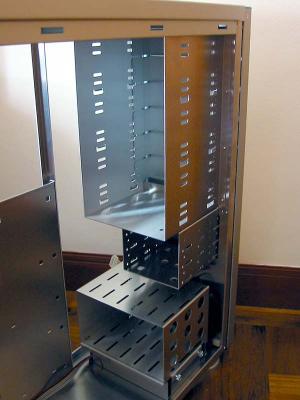 Sufficient space for x6 5.25' and x9 3.5' devices |
 Removable hdd rack for x6 3.5' hdd |
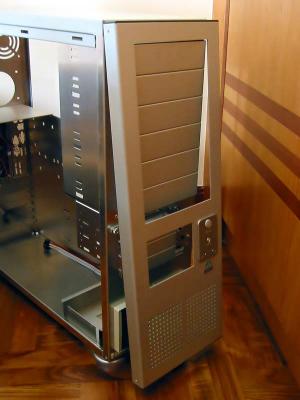 Removing the front cover |
 Reverse side of front cover |
 Bare front |
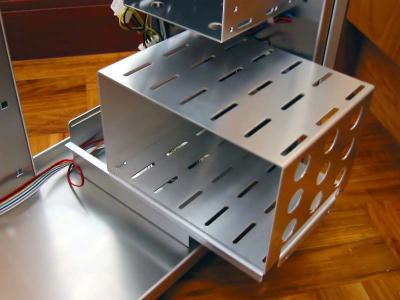
 Another 3.5' rack that's removable. Good enough for x3 more 3.5' devices |
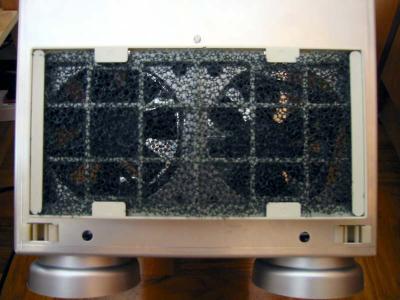 Filter for intake fans |
 Filter removed |
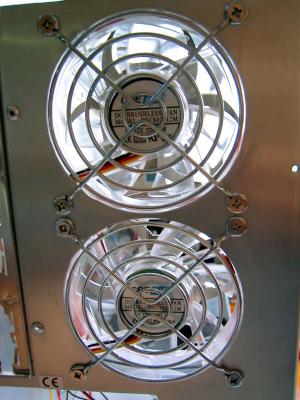
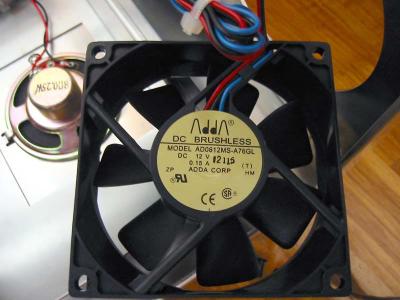 x4 Adda 80mm fans inclusive |
 Almost fully stripped |
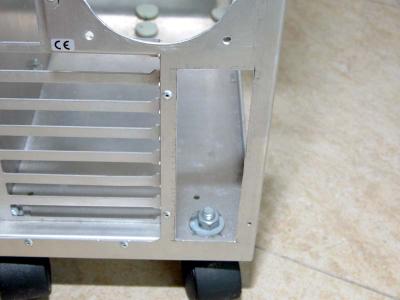
 Removing the case feet |
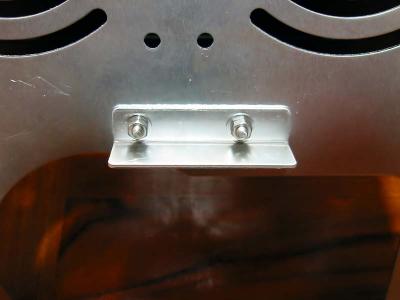
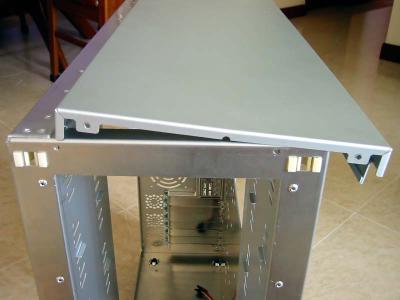
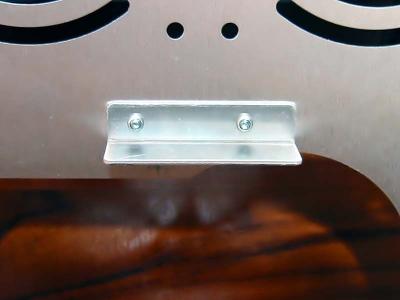 Top support for PSU |
 Some work need to be done to the PSU plating to make it compatible to popular PSU available in the market |
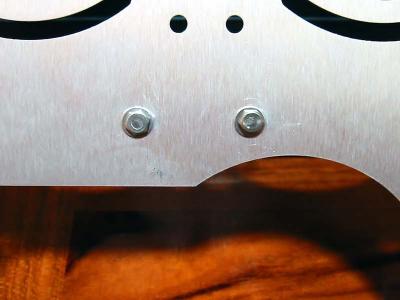 Changing the rivets to 3mm bolts and nuts |
 If you've noticed, the plating has kinda changed sides |
 Next up, top cover |
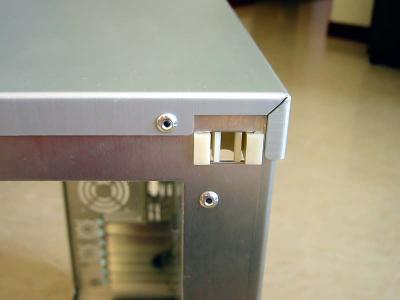 Basically held together by 4 rivets |
 Simple job of drilling out the rivets, that's the front |
 and the back |
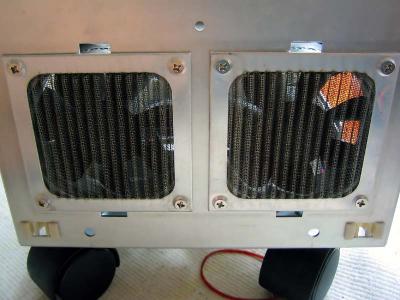
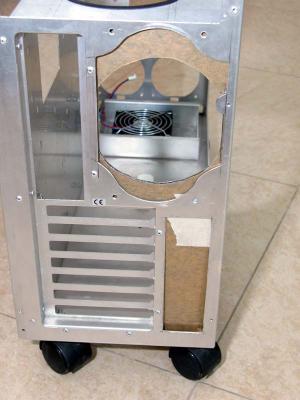
 Back to the PSU plate, fan grills need to be removed since they are obstruct too much air flow to be of any use |
 The other 2 80mm rear exhaust went through a similar treatment |
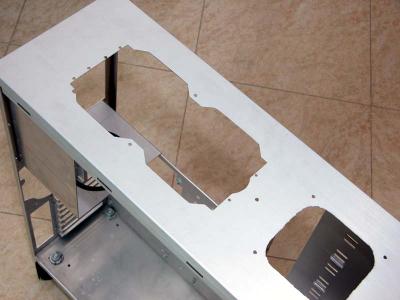
 Time to modify the PSU holder to have it accomodate dual fans PSU |
 Pretty sucky job |
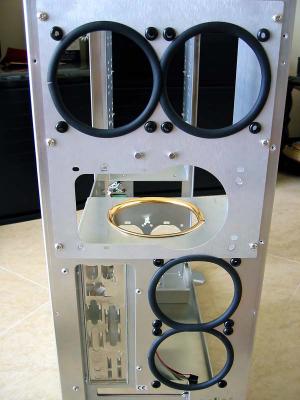 Add in rubber C linings and gromets, plus the gold C lining for the PSU, and it look much better! |
 Everything fixed |
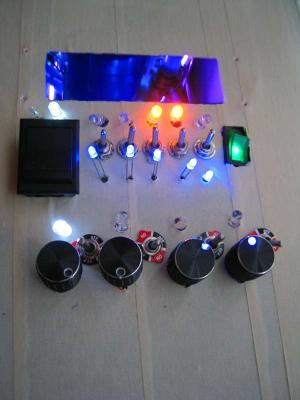
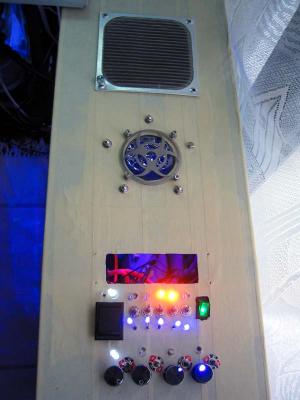
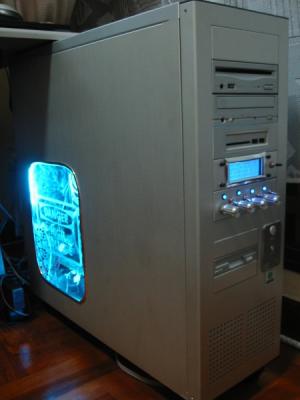 This is how the case finally looked like though, after I painted the optical drives, add in the rheobus and lcd |
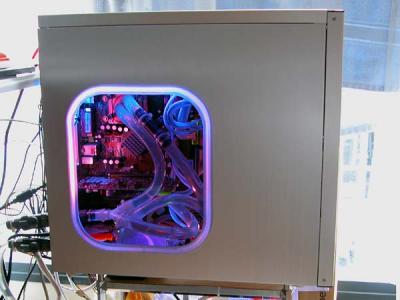
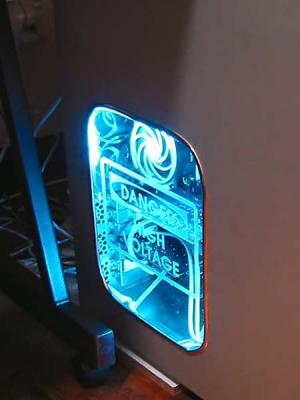 Closer shot of the window |
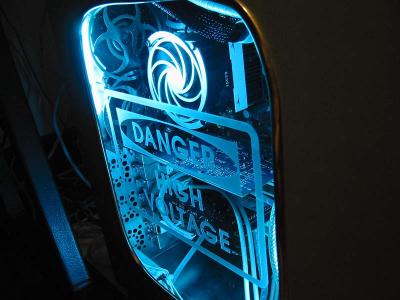 A little closer |
 Side view shot |
 UV red PSU sleeves |
 Looking up |
 And looking down |
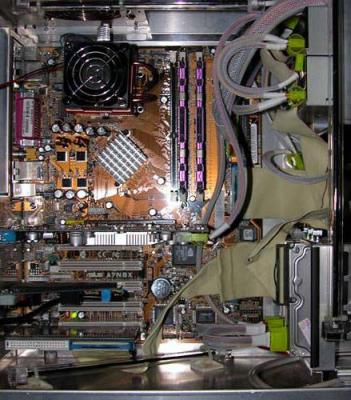 The PC70 is everntually sold off. In it's place I got a PC60-U. That's the Asus AX7N8X-Deluxe mobo |
 My Antec all sleeved up |
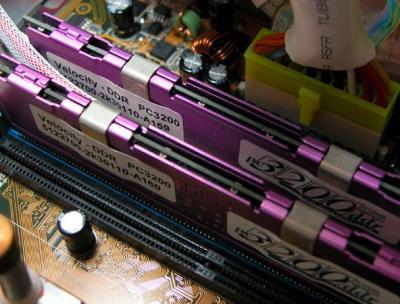 1GB worth of Mushkin rams |
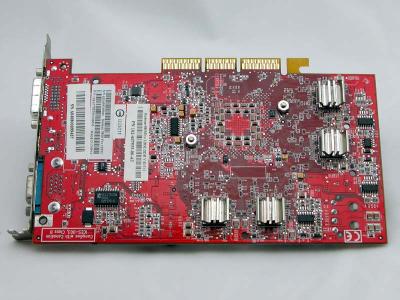
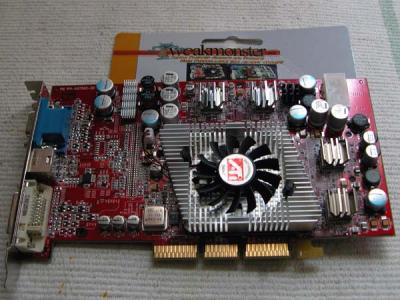 Ever trusty 9800Pro |
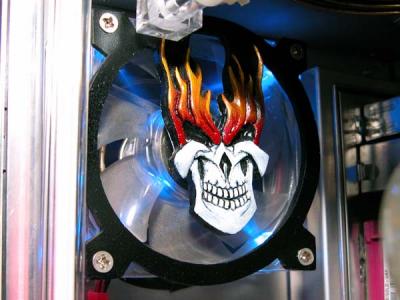
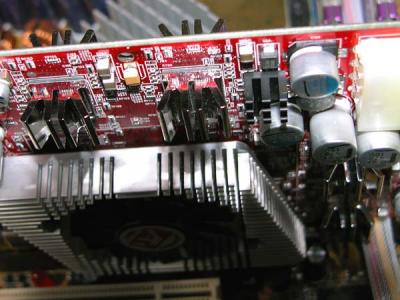 Tweakmonsters! If you haven't noticed... |
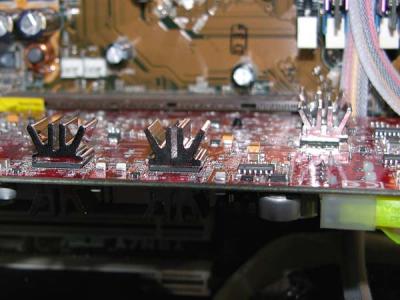 8 of them in total |
 4" Criticool Water Plant Reservoir |
 2 inlets from a Y splitter to the CPU and GFX waterblocks |
 and a single outlet to the pump |
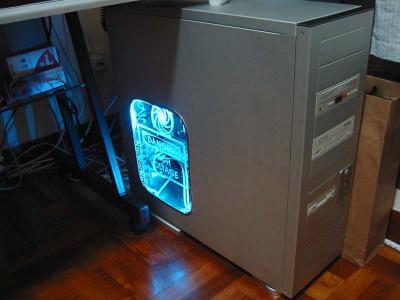
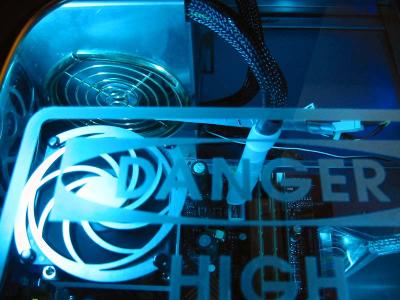
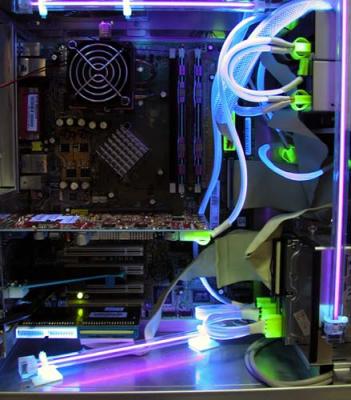
 All covered up with tinted window |
 And presto! I love the clear H linings! |
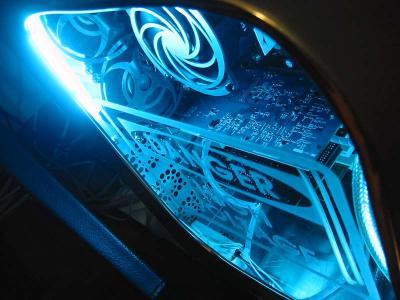
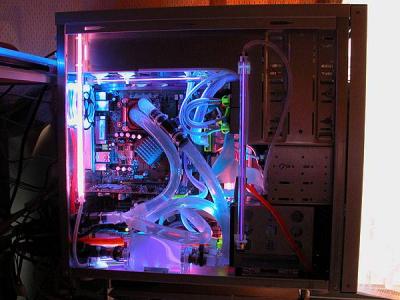 Looks cool with it's side panel off eh? Back to the rebuilding block once again! |
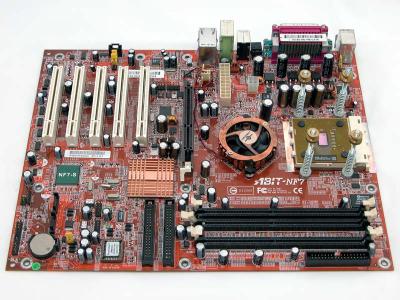 Introducing the various components, 1st off, the mobo - the ever popular Abit NF7-S version 2. One of the best overclockers |
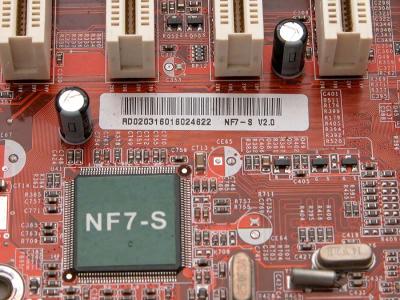 Version 2 gives official support for 400FSB |
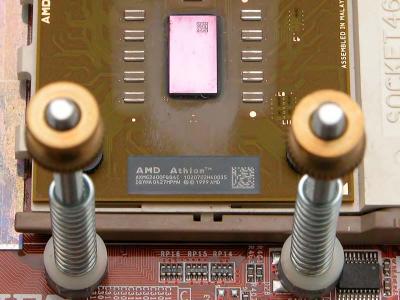 CPU - AMD Mobile XP 2600+, can't wait to see how high this baby will go |
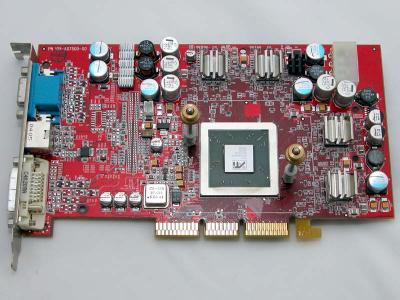 GFX - Sapphire Radeon 9800Pro 128MB 256bits |
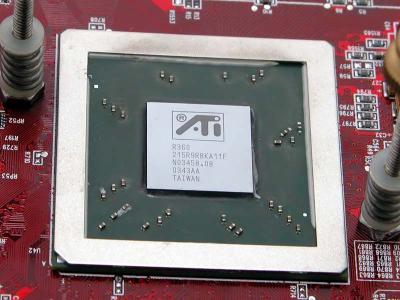 R360 core! Nice! |
 Armed with x8 BGA Tweakmonsters |
 Back to the PSU holder! Hee! Actually sold the previous PC70, got myself a PC60, and a PC60U; before ending up with another PC70 |
 No hole saw nor rotary too, so gotta do it the hard way... |
 Lotsa filing to be done |
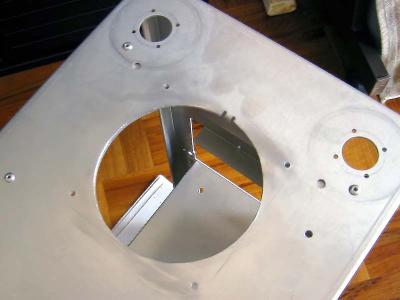
 Cut a hole on my mobo tray too to facilitate easier changing of heatsinks and waterblocks |
 Another intake right @ the bottom blowing directly to the hdd rack |
 Bottom view, cut this the same way as I cut the PSU holder, drilling holes and filing... |
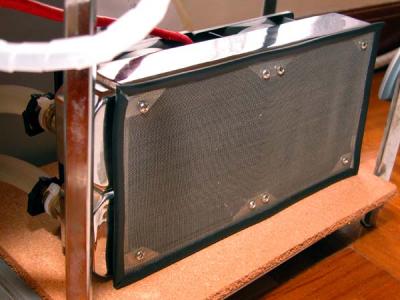
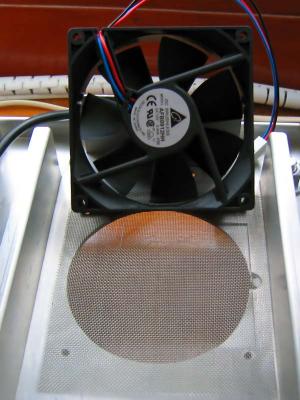 Intake mesh filter and a 92mm Delta |
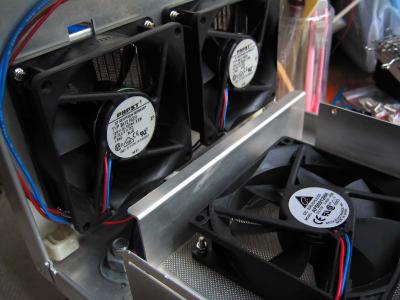 Notice both front 80mm Addas changed to Papsts |
 Together with some pretty dirty aluminium mesh filters |
 Moving to the rear, Adda fans changed to clear fans with blue LEDs |
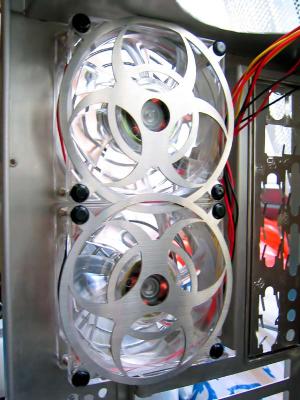 Dual biohazard laser fan grills. Top grill need some filing cos it's too close to the PSU plating |
 Decided to dump the dual 80mm and modify the exhaust for a single 120mm |
 With a 120mm clear fan with blue LEDs, I'd be able to make use of this cool 120mm molded fan grill! |
 Like this. Only this is a 80mm clear fan and 80mm grill within my PC60-U |
 Drill out the bottom part too as the old holes for my previous drainage system is quite unsightly |
 My old drainage system |
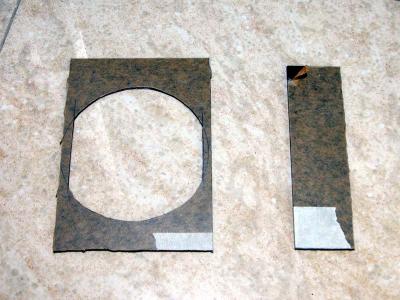 Did some measurements and cut out 2 pieces of tinted 3mm acrylic to cover the new holes |
 Testing to see that they fit |
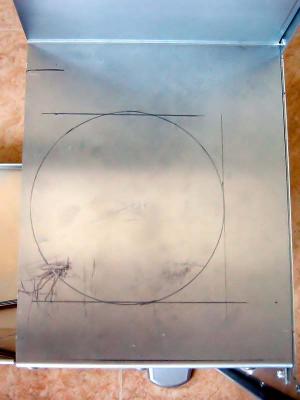
 A pretty messed up top cover. Gotta do something abt all the sticky residue and numerous holes... |
 The best I could do. The big hole is perfect for my... |
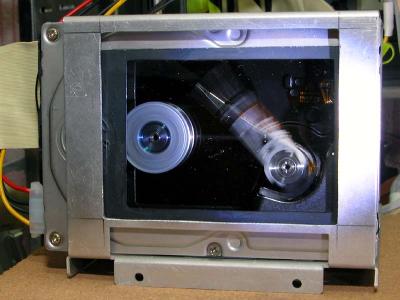
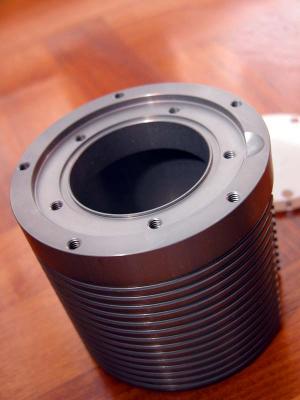
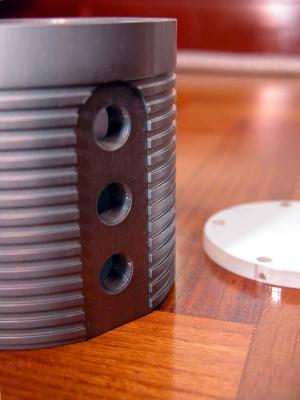
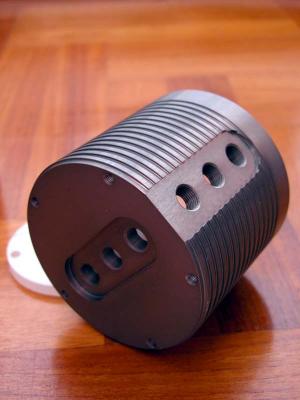
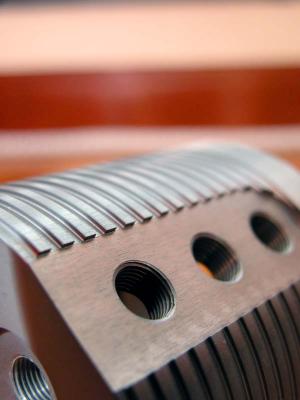
 Black Ice Xtreme II Chrome version! |
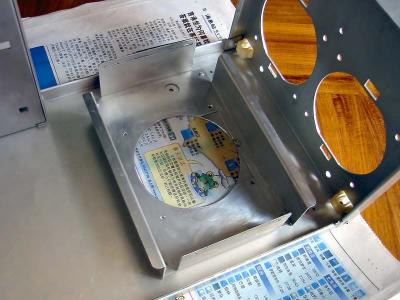
 Have always wanted to mod a windowed hdd, and to be able to show off that, I gotta cut a proper hole to my hdd rack |
 I sure hope it's structural stability isn't affected |
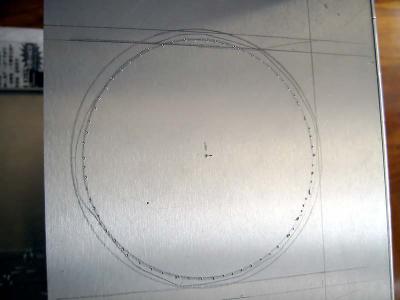
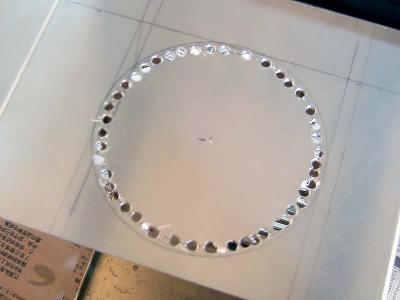
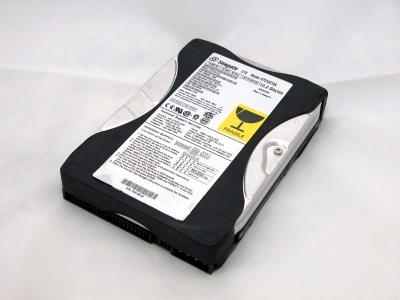 The targetted hdd to be cut up |
 A fully functional Seagate 5400rpm 10.2GB PATA hdd |
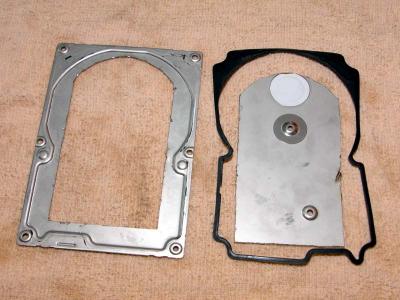
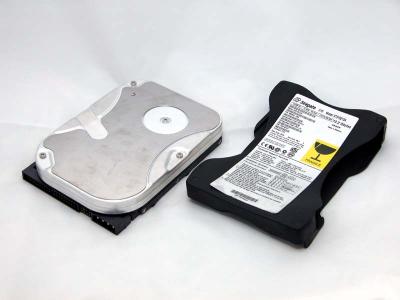 Rubber shield removed, notice there are only 4 screws to be removed |
 It's backside |
 Had some practise beforehand with a defective Western Digital |
 The screws are a bitch to unscrew... |
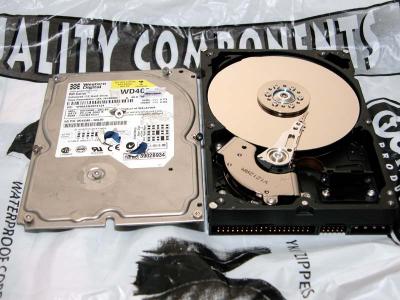
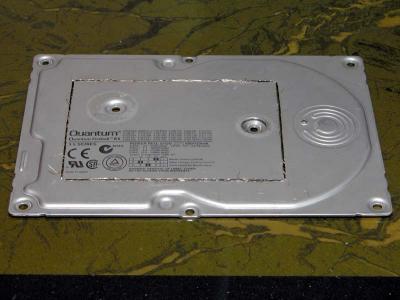
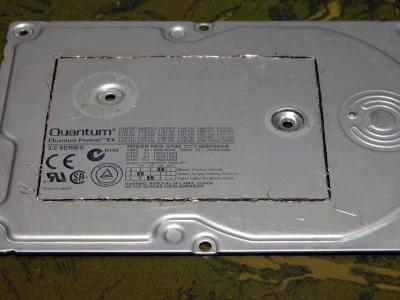
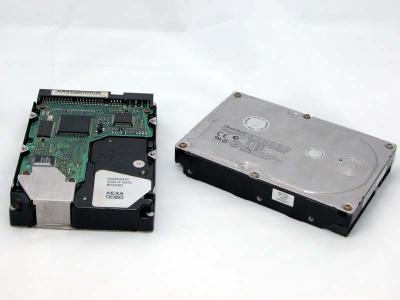 Got myself 2 other guinea pigs! A couple of old working Quantum 6.4GB |
 And that's the Torx-type screwdriver which I just got |
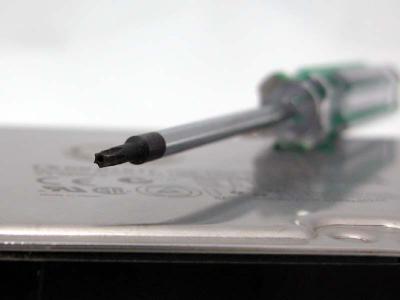 Closing up on the tip |
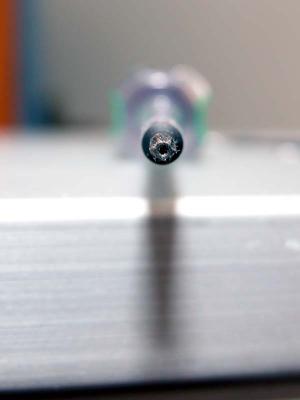 See it's star-shaped head? Purrfect for those pesky stubborn screws! |
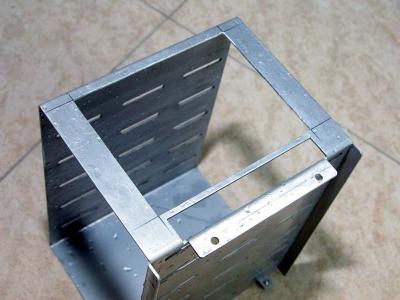
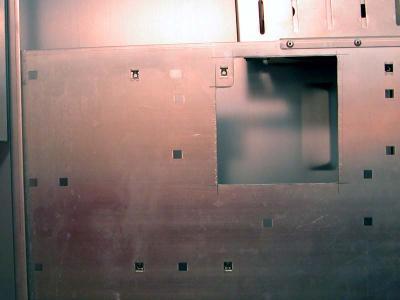 That's the mobo tray; expanded to hole back there so that I'll have access to the mobo holes from the back for my Abit |
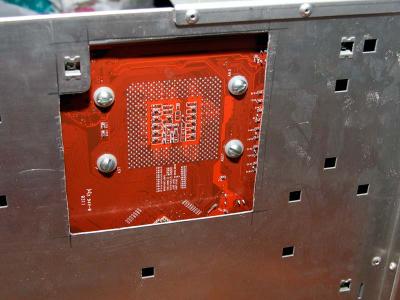 NF7-S in place, plenty of space to spare |
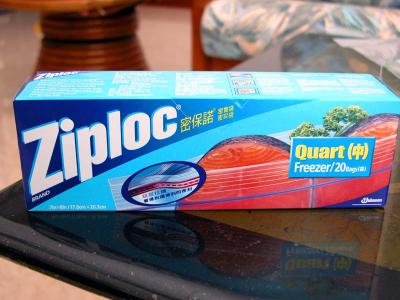 Finally drag myself to the supermarket for some ziploc bags |
 Smallest I can find, Perfect for hdds! |
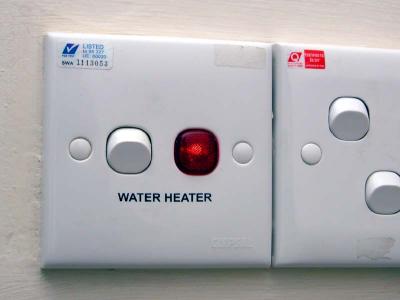 No clean room, so the bathroom will be my operation theatre. Water Heater On. |
 Operating 'table' set up. |
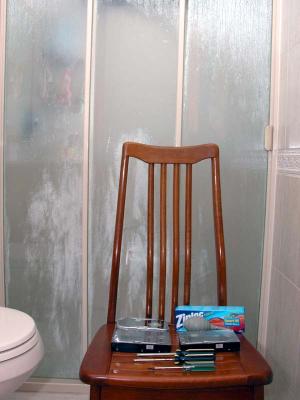 Shower is on, bathroom misting up nicely |
 Presto! Operation completed! I won't say it's a success until I have the hdds fixed into a PC and fully tested |
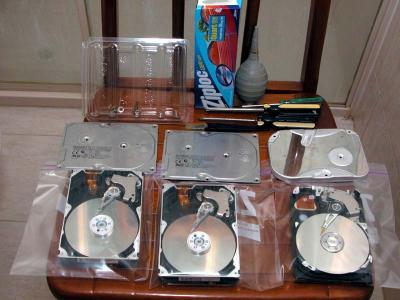 The 'casualities' |
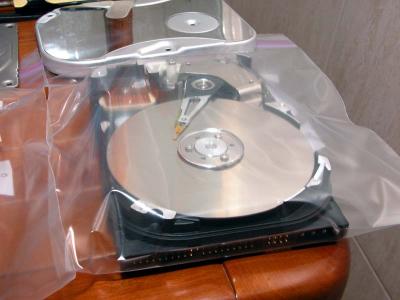 That's the Seagate, First time I see this kinda cover |
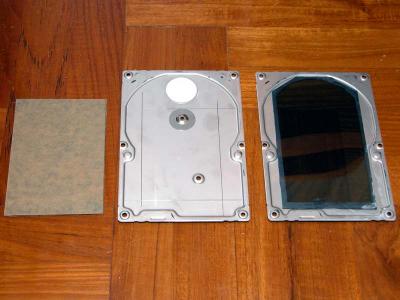
 One of the 2 Quantums; they are more conventional looking |
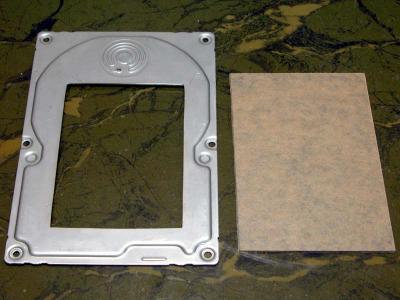
 Decided to cut up the Quantum first, shuould have gotten myself a fully blocky shaped drive |
 so as to have a simple rectangular window |
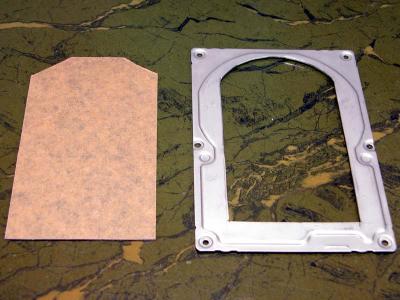
 That's the rubber gasket |
 1 mm tinted acrylic I got from ArtFriend @ Bras Basah Complex. They don't have clear 1mm... |
 Couldn't really be bothered for more filing since the acrylic will attach to the bottom... I HATE FILING! |
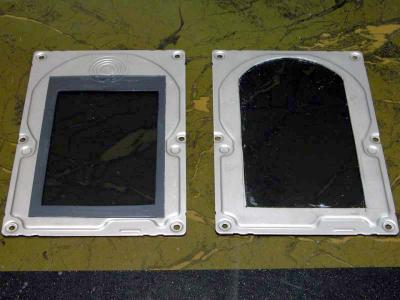
 First attemp on the right, 2nd attemp on the way |
 This time around, I'm sticking to plain rectangles. |
 I simply love the RTX rotary tool. Doing the same thing with my jigsaw will be real messy |
 Will be attaching the window at the top this time around. Gives more space for the hdd head to move about. |
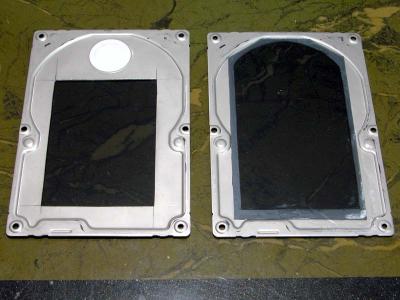
 Top views. Window @ the bottom still look nicer eh? |
 Bottom views. Am thinking of applying some silicon to make absolute sure no dust can get in. Should I? Hmm... |
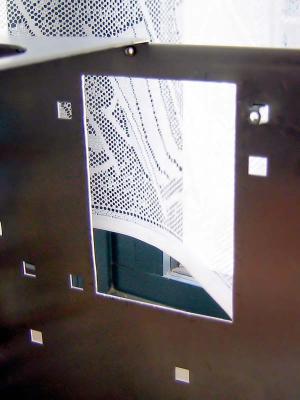
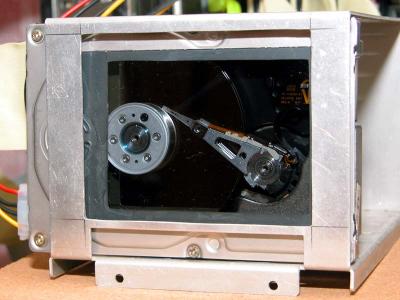 This is my 2nd attempt model. PC is off. By the way, 1st with the window inside was a flop due to insufficient clearance. |
 Woohoo! It works! |
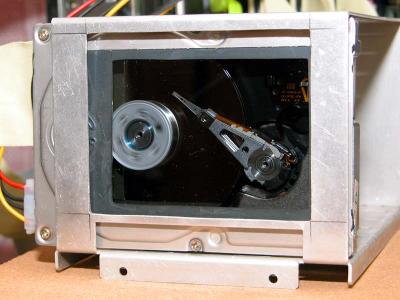
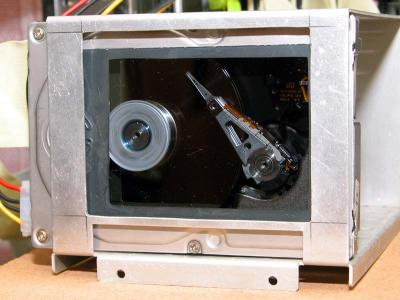 More pics |
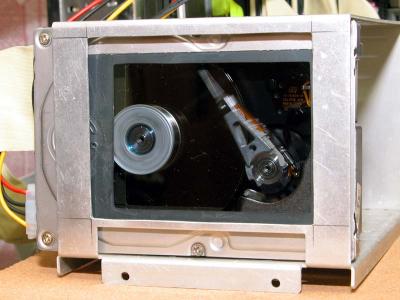 Can see the head moving |
 ;) Can't wait to get my hands on another hdd. Still thinking of how to get some lights inside the hdd. Any ideas anybody? |
 Yeah! Stuff from FrozenCPU arrived today! |
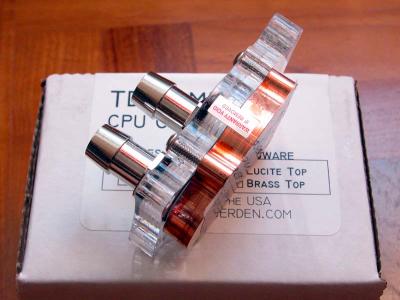
 TDX with accelerator nozzles |
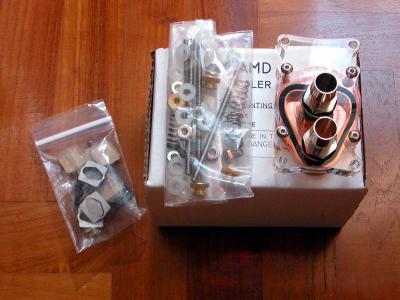 Guess it's time to retire my Spir@l... |
 This looks way too good |
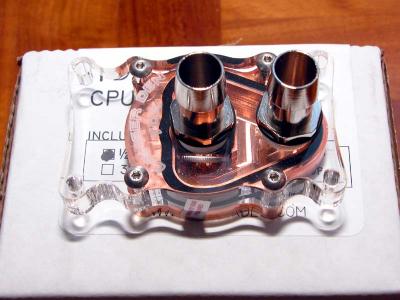 Yum yum |
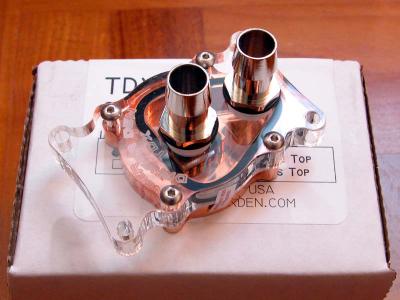 By the way, this is a AMD block |
 Can't wait to mount it man! |
 Side view |
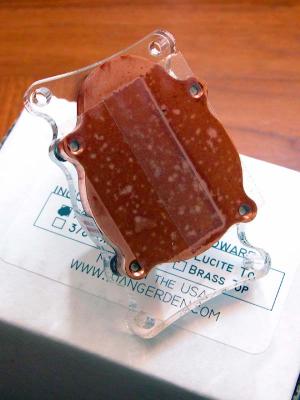 A protective layer |
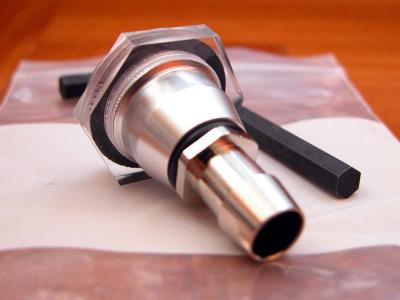
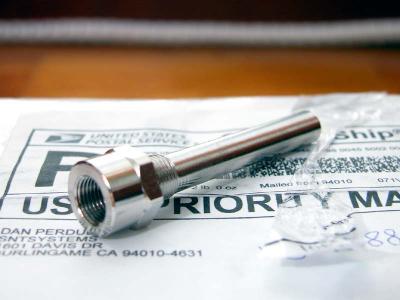
 Dangerden Fillport |
 Instead of the top, may be mounting at the bottom... |
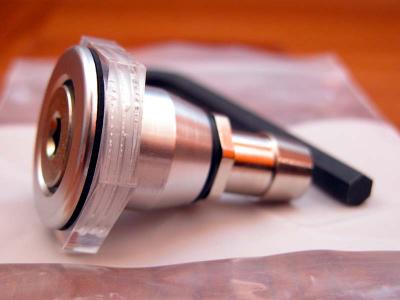 ... more for means of draining my system... hmm... |
 kinda wasted to be mounted at the bottom out of anyone's view eh? |
 Think it look pretty good |
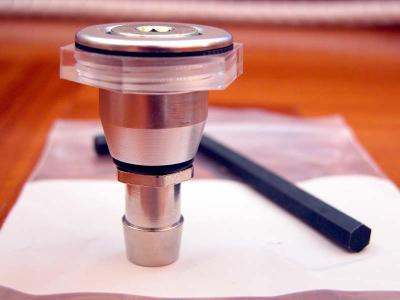
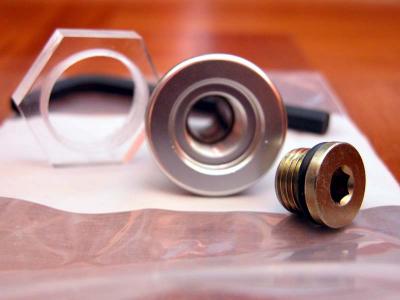 Dismantled, that's the cap |
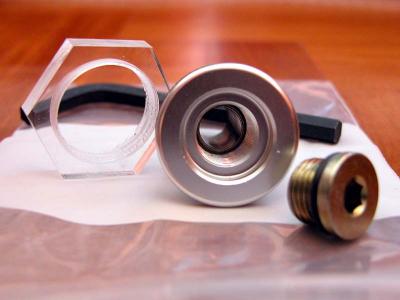 and the nozzle as well as the locking 'nut' |
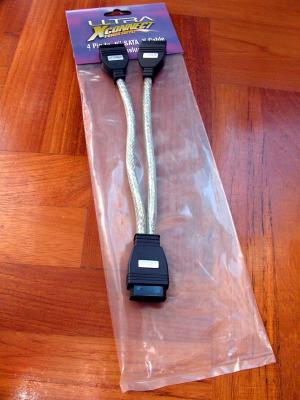
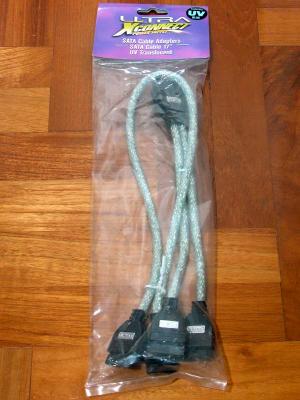
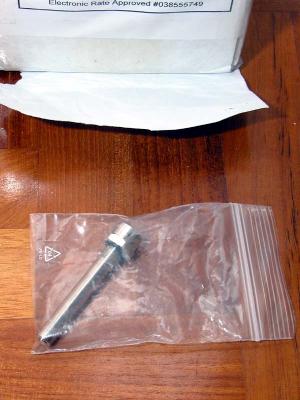
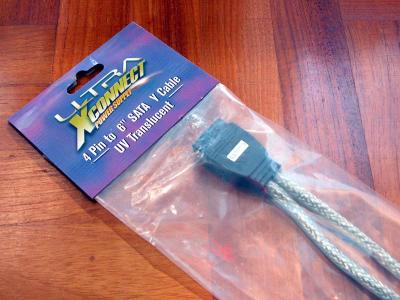 Extra sata cable I ordered |
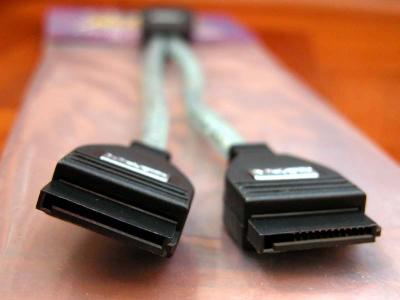 Sigh... shouldn't have ordered since the Ultra did include 1... |
 Anybody wanna buy over? ;) |
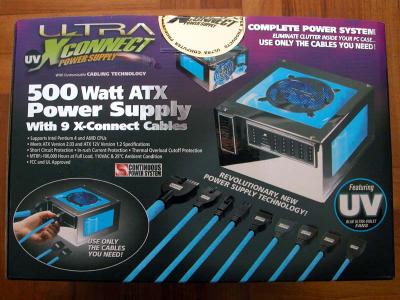
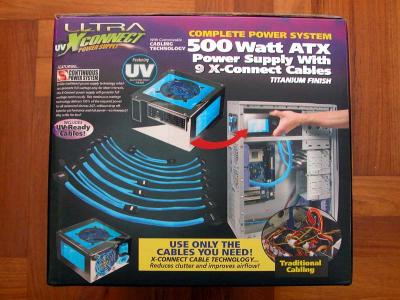
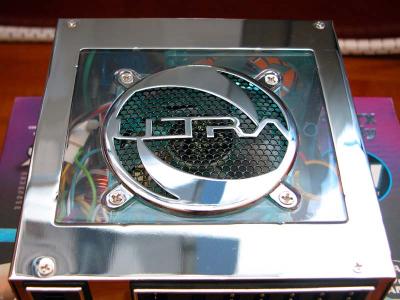
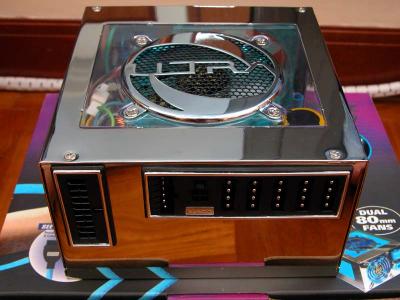
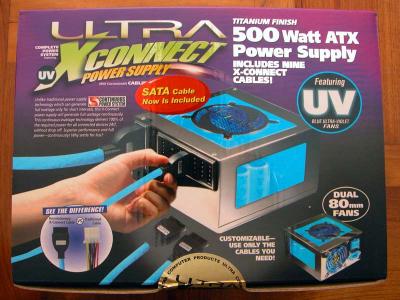 And presto! The way COOL Ultra! |
 Drool.... |
 Drool.... |
 Drool.... |
 Drool.... |
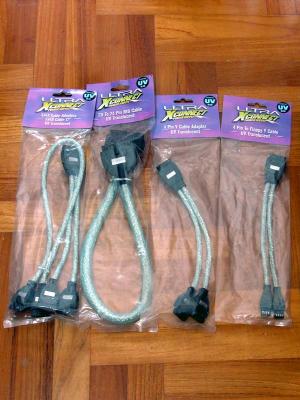
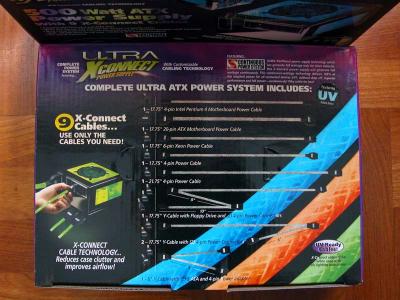 The separate box of UV reactive cables |
 First peep |
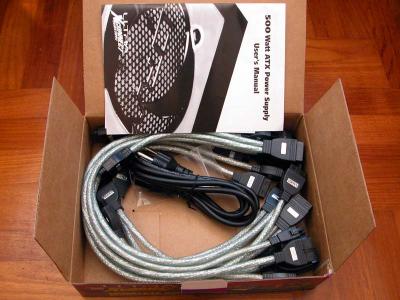 Back to the cables |
 Minor complaint... those covers are really loose! |
 Mobo connector... |
 and the rest... |
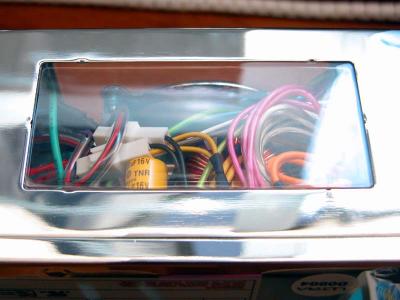 Window inclusive! |
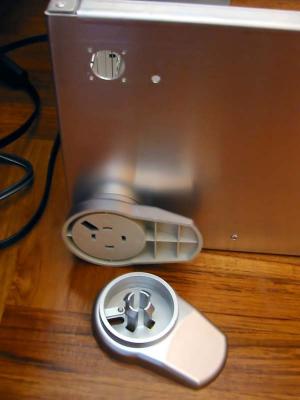
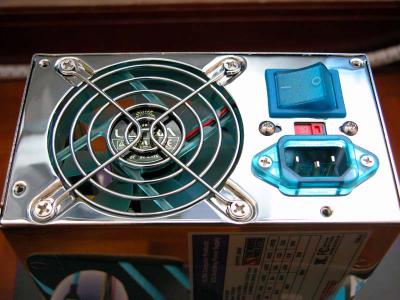 Back panel |
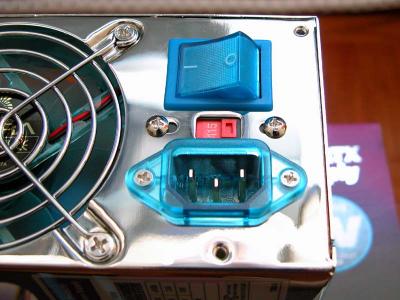 Remember to set voltage to 230Vac! |
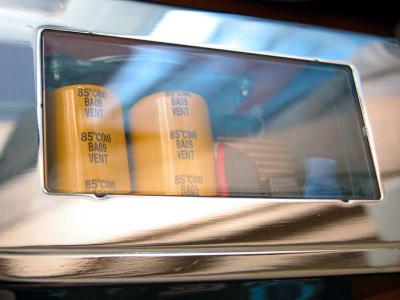 Big caps there |
 With the covers off |
 Bottom fan, that fan grill sure restrict air flow... |
 DROOL... |
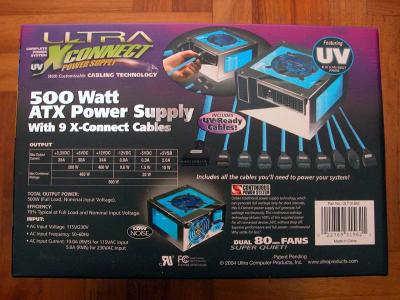
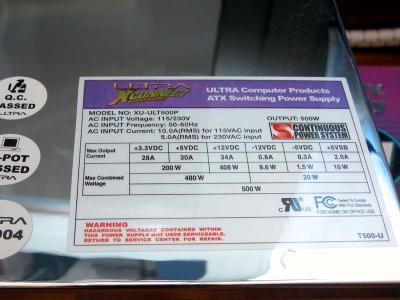 PSU Specs |
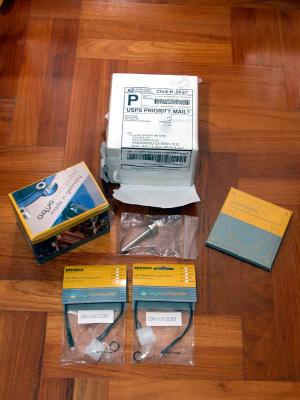
 Ordered additional cales for my Ultra |
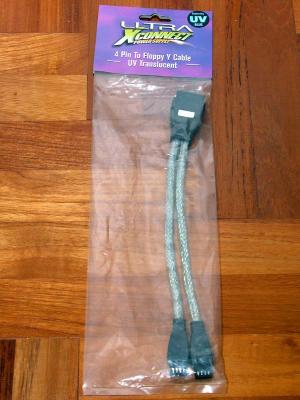 That's the Y-split floppy power cable |
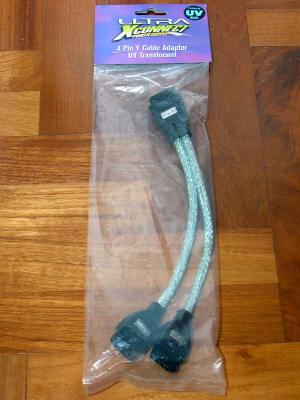 Y-split molex cable |
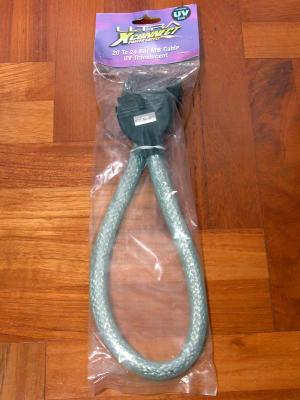 20 -> 24 pin mobo cable... to tell you the truth, I dunno what's this for... |
 And additional SATA power cable |
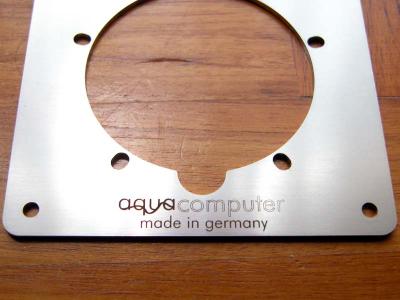
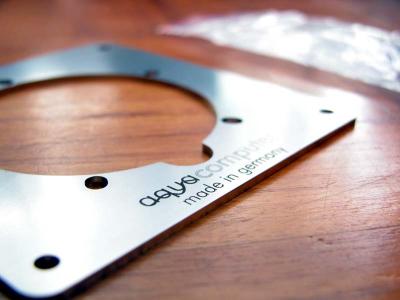
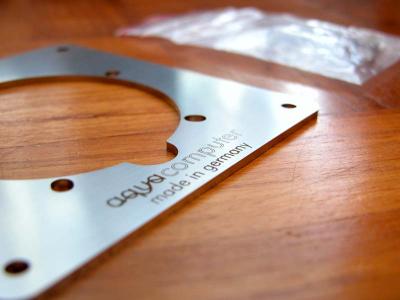
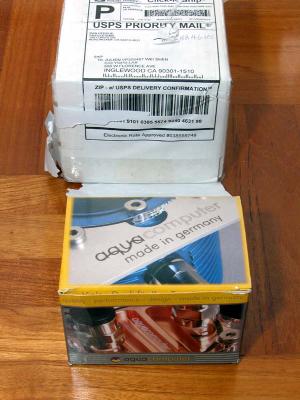
 The good stuff! From SNT Systems, reseller for Aqua products from Germany |
 AquaJet |
 This thing is suppose to spit water onto the acrylic creating a nicer effect |
 This darn thing costs me US$11.50! |
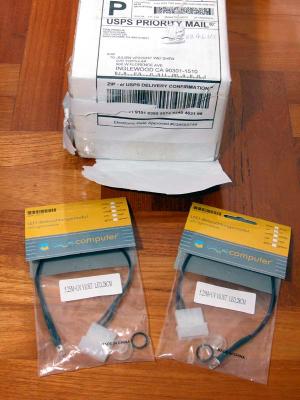 A couple of UV AquaTube LED mods |
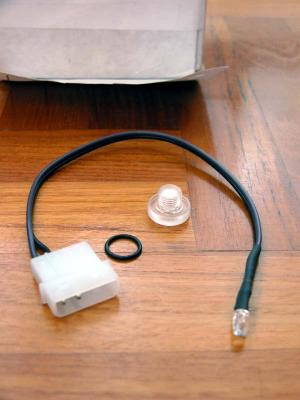 Suppose to light up the AquaTube |
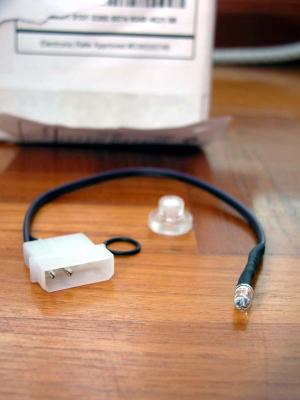 It's a shocking US$10.25 each!! I really feel stupid getting this... |
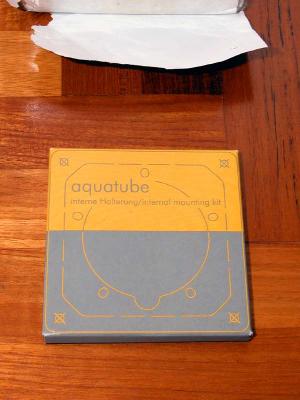 AquaTube Mounting Bracket |
 At least I think this is worth the US$13 as compared to the LED mods... |
 Dun like the picture fools you, it's actually pretty heavy |
 Looks good eh? |
 Practically from any angle I would say |
 Last pic of it |
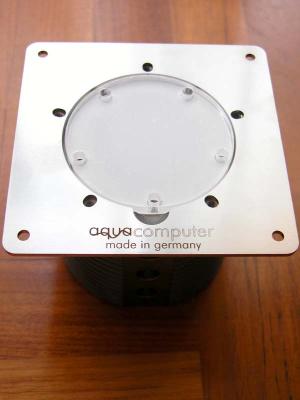
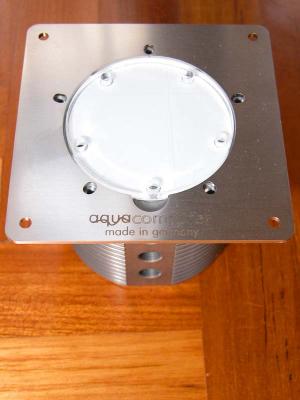
 Main star of the lot |
 Presenting : The AquaTube Rev 1.1! |
 That's the Titanium version. US$76.75 |
 Those who are wondering, yep, this is meant for a 3/8' system |
 Total of six in/out lets... |
 More than sufficient for barbs and LED mods |
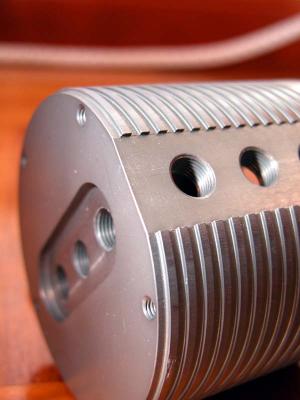 This anoized aluminium weighs a cool 500 grams |
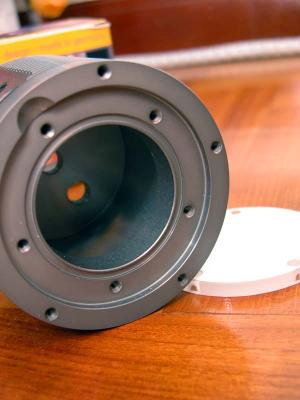 That's where you top up your rig |
 Proctective plastic over the acrylic |
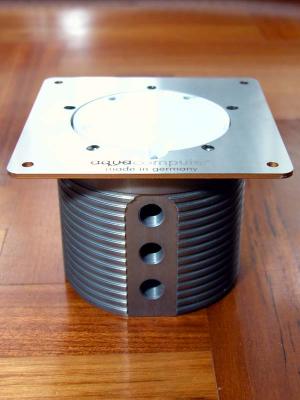
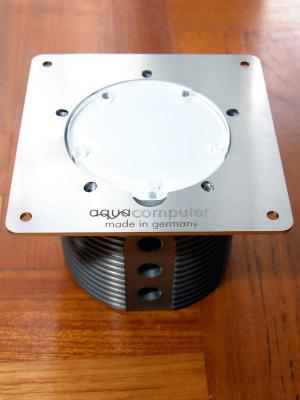 That's how it's gonna look like |
 Another top view |
 Yet another |
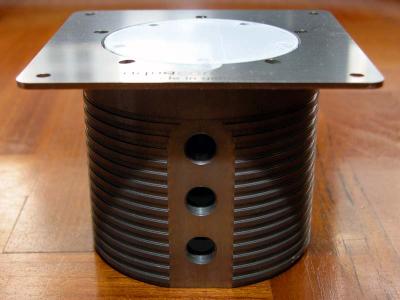 100% goodness! |
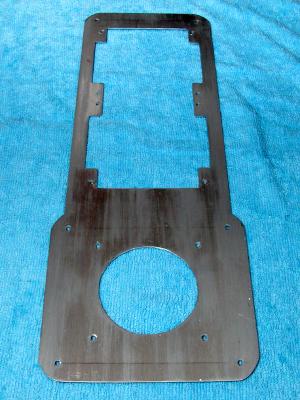 After a whole month, this is what I've done. The top plate where the AquaTube and BIX2 will be mounted. |
 The original PC-70 top panel. That's the best I can savage from it's original condition... |
 Wondering abt the 'original condition'? That's the supposingly fan/light controller... |
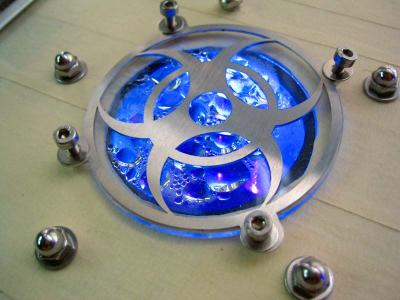 ... and that's my self made reservoir/air-trap mounted at the center |
 Here's how it looks like; series of pics leading to its creation is around here |
 How it looks... crap eh? Left it like that for a few months when I changed case to PC-60... |
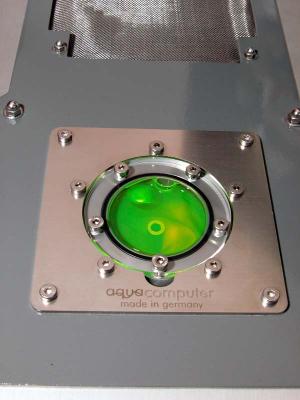 And now... with the Aqua Equipment... |
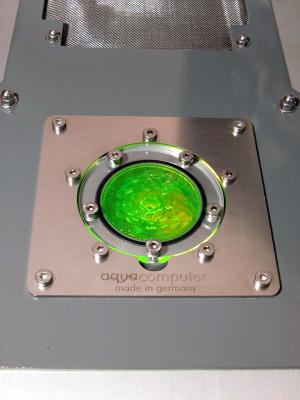 That's how it looks like when the pump is running. Slow shutter. |
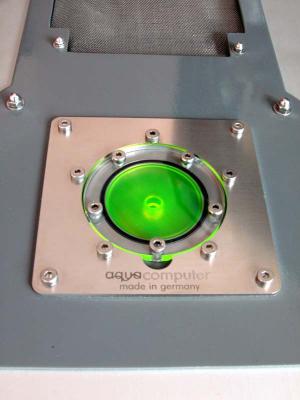 Another shot with fast shutter |
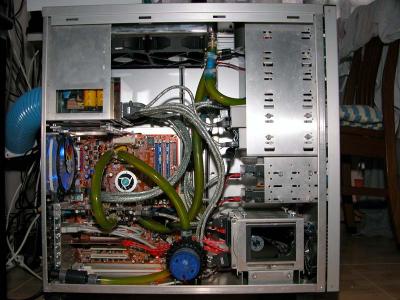
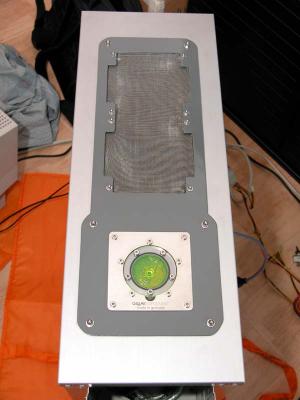 The overall look. Most prob will want to remount the filter.... |
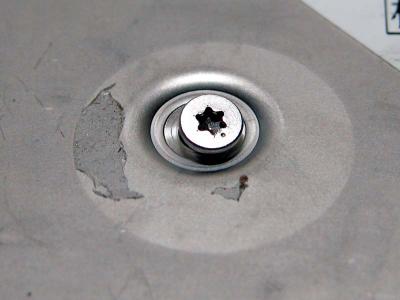
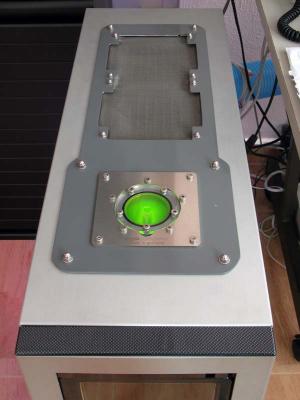 Shot taken at a lower angle today. Notice the darn paint chip off to the right.... :( |
 How my system look like now... the darn CCL within my Ultra PSU is dead... Pic taken with flash |
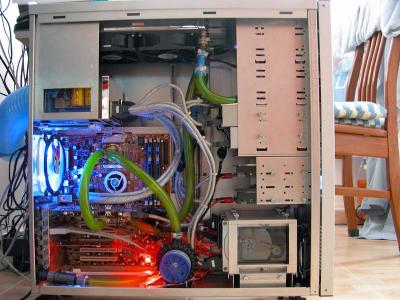 Same pic as above, no flash used. |
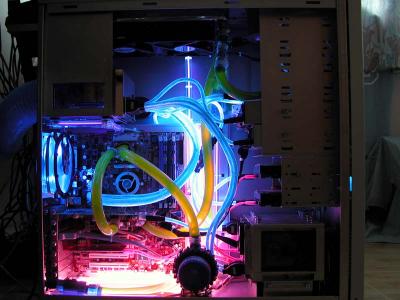 Same pic again, 'night-mode' |
| previous page | pages 1 2 3 4 5 6 7 8 9 ALL | next page |
| comment | share |
| Guest | 16-Mar-2008 08:23 | |