photo sharing and upload picture albums photo forums search pictures popular photos photography help login
jayman72 | profile | all galleries >> Galleries >> The Overkill Project tree view | thumbnails | slideshow

The Overkill Project

I have been designing and building subwoofers for 20 years.

This hobby started with me building a "sub" for my first car in front of my parents house.
I used the wrong wood, the wrong type of speaker, the dimensions were wrong, I didn't use the tools that my Step Dad let me borrow properly (I.E. Safely) but it still sounded "good enough" to get me hooked.

Ever since that day I have continued designing, building and starting over. Ad Nauseum.

About 10 years ago I moved up to creating Subwoofers designed for Home use. This opened an entire new series of "challenges" that turned my hobby into an obsession to create the "perfect" speaker to reproduce the bottom octaves of Music.

The unfortunate things about my hobby is that when most people hear that I build "Subs" their first thought is of the "Boomers" that drive around and play their music loud enough to wake the dead. Which in turn tends to turn people away from a very important part of music reproduction. Having a good speaker to properly play the "bottom end" of Music makes the music sound and feel "fuller" and most people miss out on so much when it's not there. And I have not even gotten into the absolute necessity of a good Subwoofer for Home Theater needs. But thats another discussion for another time.

In my many builds I was able to make a Great music "Sub", a Great Home Theater "Sub" or one that was acceptable for both.

That was not good enough.

So about 5 years ago I came up with an idea for what I hoped would be the perfect "sub" for both Music AND Home Theater.

And The Overkill Project was born. (TOP for short.)

The design process for TOP was arduous to say the least. I created, on paper, about 8 (possibly 10) "completed" versions of it before deciding on what I was going to do. I then purchased the components and started the build process. Once the boxes were built I put the speakers in the unfinished cabinets and brought them in the house to "break them in" and make sure they sounded the way I wanted them to.

I think they sounded pretty damn good. My wife told me that the grin on my face went on for days.

So with this the next phase started which was to make them look pretty as this was going to be in our living room and I wanted it to be pleasing to look at as well as listen to.

This process took even longer than the original build.

I wanted it to look as good as it sounded so I took my time.

They are now finished and I'd like to introduce you The Overkill Project.

So thanks for stopping by and getting a little insight on my hobby.

Take a look at the finished project and I hope you enjoy it.

I sure do, but I am slightly biased.

If you are interested in some of the technical details, a quick break down of TOP is as follows:
2 15 inch woofers to reproduce the Deepest bass.
4 8 inch woofers to reproduce the Musical Bass.
The system is Actively Crossed over, Equalized and Amplified so I have complete control over what the "Subs" are doing.
Each cabinet is on 4 "spikes" to decouple them from the floor so that the energy does not transfer and they just look so damn good.
The cabinets are made of 3/4 MDF and are heavily braced internally.
They are all wrapped in a Black Vinyl that looks and feels like leather.
The tops, bottoms and back pieces are made from Red Oak boards that I joined together, cut to fit and then rounded over the tops and the bottoms.
They have 3 coats of stain and then I did 5 coats of high gloss polyurethane.
The speaker grills are made to attach with magnets. (If you look close you can see them on the bottom lips of the bigger cabinets.)
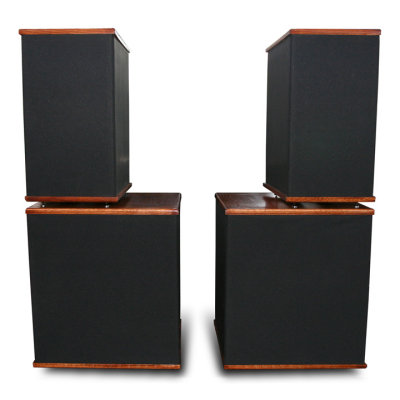
A view of the front with the Magnetic Grills in place.
A view of the front with the Magnetic Grills off.
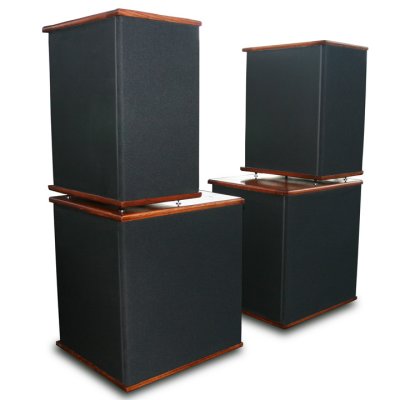
A 3/4 view with the Magnetic Grills in place.
A 3/4 view with the Magnetic Grills off.
A view of the back.
A view of the back.