


|
|
|
|
|
|
| Jakob Ehrensvärd | profile | all galleries >> Bits and Pieces >> Destruction experiments >> Destruction experimental setup | tree view | thumbnails | slideshow |
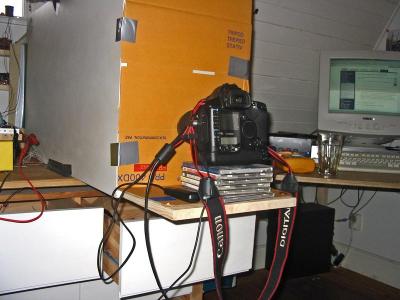 The "studio" |
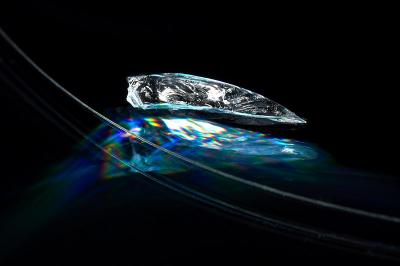
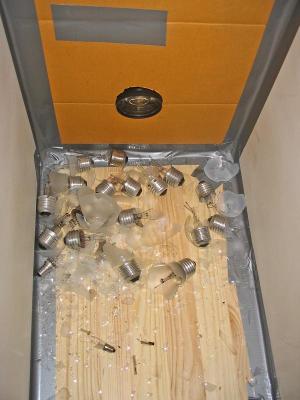 Fatalities |
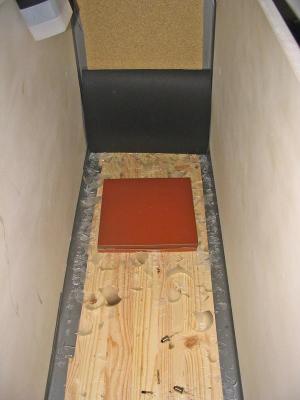 Trigger plate |
 Internals of trigger |
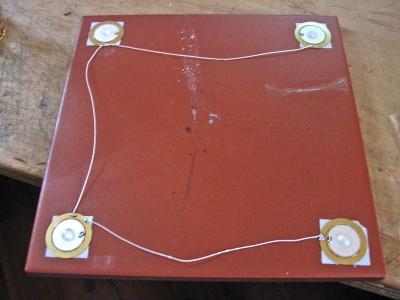
 Trigger element |
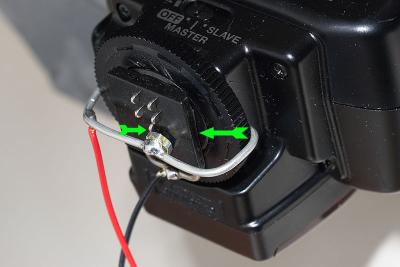 Flash shoe connection |
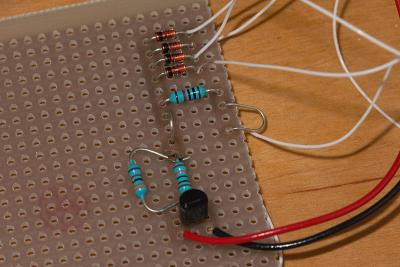 Summing amplifier |
 Beware ! |
| comment | share |
| Barry S Moore | 11-Jun-2007 15:16 | |