


|
|
|
|
|
|
| |
| © L. Charette | |
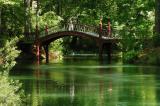
When we think of a panorama we mostly think of a long skinny picture of a sunset or landscape. Another useful function of a panorama is to increase the output resolution of your camera. Where now you might be able to print a 5 by 7 image at 300 dots per inch (dpi) you could easily increase that to a 10 by 8 or greater. I became interested in this concept when viewing the work of Max Lyons and reading his overview. I encourage you to explore his work.
| ||
 |  | |
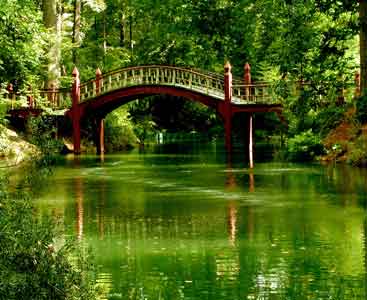
| After cropping, the image is 2700 pix by 2088 pix. Printing at 300 pdi will produce a high resolution image that is 9 X 7. The potential, with better framing, could have been an image around 10 X 8.
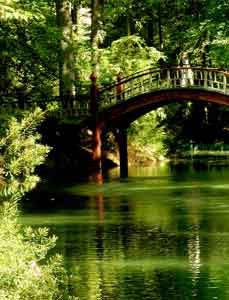
I usually take a standard test image when constructing a panorama. This image was taken the next day so the lighting is a little different. | ||
 | ||
| My Olympus C-3040Z produces an image that is 2048 pix by 1536 pix in shq format. Assuming, I can use all pixels, which is seldom the reality, a full image printed at 300 dpi would produce a high resolution print of 7 X 5. The panorama, framed similar to the test picture, has significantly more pixels and can produce a larger image.
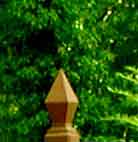
The issue here is the amount of detail you can get though this approach. It would be cumbersome to show you the actual raw images because of the size of the files, but here is an example. These two images below are of the back rail on the right side of the bridge. Both images are crops from 100% view in Photoshop. The image on the left is from the test picture and the one on the right is from the panorama. There is more than twice as much detail in the panorama image. A better example of this can be found on Max Lyons site at this location | ||
 |  | |
| Pedro Libório | 23-Oct-2004 19:02 | |