


|
|
|
|
|
|
| Frank Zipperer | profile | all galleries >> Galleries >> Frank Zipperer Photography - Transitions | tree view | thumbnails | slideshow |
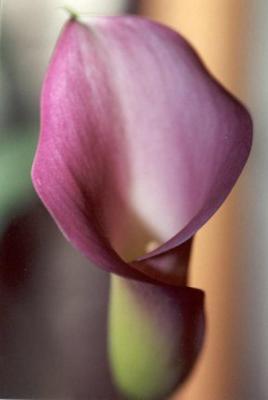
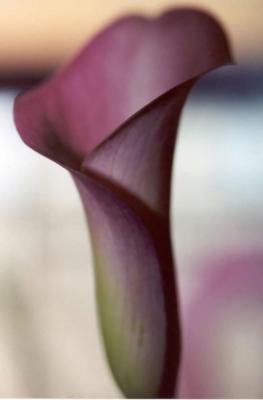 Calla2orig.jpg |
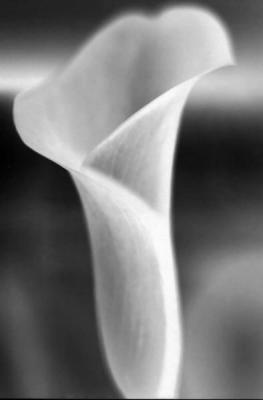
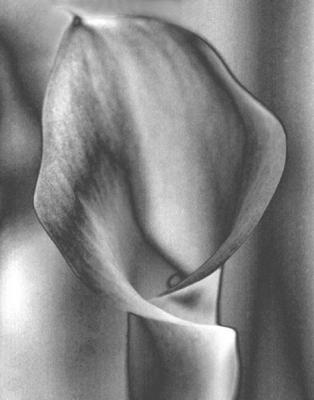
 Calla2inv.jpg |
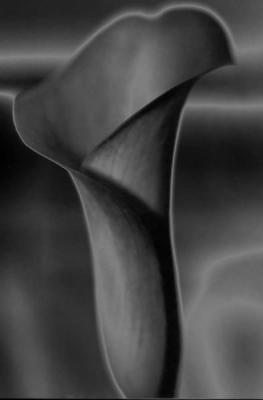
 Calla2green.jpg |
 Calla2invsolgrey.jpg |
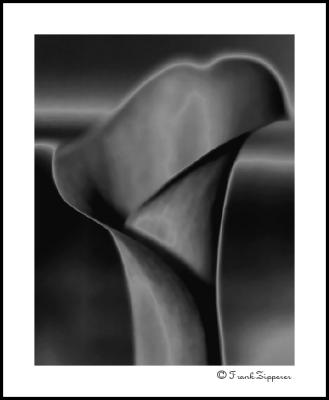 Black Calla (LE01) |
 Calla1orig.jpg |
 calla1greyscale.jpg |
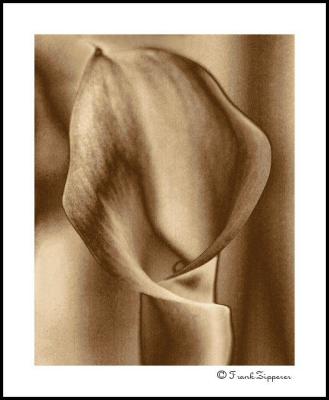 Sepia Calla (LE15) |
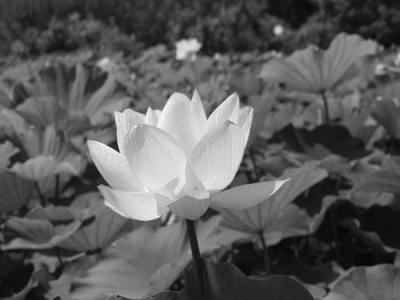
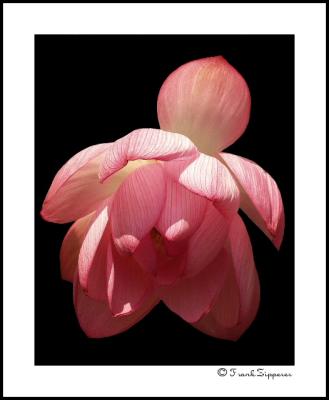
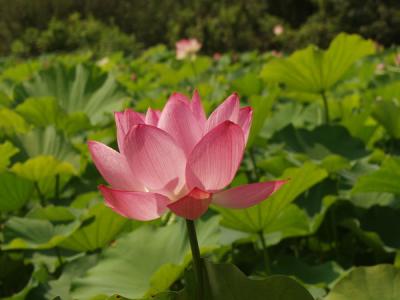 LotusOrig.jpg |
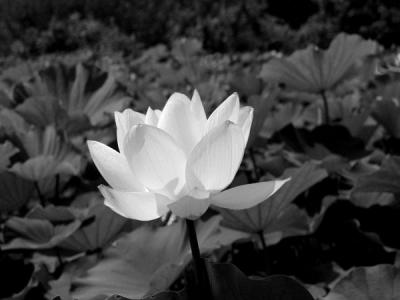
 LotusConvertBW.jpg |
 LotusBWLevels.jpg |
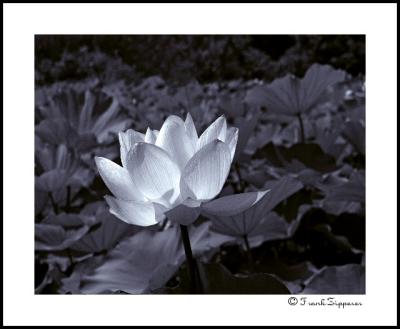 Selenium Lotus (LE19) |
 Lotus2orig.jpg |
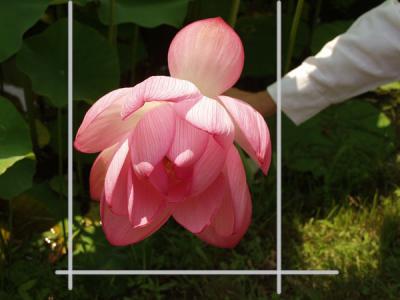 Lotus2crop.jpg |
 Lotus #2 (LE20) |
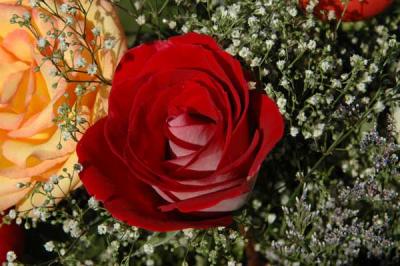
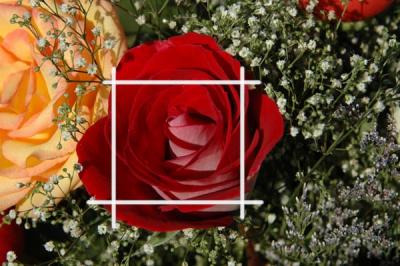
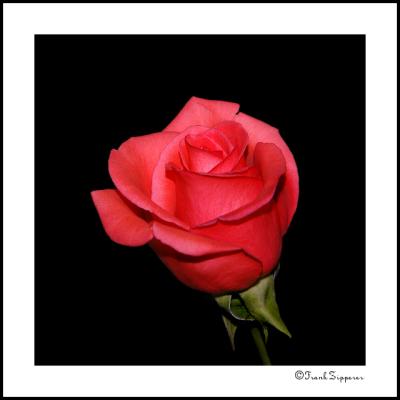
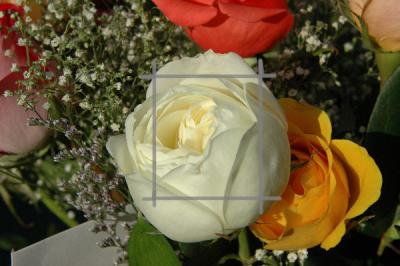 RoseOrig.jpg |
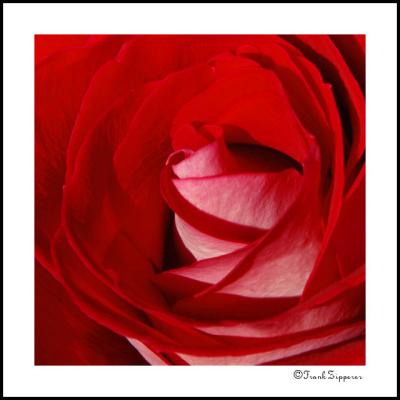
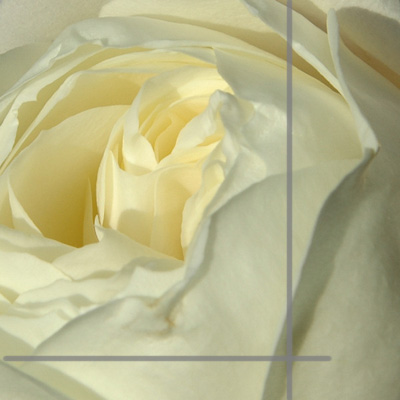 Rose1stCrop.jpg |
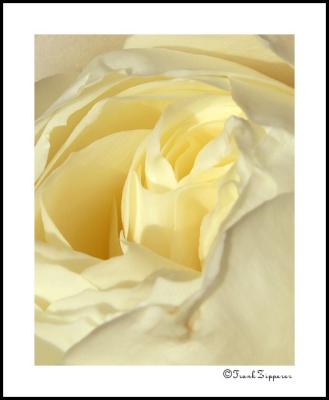 Creamy Rose (LE87) |
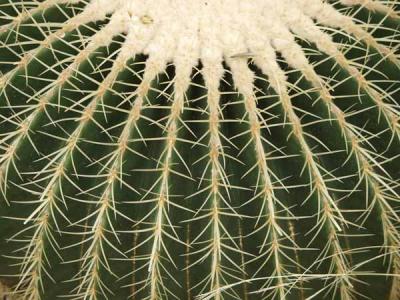 BarrelCactusOrig.jpg |
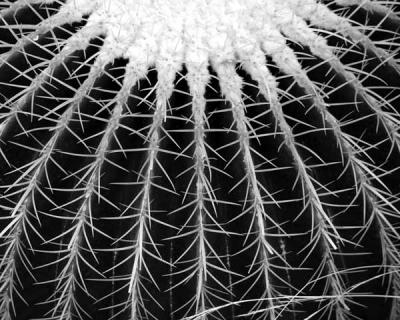 Barrel Cactus ConvertBW.jpg |
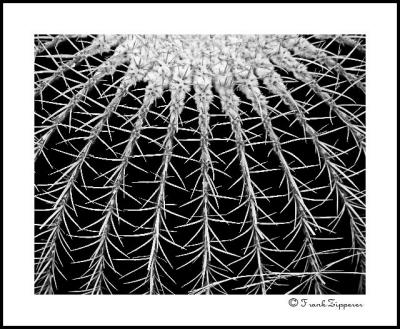 Barrel Cactus (LE06) |
 Rose2Orig.jpg |
 Rose2Crop.jpg |
 Rose #2 (LE82) |
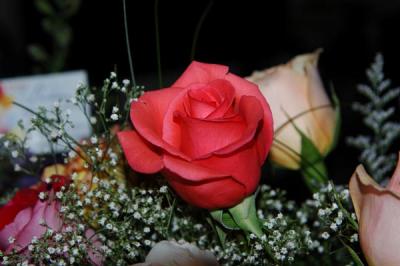 Rose3Orig.jpg |
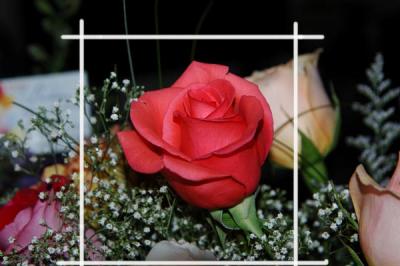 Rose3Crop.jpg |
 Rose #4 (LE86) |
 TulipOrig.jpg |
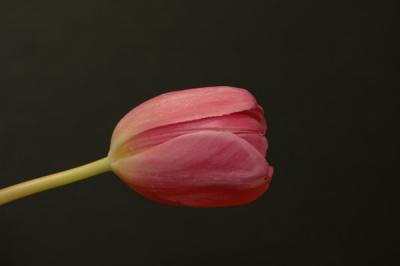 TulipSide.jpg |
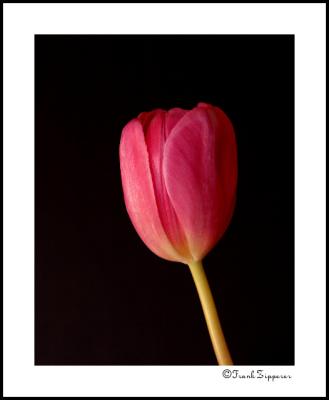 Red Tulip (LE84) |
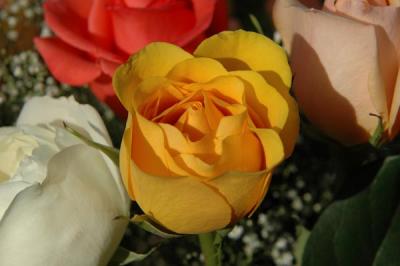 YelloRoseOrig.jpg |
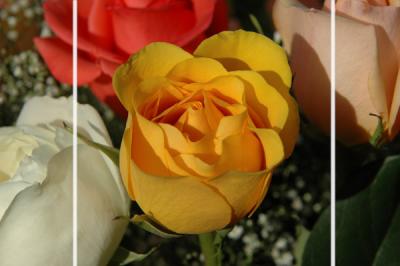 YelloRoseCrop.jpg |
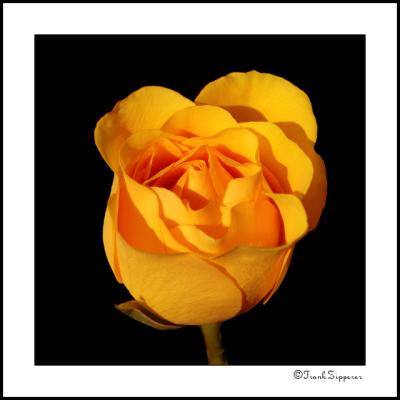 Rose #3 (LE83) |
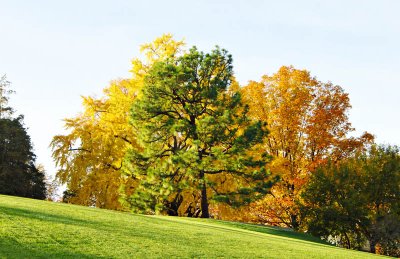
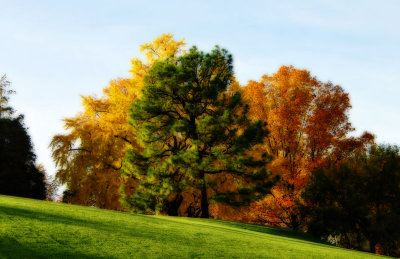
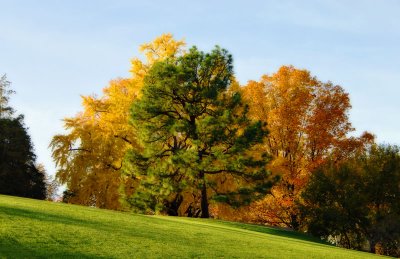
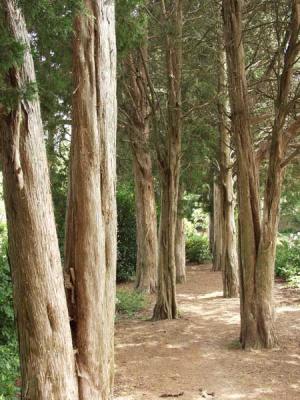 CedarTrailOrig.jpg |
 CedarTrailChMixMono.jpg |
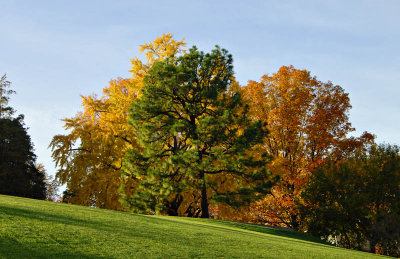
 Cedar Trail (LE51) |
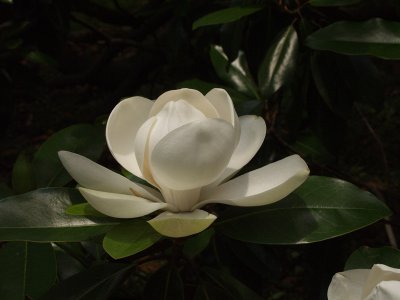
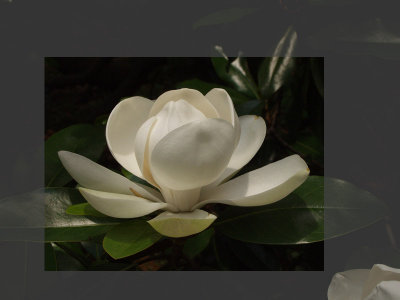
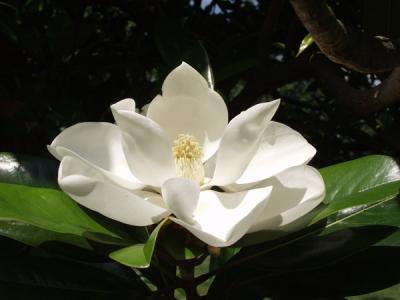 MagOrig.jpg |
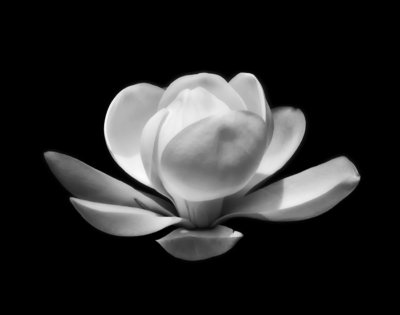
 Southern Magnolia (LE13) |
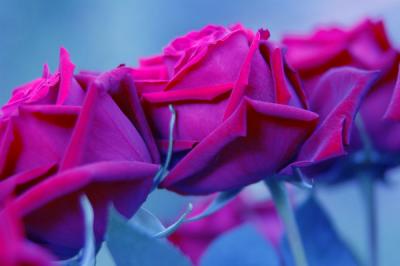
 SepiaRosesOrig.jpg |
 SepiaRosesInter.jpg |
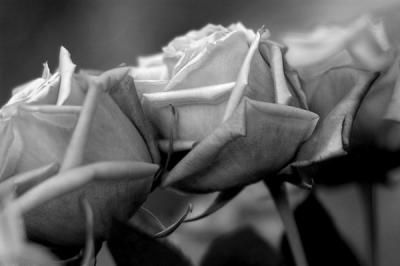 SepiaRosesDesat.jpg |
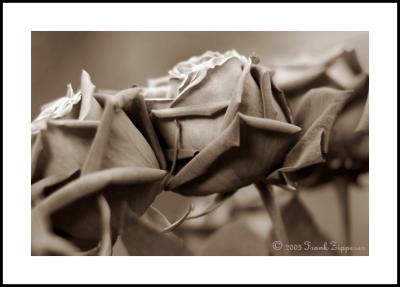 LE89Final.jpg |
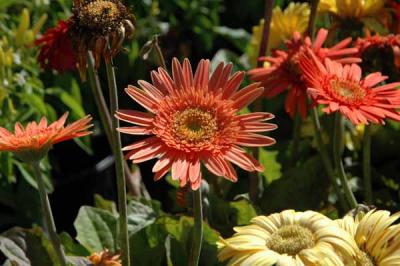 GerbraOrigGroup.jpg |
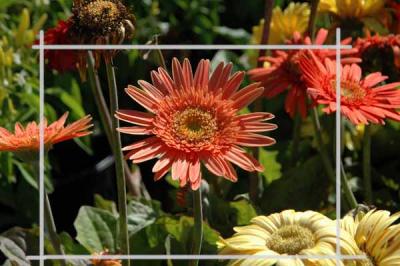 GerbraOrigGroupCrop.jpg |
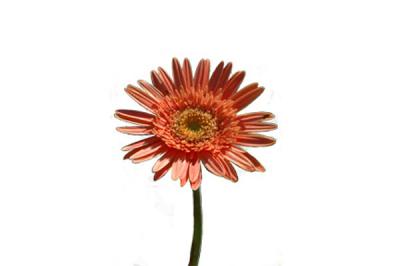 GerbraOrig.jpg |
 GerbraOrigCrop2.jpg |
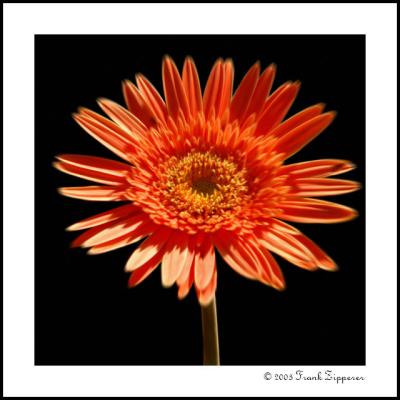 Sunburst (LE91) |
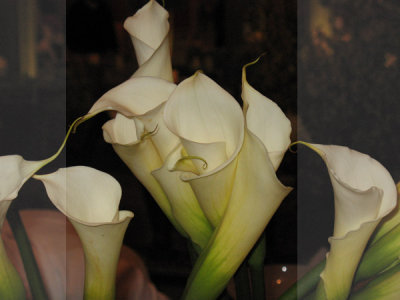 CallaClutch_1 (Original image showing area to be cropped) |
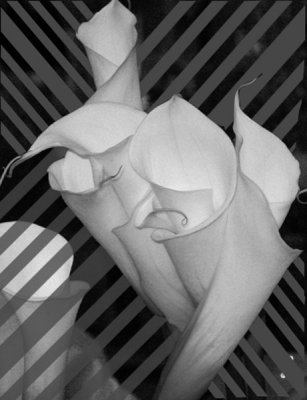 CallaClutch_2 (Cropped and converted to B&W - hatched area to be erased) |
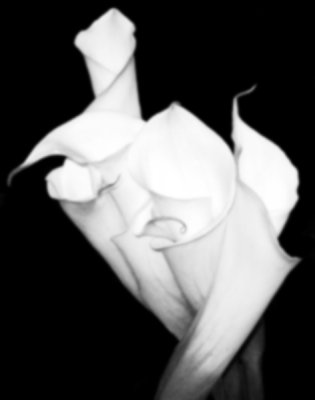
 CallaClutch_3 (Background filled black) |
 CallaClutch_4 (Duplicate overexposed and gaussian blur added) |
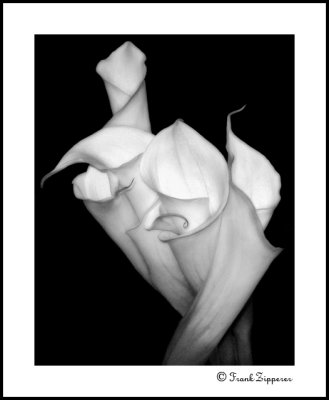 LE103 (Final image - image 4 sandwiched by 2 layers of image 3) |
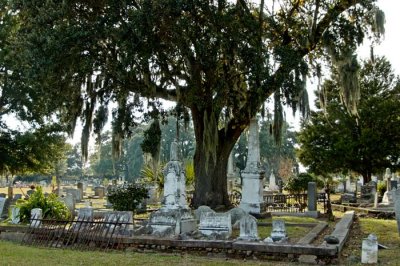 MagnoliaCemOrig |
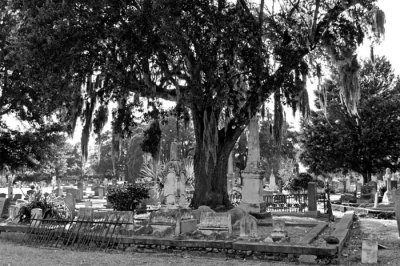 MagnoliaCemBW |
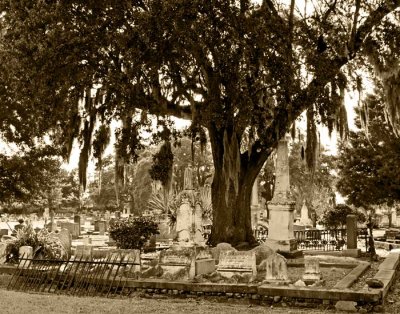 MagnoliaCemSepia |
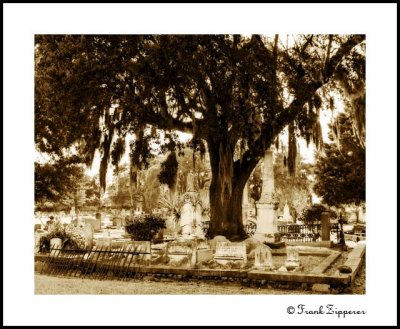 MagnoliaCemFinal |
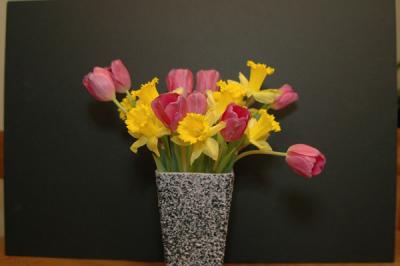
 Three Daffodils0(Original from card-not of much use as is) |
 Three Daffodils1 (Adjusted exposure and vertical cropping selection) |
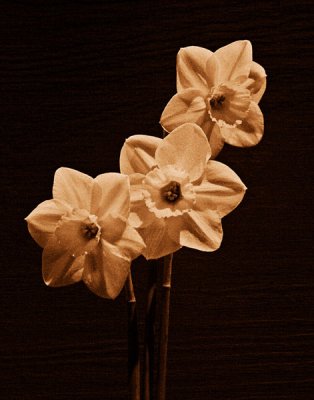 Three Daffodils2 (Converted to B&W and applied a Sepia overlay) |
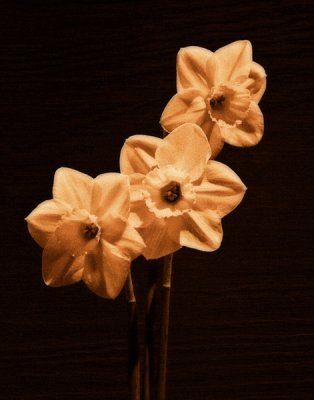 Three Daffodils3 (Processed for painterly look) |
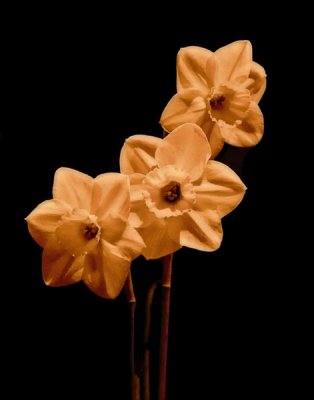 Three Daffodils4 (Final processing) |
 (1) Original Image after balancing colors and increasing the saturation. Then applying curves to adjust contrast. |
 (2) Create an overexposed layer. |
 (3) Blur the overexposed image. |
 (4) Image after sandwiching the first three layers and flattening. |
 5) Finish by dropping the original sharpened image on top of (4) and adjusting the opacity of that layer to about 50%. |
 1) Original image capture. |
 2) Select area to be cropped. |
 3) Convert to B&W and adjust exposure. |
 4) Remove Background. (Use any method preferred. In this example I used the eraser after setting the foreground color to black.) |
 4) After deleting the background, I made further adjustments until I was satisfied with the final image. |
| comment | share |
| Paolo Peggi (aka Bracciodiferro) | 03-Mar-2011 19:28 | |
| Jim's Atavistic Visions | 07-Jun-2008 23:19 | |
| dot | 11-Jan-2008 07:01 | |
| Guest | 13-Aug-2005 21:33 | |
| Rene Hales | 14-Jul-2005 19:00 | |
| Guest | 08-Jun-2005 07:21 | |
| Guest | 17-May-2005 01:24 | |
| beverley harrison | 12-May-2005 20:50 | |