


|
|
|
|
|
|
| fred harmon | profile | all galleries >> Galleries >> starterrelays | tree view | thumbnails | slideshow |
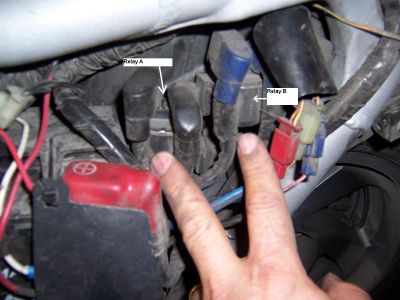
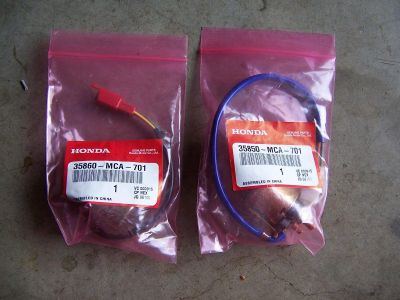 New Honda Starter Relays Relay A has red connector and Relay B has a blue connector |
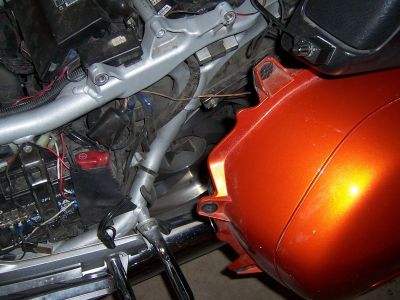 You need to move the left saddlebag out some to access the relays (refer to saddlebag removal procedures) |
 Disconnect the battery before you start to work on the Starter Relays |
 Starter Relay A pulled free from the fender tabs |
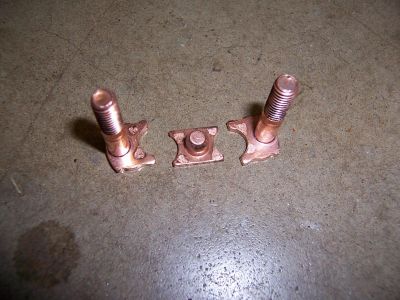
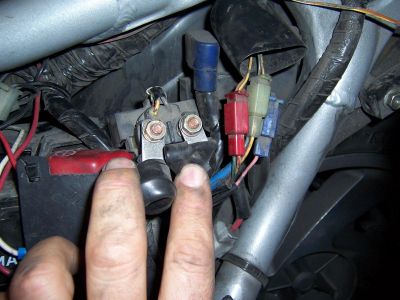 Pull off the boots to expose the lugs |
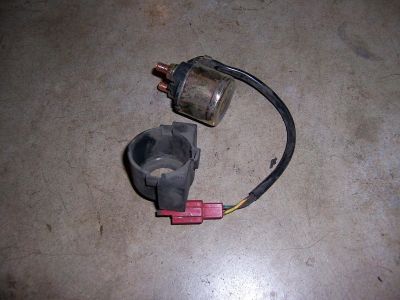 Starter Relay A removed from bike |
 New Starter Relay A pushed into rubber isolation housing |
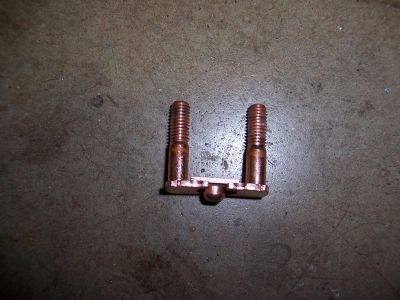
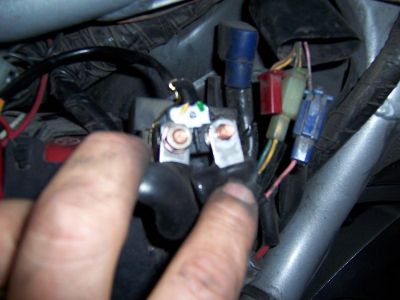 Putting the lugs back on Relay A |
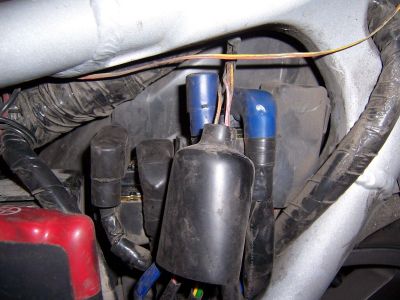
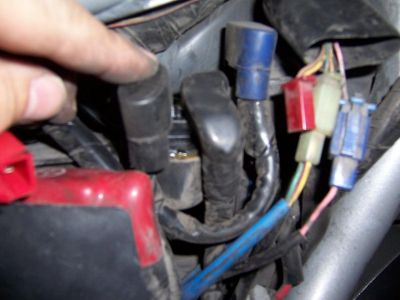 Relay A back in place and rubber caps pushed back on lugs |
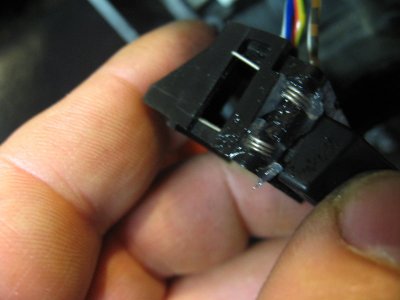
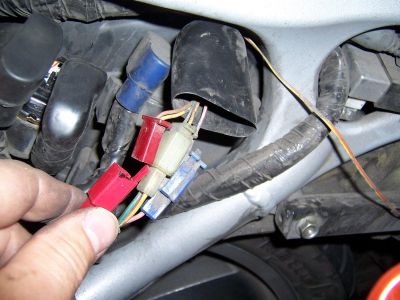 The red connector for relay A gets plugged back in. |
 Relay B pulled off of fender |
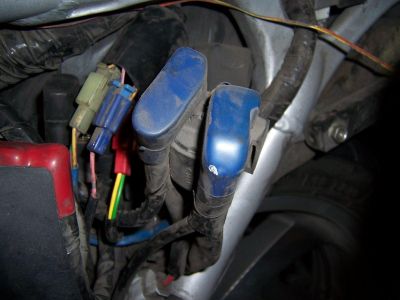
 Both relays back in place |
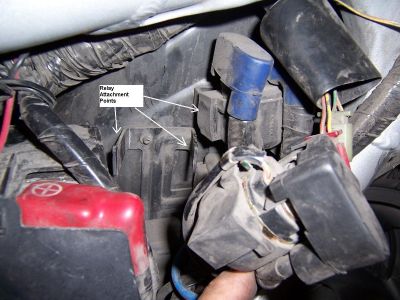
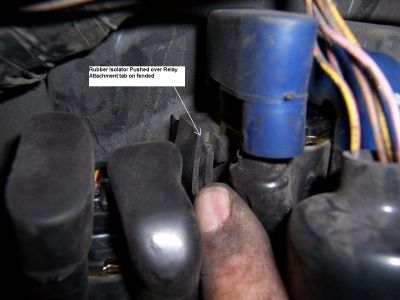 Fender tabs go through the slots in the rubber isolators to hold the relays in place |
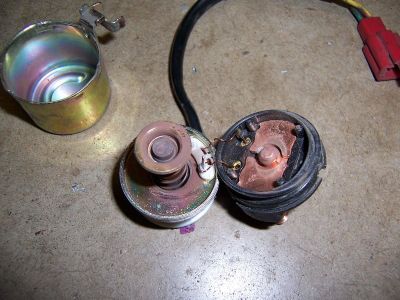 Dissecting relay A |
 Relay A contacts show some slight signs of arcing and wear |
 This is how the contacts engage when the solenoid pushes them closed |
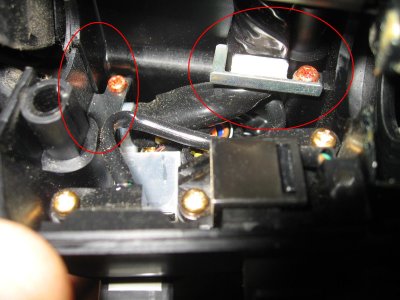
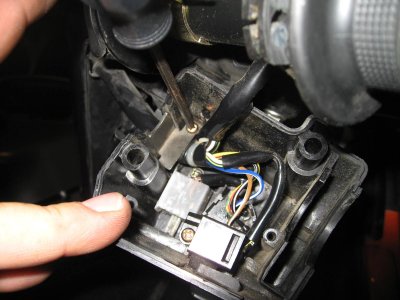 Seperate the halves of the throttle control assy to get to the starter switch. Remove harness clamp to give yourself slack |
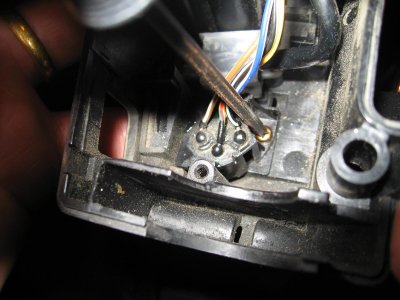 Remove the cruise switch above the start switch, then remove the start switch |
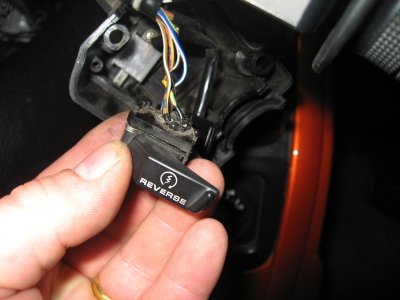 The switch should come out free of the housing |
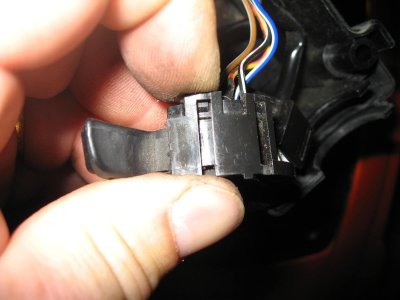 Carefully pry out on the top portion of the tab to release the top half of the switch |
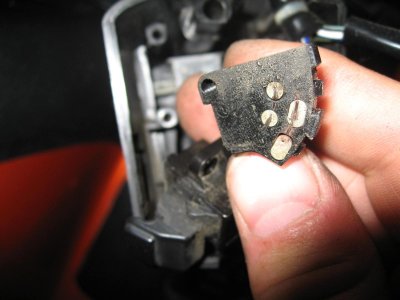
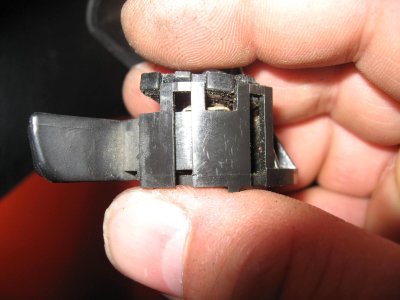 Top half free of tab locks |
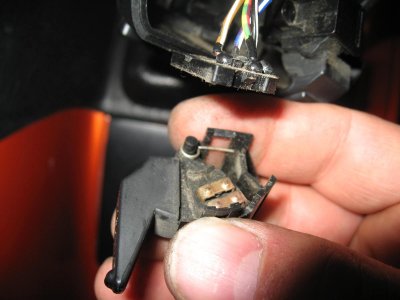 Now you can see the contacts |
 Contacts on top half are grimy |
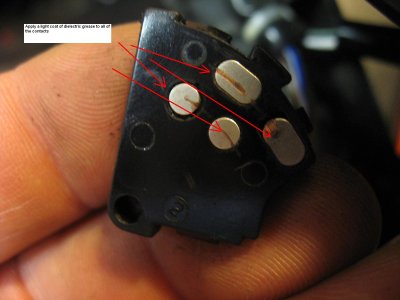 Clean and lube with dielectric grease |
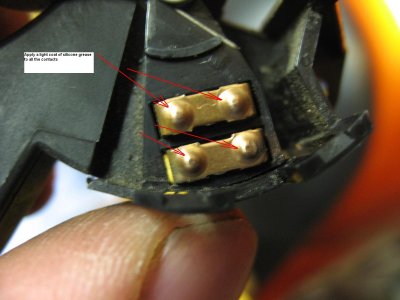 Clean with alcohol and lube with dielectric grease |
 I also lubed the return spring |
 ThrottleSwitchHousing 001a.JPG |