


|
|
|
|
|
|
| fred harmon | profile | all galleries >> Galleries >> headlamps | tree view | thumbnails | slideshow |
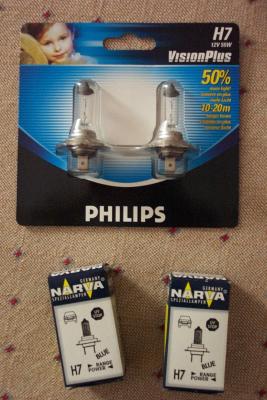 Here is a look at the two bulbs sets in their packaging. |
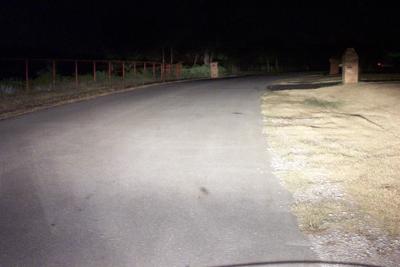 Here is shot of the stock bulbs, low beam on only |
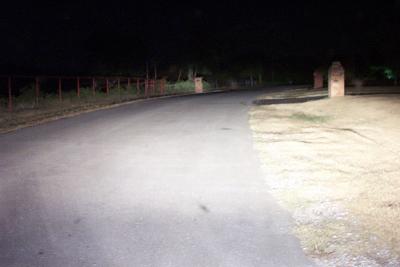 And again, same shot with Narva bulbs installed |
 And again, same shot with Phillips Vision Plus bulbs installed |
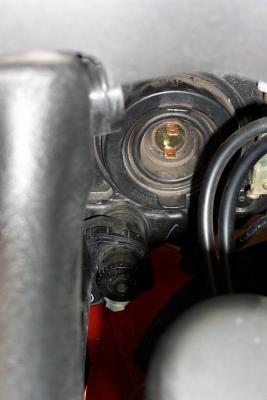
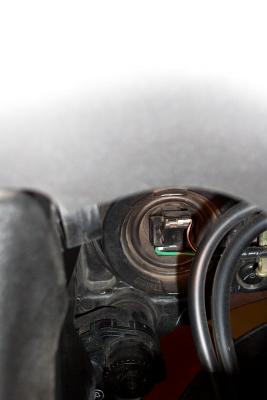 Here is a look at the low beam bulb from the rear, inside the fairing |
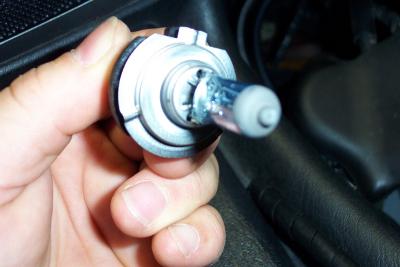
 First, remove the connector plug |
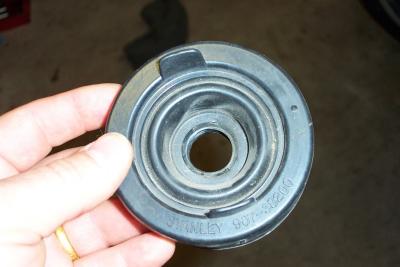 Then pull out the rubber boot |
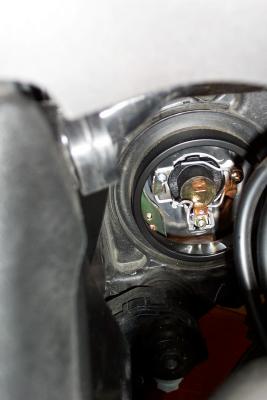
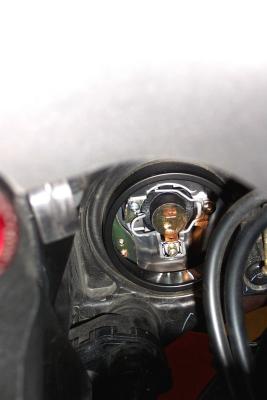 Notice the small wire clasp holding the bulb in |
 Push in on the wire clasp and down to release it. Here you can see it is released (look close) |
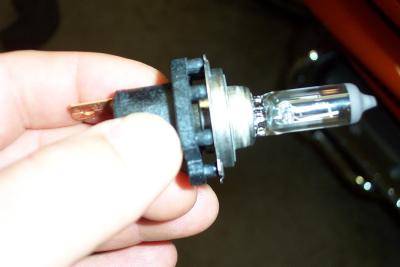 Bulb then pulls right out |
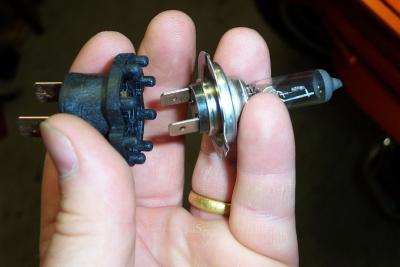 Seperate the bulb from the socket holder |
 Put the new bulb in and be sure to clean it with denatured alcohol |
 Bulb then installs with the flat portion to the top. Place the bulb, re-hook the clasp, install boot (fully), and reconnect plug |