


|
|
|
|
|
|
| fred harmon | profile | all galleries >> 2006 FJR Galleries >> givibrakelites | tree view | thumbnails | slideshow |
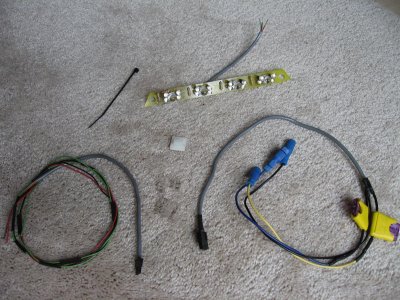 Brake Light Kit |
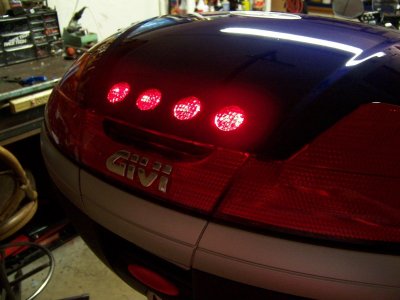
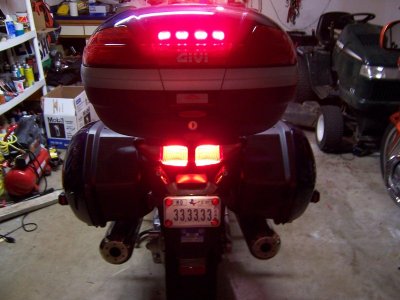
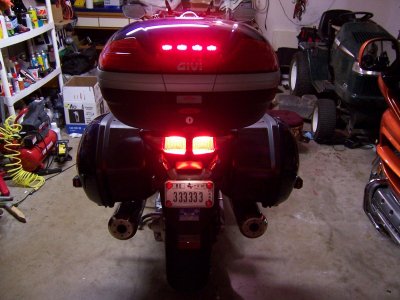 Brake lights on |
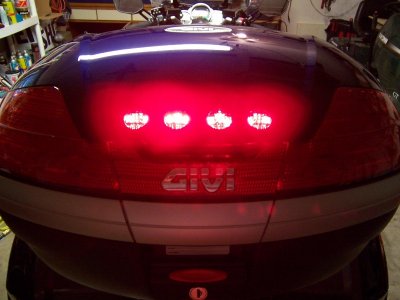 Brake lights on |
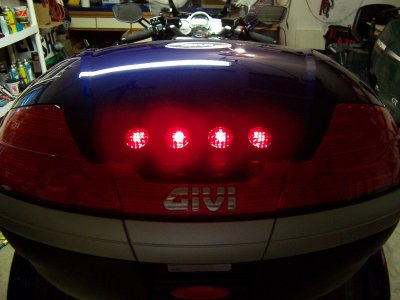 Only tail lights on |
 Side view |
 Brake lights on with 4 bulbs per element |
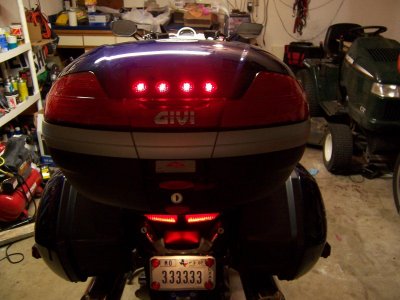 Tail lights only on |
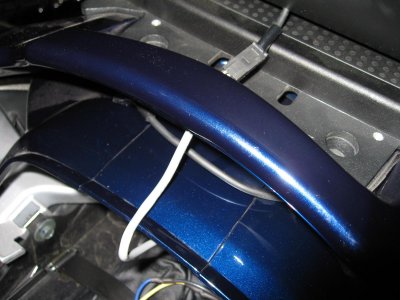
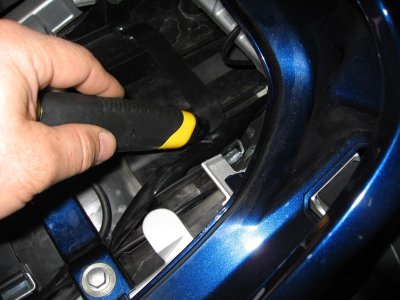 First, carefully cut open the cover for the brake and tail light wire under the seat at the rear of the bike |
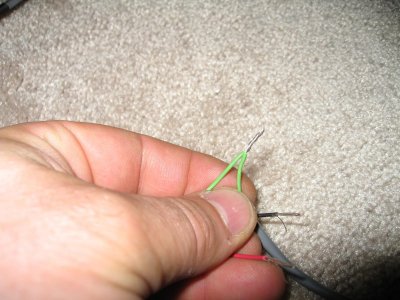
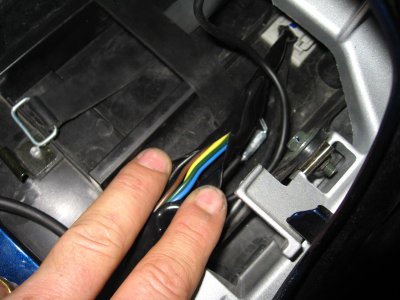 Open the sheath to expose the wires. We will need to tap into the blue, yellow, and black wires |
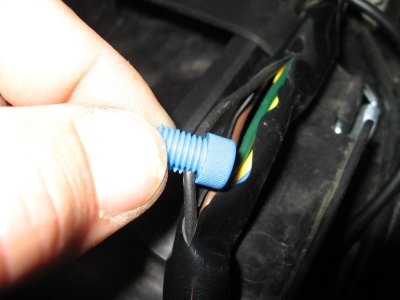 The Posi-Tap connector goes over the wire |
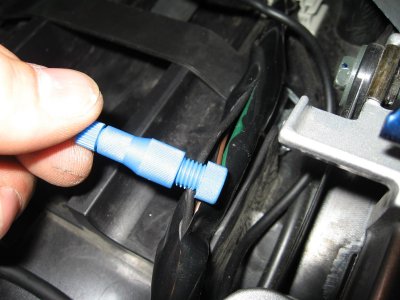 Then screw the head onto the Posi-Tap |
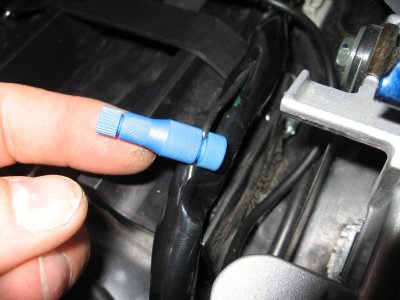 Now unthread the plug in the end of the Posi-Tap |
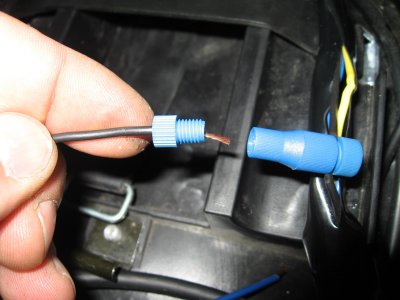 Insert the same color wire from the light harness and thread in the cap |
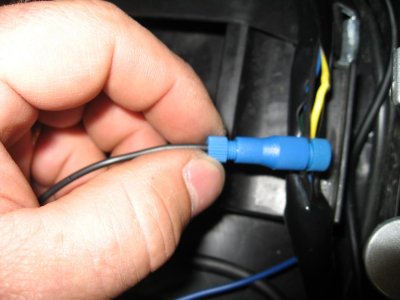 Threading in the cap |
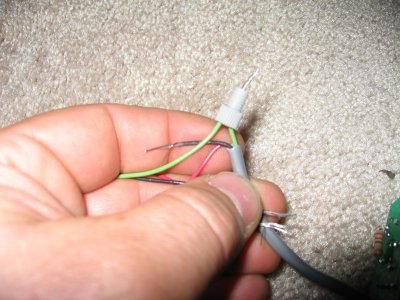
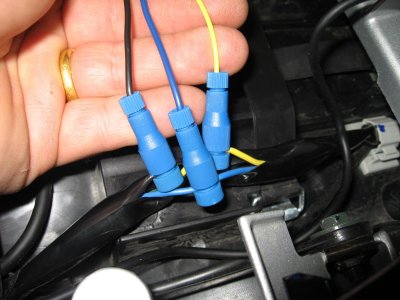 All three wires connected, black to black, yellow to yellow, and blue to blue |
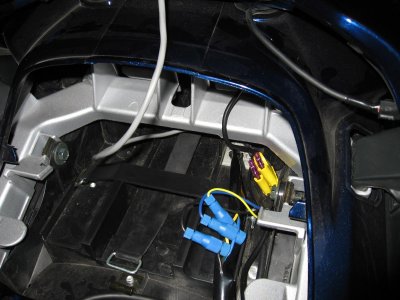 Tuck the wires, connectors and fuses in the rear tail. If you want, you can cover the opening in the sheath with electrical tape |
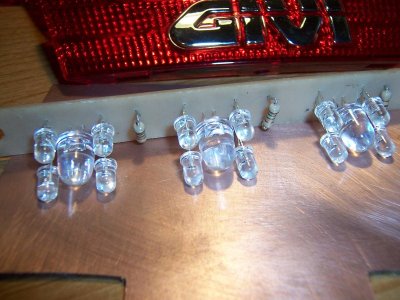 Lights on circuit board |
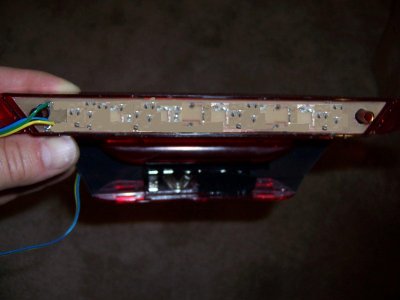 Board installed |
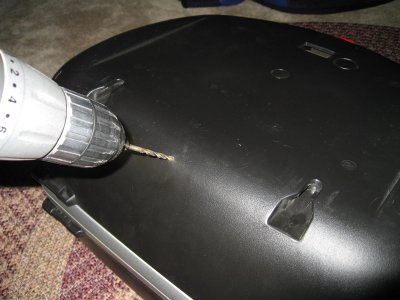 Drilling 5/32 inch hole with case upside down in forward lower edge of box |
 Removing document holder |
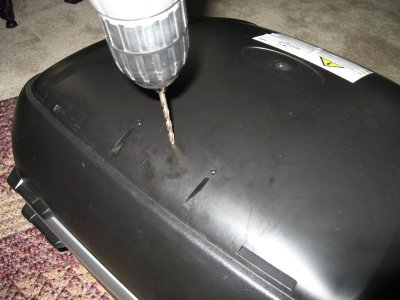 Drilling hole in top of box with color matched lid removed |
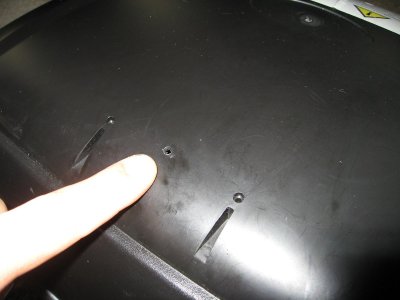 5/32 inch hole in top between document holder screw mounting holes |
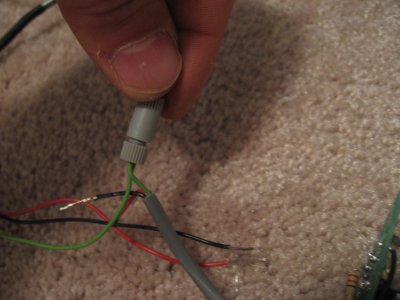
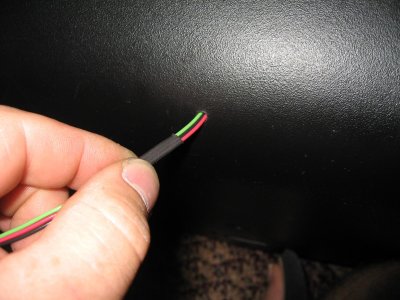 Inserting wire in hole. It will be a tight fit, but if you work at it you should be able to make it fit |
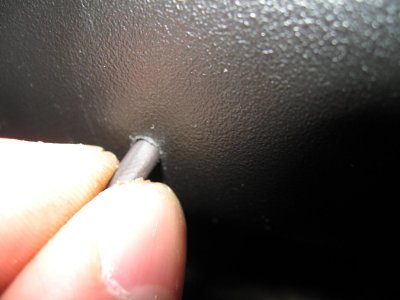 Threading cable into hole |
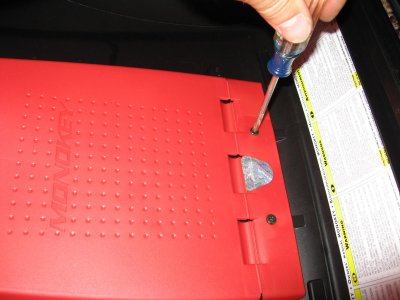
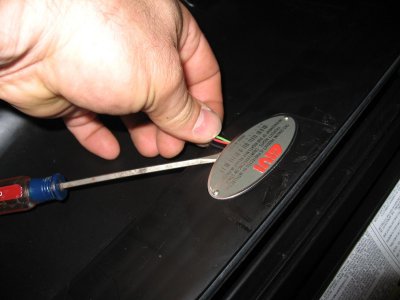 Lift up the edge of the Givi name plate inside the box, and thread the wires underneath it |
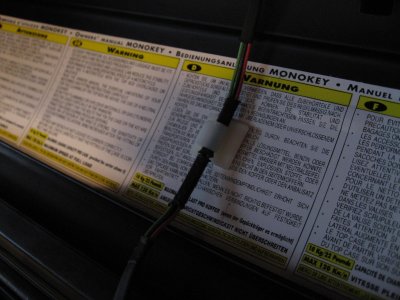
 Leave a few inches of the cable with connector sticking out of the box |
 Lay the cable flat on the box so the color matched panel will fit over it |
 Place provided wire clamp on lid to hold the wire in place inside the box |
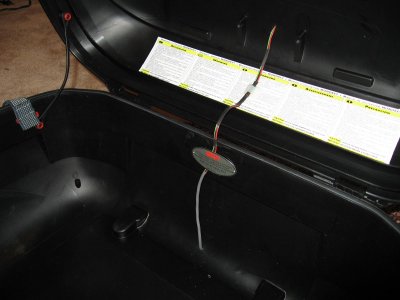 Wire install from inside the box |
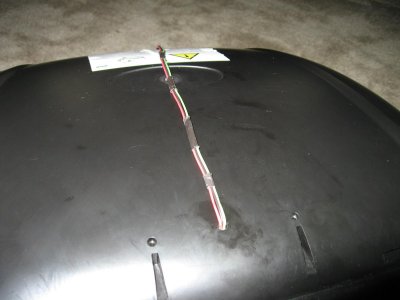
 Wire routed at back of bike |
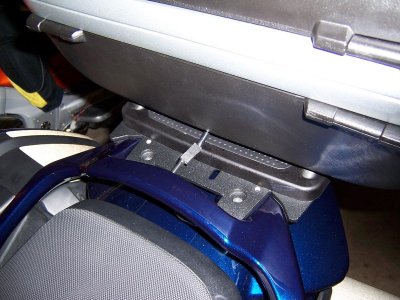 Box in place with wire connected |
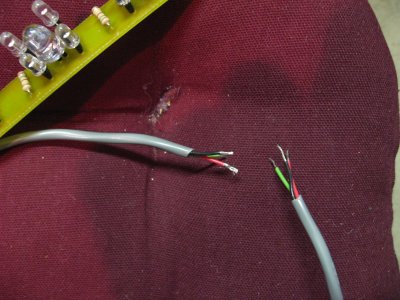 These three wires will have to be reconnected once you get the harness routed in the box |
 Seperate the collar from the Posi-Twist connector |
 Twist the wires together |
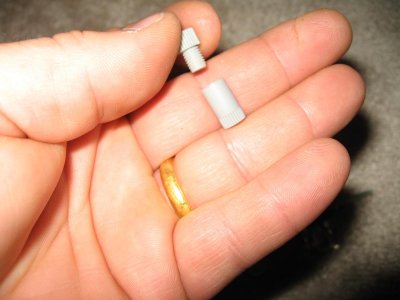
 Put the collar over the wires |
 Thread the body of the Posi-Twist on and tighten |
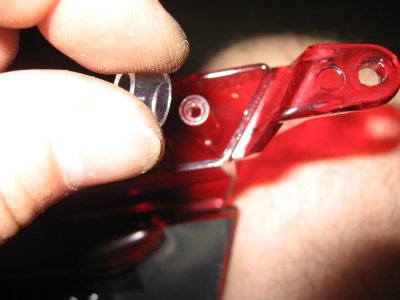 Push the small rubber spacer onto the post on the Givi rear light housing |
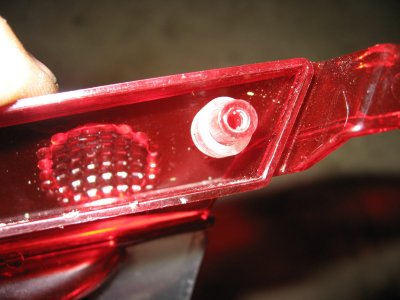 Spacer in place |
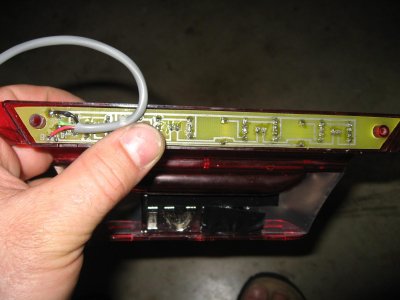 Install the circuit card so it rests on the spacer |
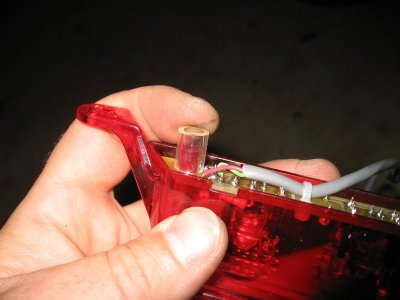 Put the longer spacer on the end over the card |
 Spacers in position |
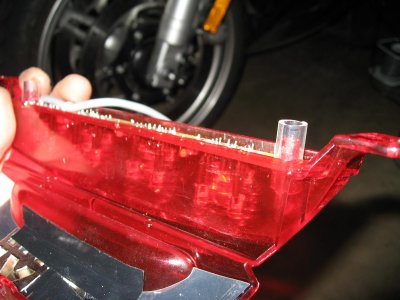
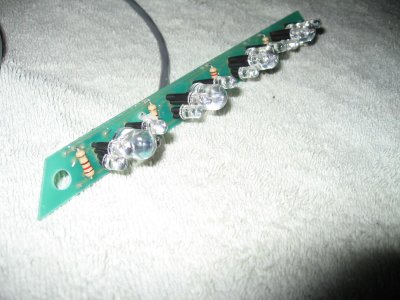 Finished Board |