


|
|
|
|
|
|
| fred harmon | profile | all galleries >> concours14 >> gascapmod | tree view | thumbnails | slideshow |
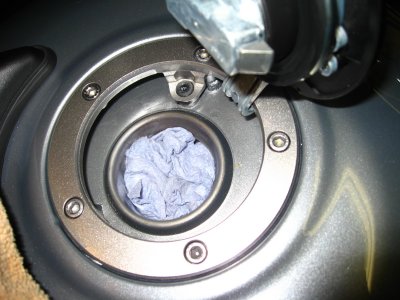 I plugged the hole before I even begin |
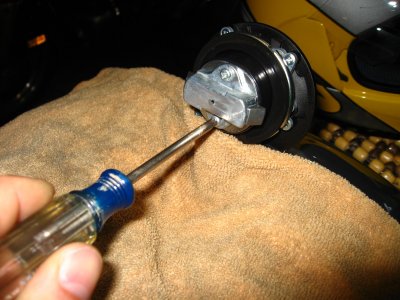 Then I removed the two screws holding on the latch |
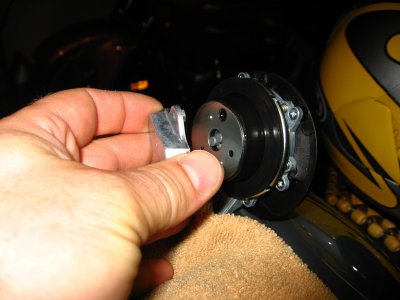 I carefully lifted off the latch being careful not to disturb the rest of the cap (there are small springs behind the gasket) |
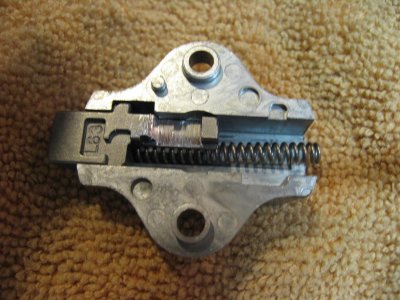
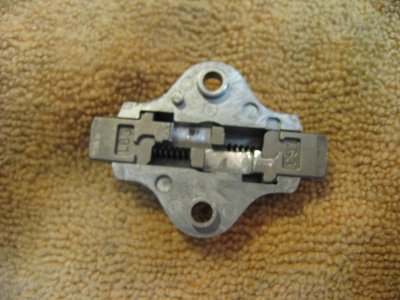
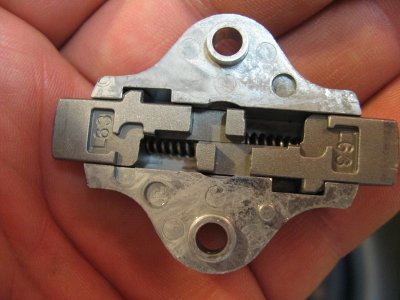 Looking at the bottom of the latch assy |
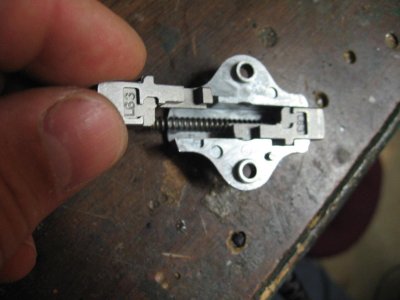 Removing one of the latch "throws" |
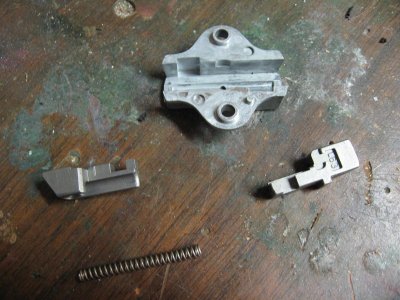 Both throws and spring removed |
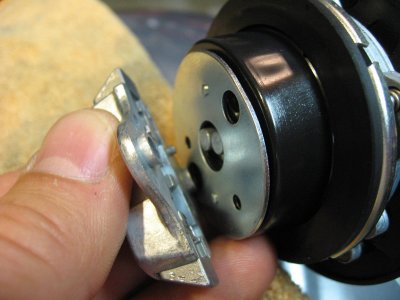
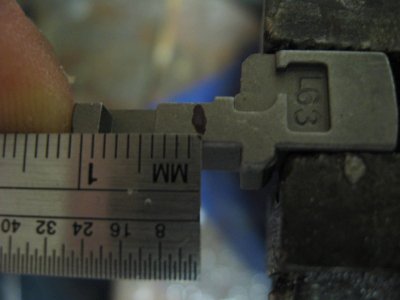 marking 4mm in on the cutout for the mechanism |
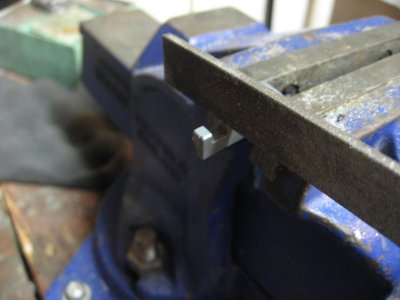 Here I am Filling down the throw |
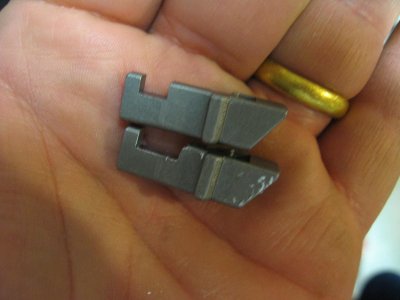 Modified throw on the bottom, original on top |
 I reassembled the latch with one throw and sping |
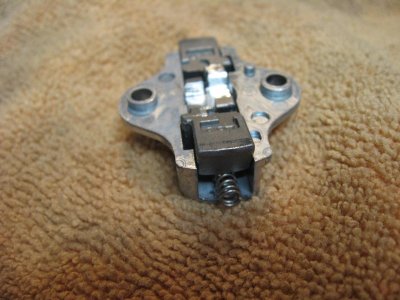 I laid the second throw on top of spring |
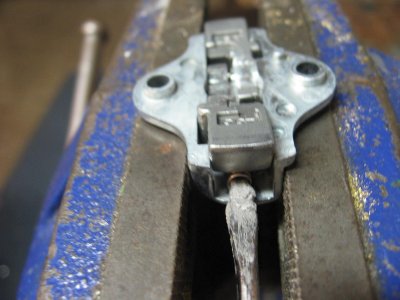 I pushed spring in with small screwdriver, then seat throw into place |
 Reassembled modified latch |
 Notice that the small stud lines up with the hole below when reassembling latch |
 Stud on latch fits in this hole |
 Then I put the latch back in place and screw down. |