


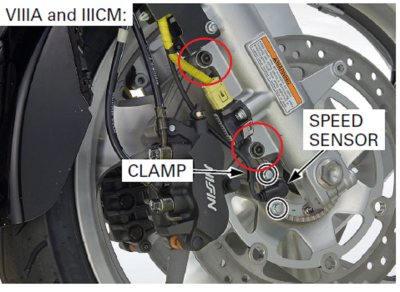
|
|
|
|
|
|
| fred harmon | profile | all galleries >> Galleries >> brakepads | tree view | thumbnails | slideshow |
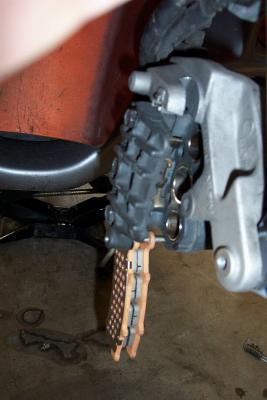
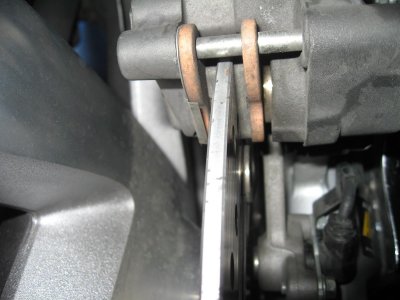 Checking pads with wheel installed. Lay down and look up at the bottom of the calipers |
 You can see the top side by looking down in through the fender with a light |
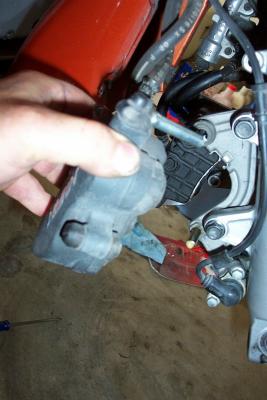
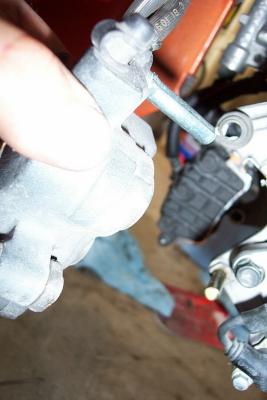
 First I removed the fender and wheel |
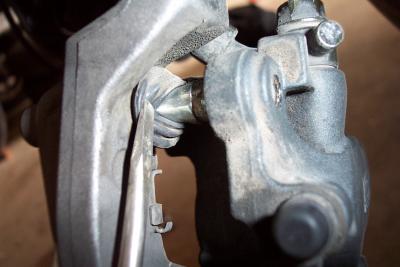
 I left the caliper bolts threaded in enough to hold the caliper |
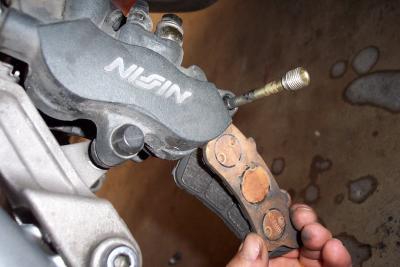
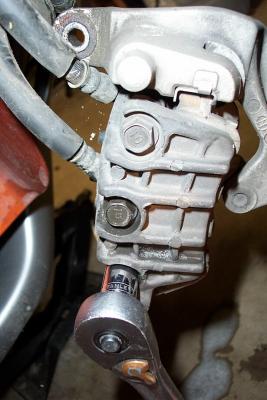 Then I removed the bolts on the rear of the caliper |
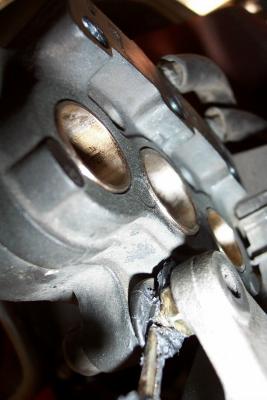
 You don't have to remove the back just to replace the pads, but it makes cleaning the pistons easier. |
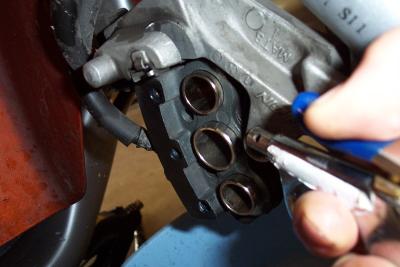
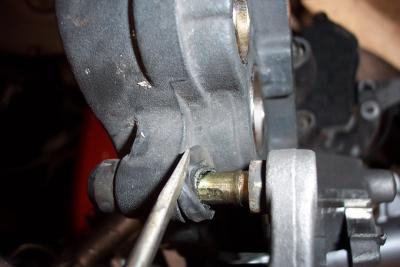
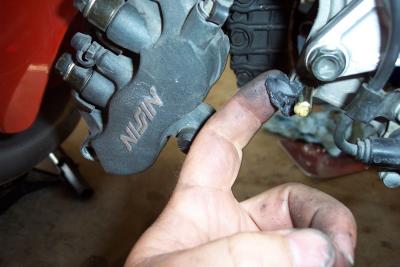
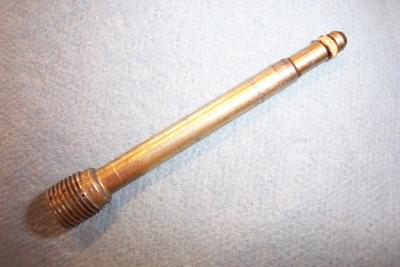
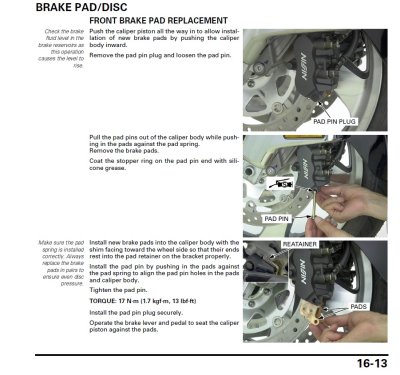
 Now I remove the plug over the brake pad pin bolt |
 And then I remove the bolt |
 When you pull the pin bolt out, be ready for the pads to fall out. |
 Now I carefully clean the pistons with a toothbrush and soapy water to get all the grunge off. |
 Then I blow it dry with compressed air to make sure all the soap and grit is gone |
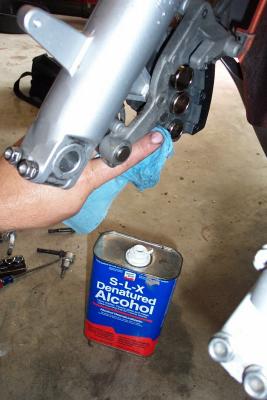 I follow this up with a bit of de-natured alcohol |
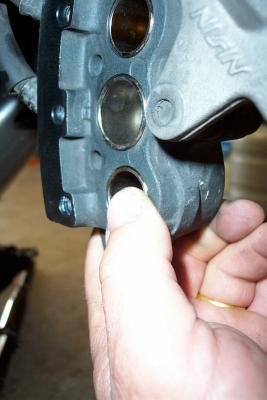 Now I can push the pistons back in with my thumbs |
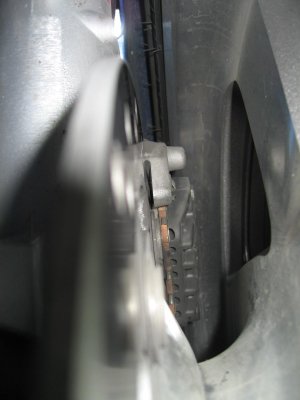
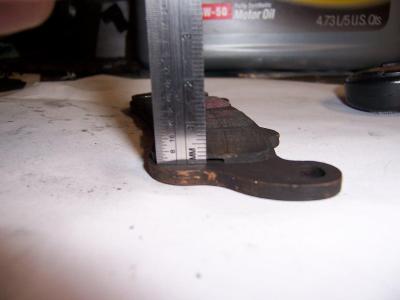
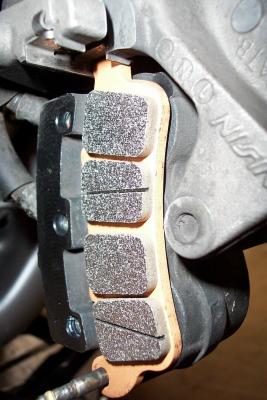
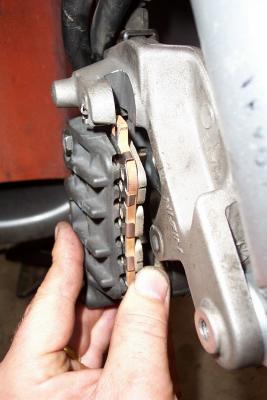
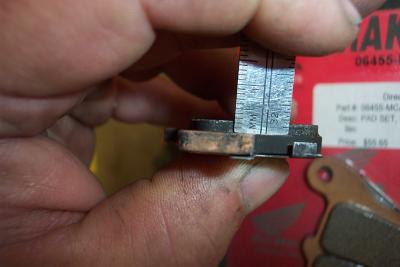 Here you can see my old pads are down to 2mm. They could still be used for a while longer, but at 1mm they should be replaced |
 Here is a comparison to the new pads, which are just over 4mm |
 4mm on the new pads |
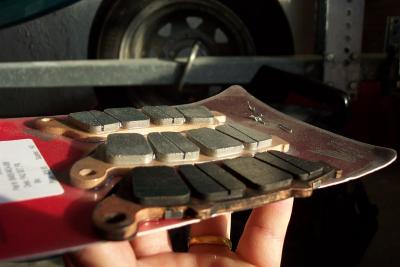
 Left and Right side front pads |
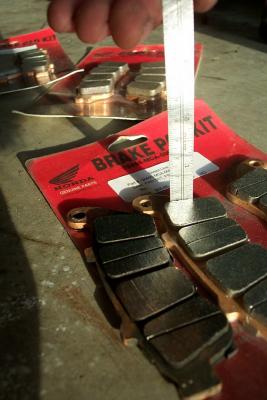
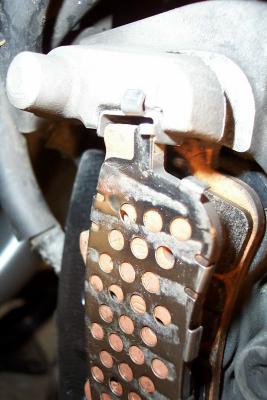
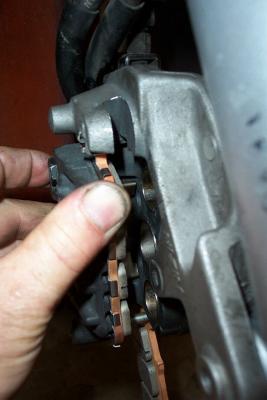
 Wear indicators are at about 1mm |
 Wear indicators are at about 1mm |
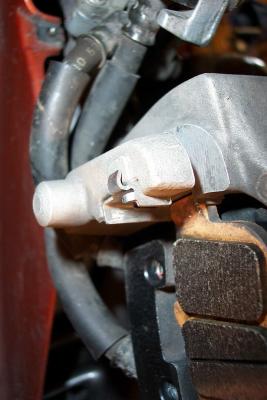
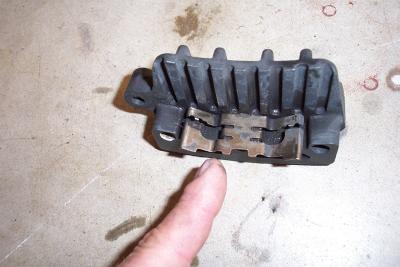 Here is a look at the back half of the caliper with anti-rattle spring. Note the irregular edge faces out. |
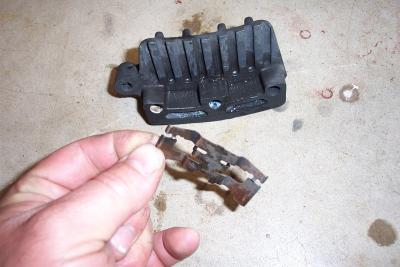 Here is a look at the anti-rattle spring. |
 You can feel how the caliper moves on the slides by pushing on the black portion with the wheel removed |
 Here is a look at the upper left slide. This needs to be greased |
 Here is a better look at the slide under the rubber boot |
 Here is a look at the lower left slide. |
 I carefully smeared some high temp grease into the boot and on the slider |
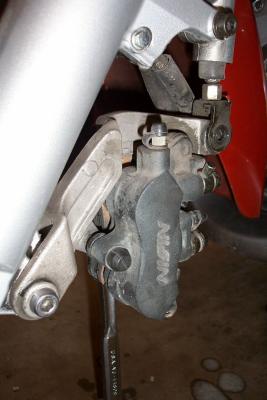
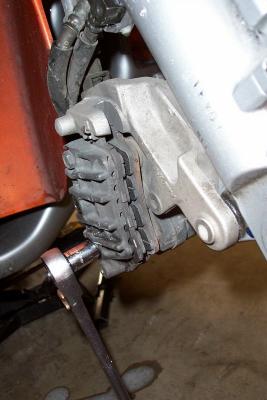
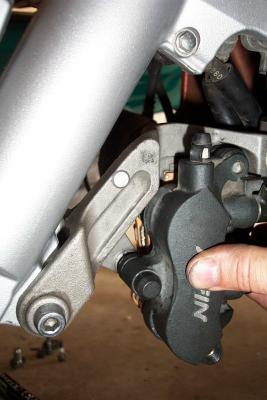
 The right side brake slides are easier to get at, as you can remove the whole caliper, and expose the slides. |
 Here is another look at the right side caliper slides |
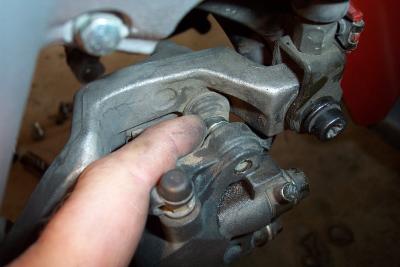
 I smear High Temp grease on both slide bars. |
 Here I get the other slide. |
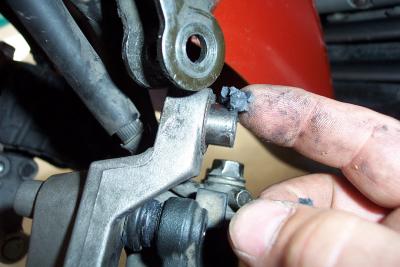 I also grease the bushing on the left caliper for the anti-dive system |
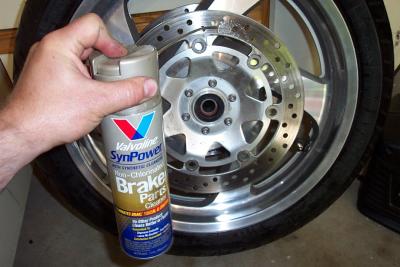 Here I use brake cleaner to clean the rotors |
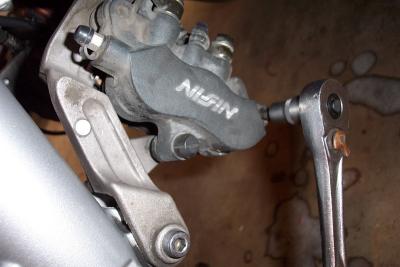
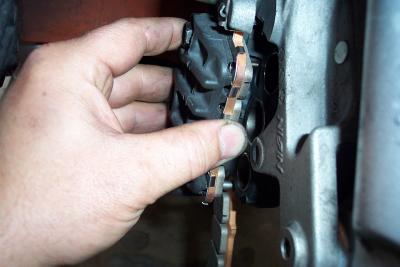
 Here is a look at how the top of the pads are held in |
 See how both pads fit into the retainer clip. |
 Here is a look at how the pad is held in both top and bottom |
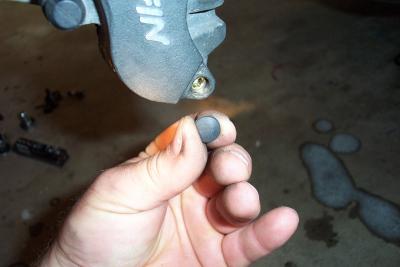
 There is a small o-ring on the end of the pad pin |
 To install the new pads, I first install the pin into the pads and let them hang. |
 Now I align the inboard pad with the left edge of the caliper bracket and push it up into place. |
 Once it is up all the way, you have to slide the caliper bracet back to get the top notch in the pad into the retainer |
 Here the pad is fully inserted and the top notch is in the retainer |
 Inboard left side pad installed and caliper shifted over to facilitate installing outboard pad |
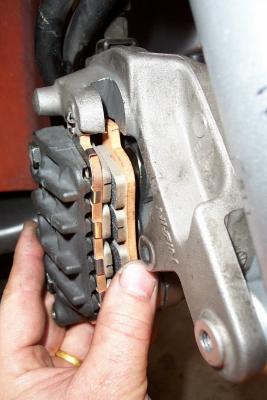 Do the outboard pad the same way. |
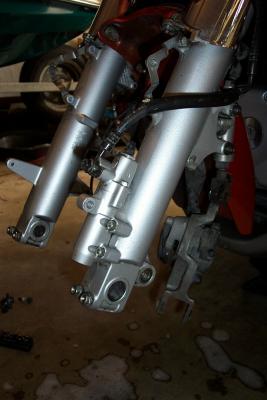
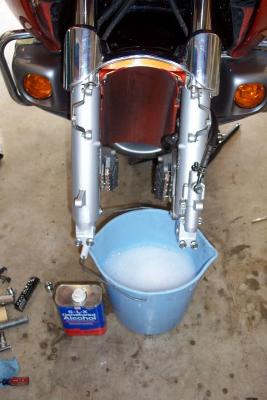 This gave me a good opotunity to clean the forks lowers and fender inside real good. |
 Tweaking Rotor Carrier on a Kawasaki Concours |
 SecondaryBrakeClevis 001a.JPG |
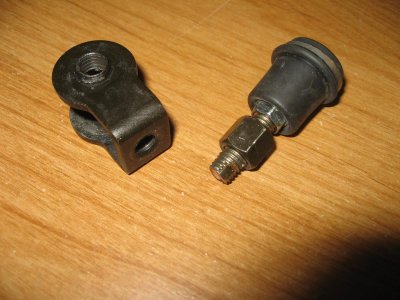 SecondaryBrakeClevis 002a.JPG |
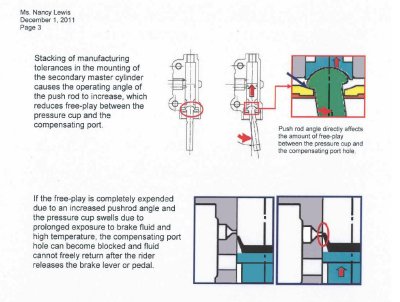 GL1800BrakeRecall.JPG |
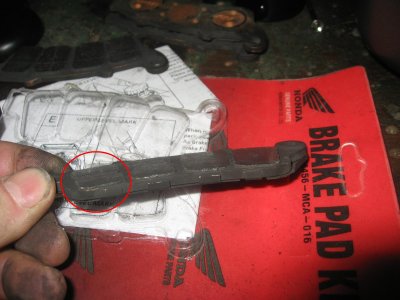 The left inboard pad always wears out first on the GL1800 |
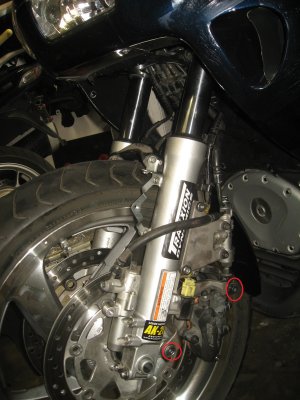 AirBagLeftSide.jpg |
 AirBagRightBrake.png |
 PadReplace.jpg |