28-JAN-2007
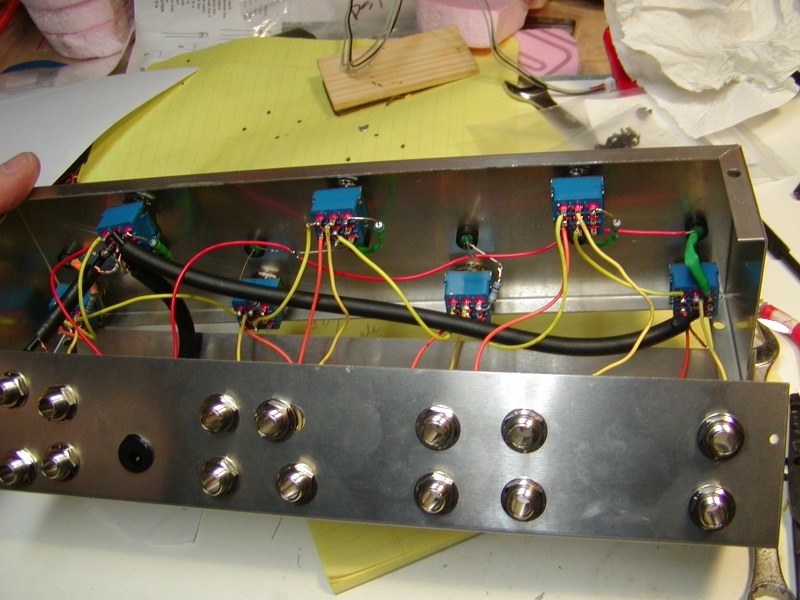
switches-markup.JPG
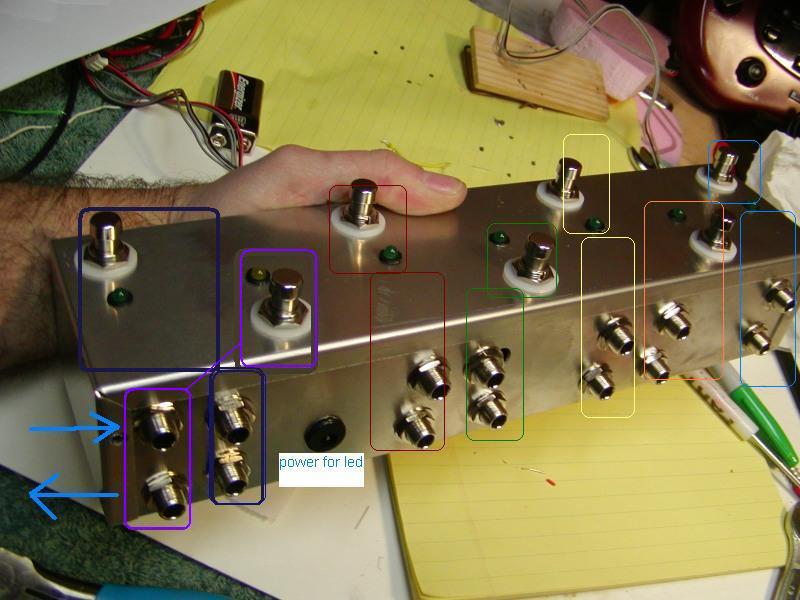
View from the back
The back row of switches is admittedly a little awkward to step on.
The light purple with a different colored LED bypasses everything and sends the signal right back out via high-quality wire I had laying around for audiophile diy purposes. It is mostly used for troubleshooting or just to make sure everything is off. Used a lot more often than you would think. But fine for back row.
I put tuner on the green one, just out of the box and into the tuner. Next time I would make a dedicated tuner out that's not even switched.
06-JAN-2007
Failed Version 1
I used a readily available case. It was pretty tight in there but I got everything connected and was able to slide the top in place.
06-JAN-2007
Failed Version 1 outside
I consulted a pricey graphics firm to give it a unique look. Oh, actually I just wrote on it with magic marker. Looked great!
Shortly after I discovered that I had inadvertently used press-on switches instead of press-on press-off. To use a pedal you'd have to hold the button down! Doh!!!
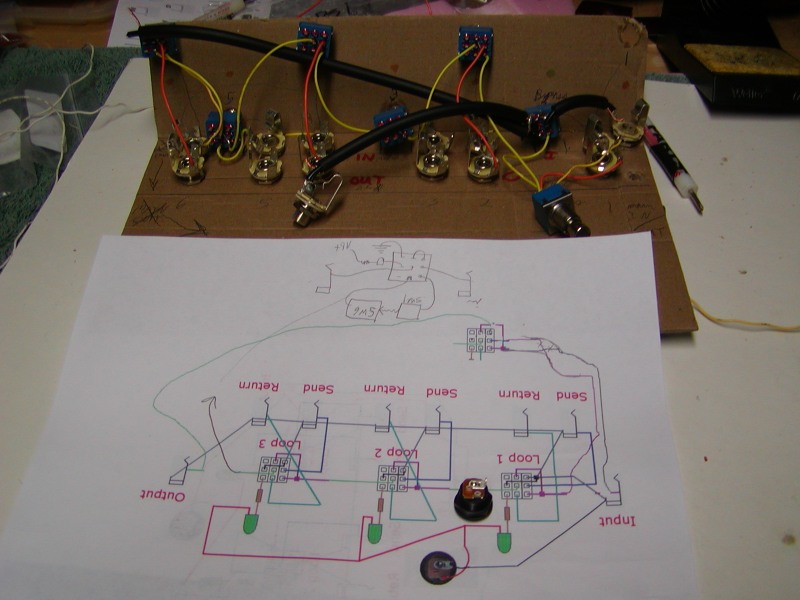
19-JAN-2007
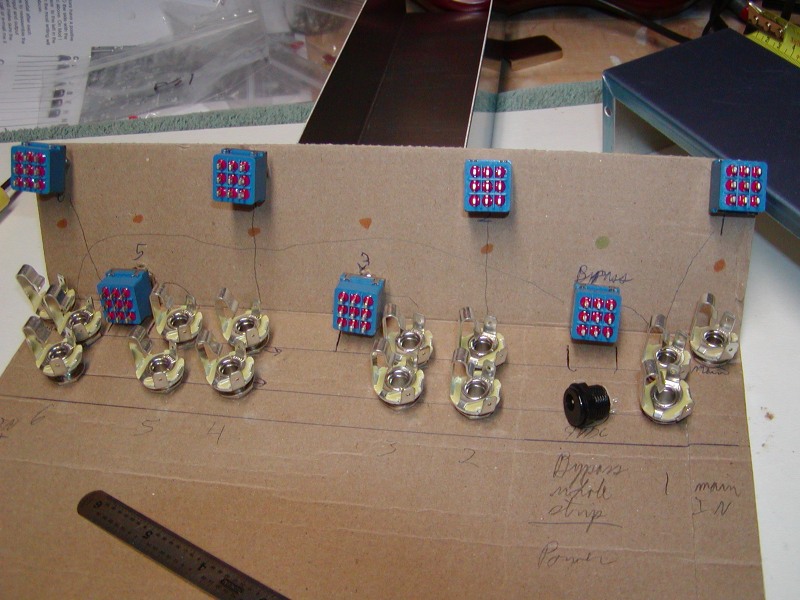
PBS2 - mockup
I strongly recommend laying everything out on cardboard like this. It helped a lot in getting things lined up and seeing where the wires would go.
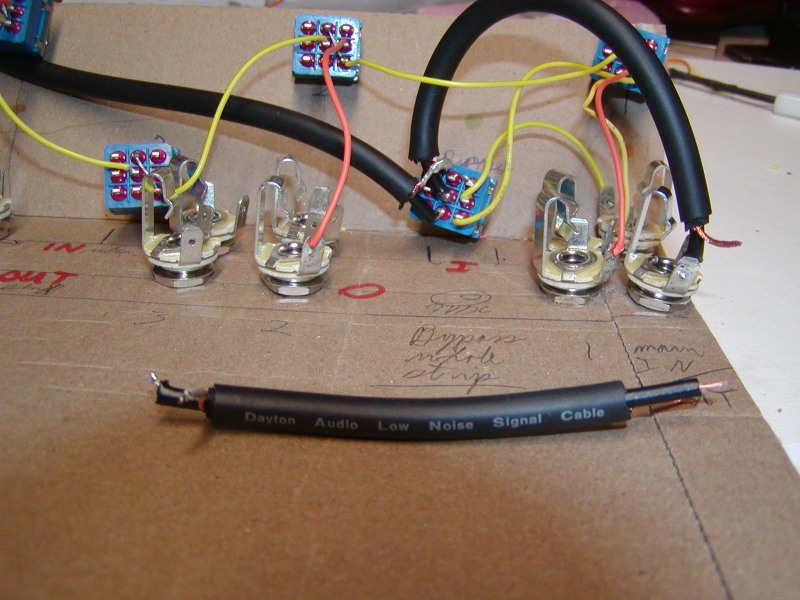
21-JAN-2007
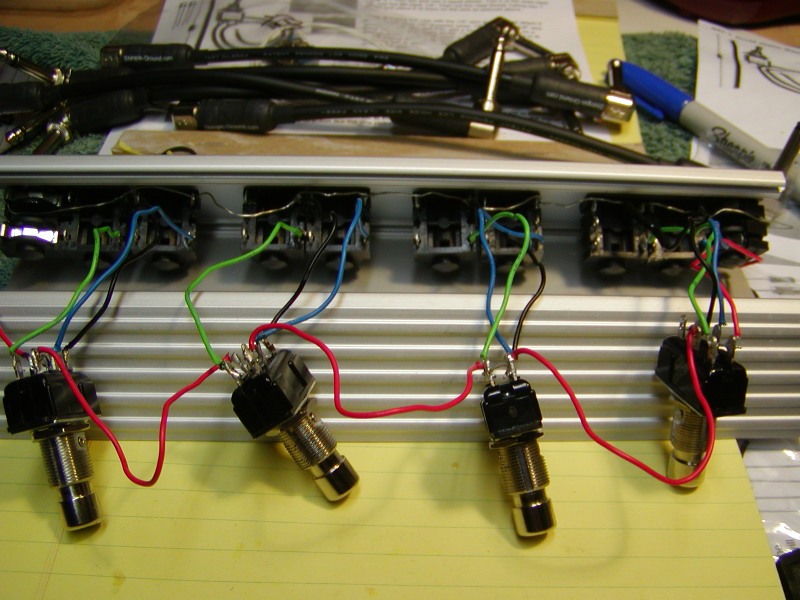
PBS2
I wanted to use the best sounding cable possible for the "bypass all" switch. DO NOT use this Dayton crap. I love PE but these wires can not be soldered without shorting out internally! I ended up using some Belden coax I think.
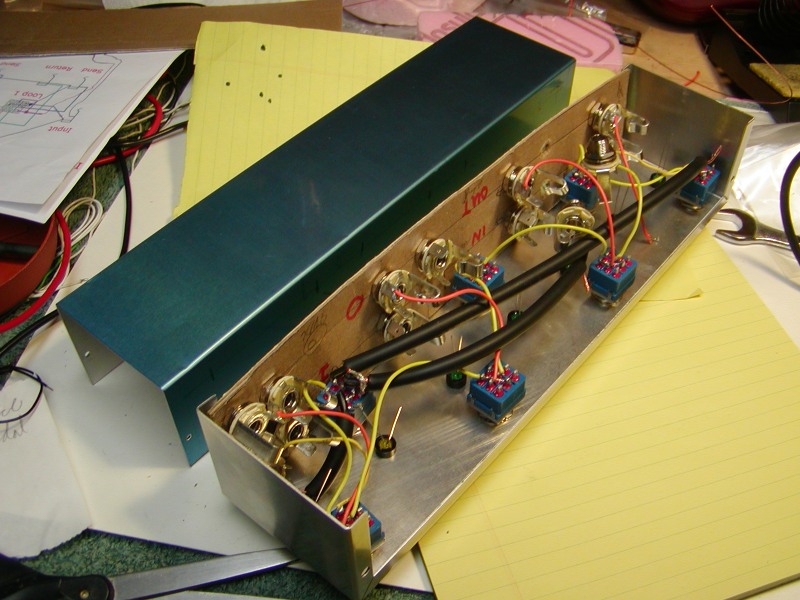
26-JAN-2007
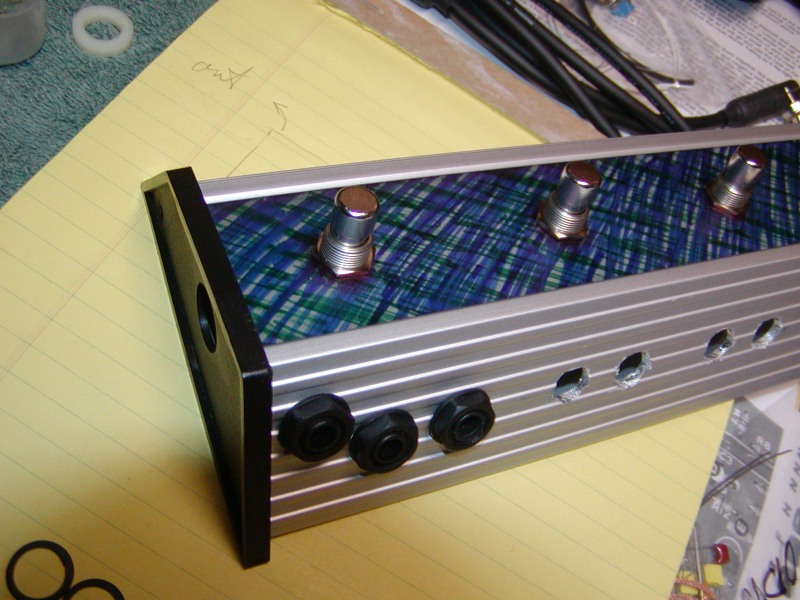
PBS2 Chassis
The Hammond 1411WU chassis was perfect at 12.0 X 3.0 X 2.2 tall. Kind of expensive though considering it's just two pieces of thin bent metal.
If you can live with less than 7 switches the 1411TU is quite a bit more compact at 10" L x 2.2" W x 1.6" H (254mm x 55.88mm x 40.64mm)
http://www.mouser.com/catalog/635/1827.pdf
http://www.almirasound.com/blog/?p=91