photo sharing and upload picture albums photo forums search pictures popular photos photography help login
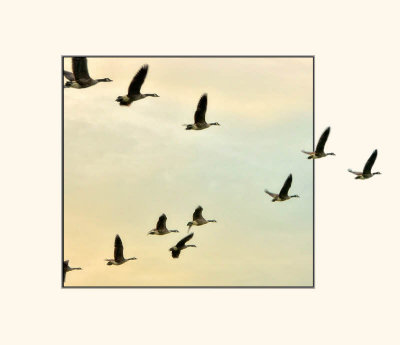
Ed Knepley | profile | all galleries >> Out of Frame Images >> oof_howto tree view | thumbnails | slideshow
Note - only the frame we're "going out of" overlaps the image. The remaining sides "surround" the image. Coloring the frame could also include a texture if desired. The bevel, on a layer above the image, must be selectively erased just as the first frame was in step 3. Adding realistic shadows (properly placed and not razor sharp) may be the "hardest" step - hardest after step #0 which is to find an appropriate image. The technique isn't limited to going out on a single side as can be seen in several main OOF gallery images.
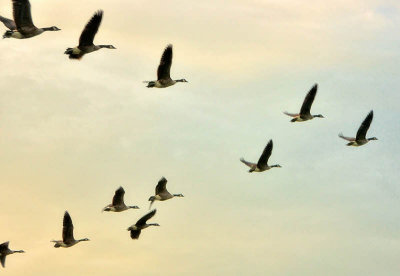
1 - Starting Image (done in PS Elements)
2 - Add  out of frame overlapping part of image (a layer)
2 - Add "out of frame" overlapping part of image (a layer)
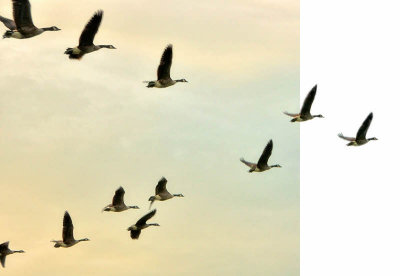
3 - Selectively erase white layer from step 2
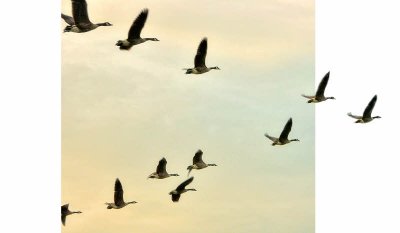
4 - Add frame (outside, not overlapping)
5 - Add frame (outside, not overlapping)
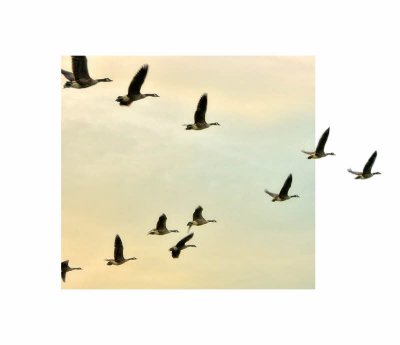
6 - Add 3-D bevel plus mat color/texture
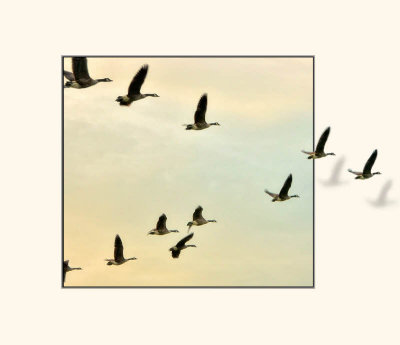
7 - Add shadows to enhance 3-D illusion (& erase bevel if needed - over the goose in this case)