


|
|
|
|
|
|
| Eric Bond | profile | all galleries >> Personal Gallery >> Camper pictures >> Pop-up camper modifications >> The custom carrier I built for our blue tote | tree view | thumbnails | slideshow |
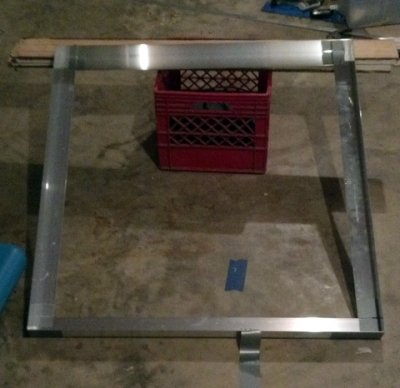 Mock-up #1 |
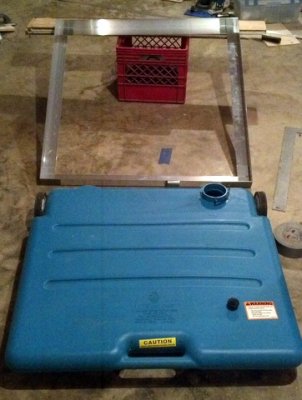 Mock-up #2 |
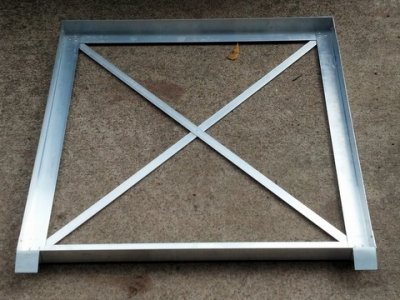
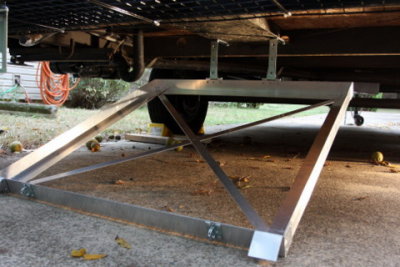
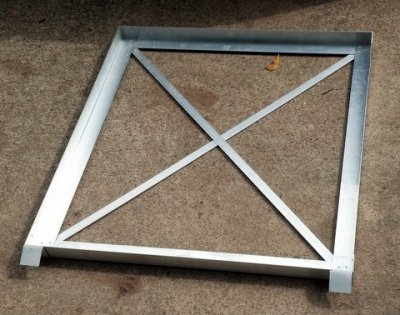 Completed frame |
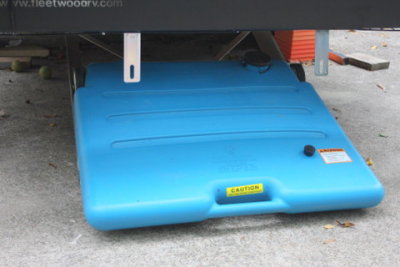
 Base |
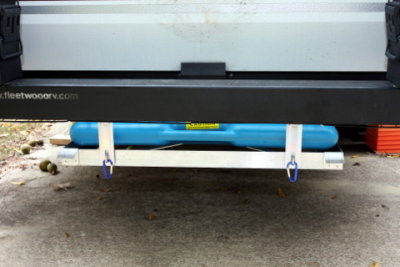
 Mounted under the rear |
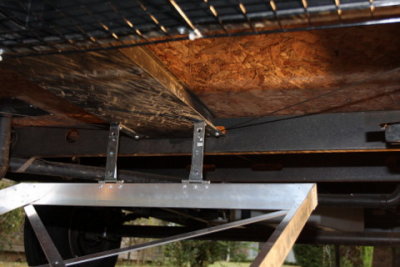 Close-up of hinges and brackets |
 Wheel ramps |
 Loaded and ready |
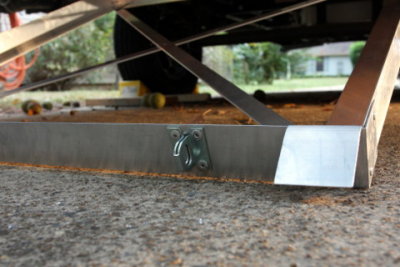
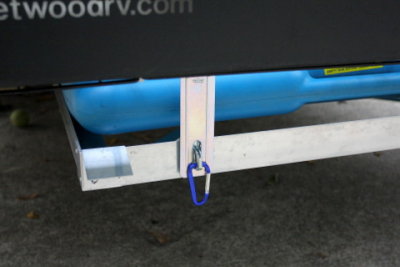 Latches |
 Rolling off the carrier |
 1-IMG_3302.JPG |
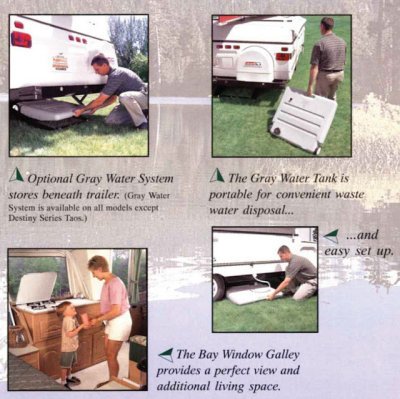 Gray Water Brochure - bracket for Blue Tote.jpg |
| comment | share |