


|
|
|
|
|
|
| Zane Paxton | profile | all galleries >> Misc. Fuji S2 Shots >> Dynamic Range Tool Comparisions | tree view | thumbnails | slideshow |
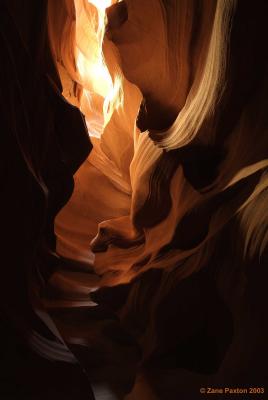 Antelope-7 |
 Antelope-7-DR |
||
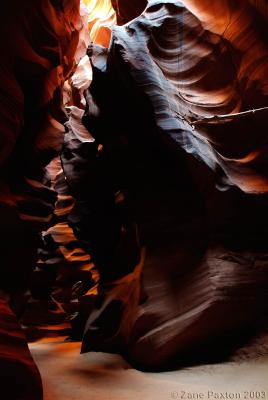 Antelope-13 |
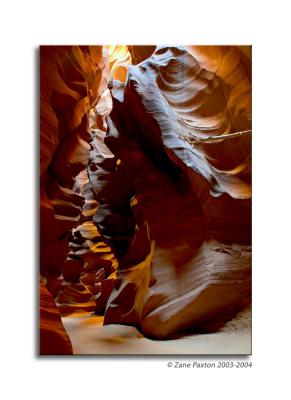 Antelope-13-DR |
||
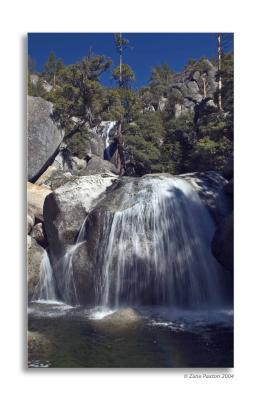
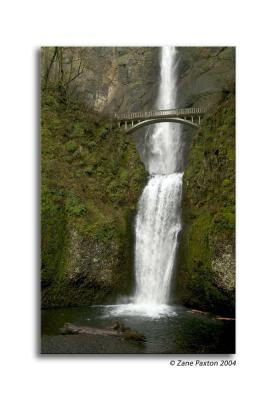 Lower-Multnomah-2 |
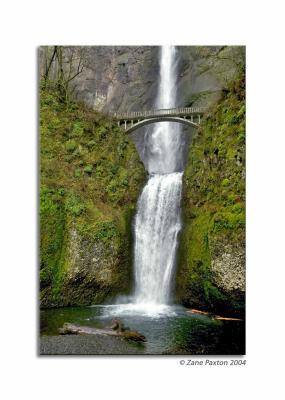 Lower-Multnomah-2-DR |
||
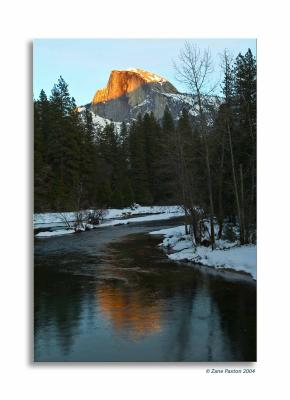 Last Light on Half Dome |
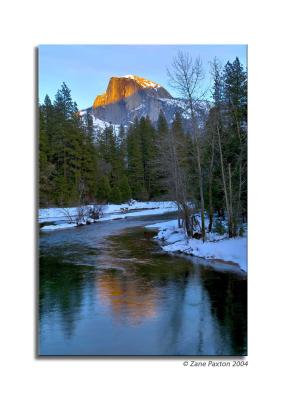 Last Light on Half Dome-DR |
||
 Mirror Lake at Dawn |
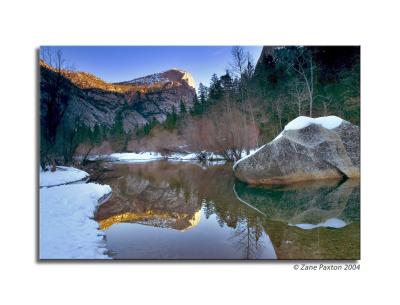 Mirror Lake at Dawn | The interesting thing about this place is that in the winter, it is just a slight wide spot in the river and not really a proper lake. In the spring and summer with all the snow melt it becomes a proper "Lake" again. So it was a bit more of a challenge to try and capture the mirror effect when there is far less of a mirror to work with ;~). | |
 Cascade-Falls-1-S-W-F.jpg |
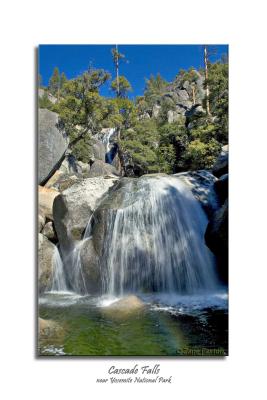 Cascade Falls-2 | On Highway 140 just outside the park. | |
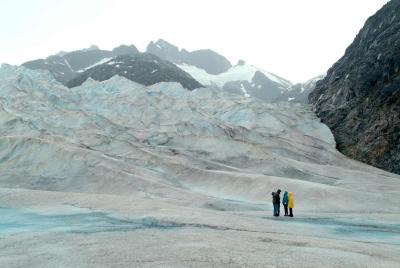 Glacier--4-Normal.jpg | This is an image that was processed normally. I exposed for the sky, but with normal processing the sky is blown out to preserve "normal" looking exposeure on the glacier. | 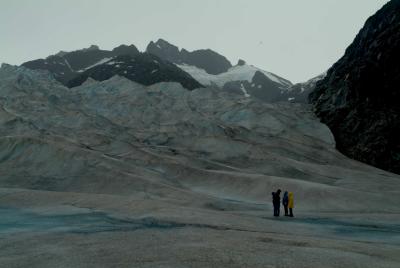 Glacier--4-U.jpg | Step #1:
Since this was shot in RAW format, I published one version that is exposed "0" (The original was exposed for the cloudy sky). I will cal this the "Underexposed version" that is optimized for the bright areas, in this case the sky. |
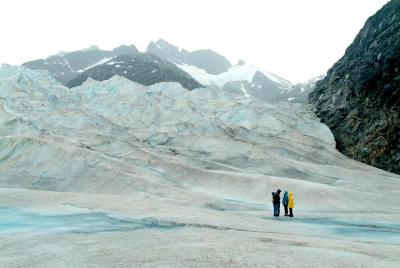 Glacier--4-O.jpg | Step #2:
This is the over-exposed version that is adjusted +2.5 stops in the RAW conversion software. It is optimized for the darker areas, in this case that is the glacier and dark rocks on the right. |
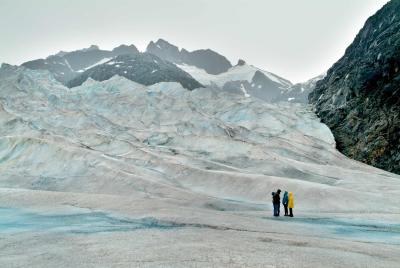 Glacier--4-DRI-Final.jpg | Here's the combined versions using DRI set manually to 15 as I wanted a higher degree of optimization.
Now the sky has some density to convey the sense of "cloudiness" and there is more detail in the shadow areas. This is more how a person's eye would percieve the scene if they were standing there. I process normally with some levels, sensor dust spot removal and sharpening using FlexSharp 2.0 |
 Zion Bridge.jpg | Let me be really clear why this image is posted at all. I tried to bury this as deep into my site as possible, but it still pops up on the "Recents".
This is merely posted here to show the "Before" (as-shot) version of a D3x image on the DPReview Nikon Forum. I was showing the incredible DR that the D3x has and how far you can pull up the shadows and still have a usable image. Here's the link for the full explanation: http://forums.dpreview.com/forums/read.asp?forum=1021&message=35303041 PleAlso, here's the link for the "After" shot: http://www.pbase.com/devonshire/image/118589804/original |
| comment | share |
| Guest | 28-Aug-2004 13:41 | |
| Aaron Peterson | 15-Jun-2004 22:32 | |