


|
|
|
|
|
|
| C. G. Anderson | profile | all galleries >> Various Imagery >> Our 1999 Jeep Wrangler TJ 6/4.0 >> Our 1999 Jeep TJ Wrangler Lift Project | tree view | thumbnails | slideshow |
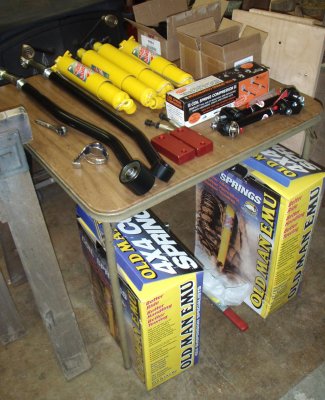
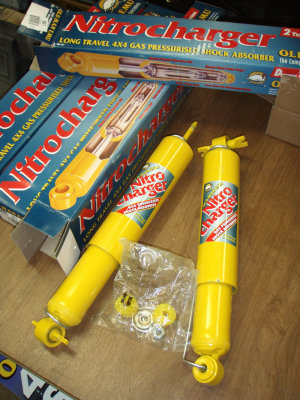 OME Shocks 01 |
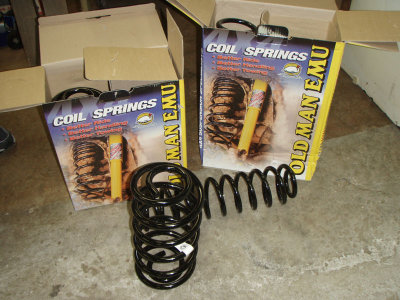 OME Springs 01 |
OME DPG Kit 01 |
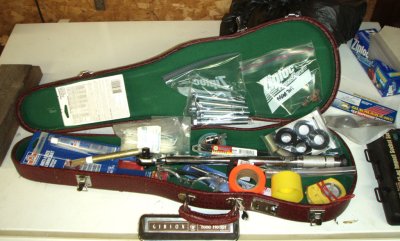 Violin 01 |
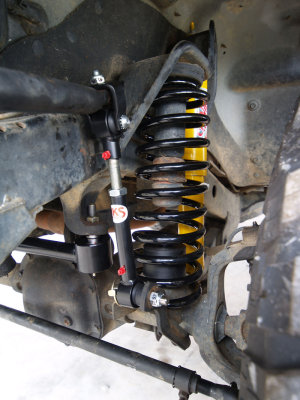
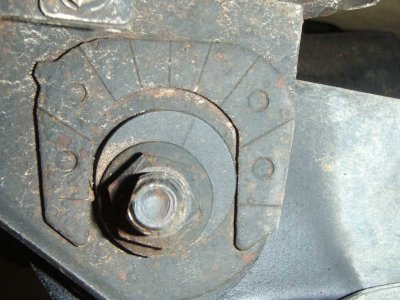 Adjustment Cam Bolt 01 |
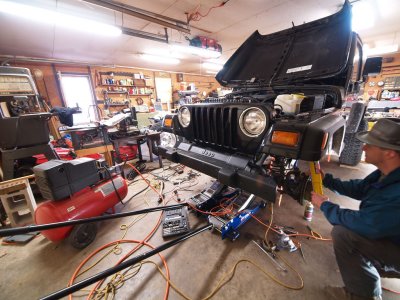
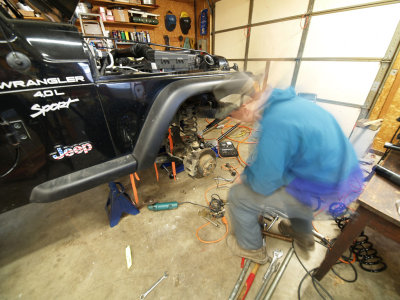
paradise garage |
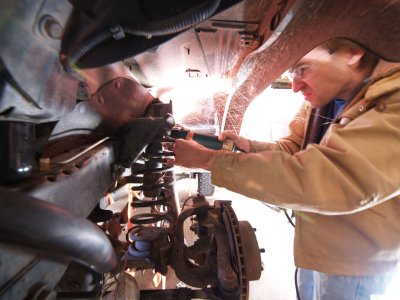 shock grinding 02 |
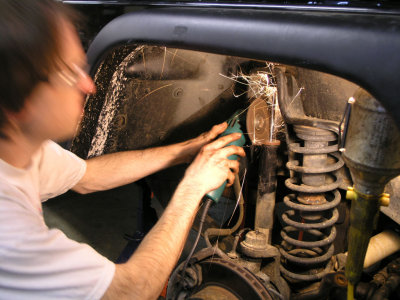 shock grinding 01 |
 Pulling sway bar |
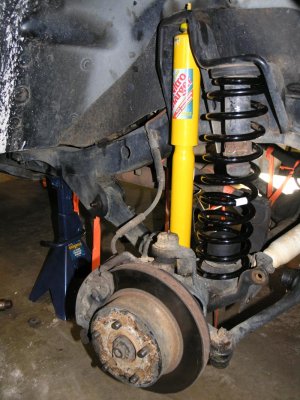 Completed right front. |
 Jeep Ghost |
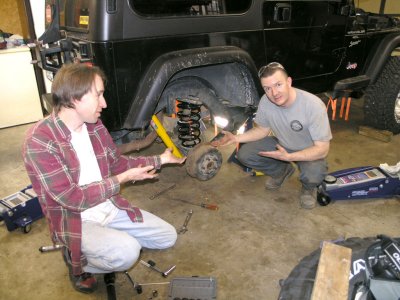 One side done |
discos 01.jpg |
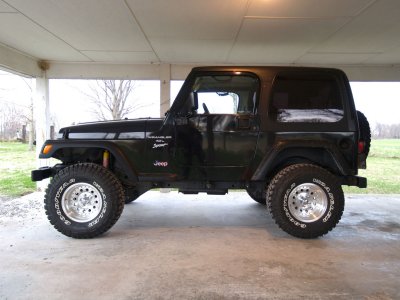
 Finished 01 |
Wrangler 1999 Eagle Alloy MTR 32x1150 OME JKS Lift.jpg |
 Eddyville Tire 01 |
| comment | share |