


|
|
|
|
|
|
| Chris Gibbins | profile | all galleries >> Woodwork >> Noah's Ark | tree view | thumbnails | slideshow |
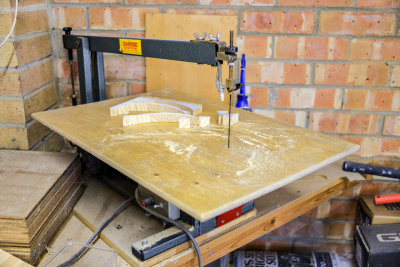 My ancient scroll saw |
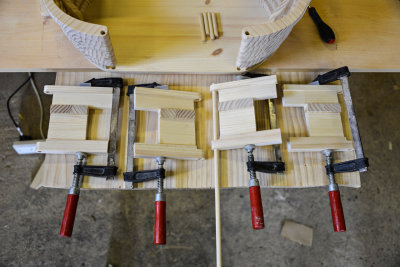
 Baseboard |
 Baseboard |
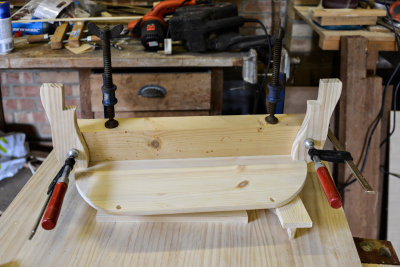
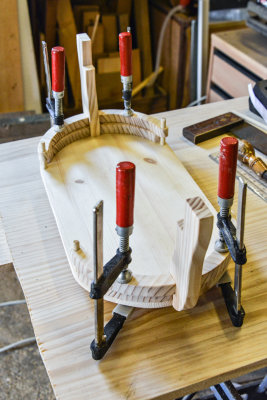
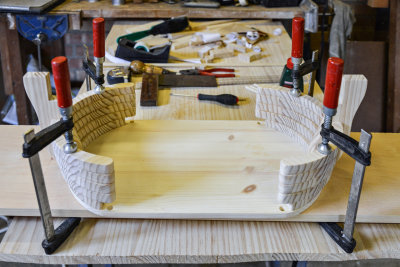
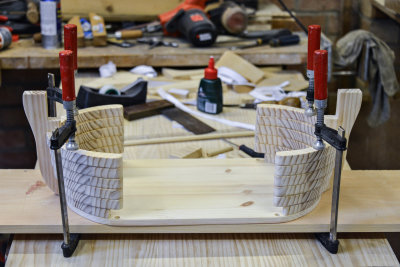
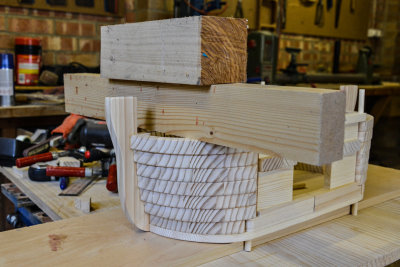
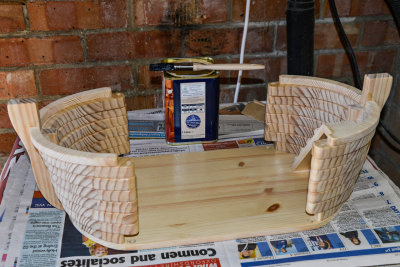
 Building the sides |
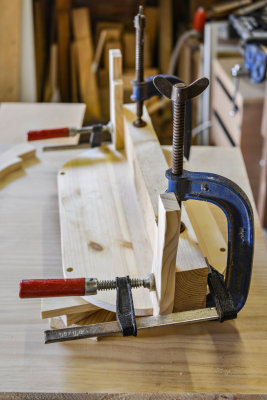
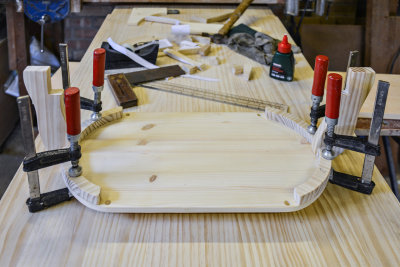
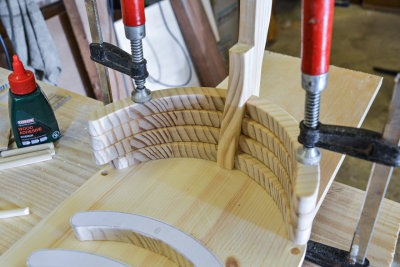
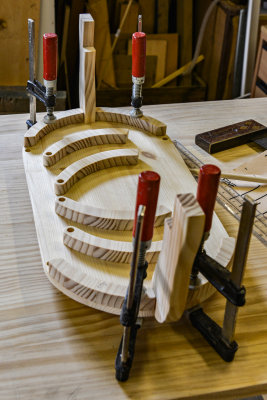 First layer of ribs |
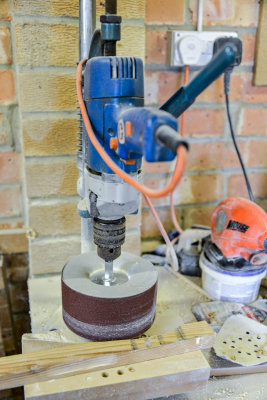 Drum sander |
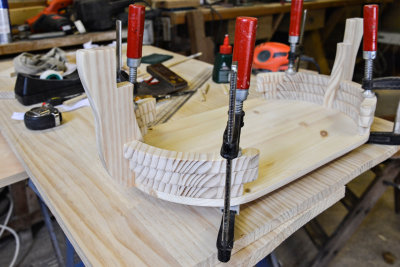
 Second layer of ribs |
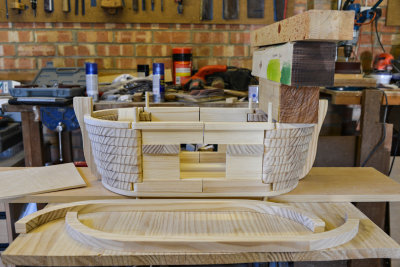
 Third layer of ribs |
 Fourth layer of ribs |
 Fifth layer of ribs |
 ...and the 6th layer in place |
 Glueing the doors |
 Doors temporarily in place |
 Glueing on the 7th layer |
 Eighth layer of ribs in place |
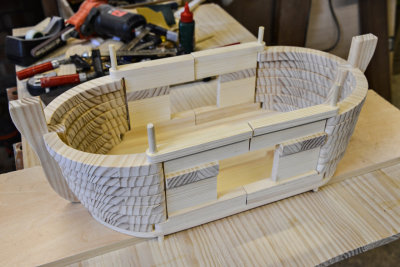
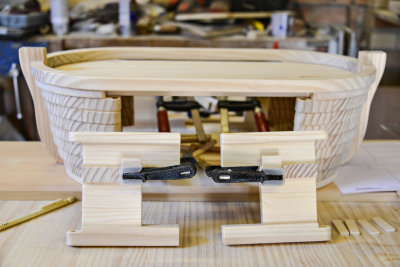
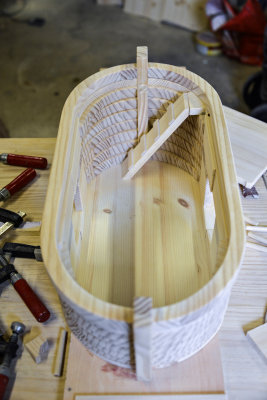 Installing the stairs |
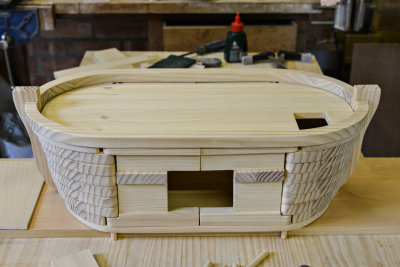 With the deck in position |
 Finishing the doors |
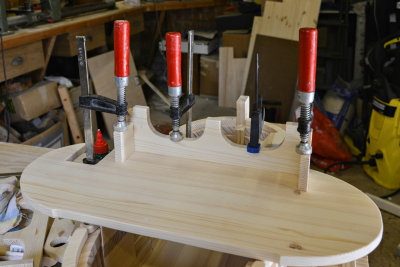
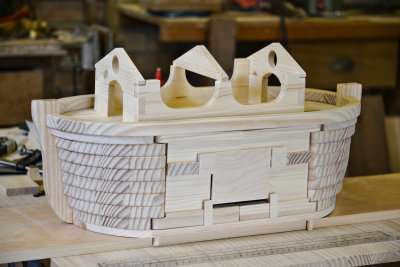 Now for the "cabin" |
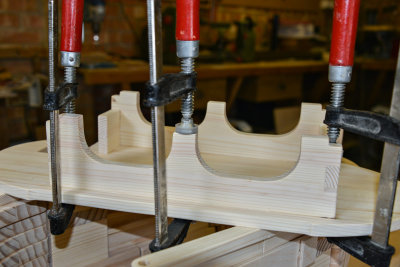
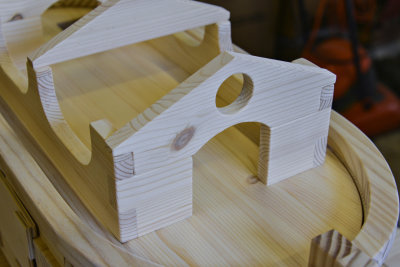 Detail of the "cabin" |
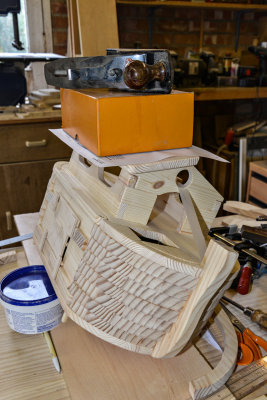
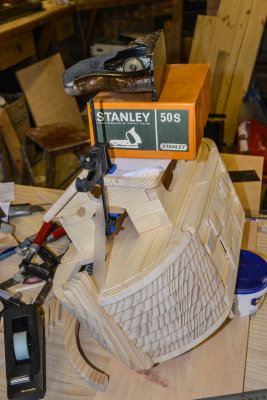
 Glueing the cabin walls |
 ...and now the other side. |
 Glueing the roof |
 And the other side of the roof |
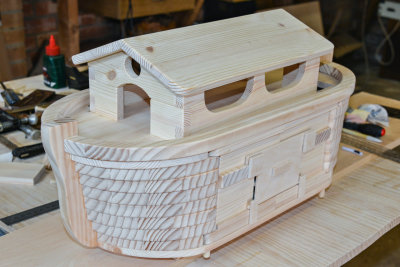 Almost complete - just the varnishing to do, now |
 Starting varnishing |
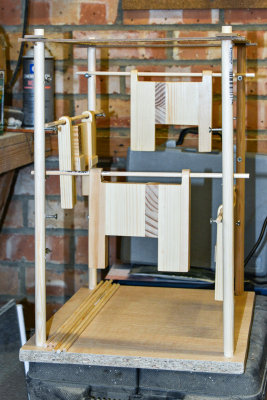 Paint/varnishing station |
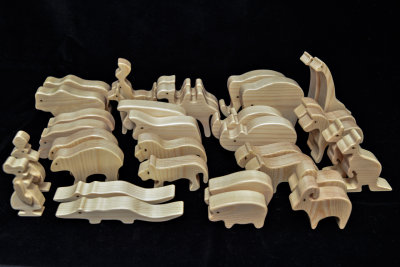
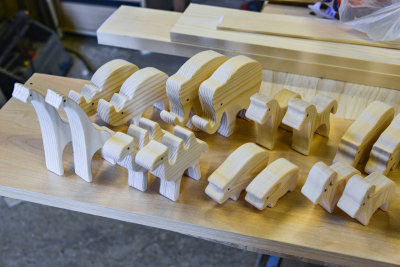 Some of the animals... |
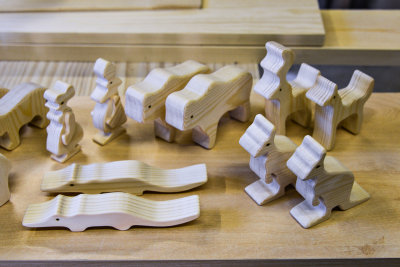 ...two by two... |
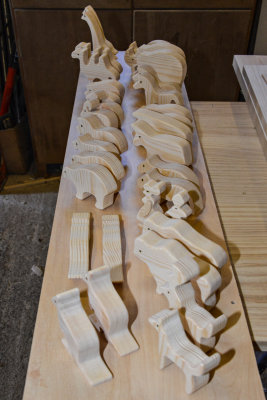 ...lining up to board... |
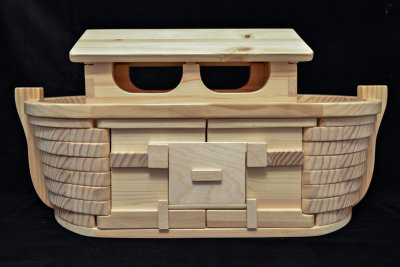 The finished product |
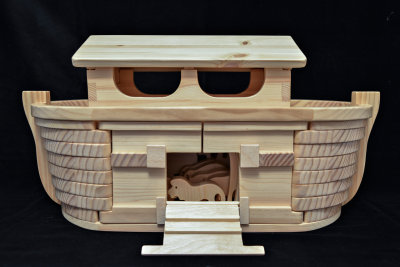 ...ramp down... |
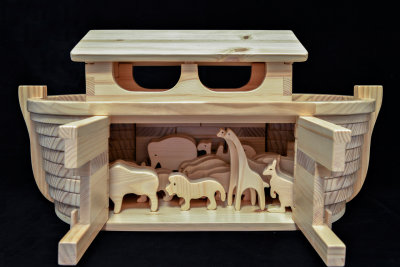 ...doors open... |
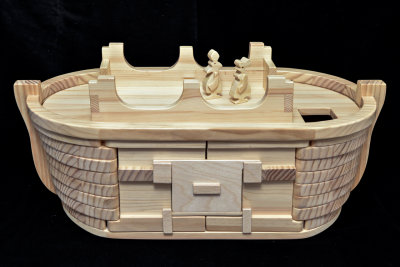 ...the roof comes off... |
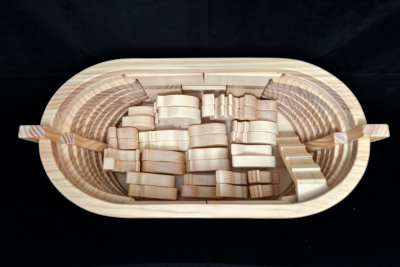 Inside the hold |
 And finally... |
| comment | share |
| Donnaray | 16-May-2018 22:53 | |
| Marc Demoulin | 18-May-2016 18:59 | |
| Bill Huber | 16-Apr-2016 22:45 | |
| Bill Huber | 26-Mar-2016 15:46 | |
| Graeme | 20-Mar-2016 23:00 | |
| victorswan | 17-Feb-2016 12:21 | |
| Helen Betts | 11-Jan-2016 09:09 | |
| Walter Otto Koenig | 11-Jan-2016 02:41 | |
| John Hamers | 07-Jan-2016 18:47 | |
| Tom LeRoy | 06-Jan-2016 09:21 | |