


|
|
|
|
|
|
| Charles-Antoine Caron | profile | all galleries >> Galleries >> Stage photography | tree view | thumbnails | slideshow |
|
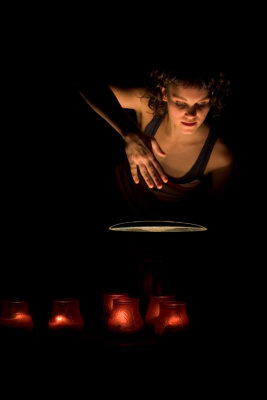
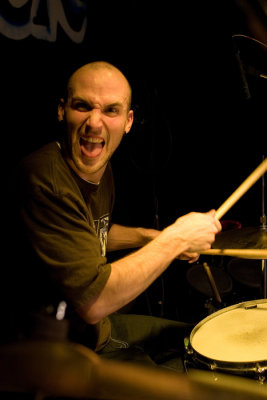
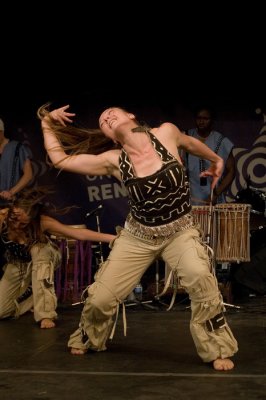
Why stage photography? It all started with music. For more than 20 years, I discovered, appreciated and listened to all kind of music: rock, progressive, punk/hardcore, alternative, electronic, folk, French chanson, traditional, jazz, blues, reggae/ska/dub et and lot of world music (Africa, Europe, Scandinavia, the Mediterranean, the Middle-East, the Caribbean, America and more). I consider that music becomes complete during live performances. The link that is created between the musicians and the public is an important element of the musical experience. The complicity that appears between the musicians is somewhat fascinating and reassuring. It’s not enough to barely take pictures of the musicians. One must try to capture the spirit of the live performance, the public’s reactions, the interactions between the musicians. Stage photography is not without difficulties:
Stage photography can be a real challenge. But when I succeed in taking a good photo, despite of the difficult conditions, the satisfaction is well worth the effort!
Charles-Antoine Caron Each computer screen is different. Colors, contrast, sharpness and brightness can widely differ from one computer screen to the other. The following steps indicate how to adjust your screen for a better display:
|
[ Portfolio ] |
[ Recent shows 2 ] |
[ Recent shows 1 ] |
| comment | share |
| Michael J. Parkinson | 29-Nov-2007 05:23 | |