


|
|
|
|
|
|
| Brian Bowden | profile | all galleries >> Marble and Glass Demos >> Devin Somerville Makes a Milli Vortex Marble | tree view | thumbnails | slideshow |
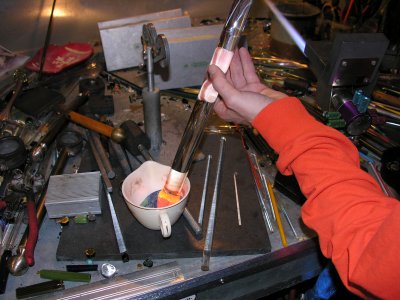
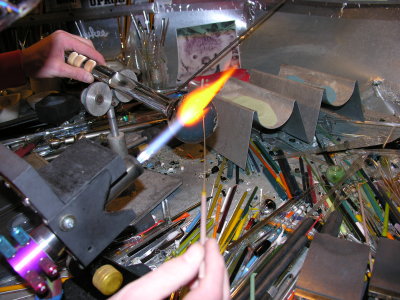
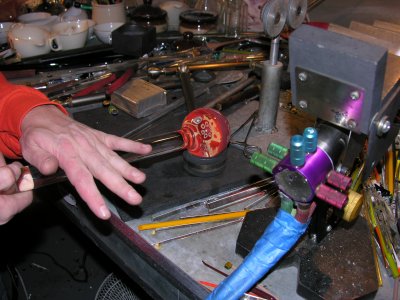
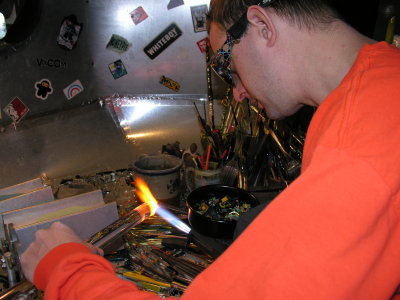 After marvering to a conical shape, Devin applies millies to the cone. |
 Applying more millies. |
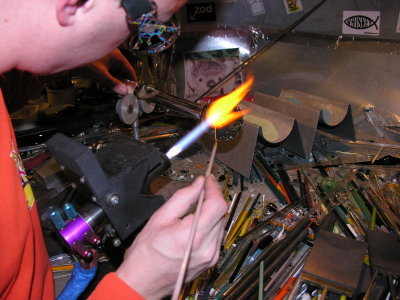
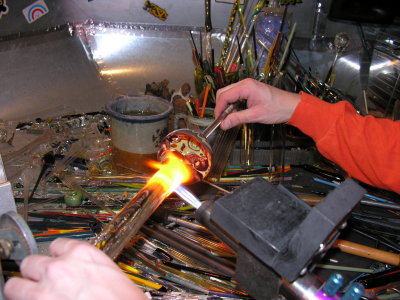
 Melting those millies in. |
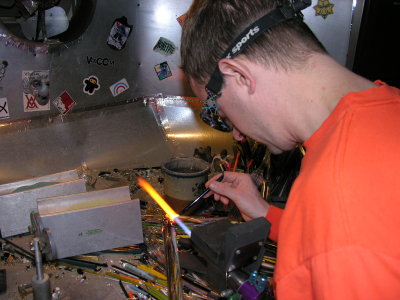 After a layer of gold fume was applied, Devin adds dark dots over top of that fume. |
 Getting everything nicely melted in. |
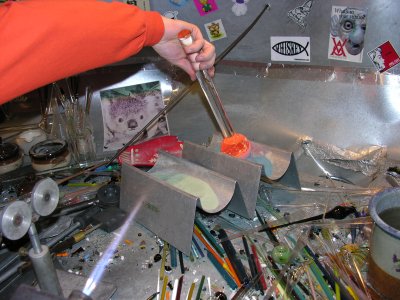
 Layers of small grain color frit are added to the cone to provide a colored background. |
 Pulling the end of the vortex/cone to a nice termination. |
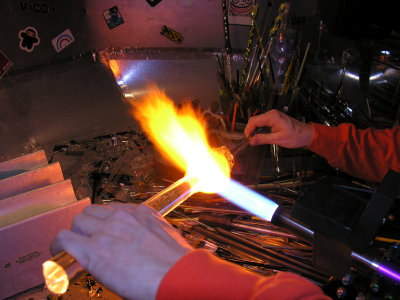
 Adding 'junk glass' to the cone in order to round it out. |
 More junk glass being added. |
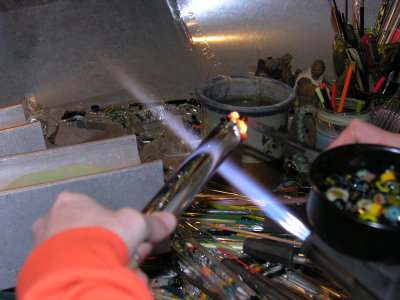
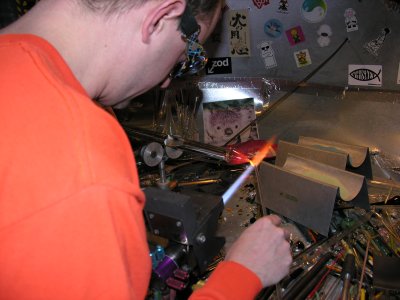
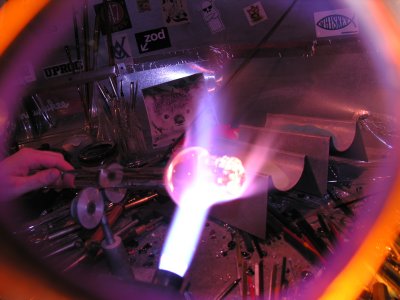
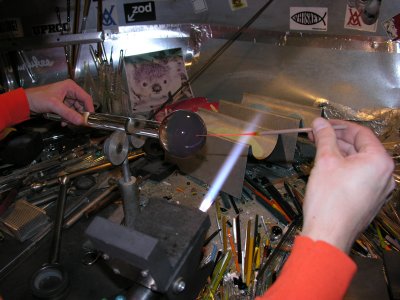
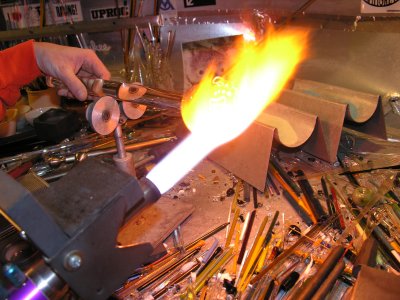
 Gathering the large rod to form the lens of the vortex. |
 Still gathering..... |
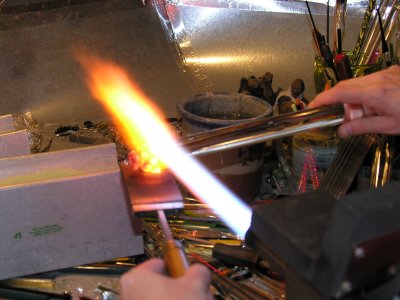
 My camera flash fired for this shot... |
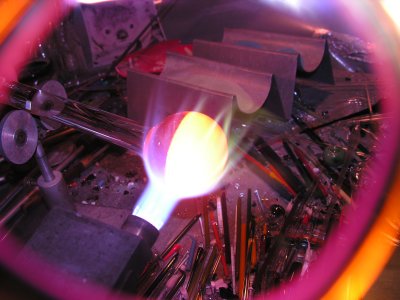
 You can start to see what the vortex will look like, glowing as it is. |
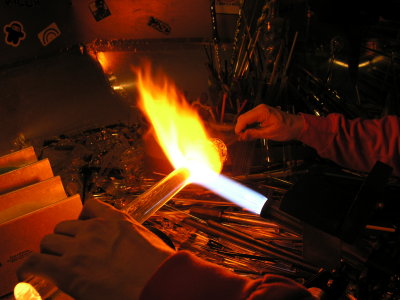
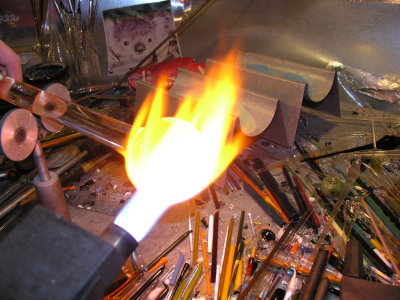
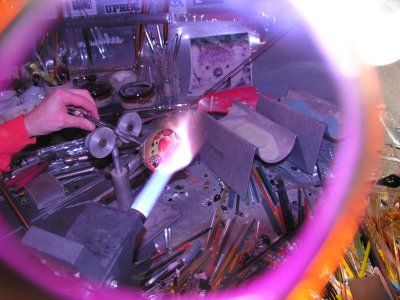
 Through the didymium, heating up the mass of junk glass for rounding. |
 Still heating.... |
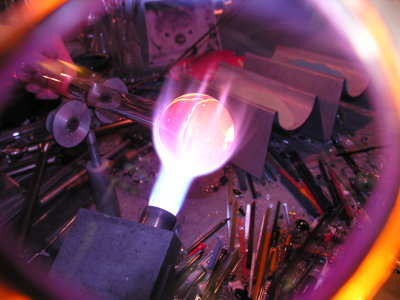
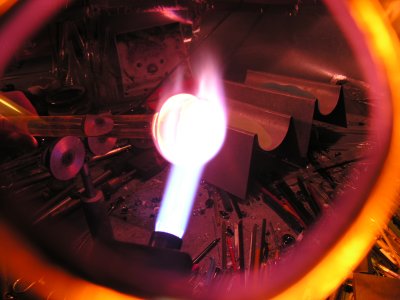 Gravity and heat cause the marble to start to take shape. |
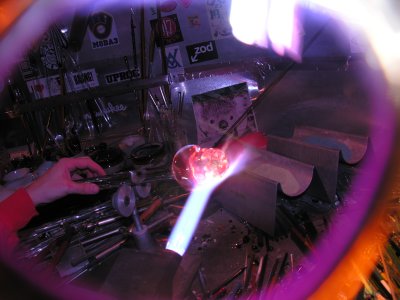
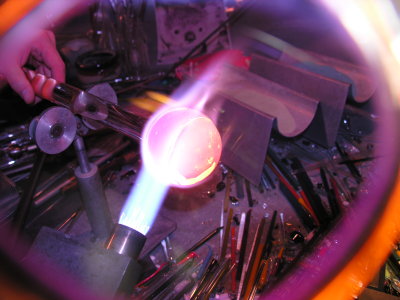
 Rounding in the mold. |
 Gotta love didymium fire! |
 |
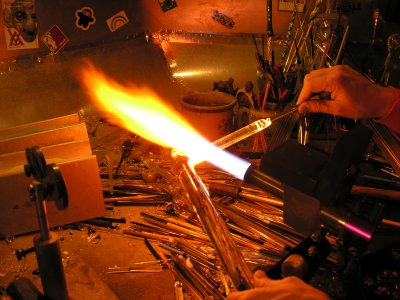
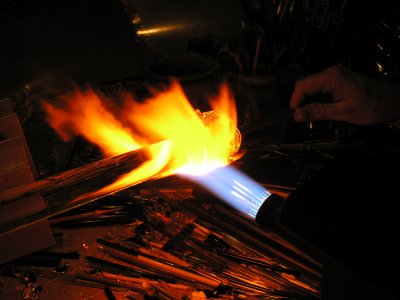
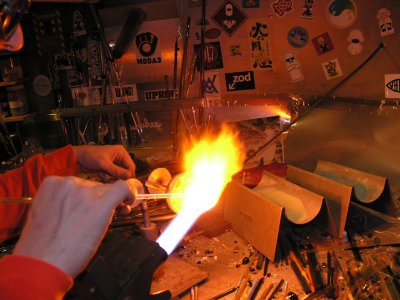
 Gotta love ANY kind of fire, especially along with glass, woohoo! |
 The marble is mostly rounded now. |
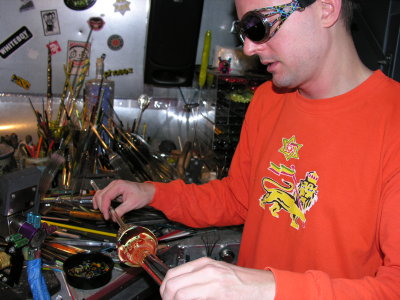
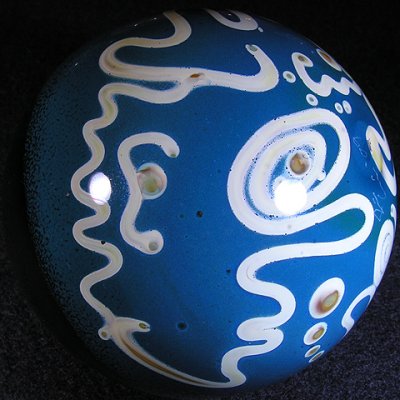
 Adding several layers of colored frit to the backside. |
 Pulling caramel stringer to use to decorate the backside. |
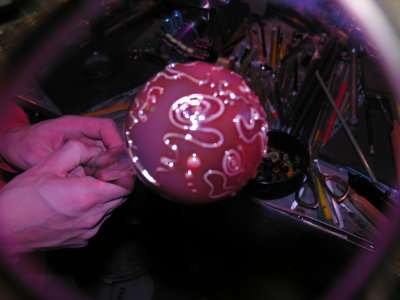
 Applying the stringer design. |
 |
 Melting the design in. |
 Here's the hot glowing design through the didymium. |
 Final rounding for the backside. |
 Melting off the main rod - leaving the right amount of glass for the lens is crucial, and something learned w/ experience. |
 Melting and rounding out the lens. |
 Almost complete, final rounding in process....my camera battery died! |
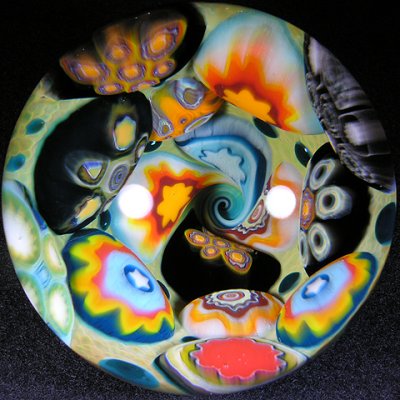 The finished product! |
 Look at the twisting of the termination down there, sweet. |
 Awesome bright millies! |
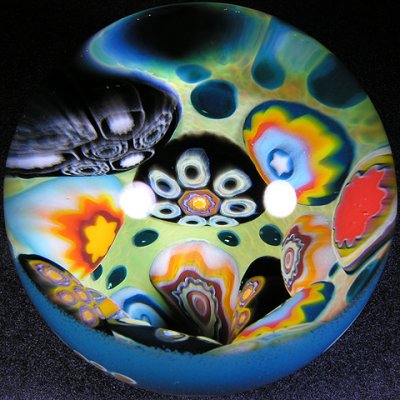 You can see the dark dots he placed between the millies. |
 See the face? :-) |
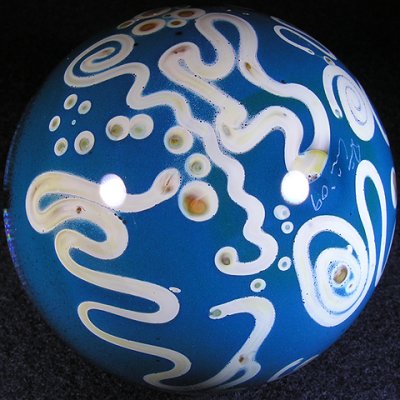 Squiggles and wiggles! |
| comment | share |