


|
|
|
|
|
|
| bartenderdave | profile | all galleries >> Surf Scoter: A Cuddy Cabin Bartender >> 20-4 Bartender Part IV: Redos >> Seacock Replacement | tree view | thumbnails | slideshow |
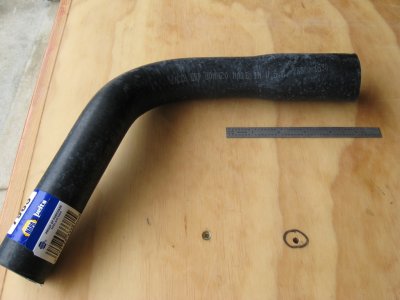
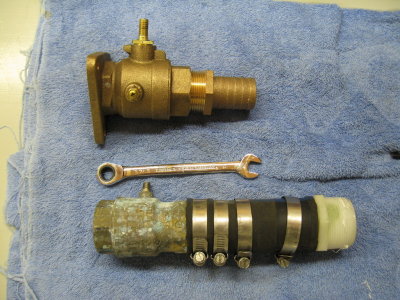 New bronze seacock/hose barb vs old brass equivalents and hose. Handles removed. |
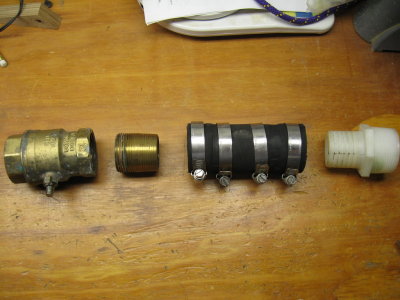 Old one disassembled. "Hose barb" is a brass close nipple, one end's threads filed down to accept hose. |
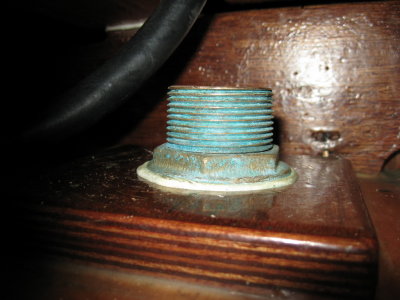
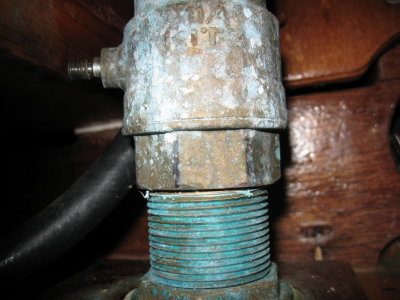 White material sign of dezincification of valve body. In time metal becomes weak and can fail. |
 Especially likely with 2-3 threads of engagement to thruhull. Thread styles don't match (straight vs taper). |
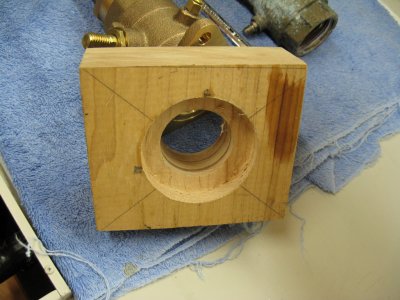 Maple block cut guide -- to reduce height of thruhull stub. |
 Guide in place; in all, half an inch removed to lower profile of new system. |
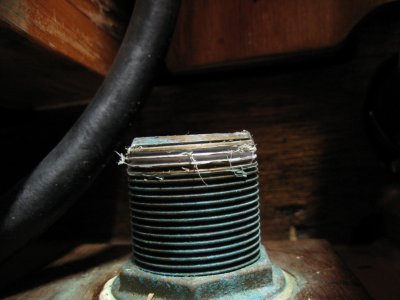
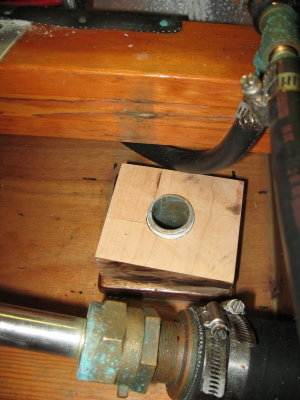
 Thruhull stub at desired height; straight threads will engage about 8 turns. |
 Rough fit onto stub shows an added half inch of backing needed. |
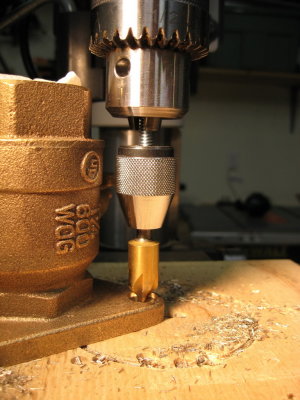 Mounting holes are countersunk to accept flathead woodscrews; extra chuck provides clearance. |
 Heads of screws too wide; filed to half inch diameter. |
 Screws in place. |
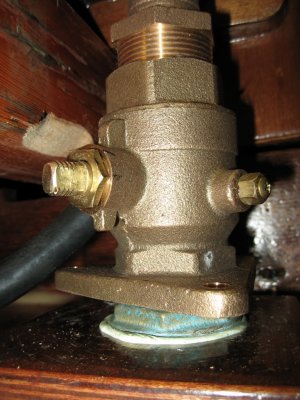
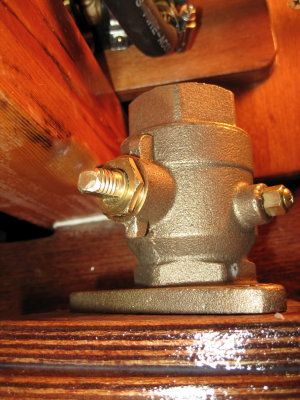 New seacock on added backing, of precise thickness to get correct handle angle. |
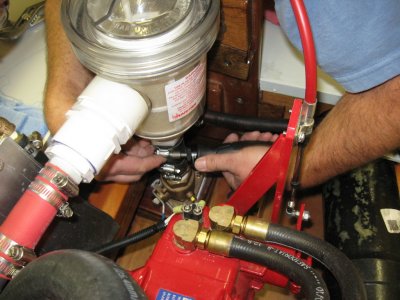
 Final test fit before bedding; handle stud at left. |
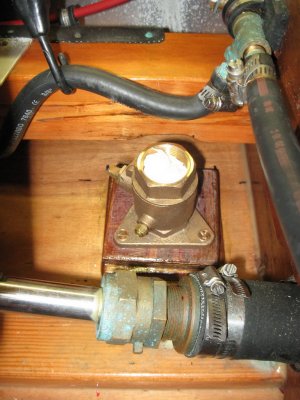
 Seacock bedded; Strainer temporarily reinstalled. |
 Molded radiator hose: 1-1/2 inch one end necking to 1-1/4 inch. |
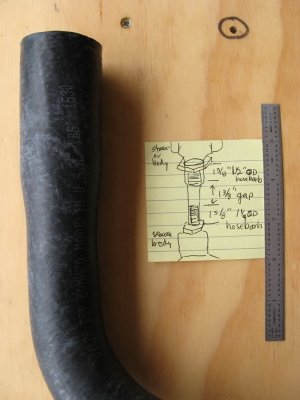 Necked section and diagram of its intended fate. |
 Sized to join seacock 1-1/4" hose barb to strainer 1-1/2" barb. |
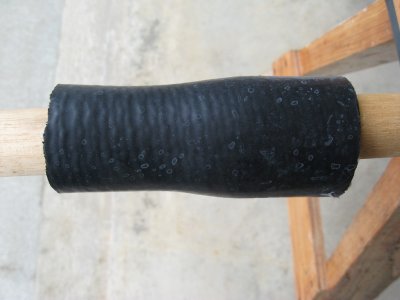
 Inch and a half portion up; smaller end on the seacock. |
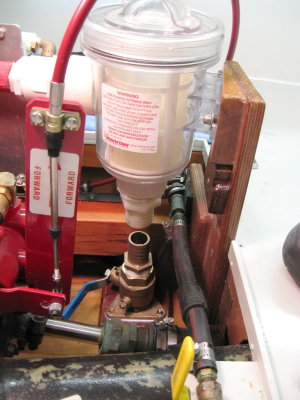
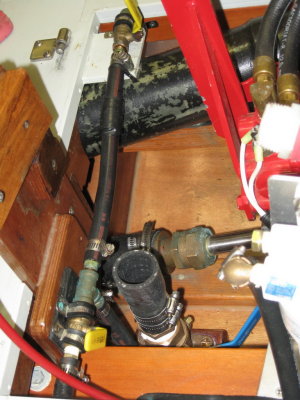
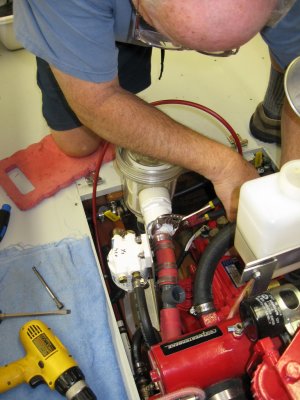 Strainer reinstall: tightening hose barb leading to raw water pump. |
 Tightening hose clamps galore; two per connection. |
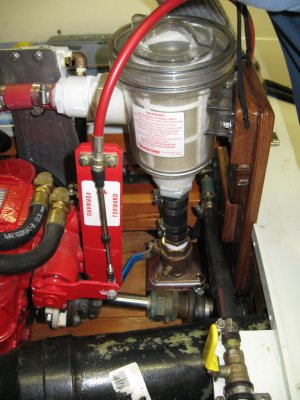 Reinstallation complete. Smoke test tomorrow. |
| comment | share |
| bartenderdave | 08-Sep-2009 11:49 | |