


|
|
|
|
|
|
| Mark L | profile | all galleries >> Galleries >> TDP Trip Report | tree view | thumbnails | slideshow |
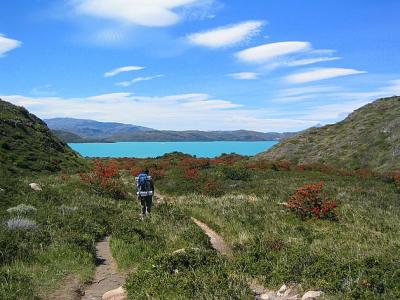
**Pictures are below report** (For scenic photos, have a look at my Chile gallery)
Looking for a good map of TDP National Park? ------> online map 1 and online map 2
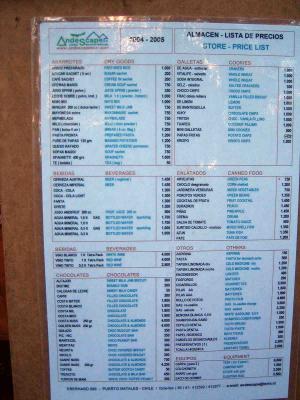 Price List |
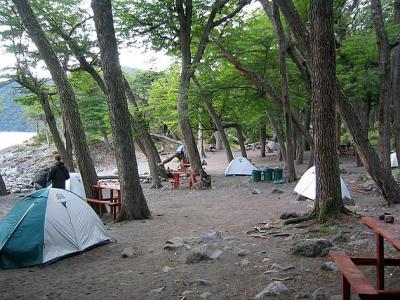 Camping Grey |
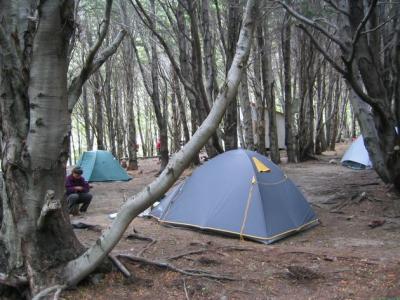 Camping Italiano |
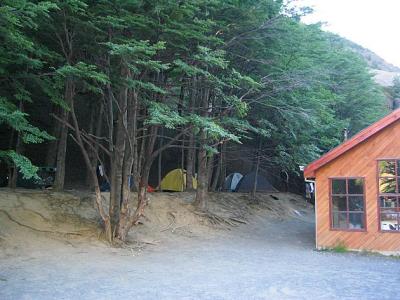 Camping Chileno |
Chile |
| comment | share |
| trekker502 | 12-Jul-2010 17:47 | |
| Alan Bradley | 29-Jan-2007 18:05 | |
| Guest | 24-Oct-2006 12:00 | |
| clara | 06-Dec-2005 04:11 | |
| MARY | 01-Nov-2005 06:55 | |
| susan | 22-Oct-2005 23:34 | |
| max | 04-Oct-2005 02:42 | |
| Guest | 19-Sep-2005 19:50 | |