


|
|
|
|
|
|
| Andy Dodson | profile | all galleries >> Galleries >> H.S.T. (Huirangi Search Telescope) | tree view | thumbnails | slideshow |
| previous page | pages 1 2 ALL | next page |
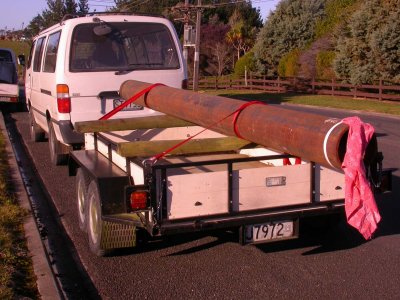 A 9 5/8" casing pup joint from a pipeyard for a pier |
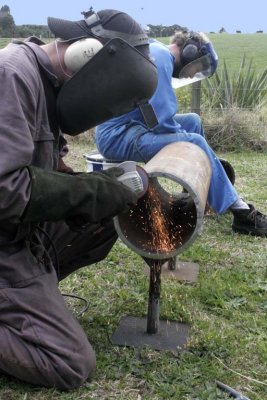
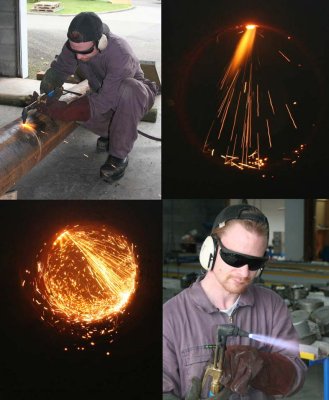 Brent cutting the casing |
 AD & Brent grinding and grinding.... |
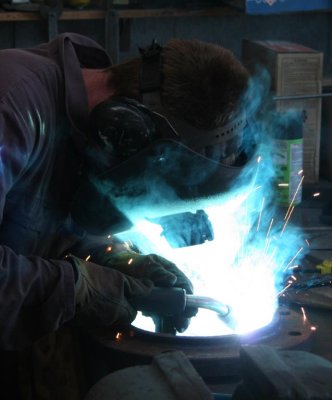 Brent welding |
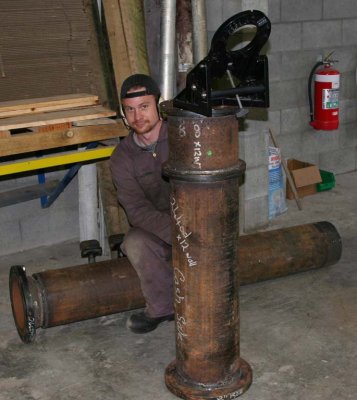 Above ground pier ready for painting. Below ground pier in background |
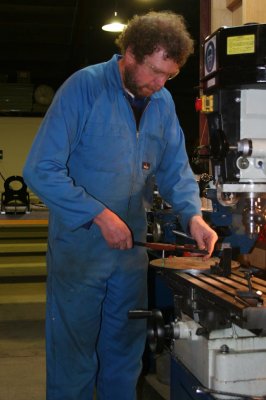 Drilling & tapping the flanges to an M8 bolt pattern |
 pier ready to go to the site |
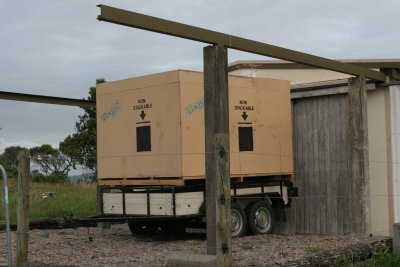 The dome arrives |
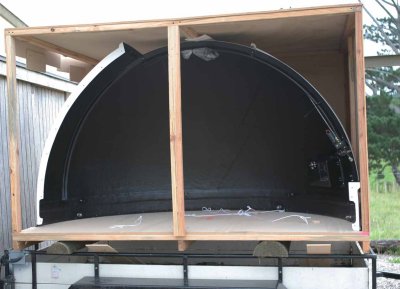 unpacking the dome |
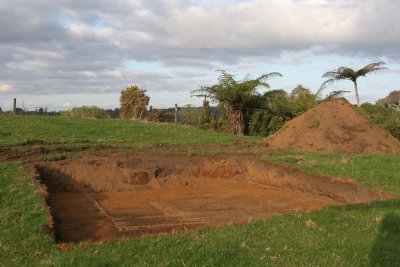 site topsoil removed |
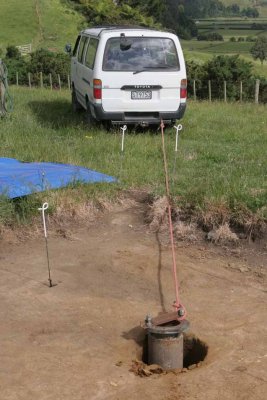
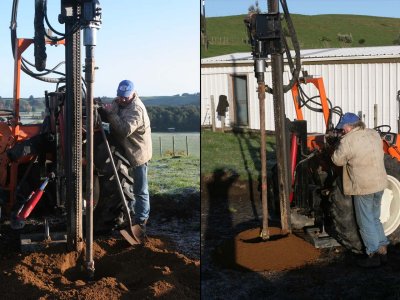 Drilling a hole for the pier with a 500mm auger. |
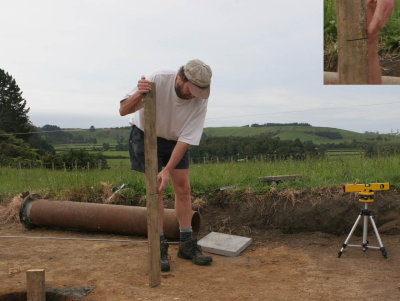
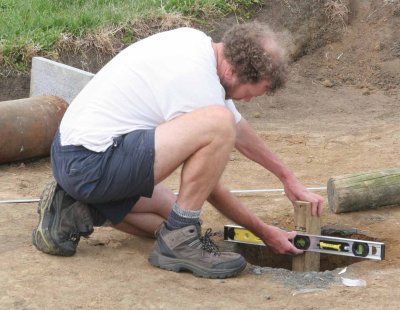 24 Nov 2007, Checking the depth of the hole for the pier |
 24 Nov 2007, Ramming the fill in the hole |
 24 Nov 2007, Re-checking the hole depth |
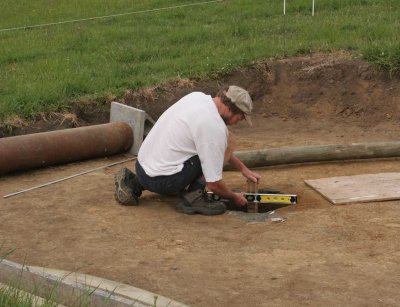
 24 Nov 2007, Checking the base height - a little more clay needs to be taken out |
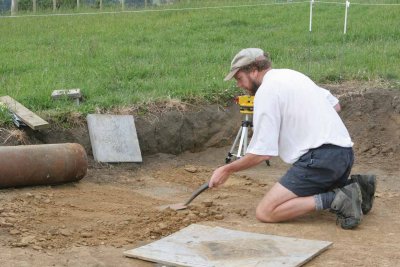 24 Nov 2007, Taking more clay off a high spot |
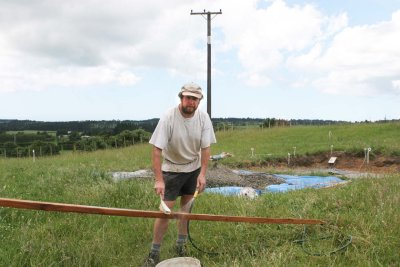
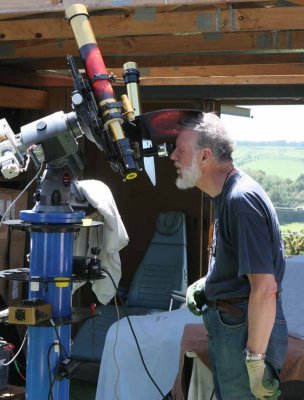 25 Nov 2007, Rod takes a break and checks out solar minimum |
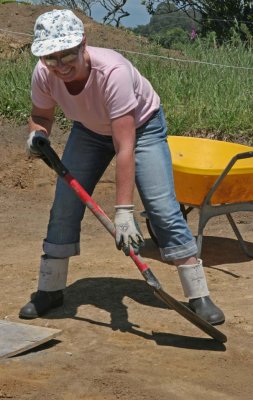 25 Nov 2007, Fast spadework from Sharon |
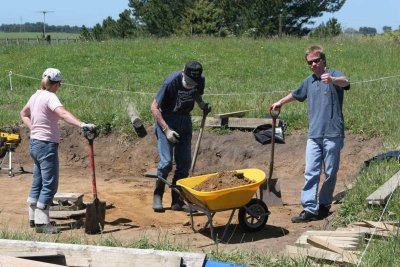 25 Nov 2007, Base levelling. Sharon, Rod & Brent |
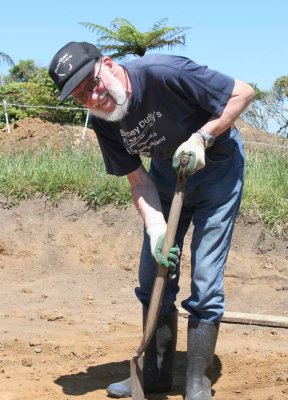 25 Nov 2007, Rod in action |
 1 Dec 2007, Two pavers were lowered into the hole to form a firm footing for the pier |
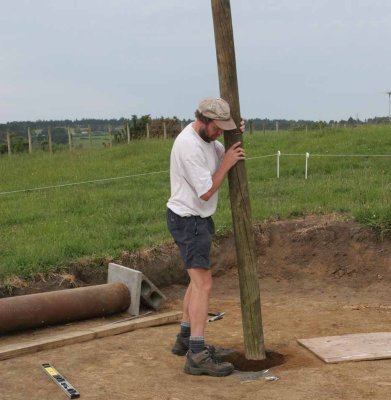
 1 Dec 2007, The lower � of the pier weighing several hundred kg is lowered into the hole |
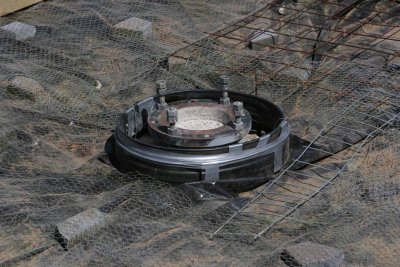
 1 Dec 2007, The pier boxed vertical with pegs, and with 2 bolt holes pointing North |
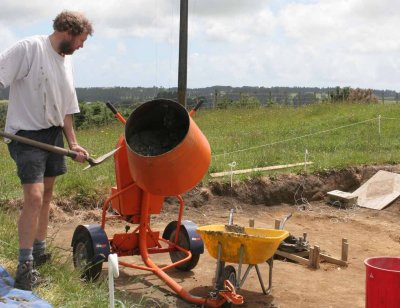 1 Dec 2007, Mixing concrete for the pier inner and annulus |
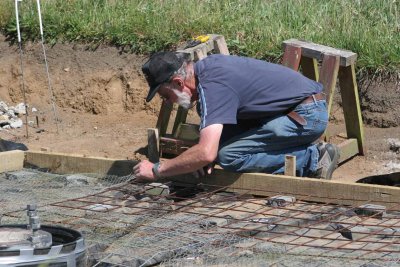 15 Dec, Rod working on the reinforcing mesh |
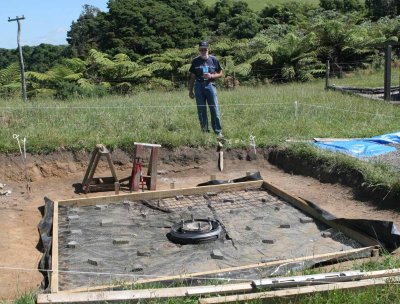
 15 Dec, The reinforcing completed |
 15 Dec, Boxing around the pier |
 15 Dec, Ready to pour concrete |
 20 Dec, Ian with the mixer he borrowed, checking the weather ? |
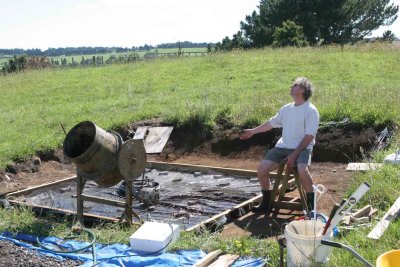
 20 Dec, The concrete mixed and the pad poured |
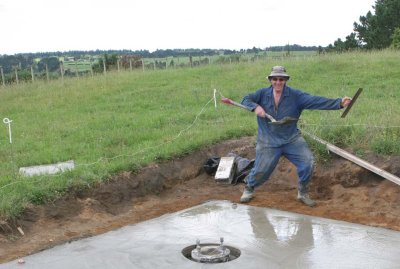 20 Dec, Ian celebrates |
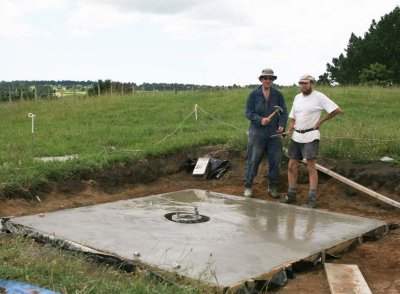
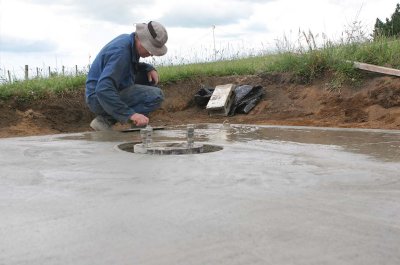 20 Dec,Final touches |
 20 Dec, scrubbing down the screeding timber to re-use for the framing,- well it's $7/m ! |
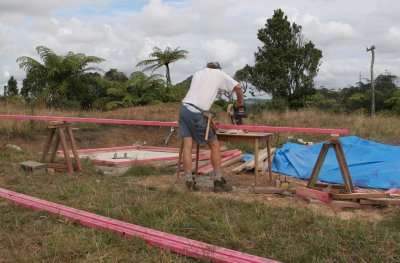 9 Feb, Cutting the framing |
 9 Feb, 2 walls up, 2 to go. The photo isn't sharp, but the light was fading |
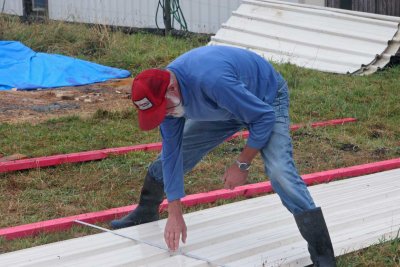 10 Feb. Rod measures the cladding ready for cutting. I had to change the contrast on this pic, it was washed out with the rain |
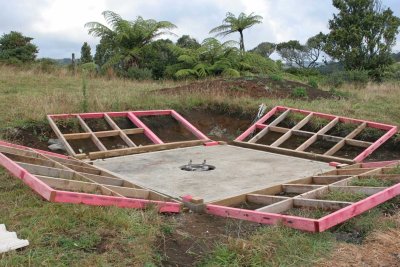 10 Feb. The assembled walls & DPC laid, - all ready for Dynabolting |
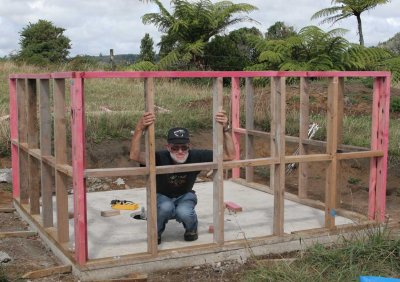 11 Feb. 3 of the wall frames have been bolted to the pad. The 4th will be done after the pad has been used to assemble the dome |
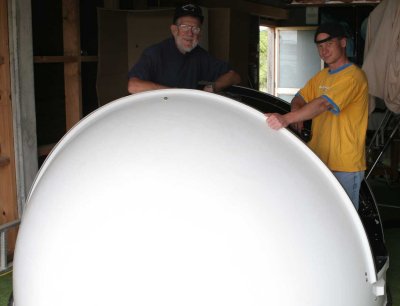 12 Feb The assembled dome (less shutters) ready for mounting. Brent lend a hand to bring the assembled dome back in from the pad |
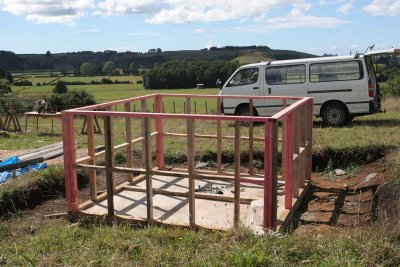 12 Feb. All the wall frames up and ready for cladding |
 13 Feb. The offending Dynabolt in the East (last) wall, - in place at last |
 13 Feb. The dome now on the assembled ring, with the dome wheels on |
 13 Feb. A close up of the dome wheels seen from above. (before the top gaurds are installed) |
 The framing with some extra nogs to support the corner flashing. The framing is braced to ensure the diagonals are equal, |
 15 Feb. The framing braced to ensure the building is 'square' as the cladding goes on. |
 15 Feb. The cladding more than half way complete. Yep, not as hot up there today with the wind blowing |
 16 Feb. The cladding is completed, (the corners will be flashed) and the dome support framing is started. |
 17 Feb. The support frame for the dome has been started |
 19 Feb. Cutting the ply for the door |
 20 Feb. Infill nogs to support the dome ring |
 22 Feb. Jigsawing out the curve in the roof panels to take the dome ring. Cut panels in the background. |
 22 Feb. Routering out a 5 mm channel in the 12mm ply to accept a tongue for the butt joints. Channel detail inset |
 28 Feb. Work on the 26-28 Feb has completed the ply roof and dome ring. The ply will be flashed & glassed |
 28 Feb, Exterior detail of the tongue in the ply butt joints |
 28 Feb. Interior detail of the dome ring. There's a 3mm foam seal between the base of the glass ring and the ply |
 29 Feb. Door detail |
 29 Feb. With help from Murray & pup Herman, the dome is now on. The dome rotates with just finger pressure. |
 3 Mar. Going over the door edges with the plane. |
 3 Mar. Chiseling out the door lock mortice |
 3 Mar. Marking out and checking out the door for the hinges. |
 3 Mar. Checking out for the door hinges |
 3 Mar. Attaching the upper shutter motor |
 3 Mar. Uppr shutter motor detail |
 3 Mar. Screwing the dome rotation toothed bars on |
 11 Mar. Obs. interior. Dome rotation control box on LHS with remote switch. |
 22 Mar. The obs. with flashings. Looking SE |
 22 Mar. The obs from the West showing the door |
 22 Mar. The bench for the PC's etc |
 22 Mar. Bench detail |
 12 Apr 2008, Photo by Melanie Cooper, Carrying the 14" LX200R out to the observatory. (115 lbs) |
 12 Apr 2008, Photo by Melanie Cooper, ABout to take the 14" LX200R into the observatory |
 12 Apr 2008, Photo by Melanie Cooper, Myself & Murray holding it up to the wedge, & Rodney putting the cap screws in |
 12 Apr 2008, Photo by Melanie Cooper, The scope on the pier |
 12 Apr 2008. Photo by Rod Austin. Melanie's shooting position |
 12 Apr 2008, The 14" LX200R mounted |
 12 Apr 2008, The 14" LX200R mounted |
 31 May 2008, Mounting the 10w solar panel to keep the shutter battery charged Deb assisting 39 weeks pregnant |
| previous page | pages 1 2 ALL | next page |
| comment | share |
| Mat Jury | 23-Jul-2008 03:14 | |
| ursula | 17-Mar-2008 09:23 | |
| Ravi and Lakshmi Iyer | 12-Mar-2008 00:47 | |
| Guest | 01-Mar-2008 04:21 | |
| Michael Kruse | 16-Feb-2008 04:48 | |
| John Cooper | 12-Feb-2008 08:49 | |
| Andy Dodson | 03-Jul-2007 15:20 | |
| Kim Colter | 29-Jun-2007 00:11 | |