14-MAY-2011
And off we go...
It took me a couple of hours (no exaggeration)to glue the first plank.
The instructions are not very clear other than saying start 25mm below deck on bulkhead nr 15. Dry fitted it with pins a couple of times - trying to figure out how to position it such that the planks (strakes) can follow 'natural' lines and at the same time fit and position the first plank such that I do not have to trim/taper the planks above this one too much...
time will tell...
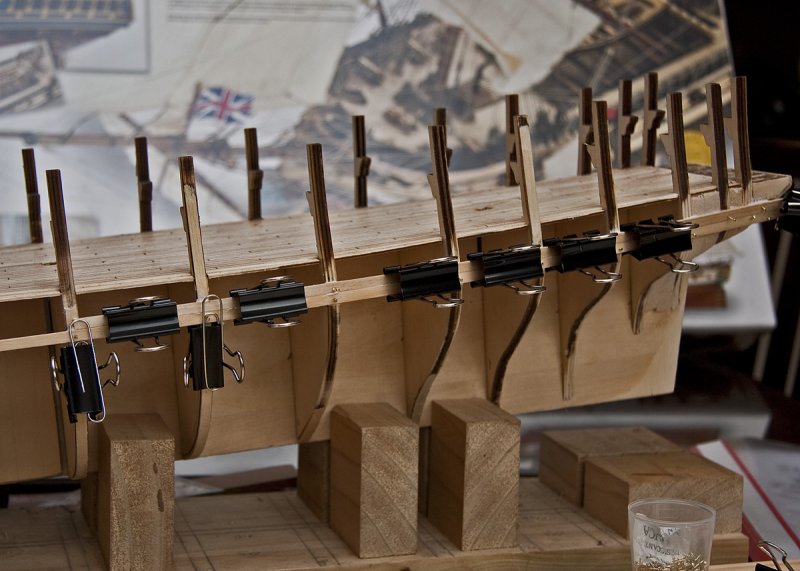
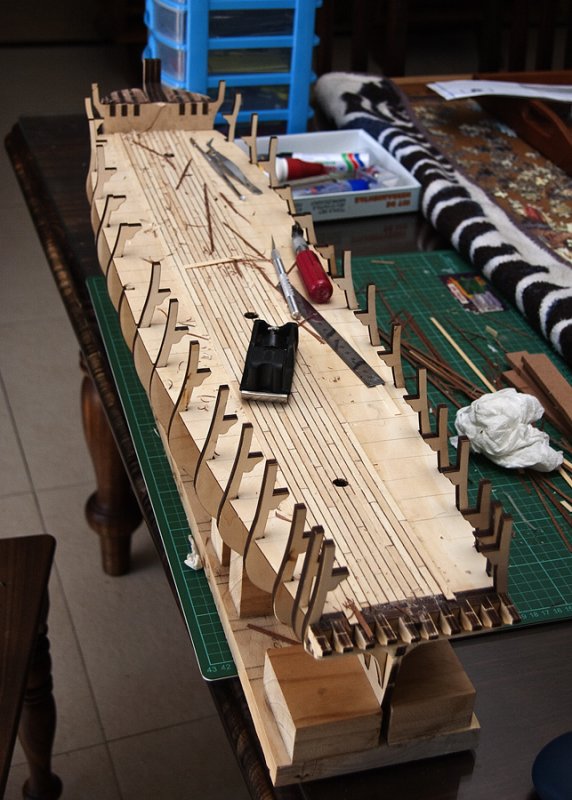
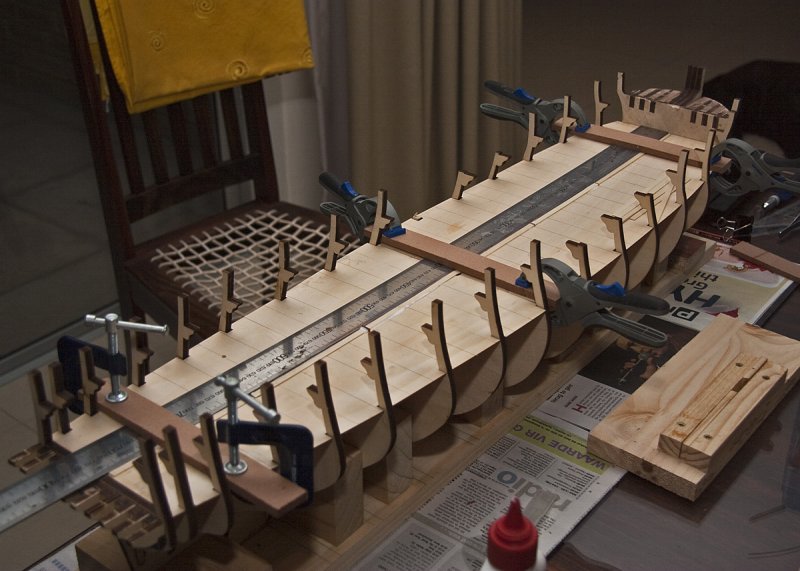
On this image one can also see the filler blocks that I added (balsa wood) between the stern bulkheads. They wont to much for this part of the hull planking but I think the filler blocks will assist with the lower part of the keel.
Also visible is some of the padding I had to do on the bulkheads to allow the hull strakes to follow natural lines. The idea of using the bulldog clips and paper clips to hold planks (that are not under tension) in place came from someone else's build log that I looked at some weeks ago. (as soon as I find it again I'll add the reference :) )
14-MAY-2011
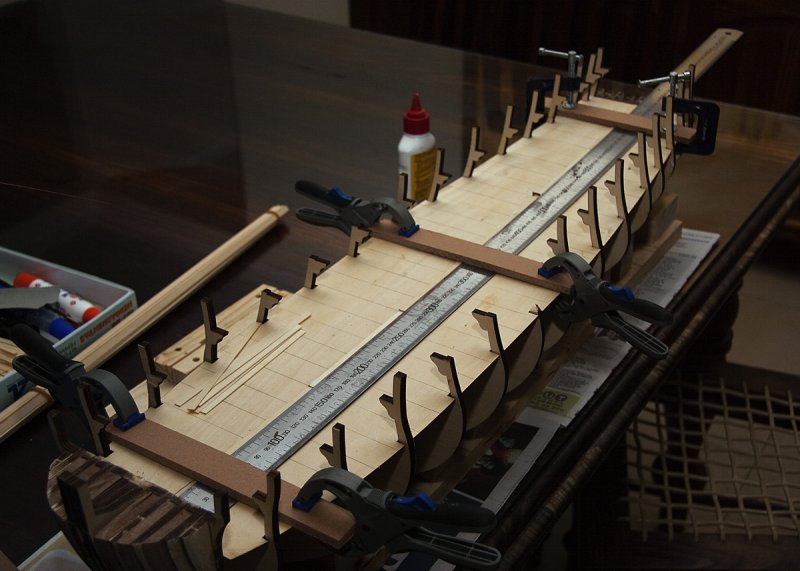
Plank Bending setup
Made this plank bending jig from a photo in a book. Hope it was worth the time spent...:)
22-APR-2011
Any journey starts with one small step...:)
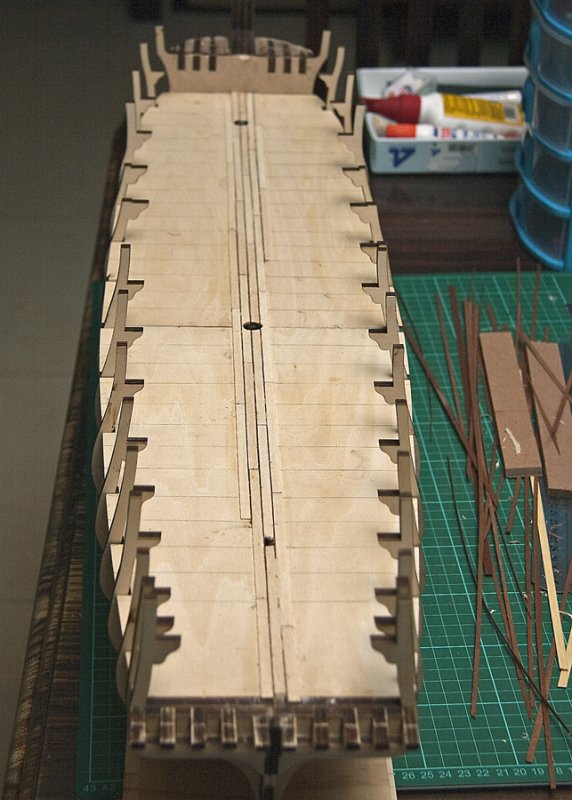
After taking a break for 4 months or so, moved the model back into the dockyard. Spending a lot of time trying to understand how best to plank the hull by studying tutorials and other build logs. This model is a single plank on hull - not double plank on hull as the first model I built.
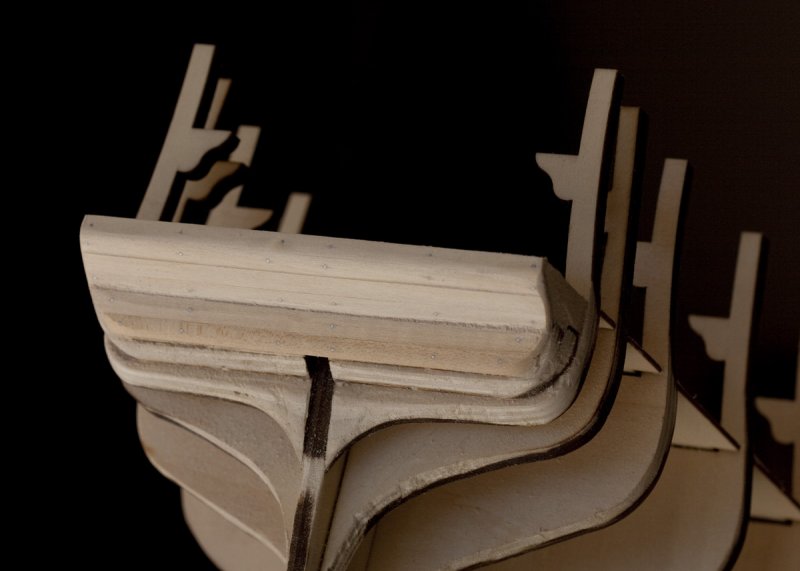
I've planked the bottom part of the stern castle (?) - not sure I'm going to use the pins going forward. Might redo or overplank this part. Time will tell.
It appears to me that the proposed hull planking geometries used in the manual of the HMS Surprise kit is not that authentic. I do not know that for certain - but this concluded from comments and methods proposed by so many others...
All I know is that I will not follow the instructions to the letter - I am planning to fit 'garboard plank' next to the keel and make use of stealers and drop planks to maintain the natural flow and curvature of the hull.
For the garboard plank I need a wider strip of wood than has been supplied with the kit. I have placed an order for some wider strips today to fit a 'garboard' plank at the keel. (maybe this is just a stalling tactic) :)
Deep breath... I can do this...:)
30-DEC-2010
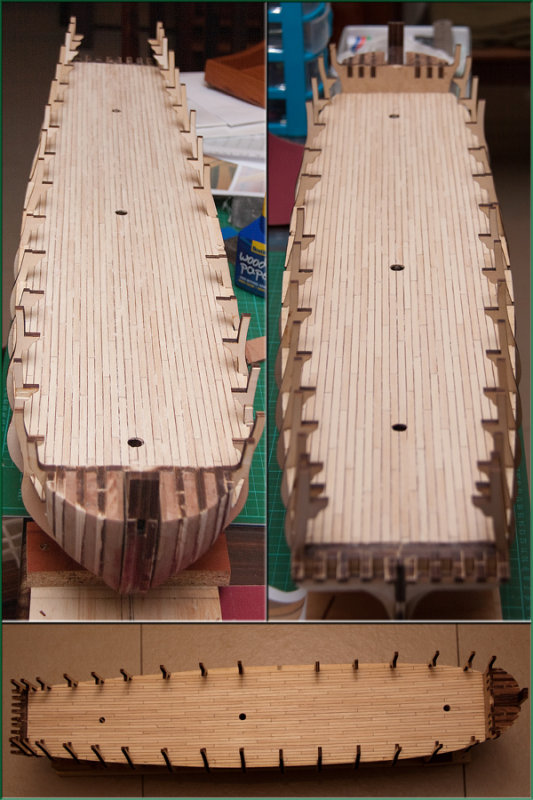
Gun deck planking done
I have decided to take the easy way out for the gundeck... Ran planks straight off and trimmed where necessary. None of the edges of this gundeck will be directly visible on the completed model.
On the top deck I will put down a margin plank and 'joggle' the deck planks into this... (Wonderful hobby - learning new words every day... :) )
Composite image showing completed gun deck - started scraping the deck - still need to sand and seal. darker verneers ('caulking') will stand out more at that stage. Total time logged on model to date - 47 hr of which 33 hr spent on deck planking and using the walnut veneer as caulking.
24-DEC-2010
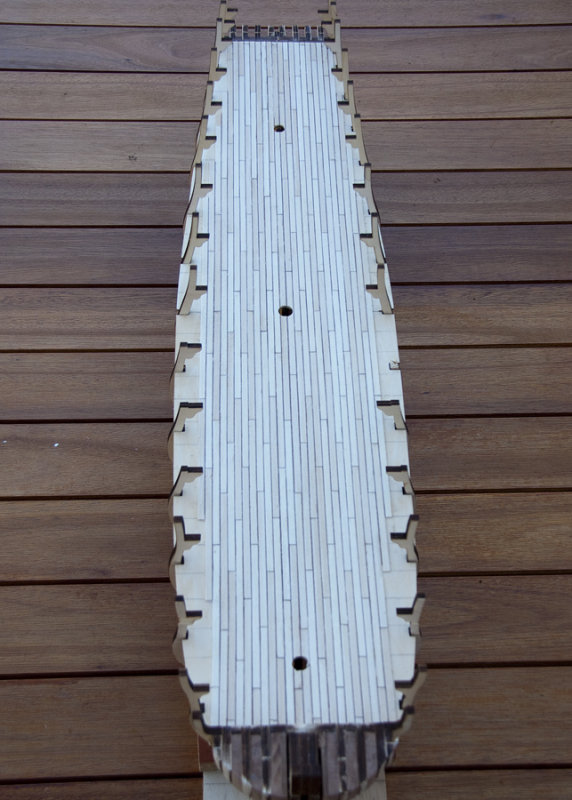
And more rows down...
And on we go... all full length rows down. Now having to decide how to treat the edge planking...
21-DEC-2010
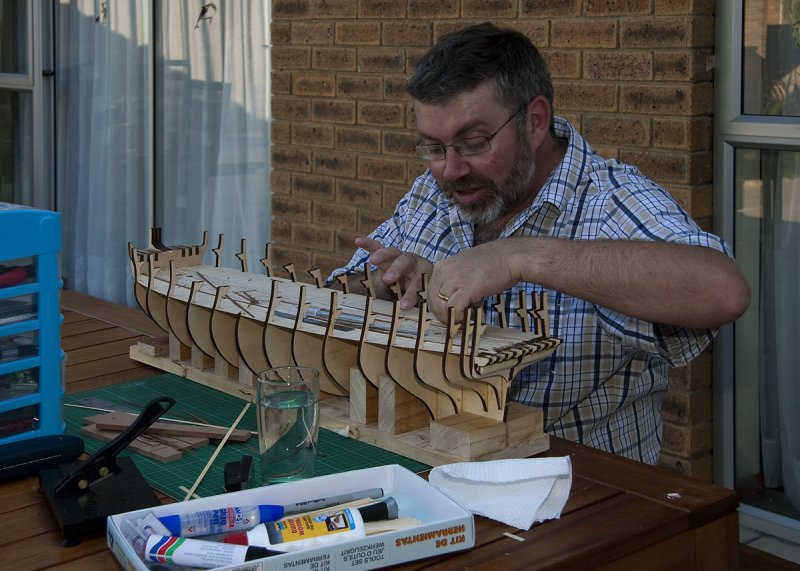
Shipwright at work
It was very hot today, on the longest day of the year...
I moved the dock yard to the patio in the early evening and continued with the planking...
21-DEC-2010
An on we soldier...
15 rows of deck plank down...
17-DEC-2010
Twelve strips down...
And twelve strips down.
One learns as you go along - I am now not using a single long strip of veneer down the length of the planks as in the beginning, but veneer pieces that is approximately the same length as the deck planks. These are spaced with some offset from the plank joints, allowing the last plank laid down to act as a "support" for the next veneer whilst gluing down the next plank...
The problem with the long veneer strips and the gentle curvature of the deck can be seen at the joint between two of the planks just behind the rear mast hole in this image - when trimming the veneer to the deck level - the whole strip pulled out as it was "suspended" just below the top of the planks rather than all the way to the bottom - so some "surgery" will be needed here. Also means that the lines of the planks will not be 100% straight in this part of the deck and some adjustments will have to be made with the next rows to straighten it out.
So we learn.. fortunatley this will not be too visible on the completed model and serves as a good 'training ground'
13-DEC-2010
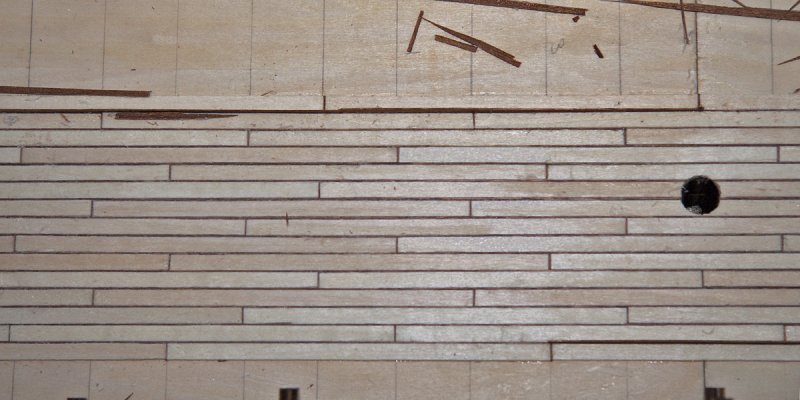
Detail of veneer 'caulking' (9787)
Cropped image of deck planks with veneer 'caulking'. This is with little sanding with too coarse a grit of paper. I expect (hope? :) ) it will look better when all completed and sanded down with fine cabinet grade sanding paper and varnished with a varnish that will darken it ever so lightly...
13-DEC-2010
Gun Deck Planking - Day 2 (9786)
This is going to take some time. I trimmed down and rough sanded the 'veneer caulking' to get an idea what it would finally look like. Took me about 6 hr to get to this stage of the deck planking - this takes into account cutting the individual planks (about 200), as well as the veneer strips seen to the right of the picture.
The longer strips are glued length wise and then the individual planks layed next to the strip with short veneer strips positioned between the plank ends. This row has to dry completely so that the end bits can be trimme down to the plank widths before the next long run of veneer can be placed.
I am sure it will speed up as my fingers learn to contol tweezers, (not too much) glue and planks at the same time...
Even though much of this deck will be covered by the upper deck, one will be able to look down through skylights and open sections on to this deck. Anyway - still remain good practise for the top deck to be planked probably 1 year down the line...
10-DEC-2010
Gun deck planking (the start ) (9785)
Another view of the first line of planks. Also seen in this picture the "saw base/guide" I made for cutting the 120mm length planks.
The steel rule also clearly shows the size of this model. The gundeck is nearly 800mm long.
10-DEC-2010
Gun deck planking (the start 2) (9784)
Laying down the first gun deck planks against a clamped down steel rule.
After a couple of experiments, I decided to complicate life by using 24 scale feet individual planks rather than the longer length planks as called for by the instructions.
Life further complicated by deciding to use 0.6mm walnut veneer between individual planks to simulate the caulking, rather than marking with a pen.
The picture also shows the filler pieces of 'supawood' I formed and fitted in the bow. Hopefully this will help when the hull planking start.