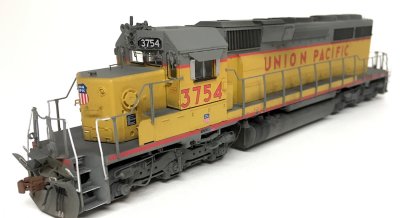
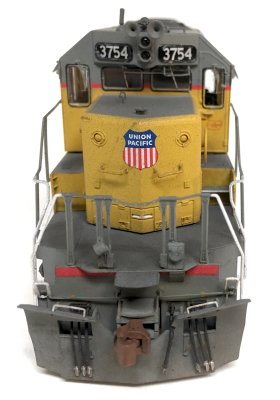
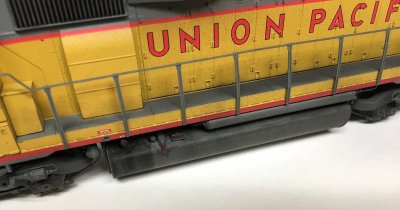
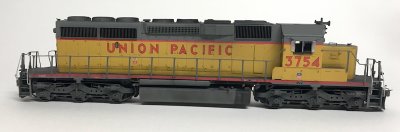
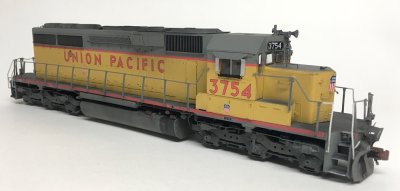
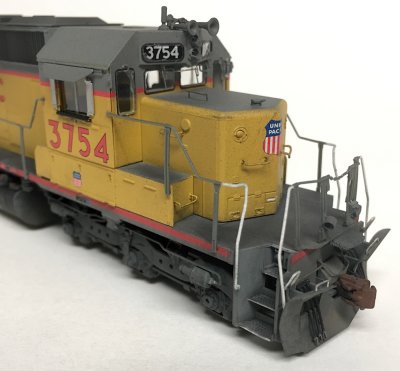
- removed snow plow and remounted it with MU hoses coming through - painted grab irons on front of nose UP yellow - painted blue MU covers UP gray - added 14” straight grab above conductor’s side numberboard, and a 18” drop grab below - added short 1.8mm brass tube to front stanchion that was painted UP gray - masked windows, headlights and numberboards - paint the top of the armrest by the cab side windows black - drybrushed couplers with a dark brown - black wash in radiator grills and intertial intakes - to weather the walkways and steps I first applied AIM dark gray weathering powder, then applied black randomly in a few places - I used a black wash to create the patterns around and underneath the fuel fillers - take the AIM dark gray and liberaly apply it to the underframe beneath the sill with a soft brush, then do the same to the sideframes (including tops and bottoms) and ends of the fuel tanks. Then take a stiff brush and used it against the sideframes and fuel tank ends – this will leave grime but won’t make it too dark or deep. - then take the dark gray and apply if to the top of the fuel tank with the soft brush then pull it down the sides. Go back with the stiff brush and take as much as you can off the fuel tank. As you complete each side take the stiff brush and stroke down on the air tank on each side. - take some dark gray powder out of the container and put it on a paper towel - then “stab” it with the stiff brush and go over the sill below the walkway and short down strokes. To get a lighter application rub the stiff brush against a clean area of the paper towel first – think of this as similar to dry brushing. - lightly apply the dark gray to the snowplow and rear pilot with the soft brush. Depending on how dirty you want each area you can leave or use the stiff brush to remove it until you are happy - open up AIM dark yellow, medium brown and dark brown. I used the stiff brush to very gently go in and pick up a few bristles at a time then stabbed the plow and rear pilot to get a spray affect. I worked from dark brown to medium brown to dark yellow. Repeat the effect on the ends of the fuel tank. - I have a custom exhaust mix with about 12:1 flat black/dark brown that I use primarily on the roof - I also have a custom dark earth mix of various browns that looks right to me. I kept the airbrush about 12-14” off the model and then gave everything a light dusting – this was applied primarily from just above the top of the model from the side and aimed at the hood sides and ends. The focus was not on the roof or underframe – but small amounts would also reach those areas. - I then applied a matte finish by airbrush to seal everything. - Last note: I left the class lights as is even though the unit I am modeling had them removed. I did paint over the lenses with UP yellow.