


|
|
|
|
|
|
| alasgw | profile | all galleries >> Galleries >> CR SD50 | tree view | thumbnails | slideshow |
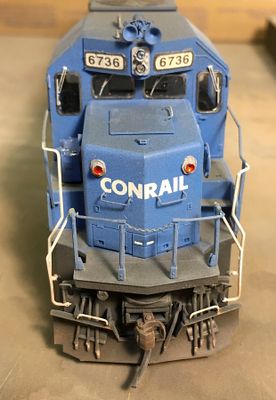 61033547445__60DF555D-7E05-4876-8871-83B3F7EDD0C2.jpg |
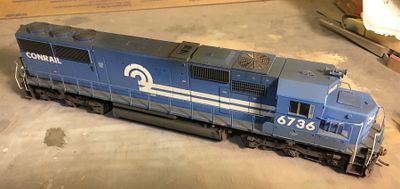 61033554857__5FCC2CE9-E05A-4E1E-9BBF-CA1681E0DF81.jpg |
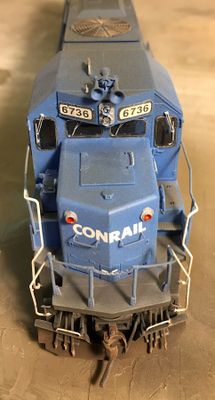 IMG_1383.jpg |
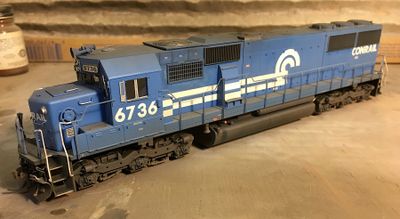 IMG_1396.jpg |
 IMG_1398.jpg |
| comment | share |