


|
|
|
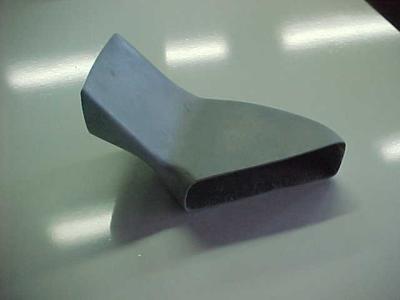
|
|
|
| Carl Thompson | profile | all galleries >> Galleries >> Chassis Returns from Gunnars with the body fabricated and installed, Now to the Final Assembly | tree view | thumbnails | slideshow |
| previous page | pages 1 2 3 4 5 6 7 8 9 10 11 12 13 ALL | next page |
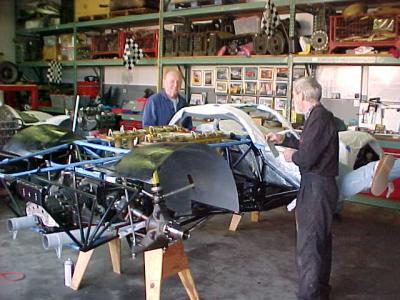
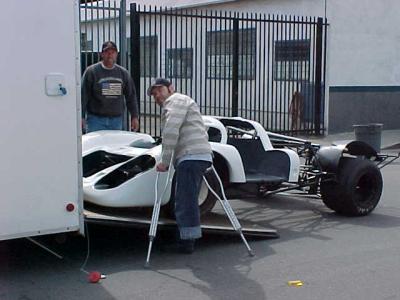 Chris Ridgeway brings the chassis back from Gunnars. He's GREAT! left West Palm Bch. Sunday arrives Wed noon Long Beach Ca. |
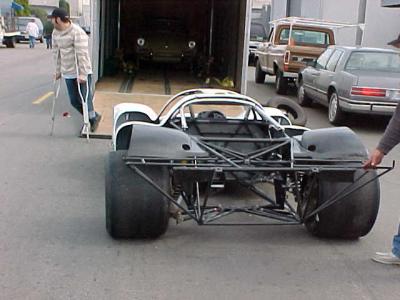 Chris and his father make a good team, Careful and efficent , Highly Recomended |
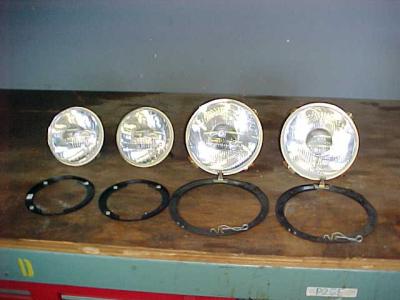 Set of Orginal CIBIE headlights with retaining rings |
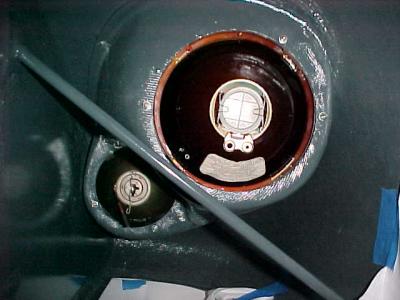
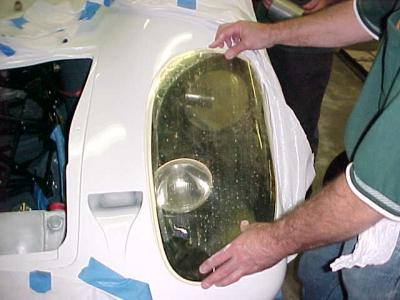
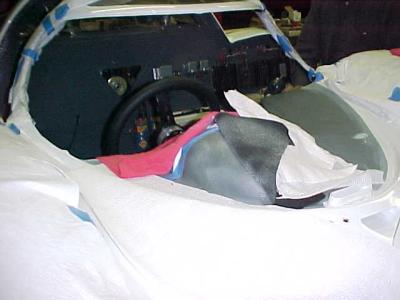
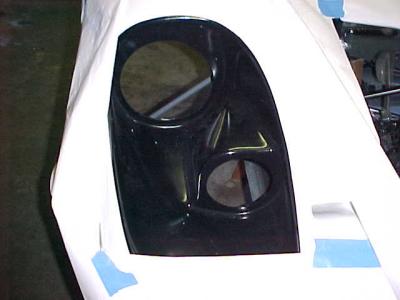 H/L bucket ready for the CIBIE lights |
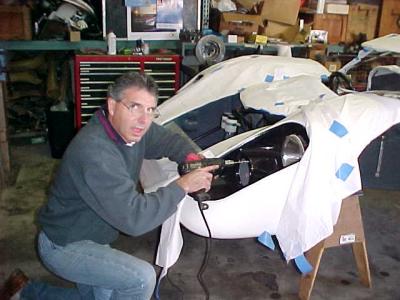 Kent Morgan came by on Saturday to help put in the headlights. He' s kinda GOOFY looking Eh!! |
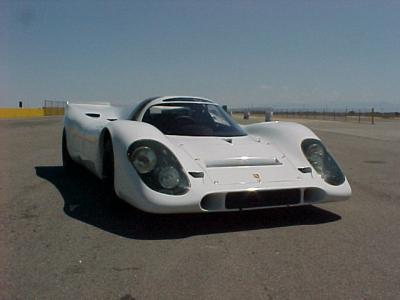
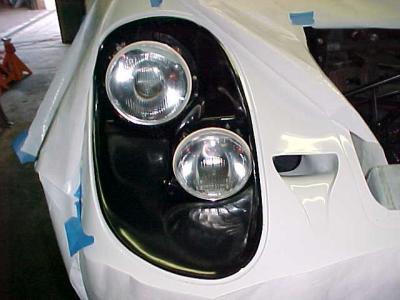 Kent finished installing the Headlights, Front view |
 Headlights top view |
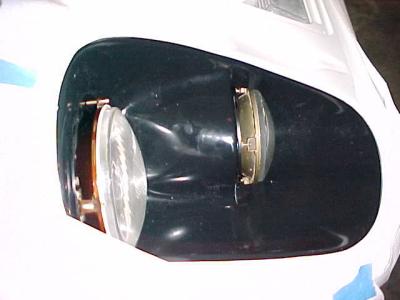
 Headlights rear view, we still have to make the rear covers |
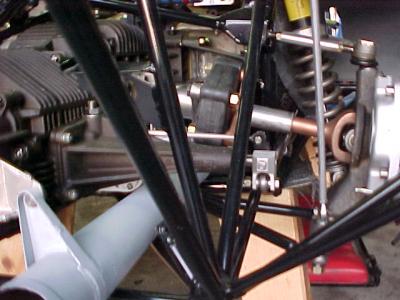
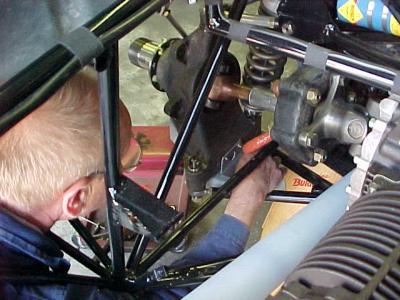
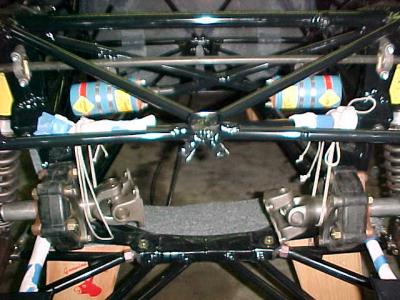 We remove the rear supension and id the final check befor reinstalling it. Now ready to install the transaxle |
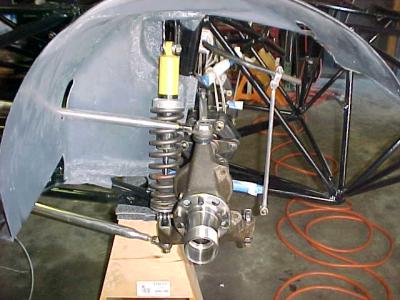 L/R supension Ready |
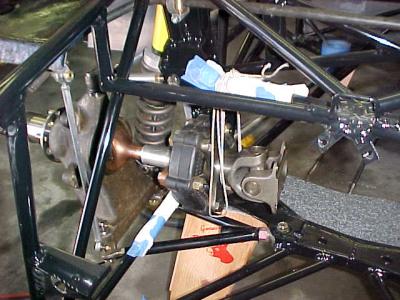 L/R supension from the inside |
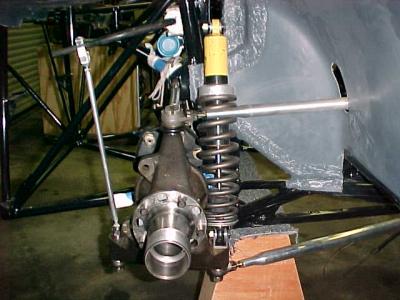 R/R supension ready |
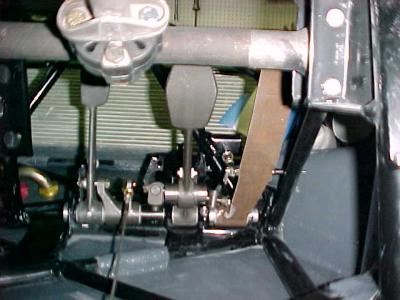
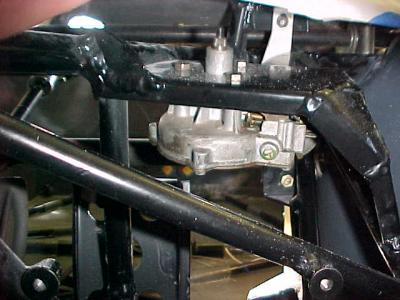
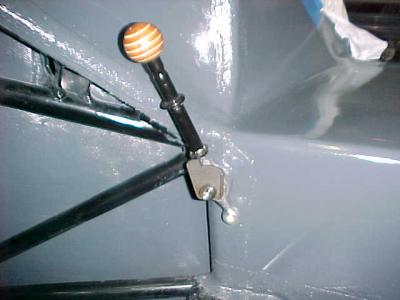 Reinstalling the shifter. Thats a first gear lockout , Reverse lockout is on a seprate lever |
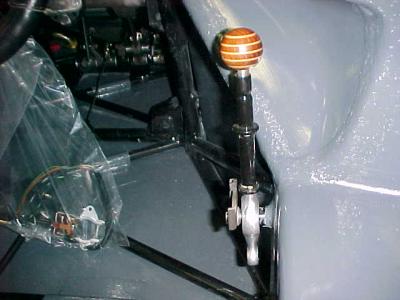 Rear view of the shifter, There are 14 parts to this assy. |
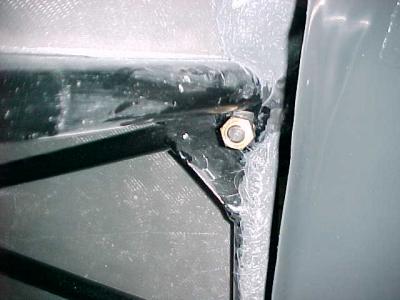 Shifter attached in the sidepod |
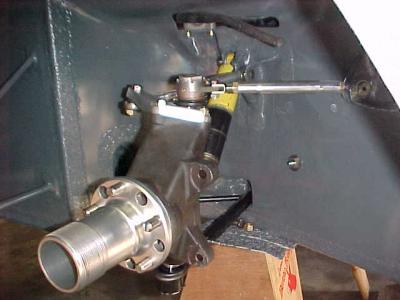
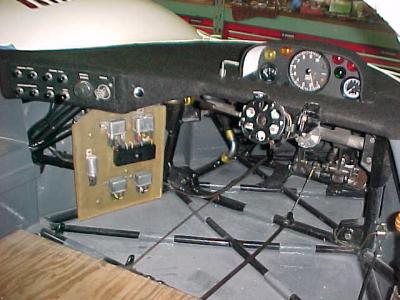
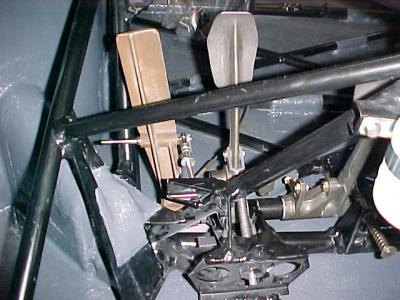 the Pedal assy. W/O master cylinders installed , View from the front of the car |
 Rear view of the pedal assy. |
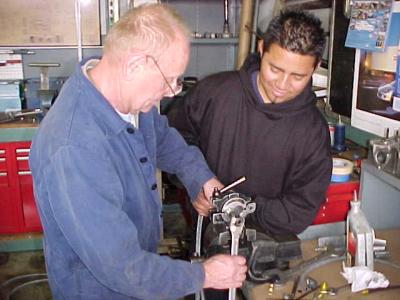
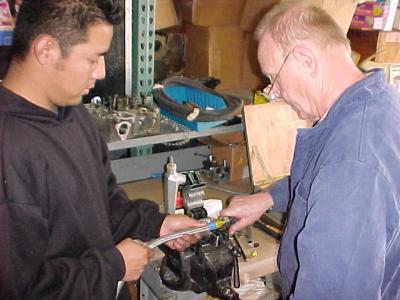
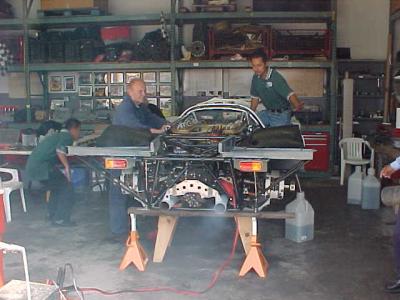
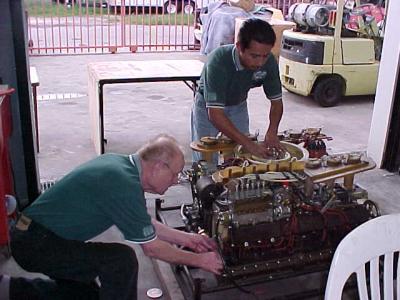 Armando & Gustauv ( Abuelo) doing some fnishing touches on the engine |
 Harro ( X Works electrician) starting on the wireing |
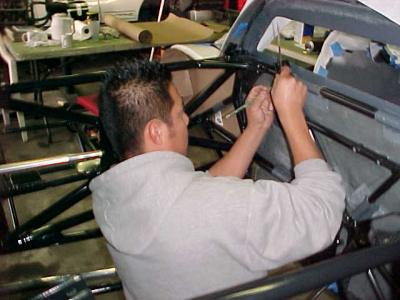 Ricardo makeing templates for the firewall heat insulation |
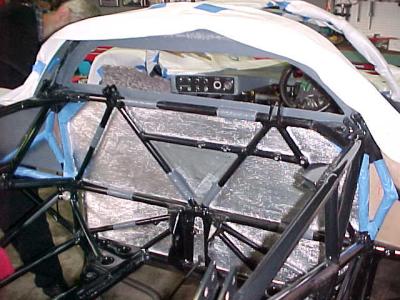 The firewall insulation installed |
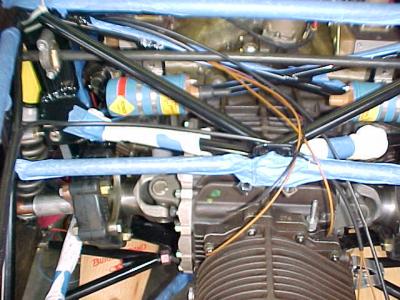
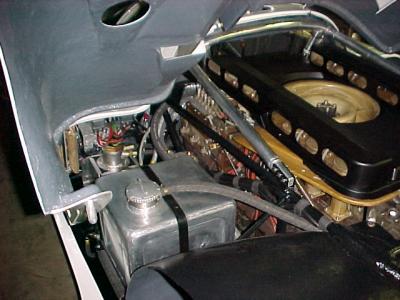
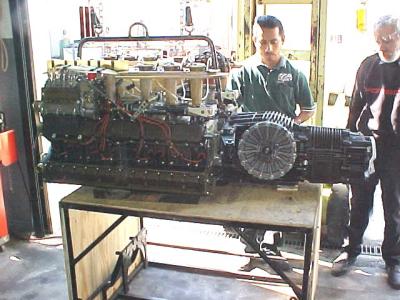 Engine and transaxle bolted together. A rare sight as they are installed in the car sepratley |
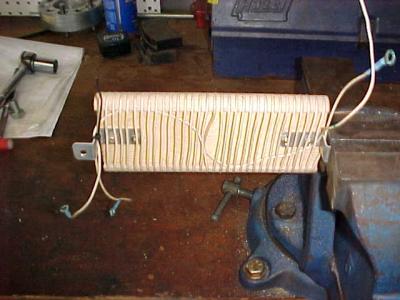 The ballast resistor wire wound onto the board |
 Fiberglassing the wire to keep it in place |
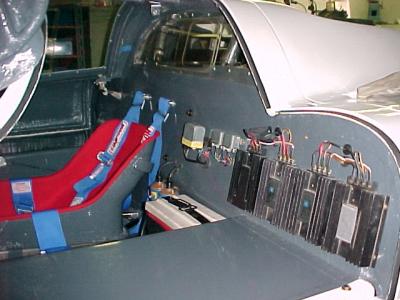
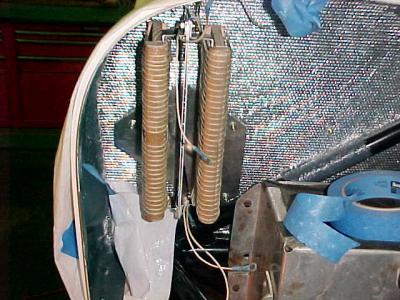 The ballast resistors mounted on the left firewall |
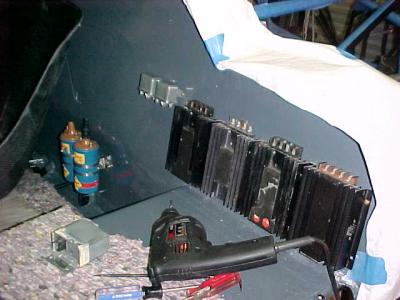 The CD ignition units mounted |
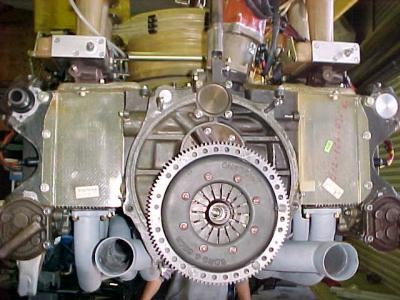
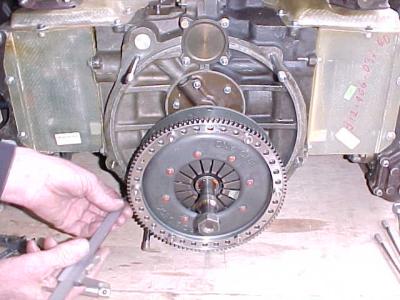 Borg & Beck triple plate clutch assy, Checking installed height |
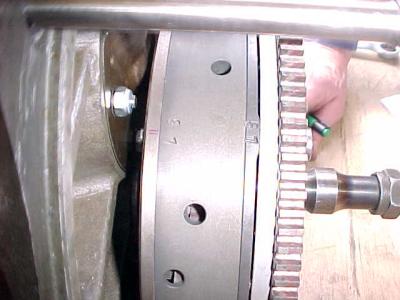 Side view of the clutch assy. Note the ballancing numbers allinged |
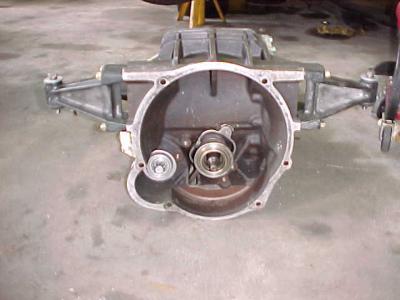 Input end of the transaxle |
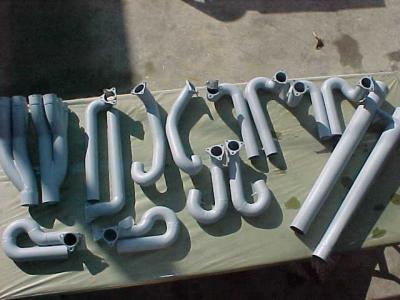 Set of headers sandblasted and heat painted ready to install |
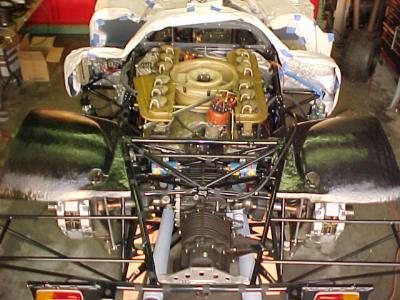
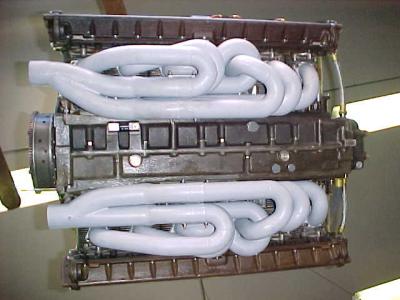 Bottom view of engine with the headers insalled. Very rare shot |
 Rear view of engine with the headers on |
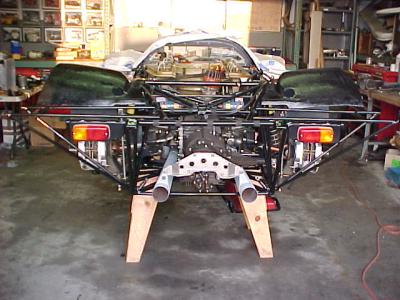
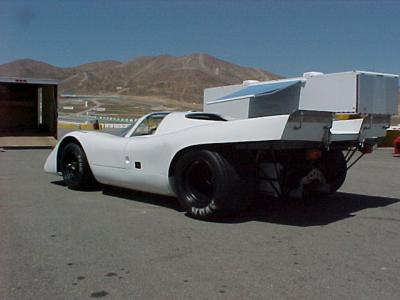
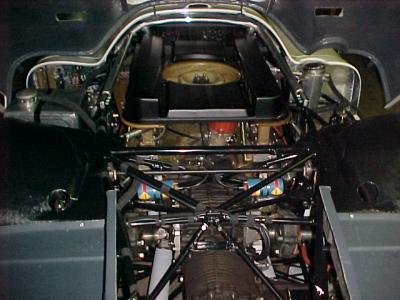
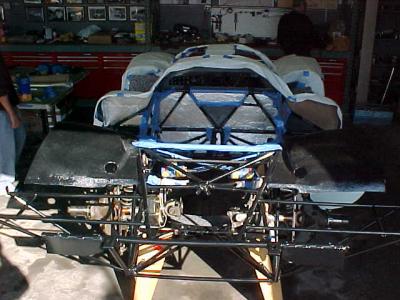 Chassis Rear View |
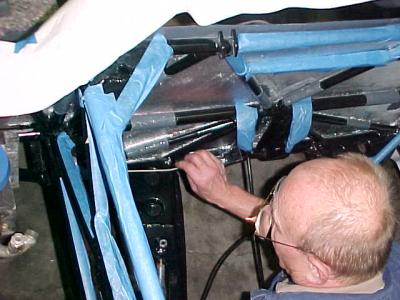 Gustauv in back making the rear brake lines |
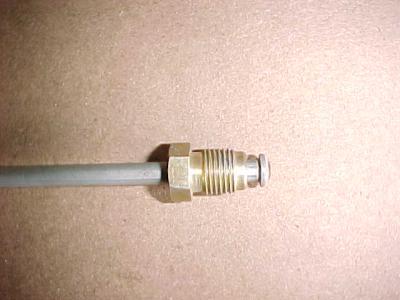
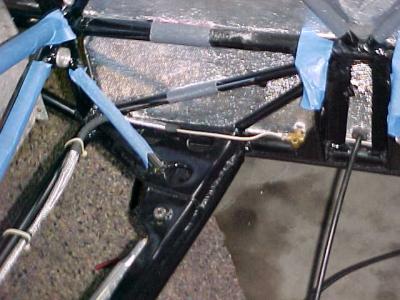 Left & right rear brake lines done |
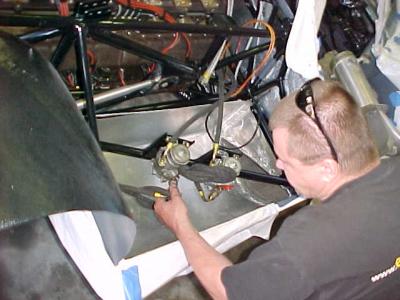
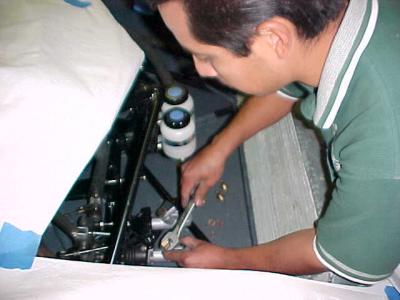 Armando upfront putting in the master cyls. and resivors |
 Master cyls. installed |
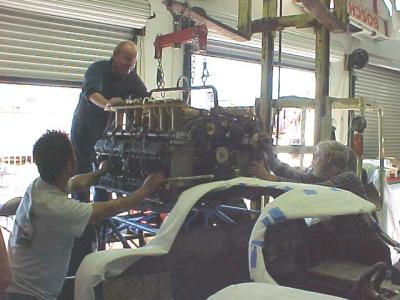 Starting to install the engine |
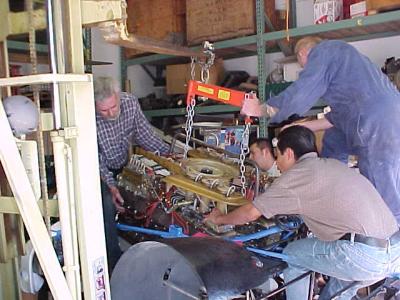 Sliding it down in |
 Engine and transmission in |
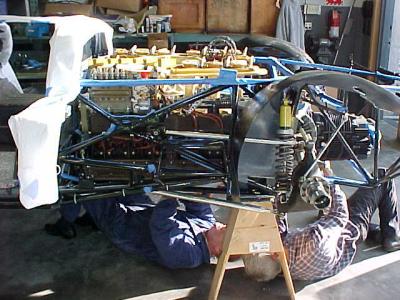
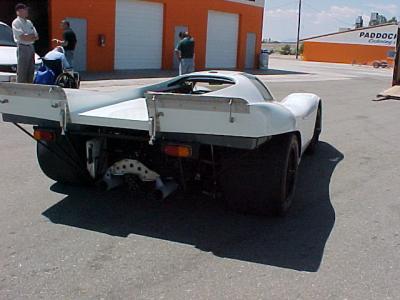
 Rear view |
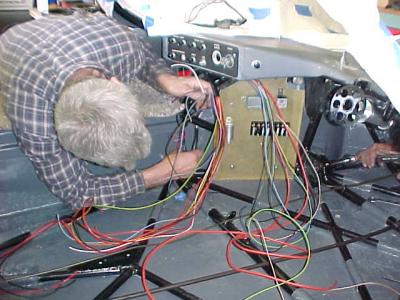
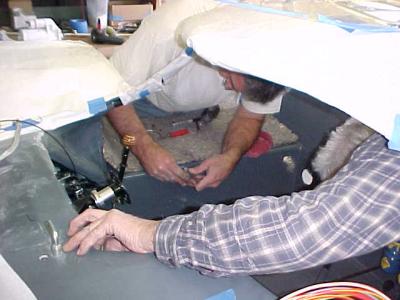
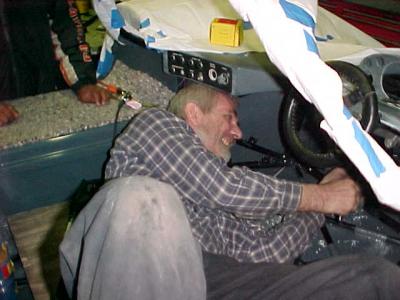 The worst of all the jobs on the car, Working under the dash. |
 Using the factory tools to make the oil & fuel lines |
 Gustauv & Ricardo making fuel lines |
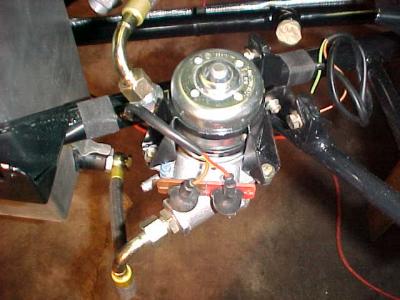
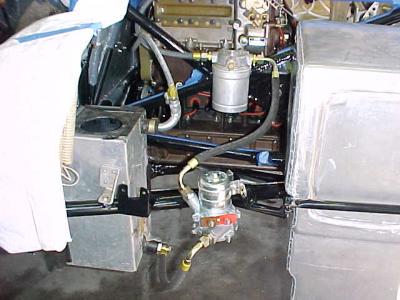 Installing the fuel pumps , filter,& lines |
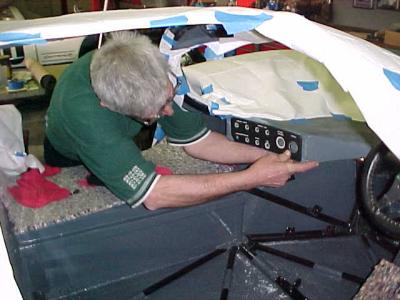
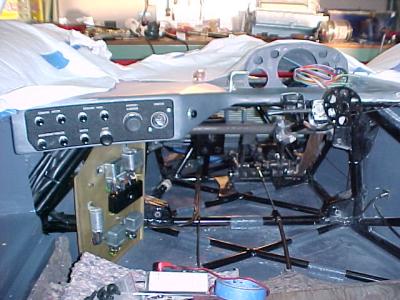
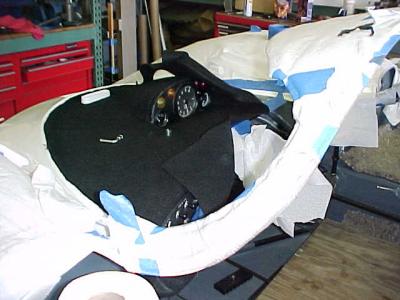
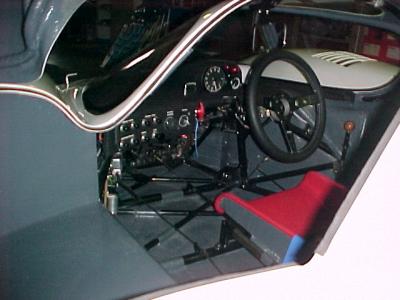
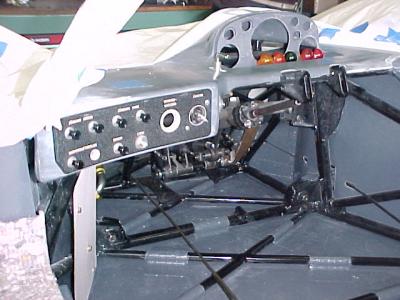 The interior is coming along. The unatainable dash lights were a gift from Jim Torres, THANKS JIM |
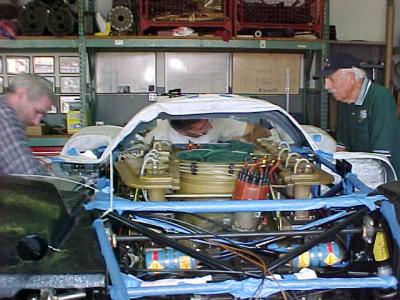
 Going at it Friday morning. You can just see Kents feet his picture comes out better this way |
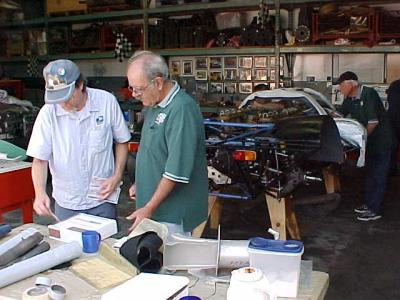
 Carl ( Grouchy ) first time sitting in the car so we can make the seat poistioning correct |
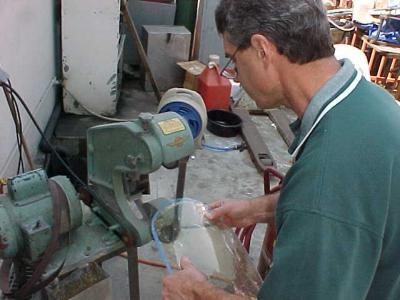
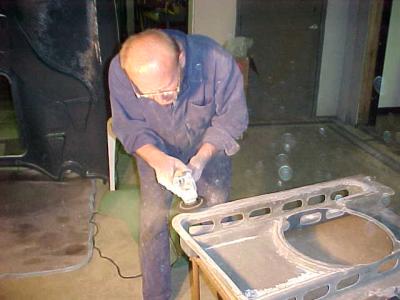
 Kent grinding the seat base shell getting it ready to fiberglass in |
 Gustauv using another factory tool ( borrowed from Ron at Morsespeed THANKS RON ) to flare the brake pipes |
 The tool does a great job , Here is what a flared end looks like |
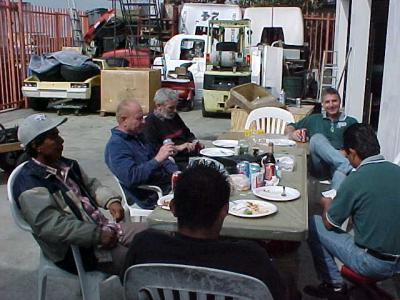 Lunch Break |
 Postman bringing a very hard to find 8 pole fusebox complements of Gary Emory ( TAHNKS GARY) |
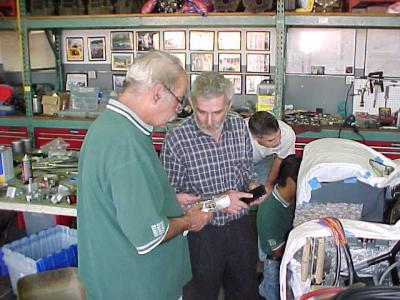 Harro looking at the new fuse box |
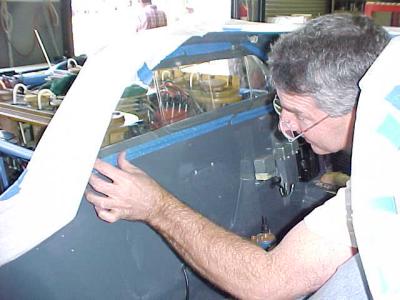 Kent fitting the rear window |
 Kents 6 feet tall , A tight squeeze for him to works on the inside |
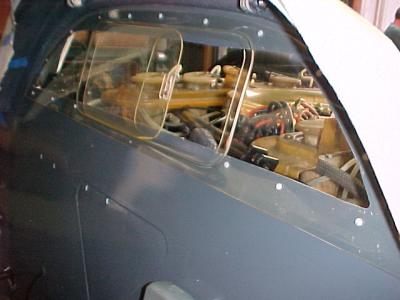 Rear window installed |
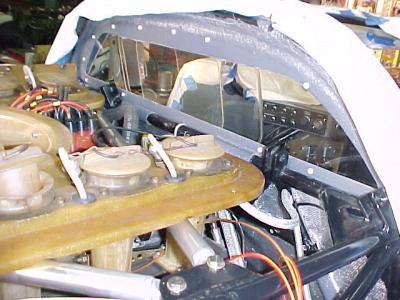 Rear window back view |
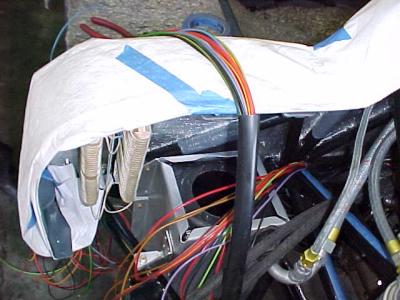 Making the wire loom Lots of wires |
 More wires |
 Even more wires |
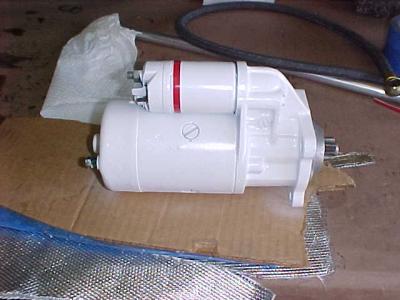 The starter rebuilt and ready for instalation |
 Wiper Motor installed |
 kent placing the reverse gear lockout lever |
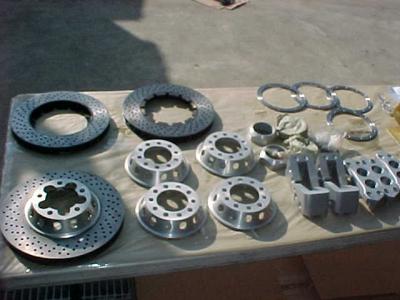 Brake parts ready for assembly |
 Armando instaling the hats on the rotors |
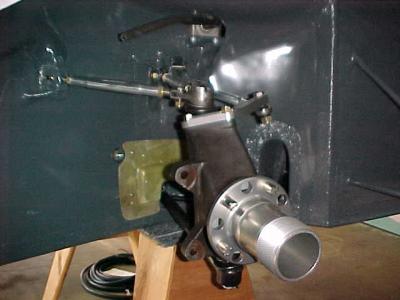 Right front supension installed. |
 Left front supension installed |
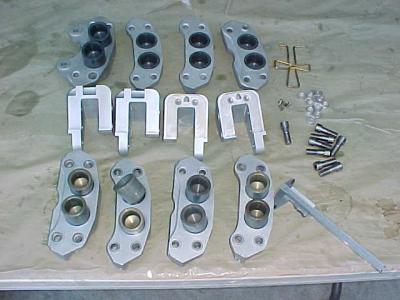 The Girling caliper parts |
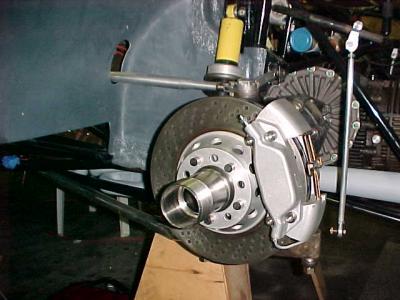
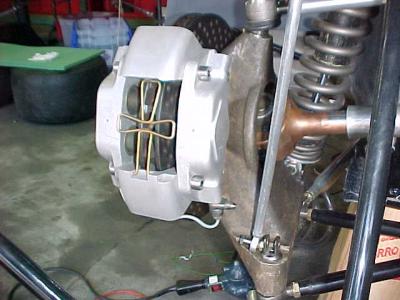 A caliper assembled & mounted ( notice the titanimum bolts) |
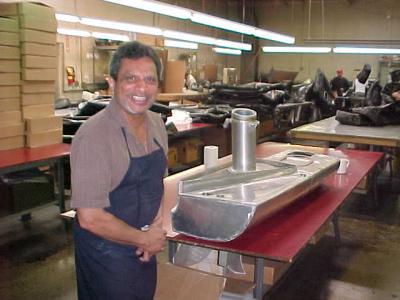
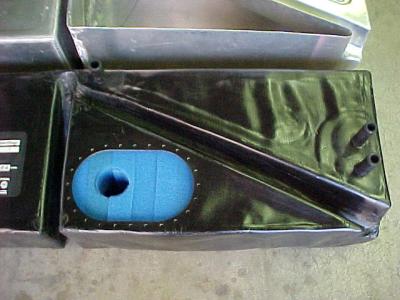
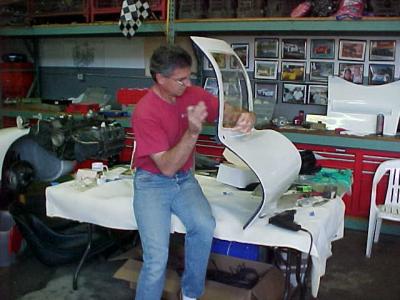
 Simon ( A+ fabricator) extending the orginal fuel tank on the right side of the car. A bladder will be made to fit inside. |
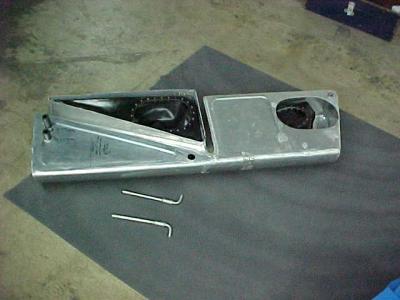
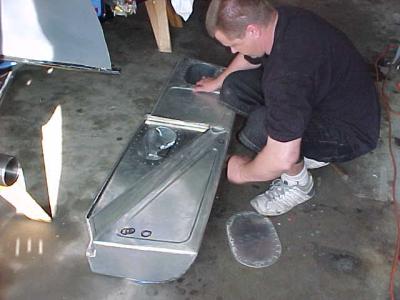 Simon farther along |
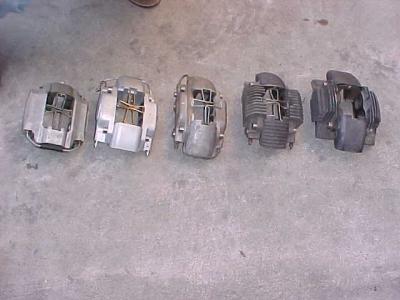 Diffrent types of 917 calipers, Starting on the left , Teves Ate, Gulf Girling conversion, Girling, ATE cross fin, ATE Late. |
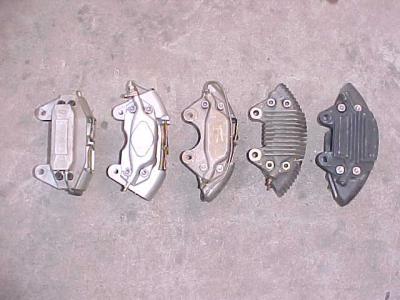 Side view. |
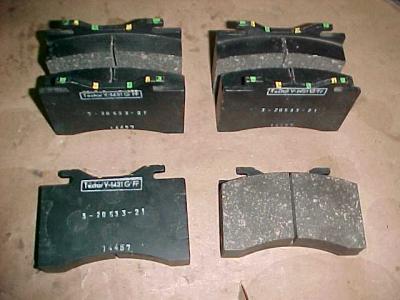 Textar 1431G Brake pads for the ATE & Gulf Girling calipers |
 Rear calipers installed |
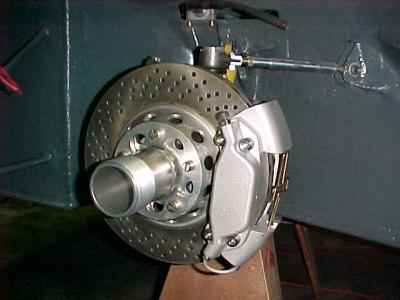 Front Calipers installed |
 Just a evening shot |
 Same shot from a little higher |
 Rear shift linkage installed |
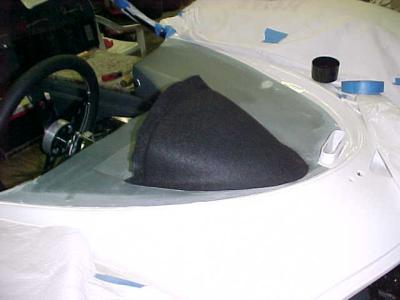
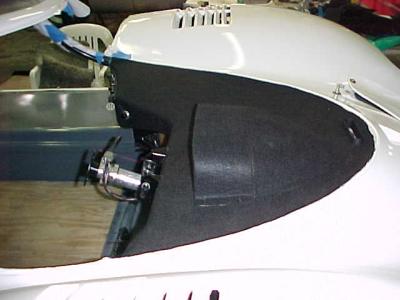
 Kent Fitting the H/L covers |
 Hey Ces ! Heres proof that Morgan is Moonlighting |
 All the switches installed & wired |
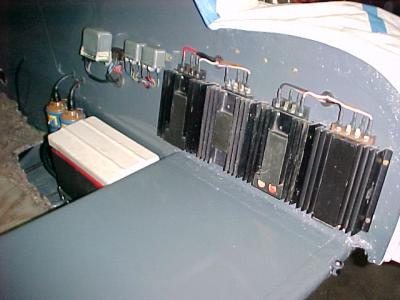 All 4 ignition units and relays wired |
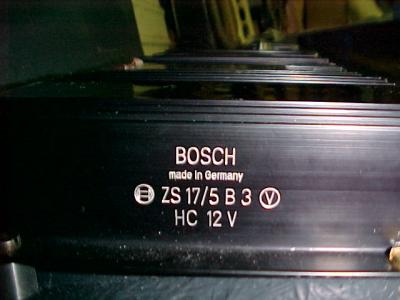 The numbers on the side of the CDs |
 Roman showed up today with the proper fuel pump clamps he fabricated for us. We only had 1 it takes 3 |
 Showing the left BOSCH fuel pump mounted in chassis THANKS to Wolfgang from Bosch for the pumps |
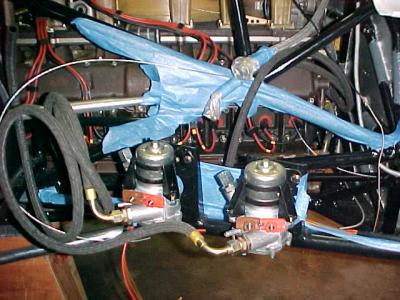 The 2 BOSCH fuel pumps on the right side of the car |
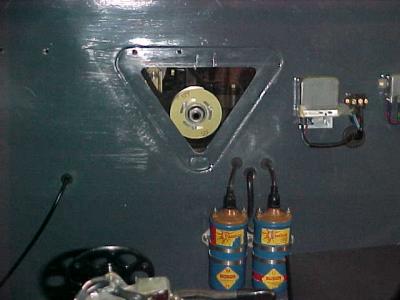 We cut the hole in the firewall today so you can get acess to the timing marks when the engine is in he car. Next the cover |
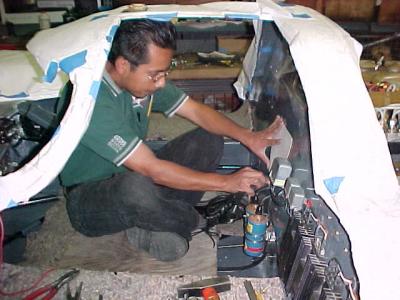 Armando in the car making the timing cover ( Being short has its advantages) |
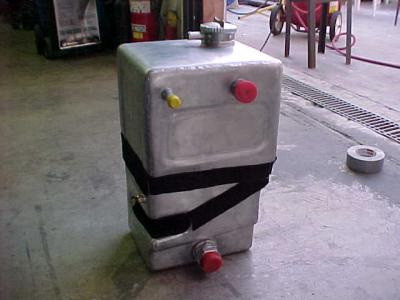
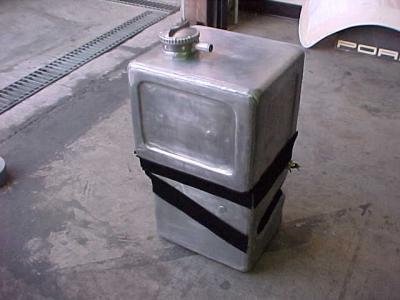
 Droping the extended R/H fuel tank ( that Simon made)off at Aero Teck Service to get a fuel cell made. |
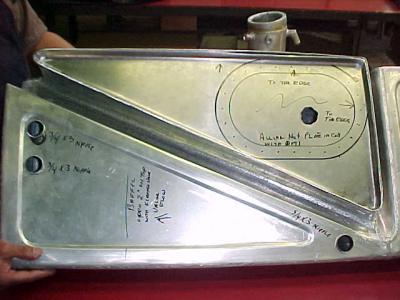 Lots of instructions written on top of the fuel tank about fittings , baffels, and vents |
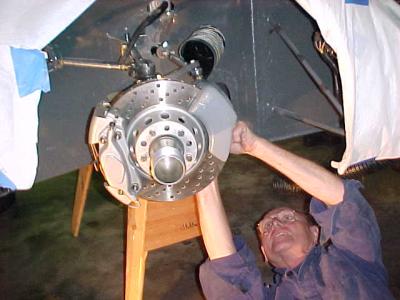 Gustauv putting on the R/F brake air duct & hose ( The rotor is a right but came drilled for the left, A exchange is on the way |
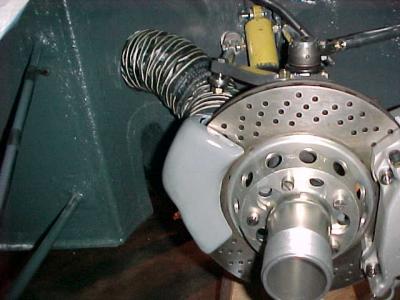 The L/F brake air duct & hose installed |
 The L/F brake cooling hose in the nose :-) |
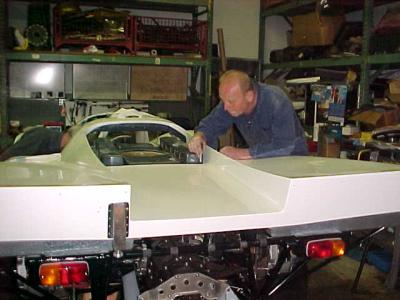
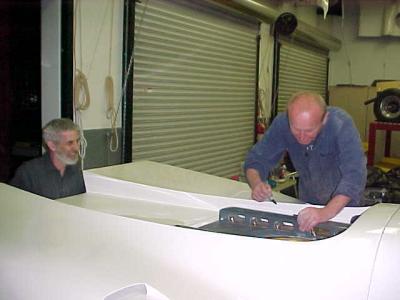 Fitting the tail section to the engine. Kevin could not do this when he fit the body as there was no engine in the chassis |
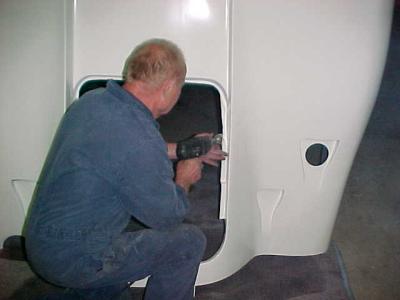 Trimming the rear tail section |
 Trimming the engine cover |
 More fitting , you never get it all the first time. It takes several fittings |
 We are upgrading to the 917/10 style brake ducts in the rear as they are more efficent and will give us better tranny cooling |
 Gustauv is making the brackets for the rear brake duct |
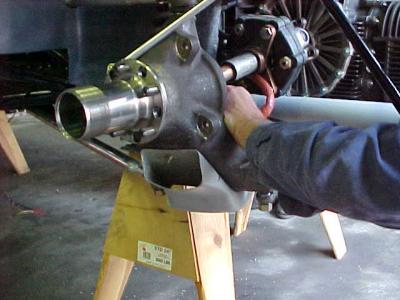 Duct on the upright outer view |
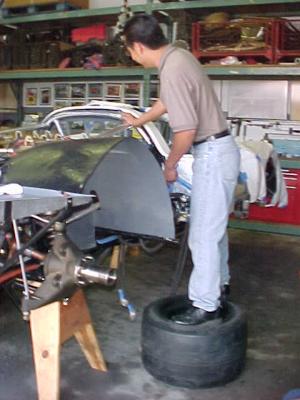 Its always nice to have a wheel to stand on! |
 Harro fabricating the holding bracket for the catch tank |
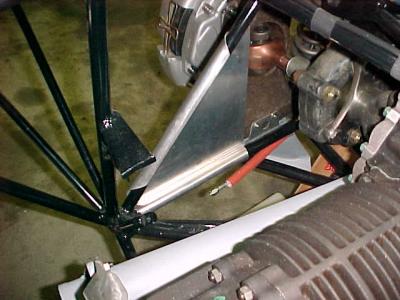 A view of how the bracket looks towards the inside |
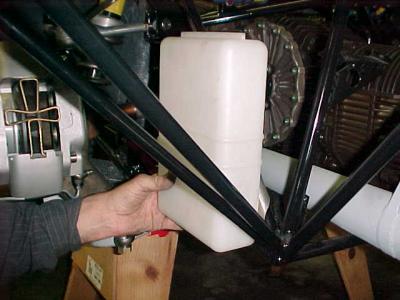 Holding the catch tank in place to make measurements |
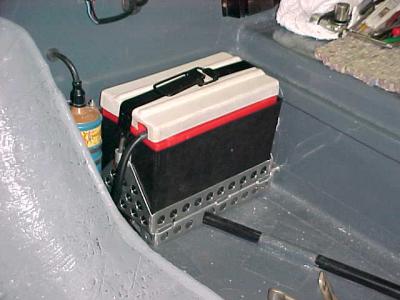 The battery mounted in a metal tray with a metal strap to meet the new rules, ( no more fiberglass and rubber straps) |
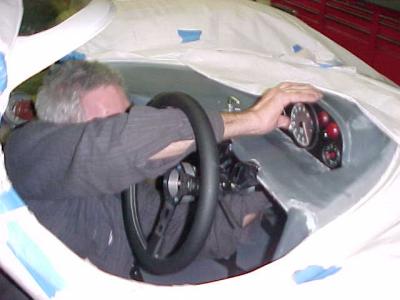
 Carl sitting in the car to figure out the mirror height and seat belt holes( Of course he's smiling woulden't you smile too) |
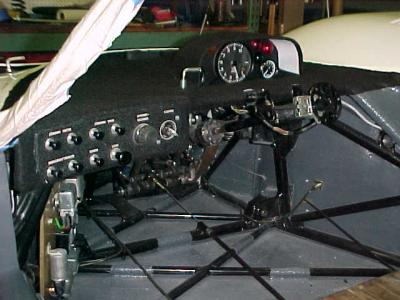
 Harro installing the insturments |
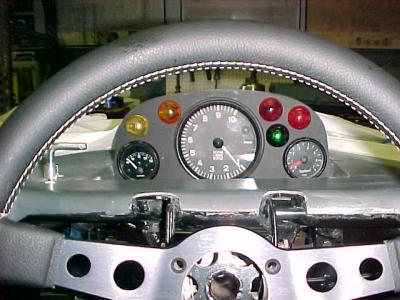 View of the dash hru the steering wheel |
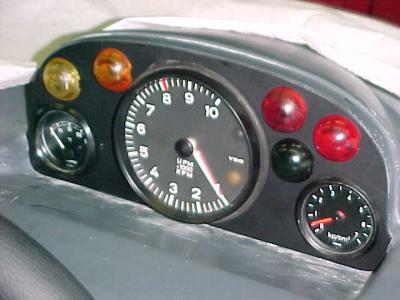 Closer view of the insturments |
 Glueing the felt on the dash |
 Insturment bubble covered |
 First Smoke! sure is noisy! |
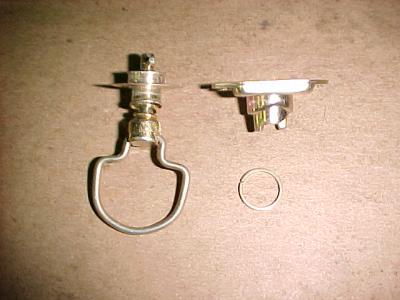 Camloc fastners for the hood |
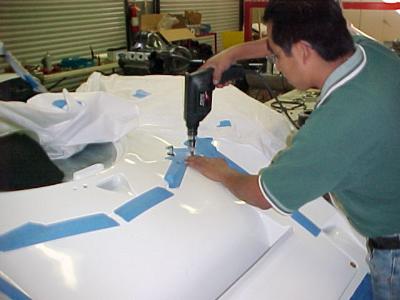 Carefuly drilling the holes for the camloc's |
 Filing the holes for the correct fit |
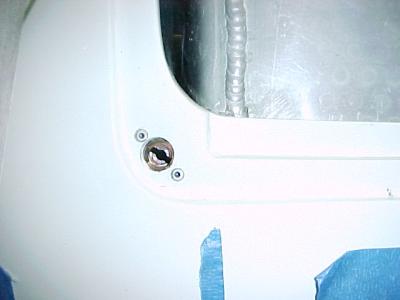 Camloc base installed |
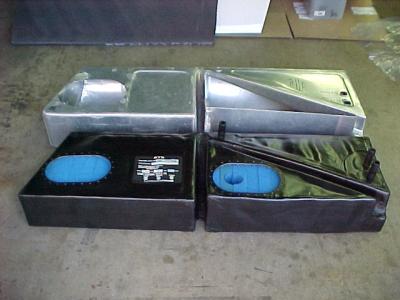 The new Aero Teck fuel cell next t the tank |
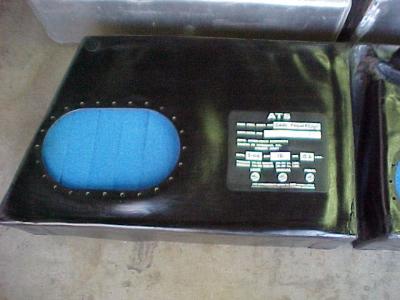 The label on the new fuel cell |
 Some of the intricate shapes that Aero Teck had to make. |
 MVC-026S.JPG |
 The oil tank out of the car to install the felt protection |
 Another view of the oil tank |
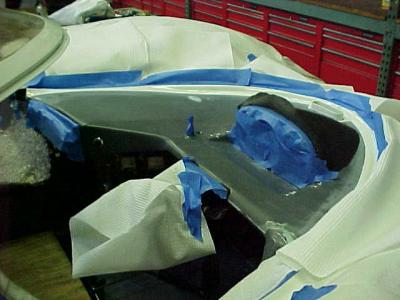 Back to covering the dash, Taping up everything so I don't spray glue where I don't want it |
 Covering in process |
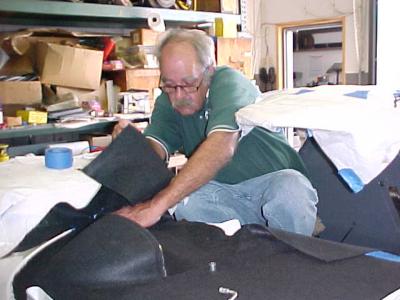 More glueing, cutting and fitting |
 Finished right view |
 Left view |
 Top right view |
 Kent drilling,coutersinking,and screwing in the door glasses.( I glad he did it I am afraid of breaking the Perspect. plexiglass |
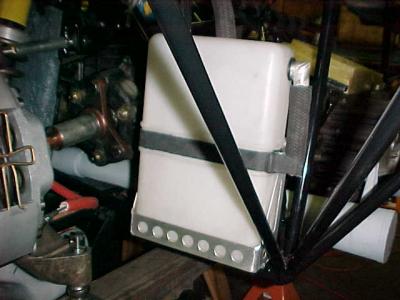 Catch Tank instalation finished |
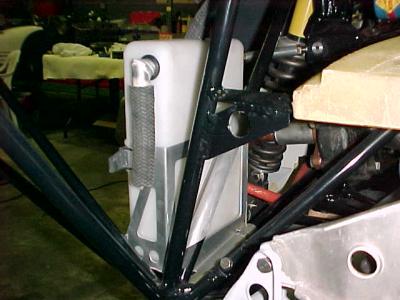 Inside view of catch tank |
 Not finished yet but getting close, |
 Its going to look OK, Tomorrow we will install the windsheild |
 MVC-004F.JPG |
 MVC-003F.JPG |
 MVC-001F.JPG |
 MVC-002F.JPG |
 MVC-009F.JPG |
 MVC-015F.JPG |
 MVC-017F.JPG |
 MVC-016F.JPG |
 MVC-012F.JPG |
 MVC-019F.JPG |
 MVC-013F.JPG |
| previous page | pages 1 2 3 4 5 6 7 8 9 10 11 12 13 ALL | next page |
| comment | share |
| Larry Murillo | 07-Jul-2015 01:21 | |
| tennessee356er | 01-Jan-2011 04:26 | |
| jose rodriguez | 01-Nov-2010 23:06 | |
| Willie beck | 13-Feb-2008 10:44 | |
| Brant Giere | 11-Nov-2007 02:08 | |
| Sean Moriarty | 03-Aug-2007 13:44 | |
| Marc Master | 19-Jul-2005 11:11 | |
| Don Bennett | 10-Apr-2004 18:14 | |
| Eric | 11-Mar-2004 20:41 | |
| Erik Rapp | 08-Mar-2004 01:54 | |
| Greg Worth | 06-Mar-2004 16:56 | |
| Peter Eissner - E. | 03-Mar-2004 21:46 | |
| Tristan | 03-Mar-2004 20:05 | |
| Dave Harmison | 02-Mar-2004 15:34 | |