Once finished with the BURNING, I flattened the layers into one layer and saved a full sized copy of my image as a TIFF. Note that I have not sharpened this image ~ yet. On my full sized TIFF files, I never sharpen these until I am ready to print. Since printers have such different requirements and tolerances for sharpening, I do not save sharpened copies of my full-sized images. When I am ready to print this image, I will open it, sharpen it, print it, and make any adjutements to my sharpening to optimize the print. If I save the TIFF with sharpening, I do not have the luxury of adjusting the sharpening!
After saving my full sized TIFF file, I often resize the image down for web viewing ~ so I can share with you folks on PBASE. I have a separate tutorial on how to accomplish this resizing, so I'll not repeat this now.
Once I resize my image for the web, it MUST be sharpened for optimum web viewing. Images get very soft after being resized. I like to use the Russell Brown Layer Sharpening technique for my web sized images, and have even written an ACTION to automate the steps for setting this up.
What, never heard of Russell Brown's Sharpening Method? Stop right now and go watch this QuickTime Movie from Russell Brown!
Click Here For Russell Brown's Layer Sharpening Tutorial
Quite often I will apply this sharpening using a LAYER MASK, so I can sharpen just my subjects and leave the surrounding areas unsharpened.
I have written another tutorial on how to apply sharpening using a layer mask.
Click Here For My Tutorial on how to Apply Sharpening Using a Layer Mask
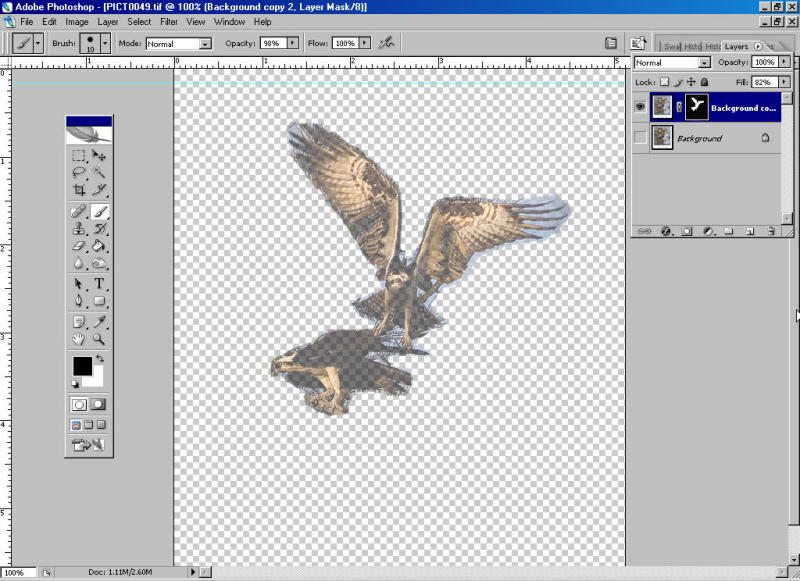
What you see in this screenshot are two layers ~ my original background layer and a sharpened duplicate layer with a layer mask. For this screenshot, I have turned the eyeball OFF on the background layer, just so you can see what my layer mask looks like. Note that just my subjects are visible. Since these are the only elements on this layer that are sharpened, when I merge the layers, only my subjects will be sharpened. Clever huh?